Author: Talha
I am a crochet designer, macramé maker and a crafter who also loves doing MATH.
These instructions will show you how to make a solid square knot bracelet using a two-knot repeat pattern. In my watermelon bracelet, I actually made a square knot bracelet but it is easier & less confusing to macramé in one color and it is more obvious to why it is called the square knot bracelet. I will focus on teaching you this knot and in the end provide you a tip to how you can use the same knot to also make a spiral bracelet.
Macramé Square Knot Bracelet
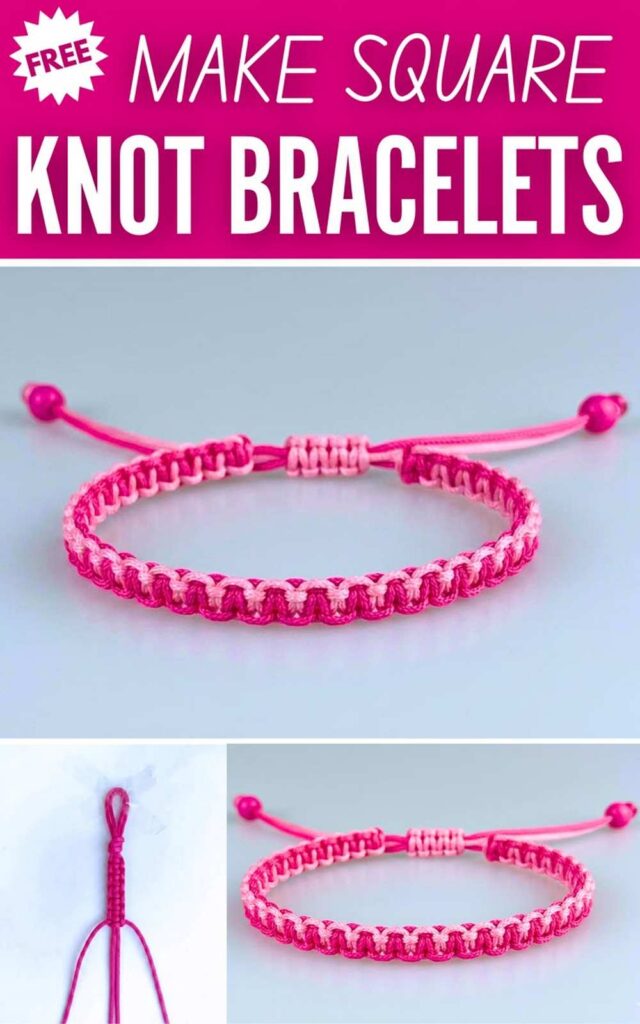
It works up fast as especially when you use the macramé cord of 1.5mm thickness. I was able to make it within 10 minutes using the same cord.
Unlike the chevron bracelet, you don’t have to work on the sides, just lengthwise, it is much faster and as a result less intimidating for starters. I remember the night when I started the chevron bracelet and could not finish it even in an hour. Anyway, you can also check others of my bracelet guides and I have tried to keep them natural with no symbols or preliminary things needed. So, let me teach you know!

How Did I Make the Square Knot Bracelet for Me
Step #1: I cut two strands of macramé cord in a length ratio exactly same as to the spiral bracelet. That means one must be exactly 2.25 times more than the other. Well, it is not a strict rule but tested, so you can complete the bracelet without getting short of working strand as the latter will be used as base only!
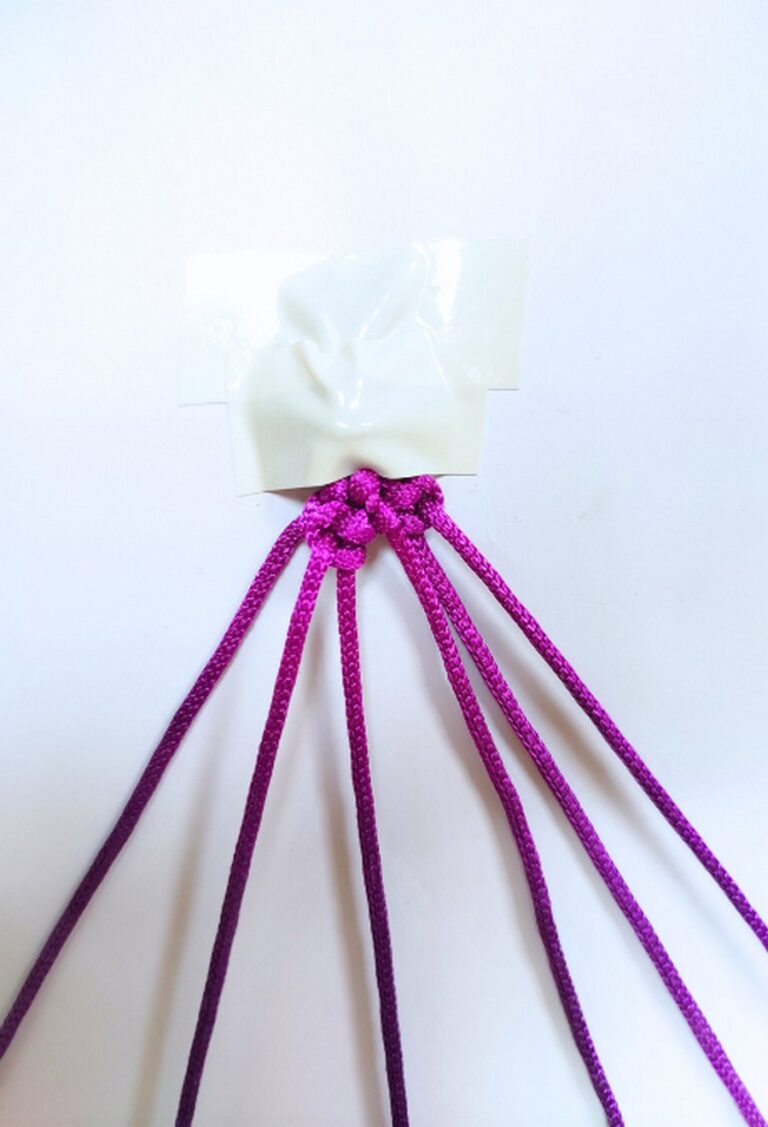
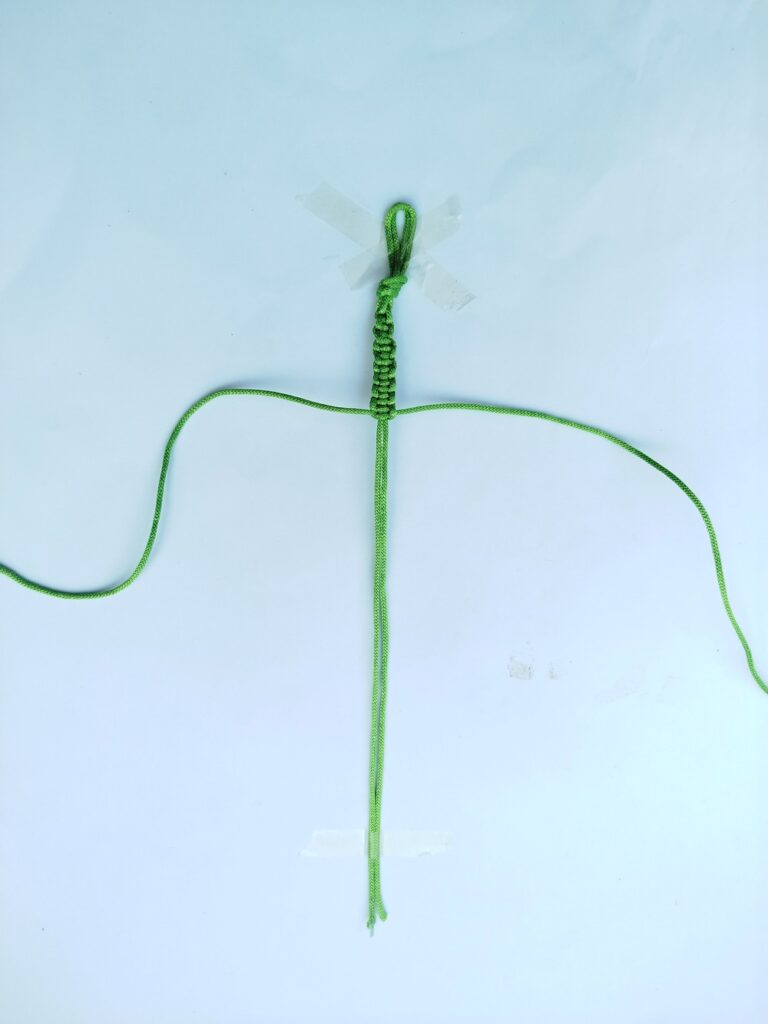
Step #2: As we usually do, I folded each strand in half separately, aligned their centers with each other and made a slip knot. I got four strands! Then, I put the strand over my working table so I can keep it in place by taping.
Step #3: Other than the knot, I also fixed the middle two strands in place after separating them. I would only work with 2 extreme strands!
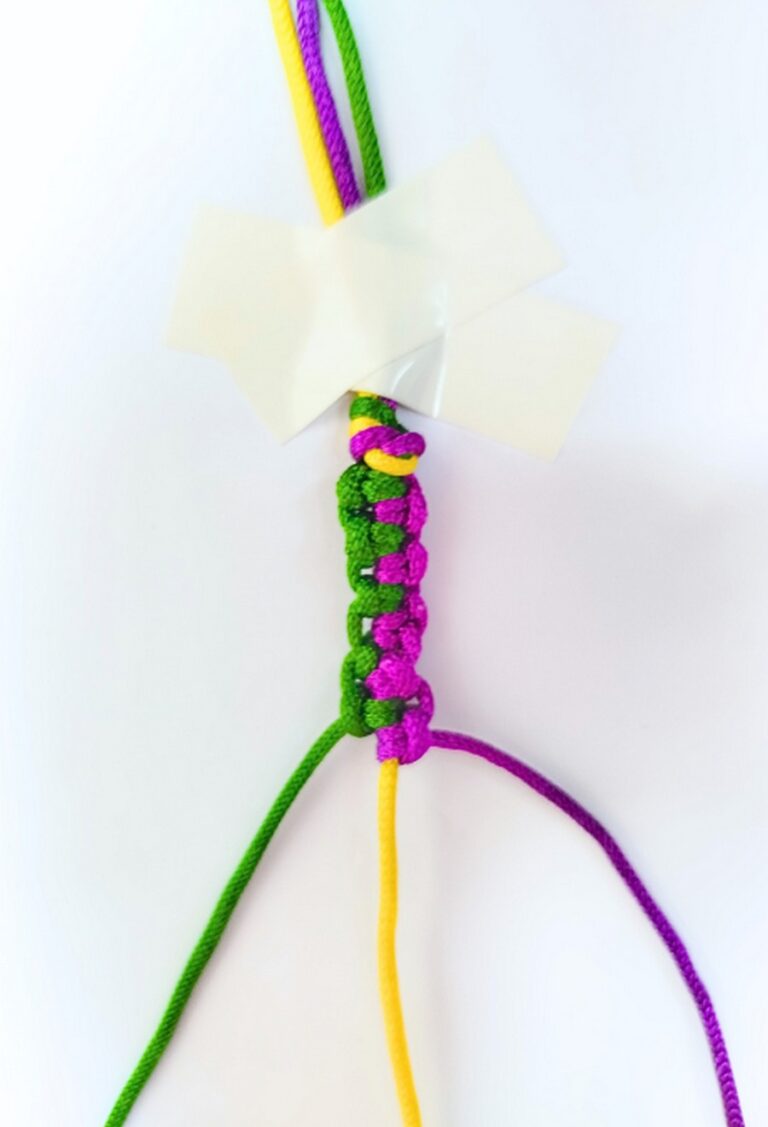
Step #4: Using both the strands I made a right half square knot. Till, now, I followed the same process as in the spiral bracelet.
Step #5: But now, instead of another right square knot, I made a left square knot and completed first square knot. This way, I could always reverse the direction so that my work stays straight instead of spiraling!
Step #6: I peeled off the tape from the middle strands before I made my last square knot. 17 square knots worked fine for me as I used 1.5mm thickness cord which is much more than an embroidery floss will have.
Macramé Square Knot Bracelet Pattern: Step-by-Step Instructions
Colors:
- Parrot (Base Color)
- Parrot (Active Color)
Note: If you want to easily differentiate between the the base and the active colors, follow my watermelon bracelet guide.
Supplies
- Yarn or cord: While I am using a 1.5mm thick macramé cord as usual, you can use any yarn from embroidery floss to polycherry thread. Even cotton yarn will work fine. Just note that the thickness decides the amount (length) of yarn you need and the thickness of the bracelet!
- Paper tape (recommended as the yarn may slide through with smooth tape such as the transparent tape!). For this demonstration, I could not find my lost paper tape as you saw in the first tutorial, so I also used transparent tape contrary to my recommendation!).
- Smooth flat surface such as a white board that you can put over your lap.
Knots
- Slip Knot
- Right Half Square Knot + Left Half Square Knot
- Overhand knot
Strand Count: 2 folded in half to make 4 strands.
Length Requirement: Lengths yarn strands must be in 9/4 ratio. In other words, the bracelet yarn should be 2.25 times as longer as the base yarn. For example: 180 cm (bracelet yarn) and 80 cm (base yarn) which was used by yarnivora with her polycherry yarn.
As mentioned, not everybody have the same yarn her or even as mine. I studied the comments of the learners and it was their actual concern. So, follow my general rule if you have a yarn of other thickness. For example, I used about 90 cm for wrapping and 40 cm for the base as my cord is much thicker!
Step #1: Strand Preparation
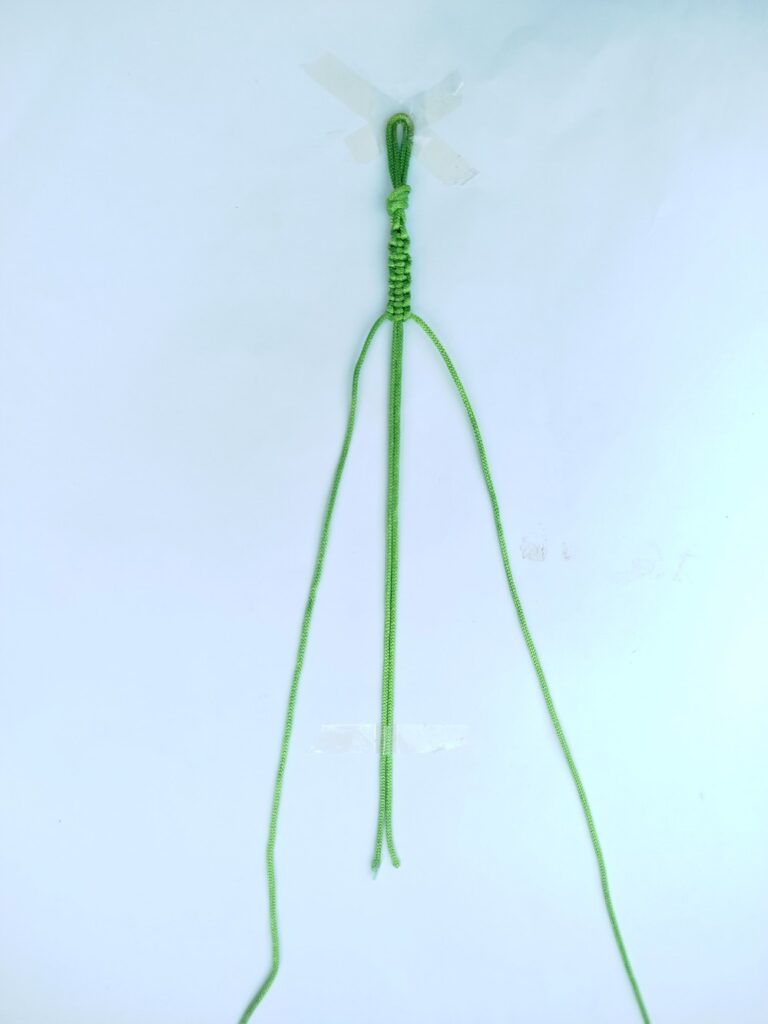
- Fold each cord or strands in half separately and align their respective centers.
- Pinch the top of both and make a slip knot. You can also slide the knot to the top to tighten it further.
- Take two strips of 3 inch tape, place the strand over the table and make an X with the tape over to fix the macramé work.
- Separate the strands such that the parrot (base) strands are in the middle and the parrot (bracelet) strands are on either side.
- Also apply one long strip of tape over the middle strands to fix them in place. Be sure to also stretch them a bit so knots don’t need a hole.
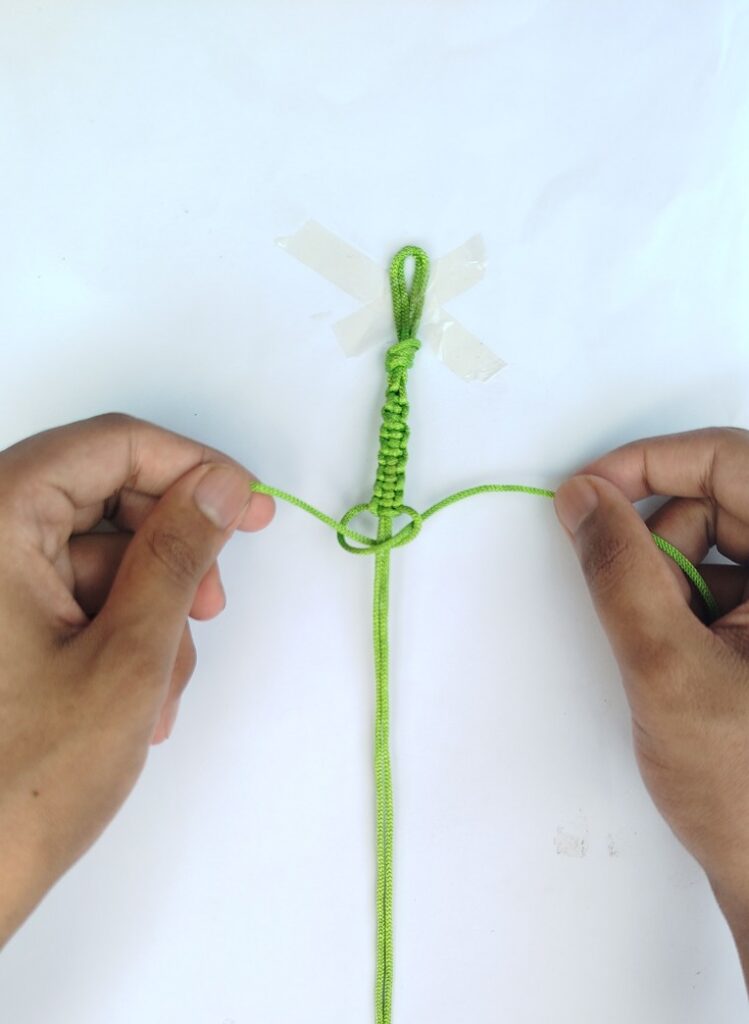
Step #2: Right Half Square Knot 
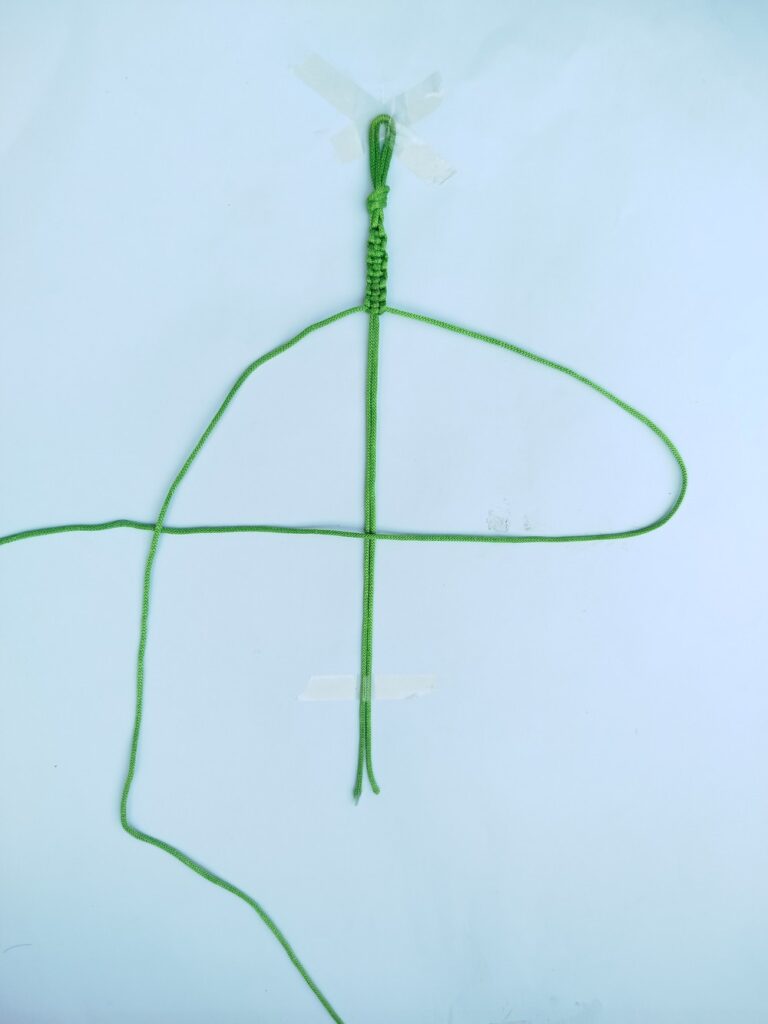
- Step 1: Move the left parrot strand toward to the top left to set it aside for you can properly make a over crossing with it instead of under crossing.
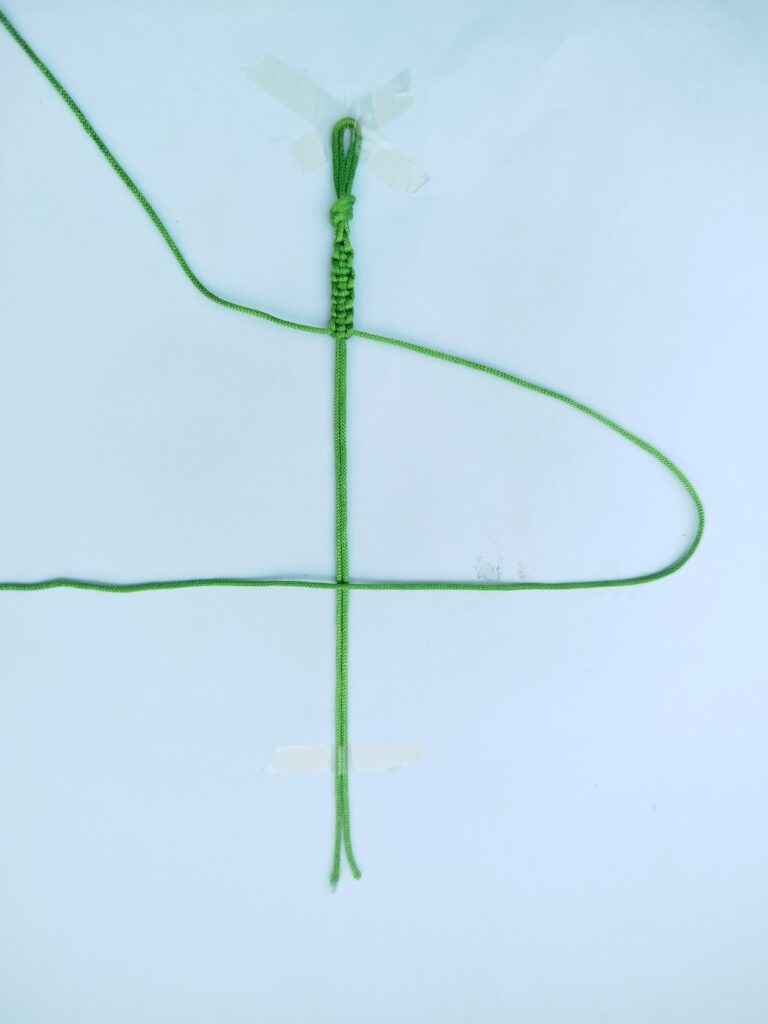
- Step 2: Making a U shape on the right side of the middle strands, pass it straight over the middle strands to the right.
- Step 3: Move the left strand down so that it crosses over the left strand with which we made a U on the right side of the middle strands.
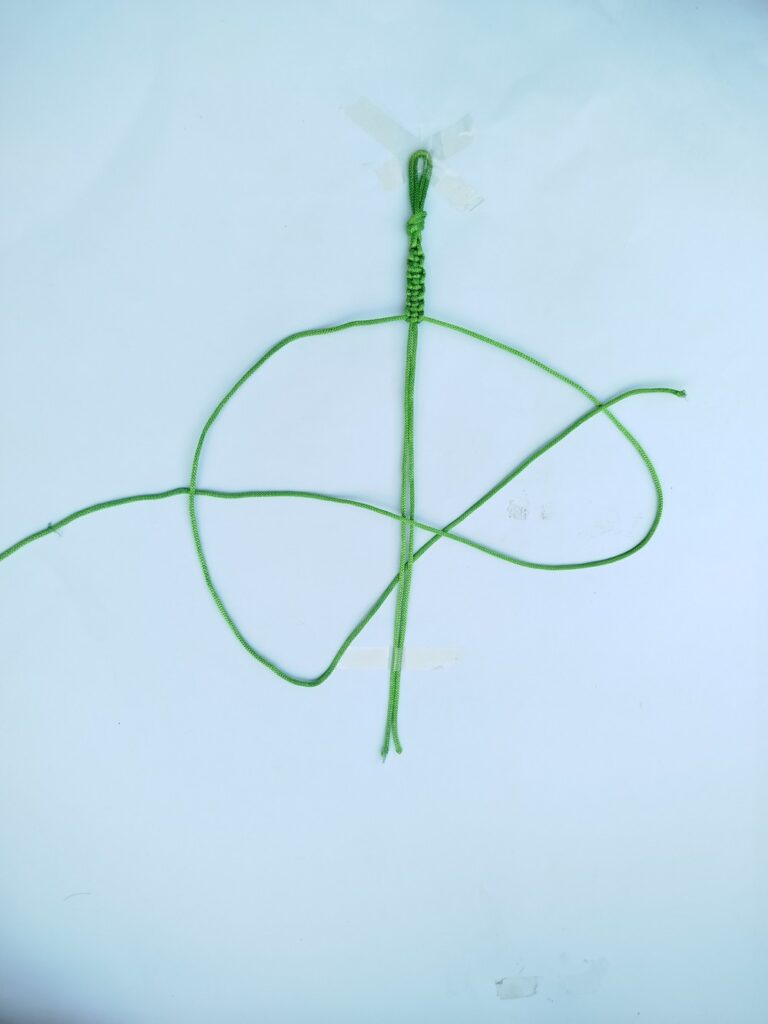
- Step 4: Now, pick the tip of the left strand and pass it through below the middle strands (above the tape!) then below the bottom of the U and above the right of the U making a loop that can be knotted.
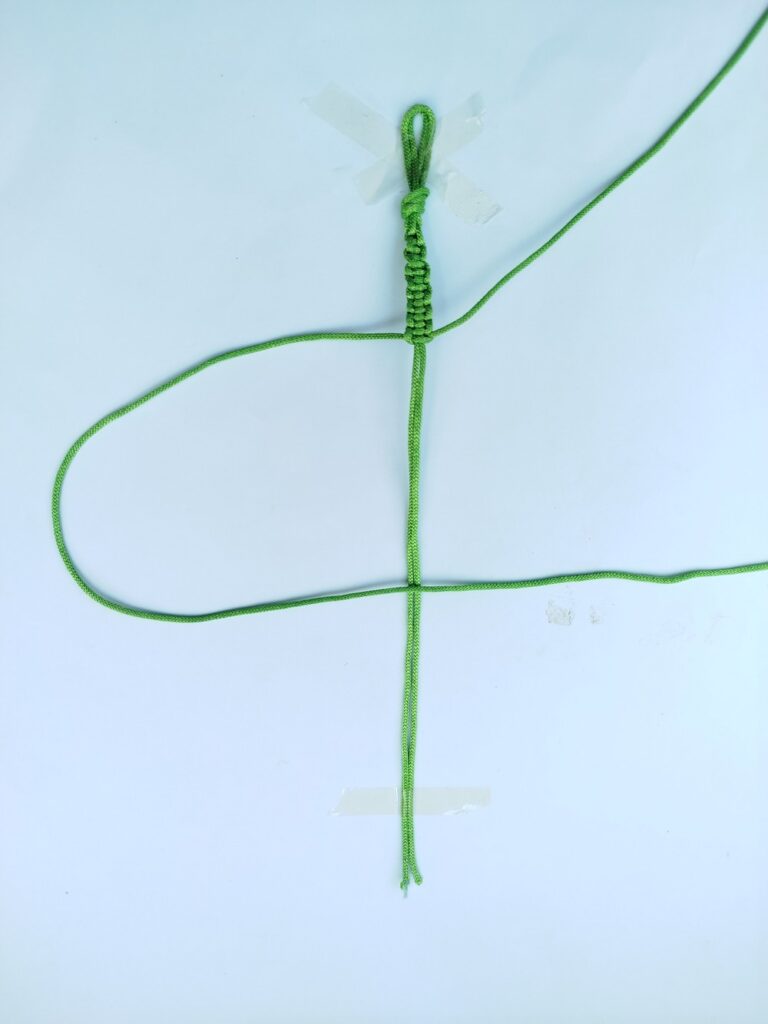
- Step 5: Pick both the left and the right strand for which you made a tangle and pull them towards the opposite sides. Continue pulling softly until the loop gets as shorten as you see above. Now, pull the middle strands tight before making the knot.

- Step 6: Now, pull tightly so you have a knot around the middle aligned strands. And this completes the half square knot.
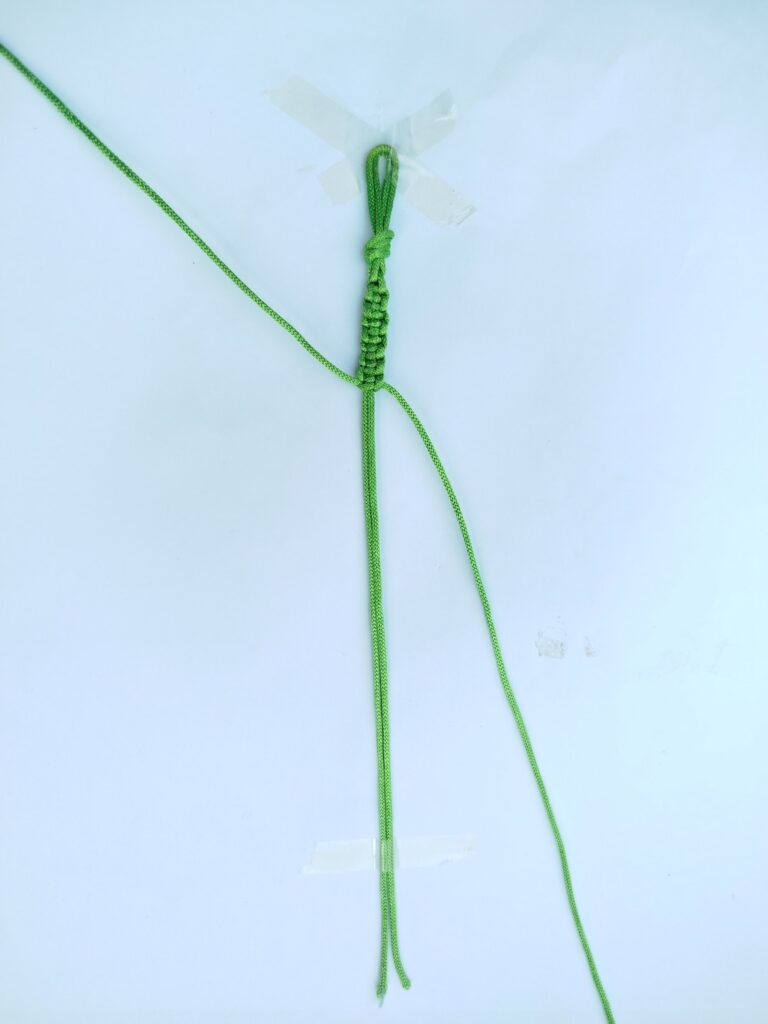
Step #3: Left Half Square Knot
- Step 1: Now, rotate the right parrot strand at about 45 degrees to set that one aside just like you did for the right square knot.
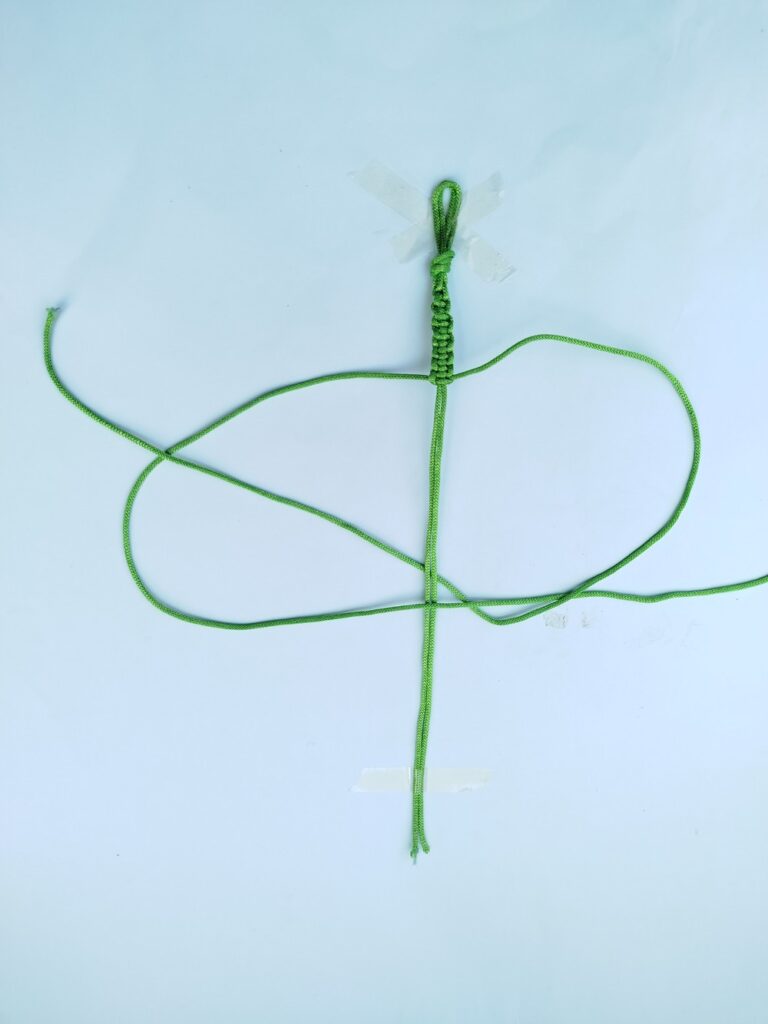
- Step 2: Similar to how you did for the right strand, make a U shape on the left this time with the left strand and cross it over the middle strands. Then, pass the right strand over the left strand then, below it and then through the middle strands. You will again have a tangle.
- Step 3: Pull the strands tight to make another knot and completing the Square Knot!
Step #3: Repeat Pattern
Continue repeating the square knots following the step #1 through step #3. And that’s how you will want to make this beautiful 2-knot repeat bracelet in no time. Finish it off by braiding the 4 strands and making an overhand knot!
Was this macramé tutorial helpful? Tell me in the comments
Your feedback is a great way for us to improve my macramé and crochet tutorials. So, share your thoughts on whether you tried this one or not, and highlight the weak points.