Author: Talha
I am a crochet designer, macramé maker and a crafter who also loves doing MATH.
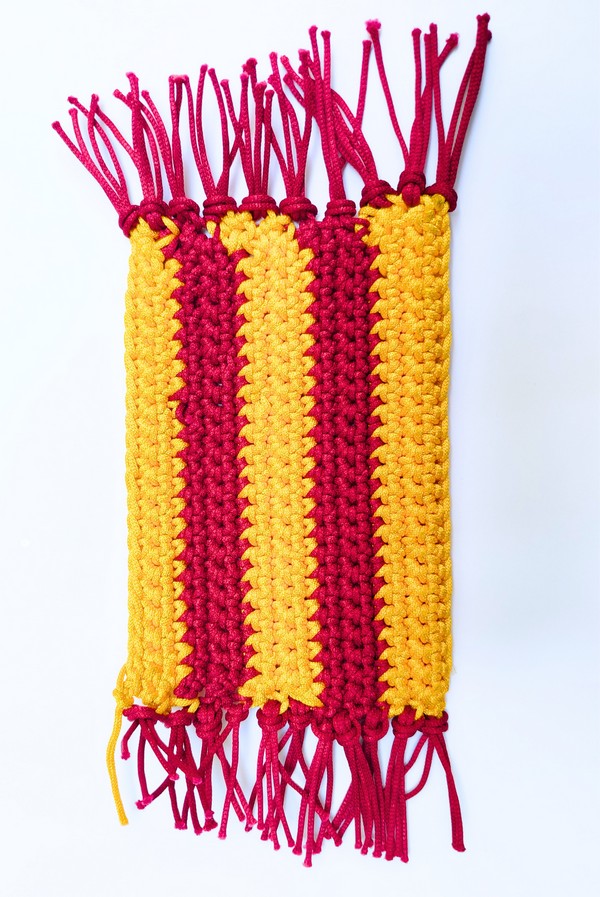
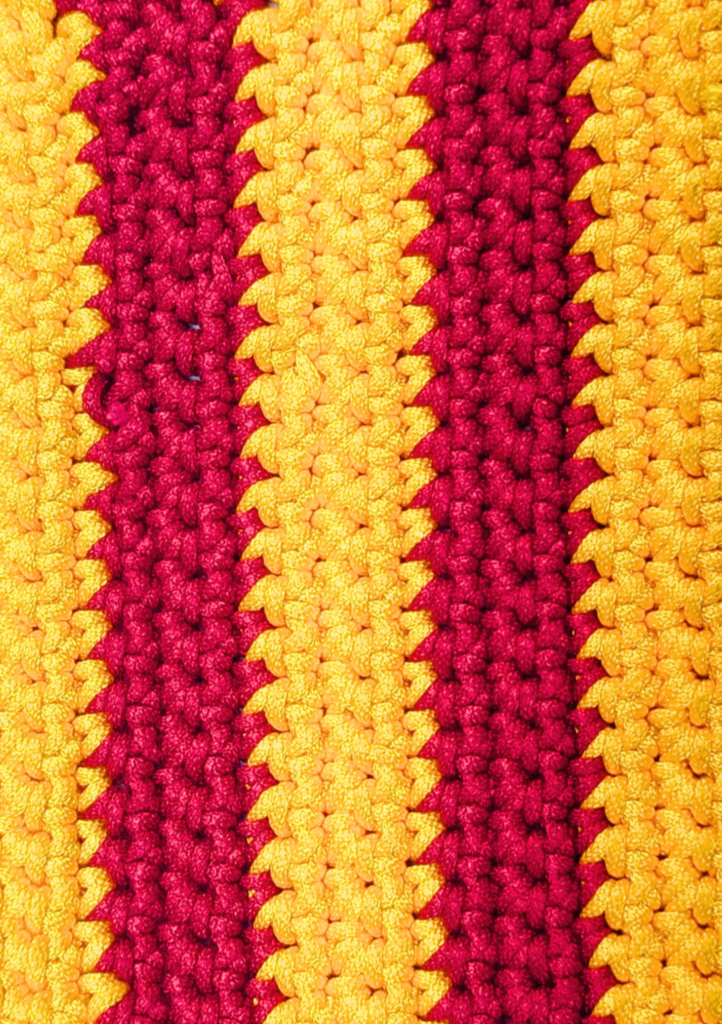
Last week, I crocheted this striped & fringed rug for Harry Potter’s Day at May 2 and found myself busier than ever. So, you know, I am 4 days late to be able to publish a pattern for this MAGICAL rug, but it was so elegant that I could not wait for the next year. Especially when it is so easy to customize for any occasion from NEW year to Christmas Eve and even as a rustic all-year-round decoration with teal, brown and autumn colors.
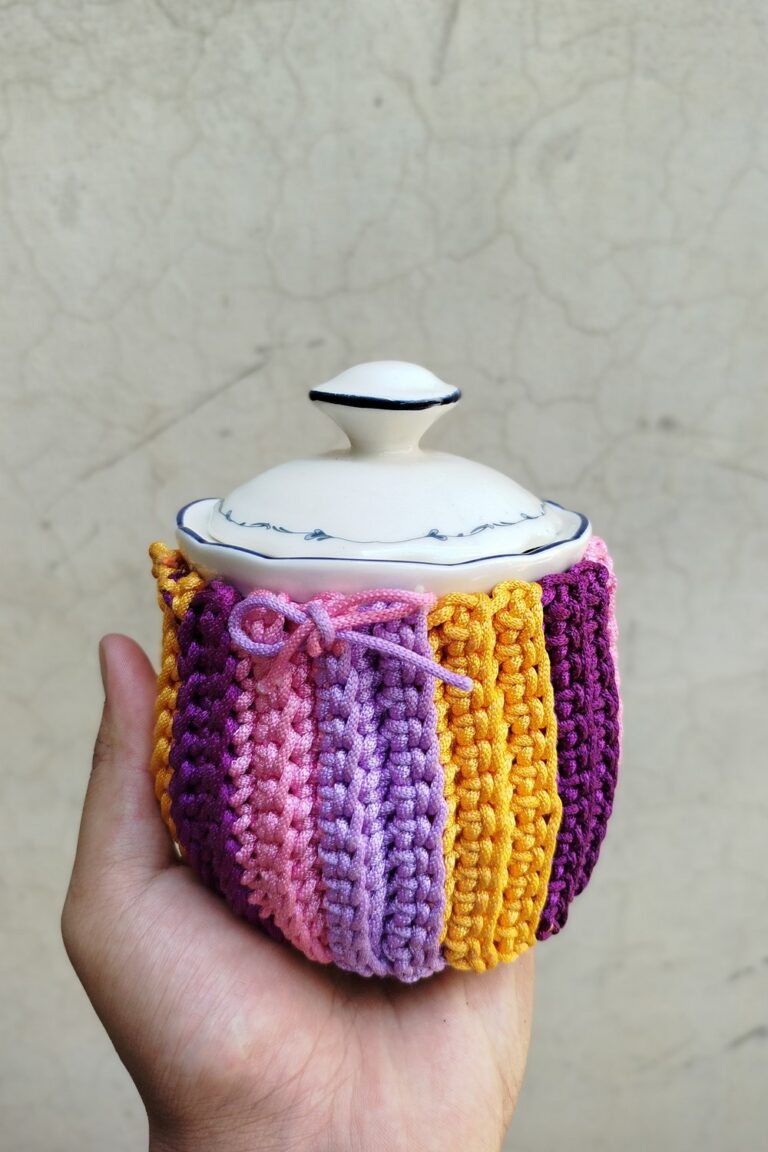
Just two colors of yarns are used just like the Harry Potter scarf. But I agree that the fringes are fewer than those that could be added, but I left them for demonstration (busy maker, I am!). You can also crochet this rug with my candy burst coaster & mug cozy and the macramé bookmark to complete the set.
There are two aspects in which my rug pattern improves: the straight edges and shiny, décor-ready finish. Well, for this you would have to use my non-traditional choices such as the double chain foundation and the macramé cord.
While they are not as common, these are my two ultimate recommendations for decorative crochet such as this Harry Potter mug rug. Now, let me show you how I crocheted this rug and you can, too.
How I made the Crochet Harry Potter Cozy
- Step #1: I began by making 25 double chains as a foundation. Note that, for macramé cord in particular, I highly this double chain (aka half I-cord) start as the rug has longer sides exposed and chain stitch can really mess with the neatness (cord is less stretchy!).
- Step #2: Because the double chain cannot be used as a turning chain, I made an extra chain as a traditional chain.
- Step #3: In each of double chain, inserting the hook hook through both the V-loops of the double chain, I worked 1 single crochet across.
- Step #4: I crocheted about 18 more rows of single crochet stitches and changing the color 4 times between yellow and maroon using the “join-as you go” method.
- Step #5: After finishing the striped rectangle, I secured it by cutting the ball end leaving a tail of 3 inches (I don’t use yarn needle for weaving; so that’s okay.)
- Step #6: Now, I had to attach the fringes. For this, I cut two yarn strands of equal lengths per stitch (you can cut 3, too!). Inserted the hook into the Front Loop Only of the corner of the rectangle, folded the strands in half, inserted through the loop and knotted. Just repeated this for all the stitches on both the sides. I was running out of time, so I did not made the fringes in all the stitches as you can see.
- Step #7: I also had to steam iron my rug to block and reduce the curl in the rug. Also, I trimmed the fringes to make them shorten as it is usually suggested to leave a room to knot easily!
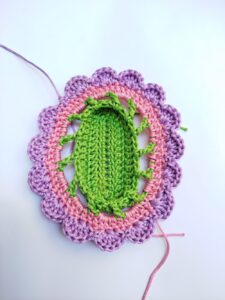
Crochet Detailed Harry Potter Pattern (Swatch Guide)
I usually like my learners to understand only the swatch pattern for crocheting my patterns. This will let them infer the rest and improve their crochet designing and customization skills.
For this crochet mug rug pattern, too, below I have provided a step-by-step guide for each of the technique I used from the foundation half double chain to color-changes and attaching the fringes!
Skill Level: Beginner – Level 2
Things I Used for Crocheting my Harry Potter Cozy
- Yarn: While you can also use the cotton yarn (usually recommended), I used like to and used the macramé cord of 1.5mm thickness in the following two colors:
- Color 1: Yellow (matches the color of my crochet hook)
- Color 2: Maroon Yarn (matches the yarn I used for teaching basic stitches!)
- Hook: 3.5mm crochet hook. It is suitable for my macramé cord and provides me enough thickness. Though, I think with the single, I got a little, too tight rug. Try to use the recommended yarn for your hook on the label as most suggestions are based on flat projects like this rugs, blankets and garments.
- Yarn needle (As mentioned, I don’t use yarn needle for weaving in the end but a fabric glue to hide the tails on WRONG side. But yarn needle works best if you don’t want the embarrassment of not showing the WRONG side.)
- Optional: Thinner Cotton Yarn for the Fringes so they look flowy
My Stitch Resources for Learning in More Detail
Colors used in the Sample Swatch’
- Color A: Purple
- Color B: Parrot
Half I-Cord Foundation Row
Note: You can also make single crochet foundation or first chain 26 and then single crochet all across starting from the 2nd chain.
Attach the slip knot to hook of the the color A (purple, here) leaving about 100 cm length as the slip knot tail. Usually, we only leave it about 5 cm long and it remains attached to the first chain we make. But for the double chain, we use it to crochet a chain with two V-loops.
Now, to crochet the first double chain of the half I-cord as the foundation:
- Step #1: Yarn under the tail end of the slip knot. You might also need pinching the bottom of the loop to hold that in place as the loops may slip to the other side of the hook.
- Step #2: Yarn over the the ball end with the hook.
- Step #3: Yarn over again, pull through both the loops on the hook while keeping both the loops pinched from the bottom.
Yarn under? Well, to learn that in detail, you can refer to my cross stitch single crochet guide as well as the half I-cord guide. For now, repeat these three steps to crochet 24 more double chains as a foundation for single crochet.
Tip: For the first double chain, you might need to wrap the tail yarn by your fingers and as you get to crochet b3 to 4 stitches of this, you can use the fast method.
That just needs moving the hook and holding both the yarn with the passive hand. I have described that method in detail in my half I-cord guide, too.
Row 1 – 19: Single Crochet Row (Non-Color-Change)
Now you have the foundation row, chain 1 and turn the work to the other side. Then, in through the top V-loops of the double chain, work 1 single crochet. To make a single crochet:
- Yarn over hook the ball yarn.
- Pull up a loop on the hook.
- Yarn over again the ball.
- Pull through both the loops on the crochet hook.
Now, inert the hook into the next stitch, make 1 single crochet. Then single crochet all across the remaining 24 double chains.
Row repeat is the following except for the rows where you will change the color:
- Chain 1.
- Turn the work.
- 1 single crochet in each stitch across including the first stitch.
- 1 single crochet through both the top V-loops instead of just the chain for the neat edges.
Row 1 – 19: Color-Change Row
To change the color, you can either use “join as you go” or “secure and join at the beginning” method. While I use the both, for the projects where I have to work more than 1 rows of new color (color panels), I prefer the first (aka color-change within the row) as it is faster and I don’t have to secure the fabric each time I change the color. Here is how you will change the color:
- Step 1: Chain 1 and turn you work as normal.
- Step 2: Insert the crochet hook into the first stitch, yarn over and pull up a loop.
- Step 3: Make a loop around the index finger with the COLOR B (purple, here!) and pinch it tight with the thumb and the middle finger.
- Step 4: Grab the loop with the crochet hook and pull through the loops on the hook.
- Step 5: Pull the tail end of the yarn of the new color to tighten the NEW loop.
- Step 6: Now, insert the crochet hook into the next stitch and complete the new single crochet.
- Step 7: You have attached the new color. Just single crochet all across.
Here is my color-change rule that I used for the Harry Potter rug:
- Row 1 – 3: Yellow Yarn
- Row 4 – 7: Maroon Yarn
- Row 8 – 11: Yellow Yarn
- Row 12 – 15: Maroon Yarn
- Row 16 – 19: Yellow Yarn
After you have finished crocheting the Harry Potter rectangle, cut the ball end leaving about 6 inches for weaving in the end. Lift the crochet hook tight to widen the loop and pass the tail through the loop to secure the corner.
Last Part: Fringes
When I first crocheted this mug and tray rug, I used the first 15cm strand as a template for all else. My each fringe contained two strands which will got doubled after getting attached to the stitch.
However, I felt this method much tiresome and switched to wrapping the yarn around a box in holding it in place and cutting one without needing for the first.
This was much quicker; I recommend that one, therefore. Also, I later-on trimmed the fringes to about half as I left some length for the ease of knotting. However, definitely, you can easily knot them even when you have less length for each strand. Now you have cut the yarn strands (you can also use thread!), let me show you how you can attach the fringe:
- Align two or three yarn strands and fold them together in half, insert your index finger of passive hand through the loop and pinch the the tails with the middle finger and the thumb.
- Starting from the left corner of the shorter side, insert the crochet through the front loop of the first corner stitch from the front (not back!). This will keep the fringes stay flat with respect to the table.
- Grab both the loops with the crochet hook and pull through the loop on the crochet hook. Continue pulling till both the loop is open enough to insert the yarn tails through it similar to how you secure the ends and make a knot. Be sure to pull all the strands equally finish one fringe.
Repeat this for all the remaining stitches all along and then also on the other side. And that’s it for now and I have covered all the techniques needed for this crochet rug in detail. Now, follow the quick pattern below for crocheting it which is written using US terms.
Quick Harry Potter Rug Pattern
Abbreviations
- ch = chain
- sc = single crochet
- st = stitch
- yo = yarn over
- yu = yarn under
- lp = loop
- rep = repeat
- FO = fasten off
- RS = right side
- WS = wrong side
Foundation Row: Half I-Cord Foundation
With Color A (Yellow):
Leave a 100 cm tail and make a slip knot.
Half I-Cord Foundation Ch:
* yu tail, yo ball yarn, yo and pull through both lps on hook.*
Rep from * to * 25 times total.
Alternative Foundation:
ch 26, sc in 2nd ch from hook and in each ch across. (25 sc)
Row 1
ch 1, turn, sc in top V-lps of each foundation ch across. (25 sc)
Rows 2–19
ch 1, turn, sc in each st across, working edge sts through both top V-lps for clean edges. (25 sc each row)
Color Sequence
Rows 1–3:
With Color A (Yellow)
Rows 4–7:
Change to Color B (Maroon) and sc across each row
Rows 8–11:
Change to Color A (Yellow) and sc across each row
Rows 12–15:
Change to Color B (Maroon) and sc across each row
Rows 16–19:
Change to Color A (Yellow) and sc across each row
Color Change Method
At beginning of color change row:
ch 1, turn
Insert hook in first st, yo, pull up lp
Join new color
yo with new color and pull through both lps on hook
Continue sc across row
Finishing
After Row 19:
FO, leaving a 6-inch tail. Pull tail through final lp to secure.
Fringe
Cut multiple strands approximately 15 cm long.
For each fringe:
- Hold 2–3 strands together
- Fold in half
- Insert hook through front lp of edge st
- Pull folded center through st
- Pull yarn tails through folded lp
- Tighten knot
Attach fringe across both short ends.
Finished Size
Rectangle panel with 25 sts wide × 19 rows tall
(additional length created by fringe)
My Final Message Before You Leave!
Did you like my macramé cord Harry Potter Mug Rug and wanna try one this summer? You can tell me everything in the comment and ask the question, in case you have any. Also, follow me on the relevant social media!
Bye Bye! – Talha
See More:

Wanna Crochet Something Else?
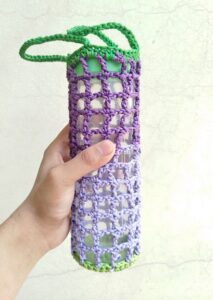
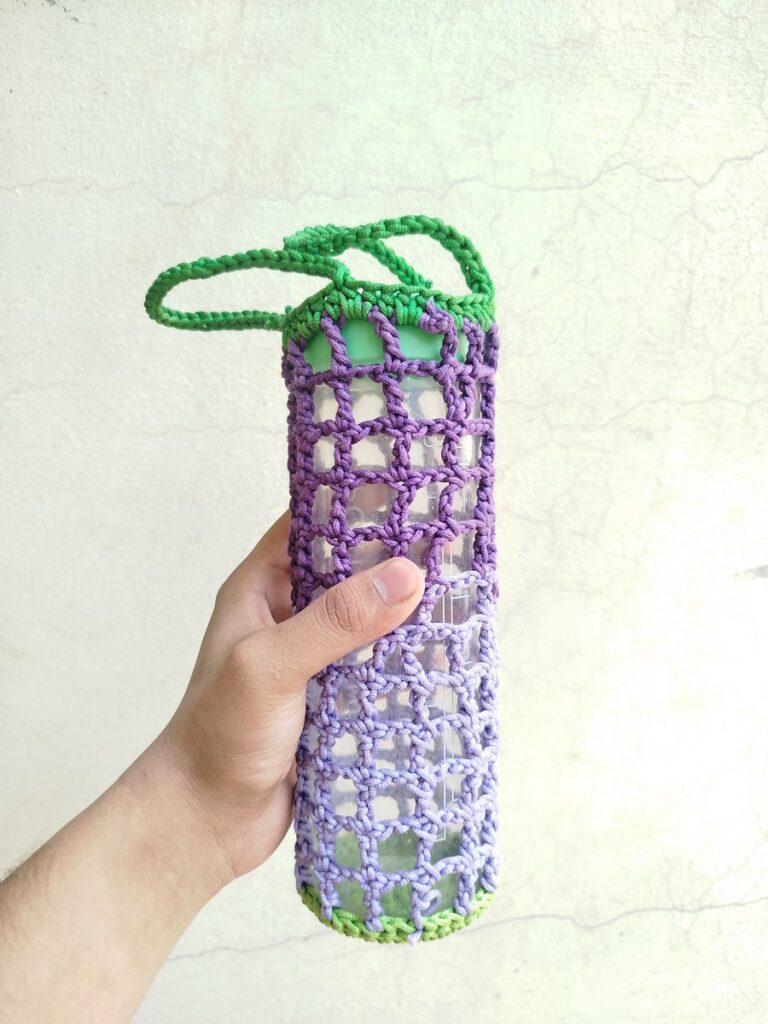
Crochet Colorwork Mesh Water Bottle Holder Pattern for Summer
How to Crochet Classical Granny Square for Beginners
How to Crochet Heart Granny Square in 4 Rounds

Free Crochet Basic Heart Pattern for Beginners
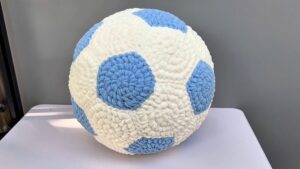
Featuring: How to Crochet Plush Soft Soccer Ball for Fifa World Cup Tutorial