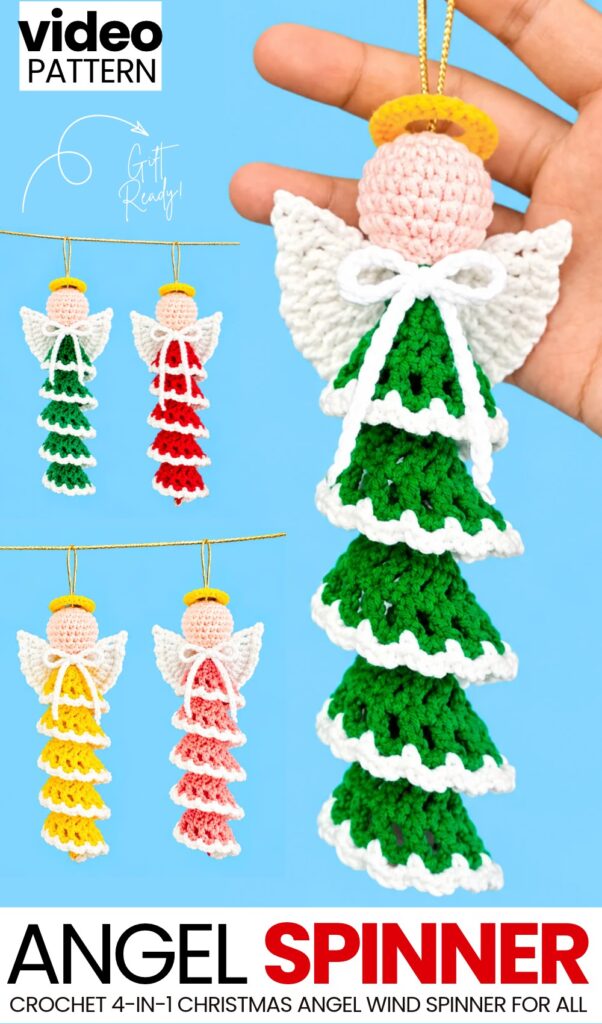
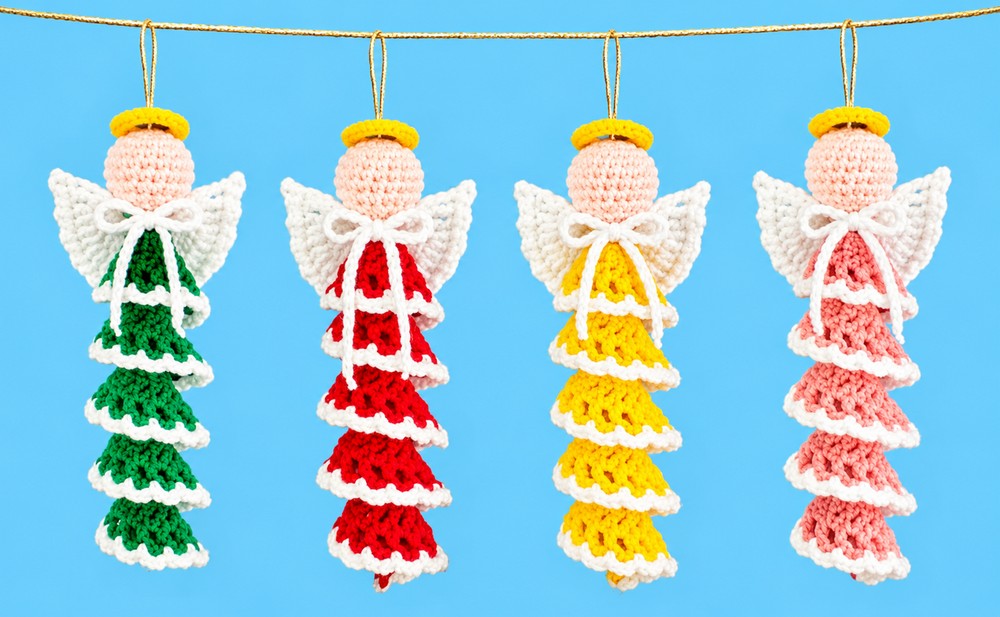
Today, I am featuring my favorite and the CUTEST crochet Christams character wind spinner & ornaments of this year! Introducing the crochet angel buddy wind spinner 4-in-1 tutorial that you can follow to crochet a red, a yellow, a green, and a pink holiday spinner. This is part of our “Fairyland” New Year and holiday decorations series and makes for the easiest and the MOST ADORABLE gift-ready wind spinners. This spiral crochet Christmas angel ornament can hang on a Christmas tree, wreath, or gift package.
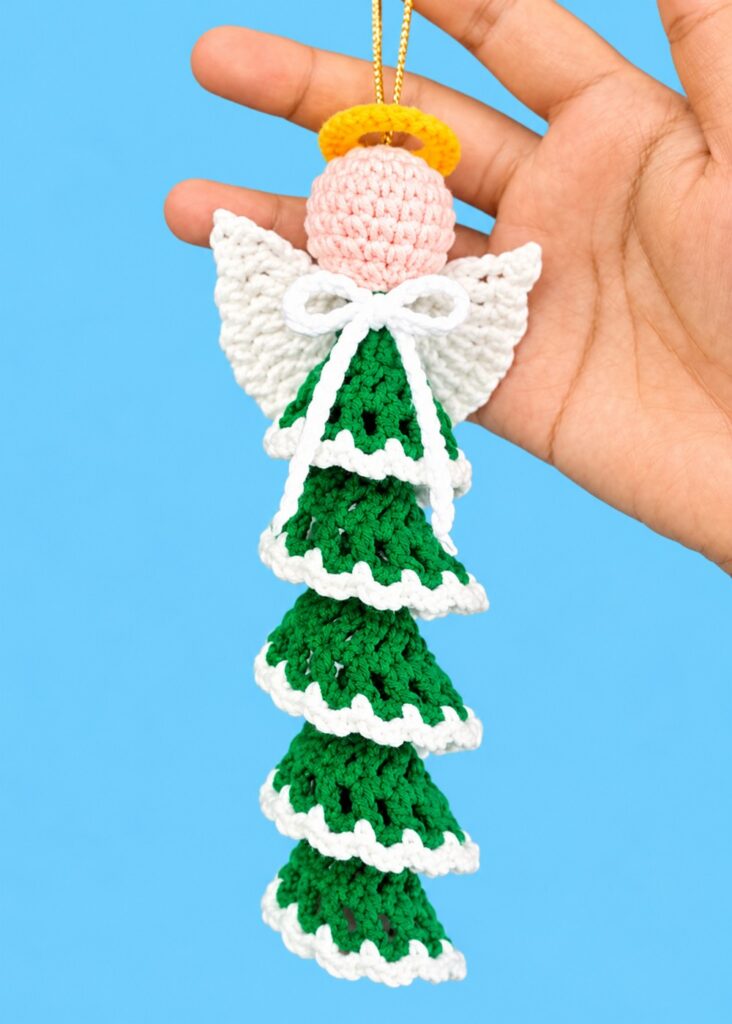
The idea is to crochet the ruffled dress of the angel buddy as a two-color wind spinner with the white edging.
Also has ribbed wings, a tiny bow, and a golden halo. This is the CUTEST wind spinner pattern I have shared so far. This crochet Christmas wind spinner also has a unique crochet spinner pattern that I like to call the mesh wind spinner. This matches perfectly with the crochet angel buddy. Now, continue reading to learn more about this fairy ornament project!
Tutorial to Crochet the Angel Wind Spinner for Gifting
Skill Level: Beginner – Level 5
Materials Needed for the Angel Buddy Ornament
Cotton or acrylic yarn (light/DK weight) in the following colors:
Skin tone / light peach (for the head)
Yellow, Green, or Red (for the main spiral dress)
White (for the dress trim, wings, and bow)
Gold / mustard yellow (for the halo)
2.75 mm crochet hook
Polyester fiberfill stuffing
Metallic gold cord or thin ribbon (for the hanging loop)
Hot glue gun and glue sticks
Tapestry needle (yarn needle)
Tweezers (helpful for stuffing the small head)
Scrap piece of contrasting yarn (to use as a stitch marker)
Scissors
Abbreviations (US Crochet Terms)
MR: Magic ring
ch: Chain
st / sts: Stitch / stitches
sl st: Slip stitch
sc: Single crochet
dc: Double crochet
tr: Treble crochet (yarn over twice)
inc: Increase (work 2 single crochets into the same stitch)
dc inc: Double crochet increase (work 2 double crochets into the same stitch)
tr inc: Treble crochet increase (work 2 treble crochets into the same stitch)
dec: Invisible decrease (insert hook into the front loops only of the next 2 stitches, yarn over, pull through both front loops, yarn over, pull through 2 loops)
Are you a Beginner? Learn Crocheting Easily!
You can learn to crochet better with this elegant angel spinner in this tutorial for beginners:
Spiral Dress Body
Using your main dress color (yellow, green, or red) and a 2.75 mm hook. Leave a long starting yarn tail (about 25 to 30 cm) at the very beginning for sewing the dress to the head later.
Row 1: Ch 41. Skip the 1st chain from the hook and work 1 sc into each of the remaining 40 chains across. (40 sc)
Row 2: Ch 3 (does not count as a stitch here and throughout), turn. Repeat (1 dc in the next st, 1 dc inc in the next st) 20 times across. (60 dc)
Row 3: Ch 3, turn. Repeat (1 dc in the next dc, ch 1) 59 times, then work 1 dc in the last dc. (60 dc and 59 chain-1 spaces)
Row 4: Ch 3, turn. Repeat (1 dc in the next dc, ch 2, skip the chain-1 space) 59 times, then work 1 dc in the last dc. Cut the main color yarn and fasten off. (60 dc and 59 chain-2 spaces)
Row 5 (White Trim):
Turn your work (or continue in sequence from the start of the row), insert your hook into the 1st dc of Row 4, and attach white yarn.
Ch 1, then work 1 sc into that same 1st dc, followed by ch 3.
Skipping each chain-2 space, work (1 sc in the next dc, ch 3) 58 more times, then finish with 1 sc in the final dc. (60 sc and 59 chain-3 loops)
Cut the white yarn and fasten off.
Tidying the Ends: Using a tapestry needle, weave in both white yarn tails and the ending main-color yarn tail neatly on the wrong side. Do not cut the long starting tail of the main color – you will use it during assembly.

See More:
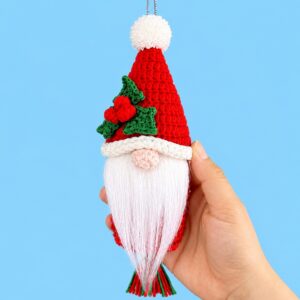
Featuring: How to Crochet Holly Leaf on the Hat Gnome Wind Spinner with Tassel
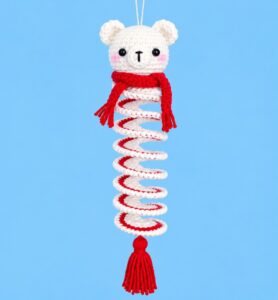
Featuring: How to Crochet Polar Bear in Red Scarf Wind Spinner & Table Decoration Spring
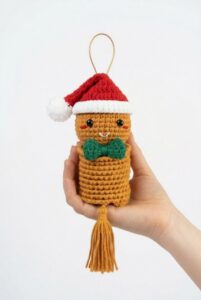
Featuring: How to Crochet Amigurumi Mr. Gingerbread in Santa Hat Wind Spinner for Christmas
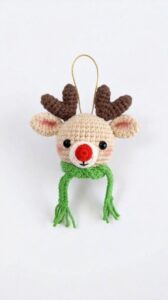
Featuring: How to Crochet Reindeer in Scarf Christmas Wind Spinner for Decoration
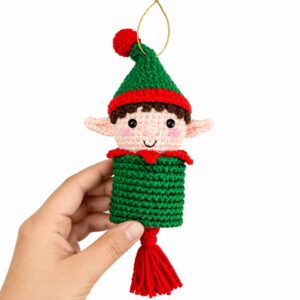
Featuring: How to Crochet 5-in-1 Elf Wind Spinner Ornament Decoration Tutorial
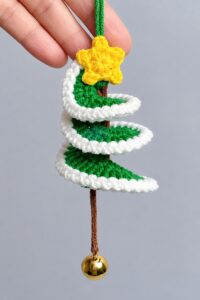
Featuring: Tutoral to Crochet White Edging & Bell Hanging Mini Tree Spinner
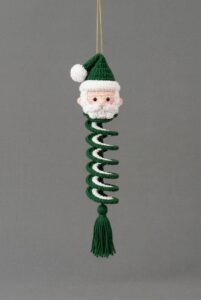
How to Crochet A Santa on the Top Wind Spinner for Christmas
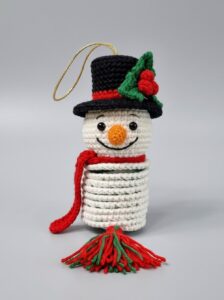
[PDF Pattern] How to Crochet Smiling Snowman Wind Spinner for Christmas
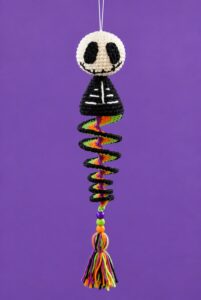
Featuring: How to Crochet the Skeleton Wind Spinner With Stripes of Halloween Colors