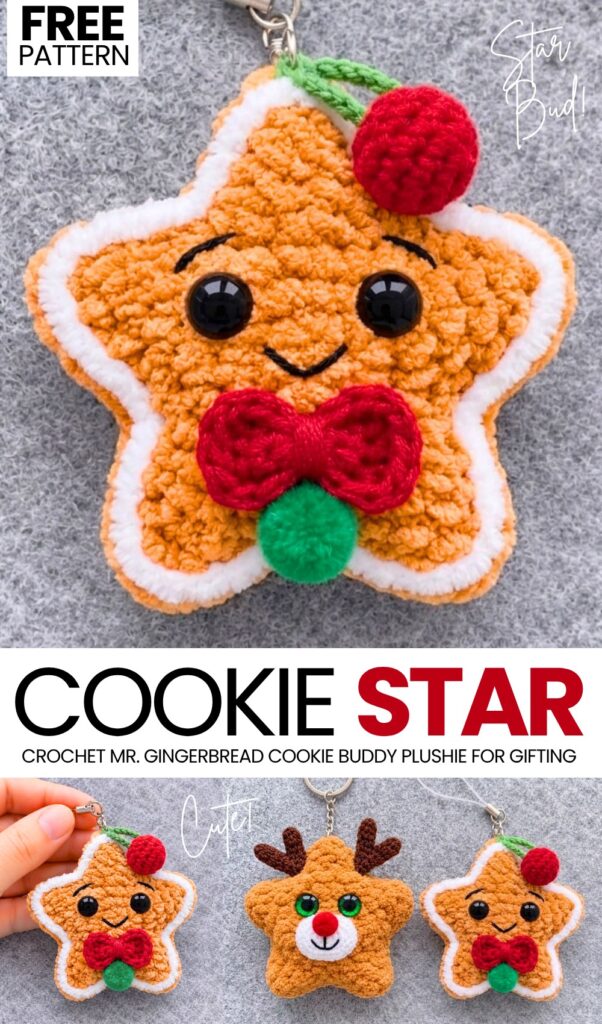
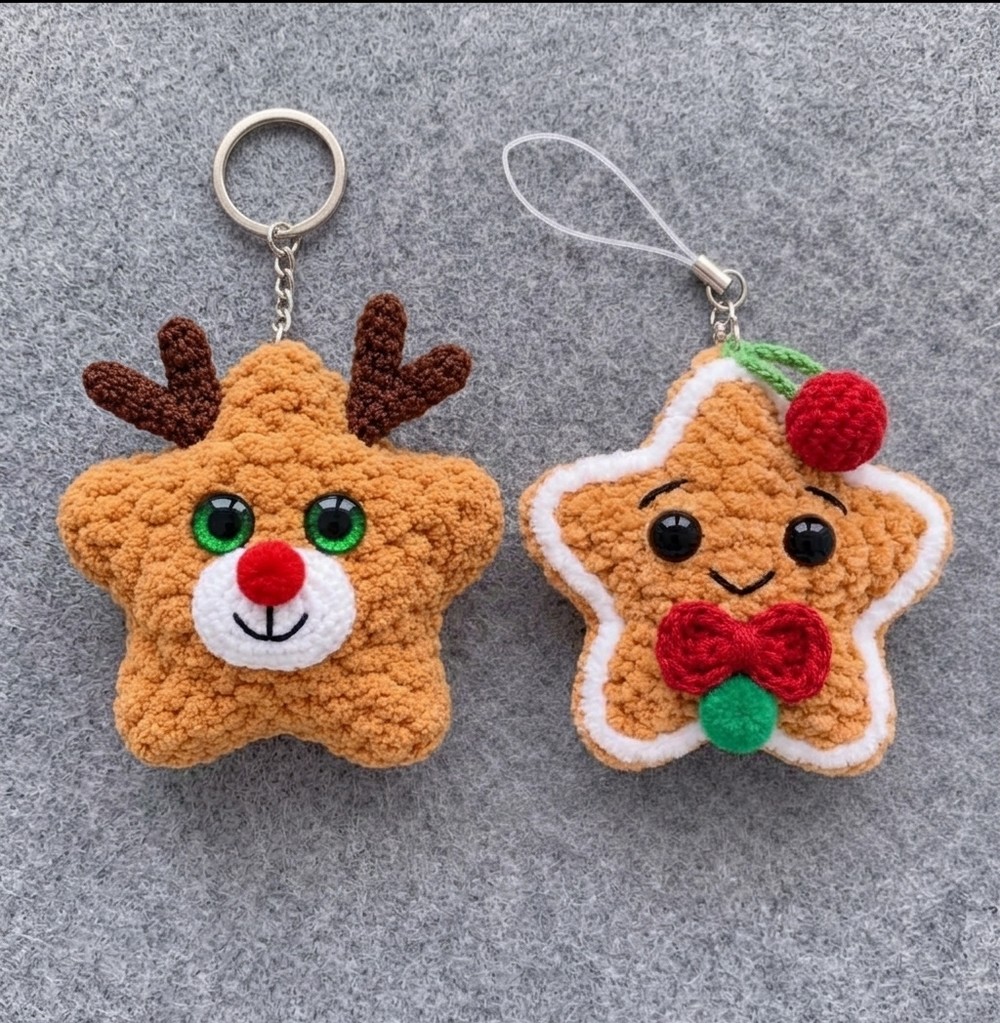
It’s time to crochet the 5th Christmas character star plushie with a FREE written pattern. Meet Mr. Cookie Star, a crochet plush ornament buddy you can make in under 1 hour with this FREE pattern. Pair your crochet gingerbread star cookie with my crochet reindeer star buddy ornament by following the pattern I shared this week.
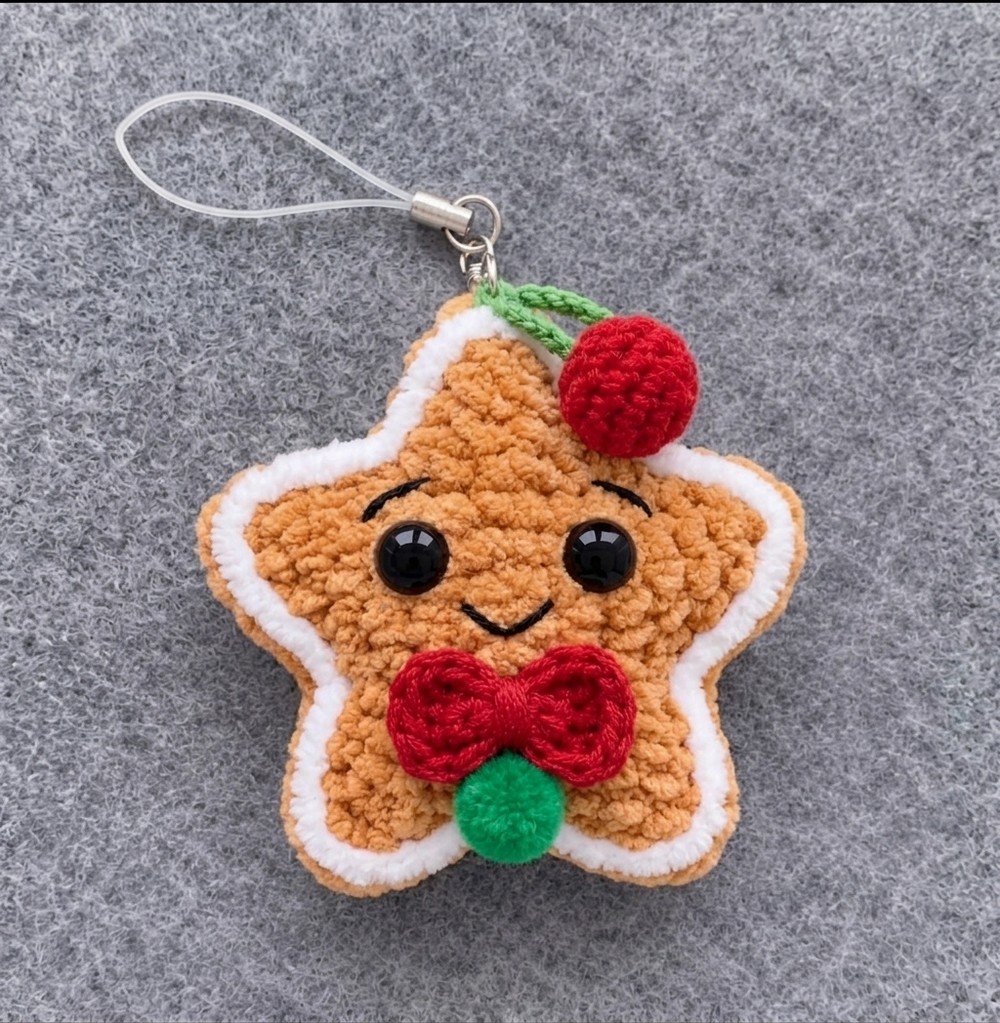
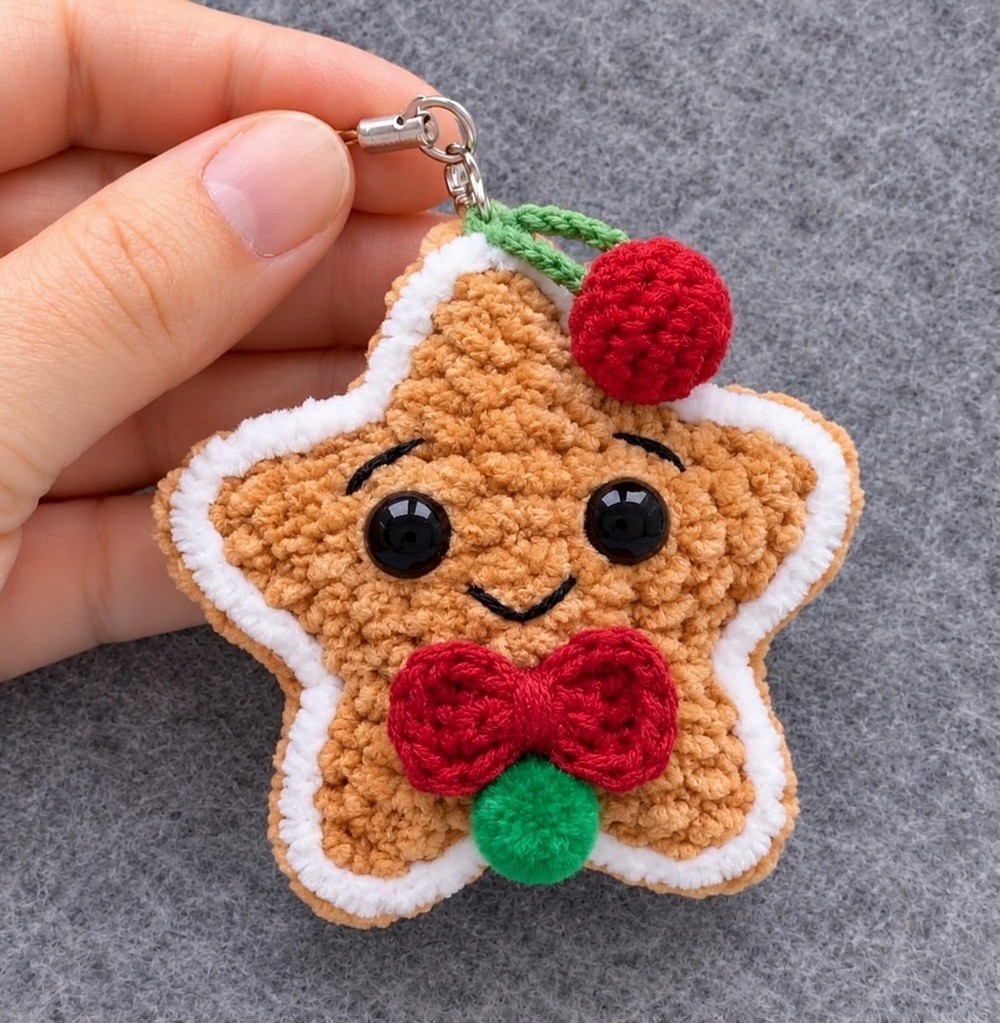
Our smiling crochet star cookie decoration buddy has a little cherry charm on top, white plush yarn icing around the points, and even a small crochet bow! You will be learning how to crochet each part of this plush star cookie in this tutorial.
This crochet star project is a pocket-sized plush star that works up in less than an hour! It is soft, squishy, and full of personality with its happy embroidered face.
Measuring around 7 cm (under 3 inches) across, it is made of just two flat star motifs crocheted in four quick rounds, then sewn together and lightly stuffed. It makes a cute keychain or backpack charm, or a festive holiday tree ornament, using up tiny leftover scraps of yarn. Now, let’s crochet this plush star variation with a free pattern!
https://criazalblog.com/crohcet-mr-cookie-sitting-no-sew-buddy-plushie//posturl]
Pattern to Crochet Plush Gingerbread Star Plushie Ornament
Skill Level: Beginner – Level 5
Materials & Tools
Main Star Yarn: Super bulky plush / chenille yarn in light brown / cookie brown (e.g., Himalaya Dolphin Baby or YarnArt Dolce) (less than 15 g needed).
Icing Details: White plush chenille yarn scraps.
Bow Yarn: Sport or DK weight 100% cotton yarn (e.g., Scheepjes Catona) in red.
Cherry Yarn: Sport or DK weight cotton yarn in red (for the cherry) and green (for the stem and leaves).
Pom-Pom: One small store-bought green pom-pom.
Crochet Hooks:
4.0 mm (for the plush star panels)
2.5 mm (for the cotton bow)
2.0 mm or 2.5 mm (for the cherry sphere)
Eyes: 10 mm black safety eyes.
Embroidery: Thin black cotton yarn or embroidery floss (for eyebrows and mouth).
Notions: Polyester fiberfill stuffing, tapestry needle, stitch marker, scissors, fabric glue or hot glue (for attaching the white icing and pom-pom), and a metal keychain strap.
Abbreviations & Terminology (US Crochet Terms)
MR: Magic Ring
sc: Single crochet
inc: Increase (work 2 sc in the same st)
dec: Decrease (invisible decrease)
hdc: Half double crochet
dc: Double crochet
sl st: Slip stitch
ch: Chain
st(s): Stitch(es)
R / Rnd: Round / Row
Star Panels (Make 2 Identical Pieces in Light Brown Plush Yarn)
Crochet in continuous spirals for Rounds 1 to 3 using the 4.0 mm hook; place a stitch marker in the first stitch of each round.
Round 1: Make a Magic Ring (MR). Work 10 sc into the ring. Gently pull the center closed. (10 sts)
Round 2: (1 sc, inc) repeated 5 times. (15 sts)
Round 3: (2 sc, inc) repeated 5 times. (20 sts)
Round 4 (Forming the 5 Star Points): Work the 5 star points sequence around all 20 stitches:
Into the very next stitch, work: (1 sc, 1 hdc, 1 dc, 1 hdc, 1 sc) all into that same stitch. Then, work 1 sl st into each of the next 3 sts. Repeat this sequence for all 5 points.
Finishing the Star Panels:
First Star Panel (Back): Cut the yarn leaving a short tail, fasten off, and weave the tail securely onto the wrong side.
Second Star Panel (Front): Fasten off, leaving a long yarn tail (around 40–50 cm) for sewing the two halves together.
White Icing Details
Take white plush chenille yarn scraps and use fabric glue or hot glue to meticulously glue the white yarn along the outer contours and points of the front star panel to resemble cookie icing.
Face Embroidery & Placement (Front Panel)
Safety Eyes: Position two 10 mm black safety eyes in the center between Rounds 2 and 3, spaced about 2 to 3 stitches apart. Secure the washers firmly on the back.
Eyebrows: Thread a needle with thin black thread and stitch short, cheerful, slightly arched eyebrows above each eye.
Smile: Using thin black thread, embroider a cute curved smiling mouth centered just below the eyes. Secure all knots firmly on the back.
Small Red Cotton Bow
Using red sport/DK cotton yarn and a 2.5 mm hook:
Row 1: Ch 5. Starting in the second ch from hook, work sc in each st (4).
Rows 2–5: Turn, ch 1, sc in each st (4).
Row 6: Turn, sc in each st around the outer edge of the piece for a clean finish, working 2 sc in the outer corners. Sl st in the first sc.
Shaping the Bow: Thread a needle and pull it to the center at the back side of the piece. Pinch the center of the piece, wrap the yarn tightly around the middle a couple of times, and secure with a knot at the back, leaving a tail for attachment.
Red Cherry & Green Pom-Pom
1. Crochet Cherry (6-Round Sphere)
Using red DK/sport yarn and a 2.0 mm / 2.5 mm hook:
Rnd 1: 6 sc in magic ring (6)
Rnd 2: inc in each st around (12)
Rnd 3: (1 sc, inc) repeat 6 times (18)
Rnd 4: sc in all 18 st (18)
Rnd 5: (1 sc, dec) repeat 6 times (12). Lightly stuff with fiberfill.
Rnd 6: dec 6 times (6). Fasten off, weave tail through front loops to close the hole, and leave a tail for sewing.
2. Stem & Leaves
Using green DK/sport yarn, chain a length of about 12–15 chains, add a couple of slip stitches/small leaf loops, and attach the stem to the top of the cherry, securing it near the top-right point of the star.
Assembly & Final Finishing
Attach Accessories to Front:
Sew or glue the red cotton bow centrally below the face.
Glue the small green pom-pom directly underneath the center of the red bow.
Attach the crocheted cherry securely near the upper-right valley/point of the star.
Sewing the Star Halves: Place the front and back star panels together with wrong sides facing each other and right sides facing outward. Sew through both loops around the perimeter using the long yarn tail.
Stuffing: Insert a small handful of polyester fiberfill into the points and center before completely closing the seam.
Keychain Attachment: Attach a metal keychain strap or lanyard clasp to the top star point

See More:
Featuring: How to Crohcet Mr. Cookie Sitting No-Sew Buddy Plushie for Gifting
[PDF Pattern] How to Crochet Mr. Cookie Crochet Christmas Gift Basket
How to Crochet Yellow Star & Beads Wind Spinner with 2-Color Spiral for New Year Decoration

Tester Call: Crochet Star Ornament Plushie Tangeled in Colorful Pom Pom Christmas Lighting
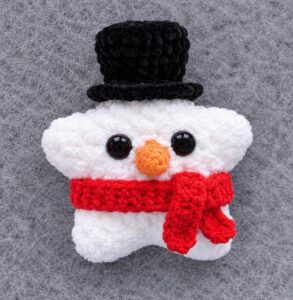
Tester Call: How to Crochet Snowman in Black Hat Star Ornament Plushie for Christmas Gifting
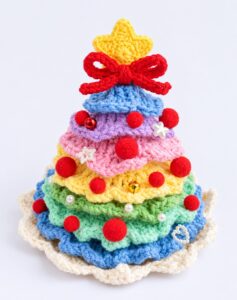
How to Crochet Knotted Bow & Star on the Top Pastel Rainbow Tiered Christmas Tree

Tester Call: How to Crochet Glitter-Eyed Reindeer Star Buddy Ornament for Gifting
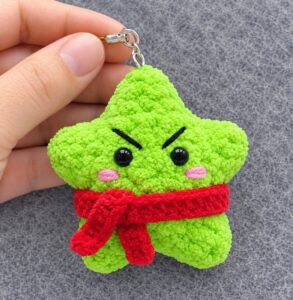
Tester Call: How to Crochet Plush Grinch Star Buddy & Ornament Gift for Christmas
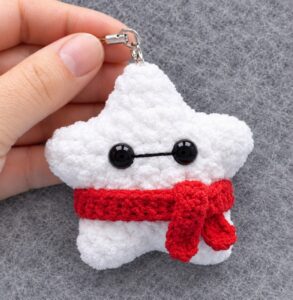
Tester Call: How to Crochet A Plush Mr. Baymax Star Ornament and Charm for Gifting