Show support for Otakulandia!
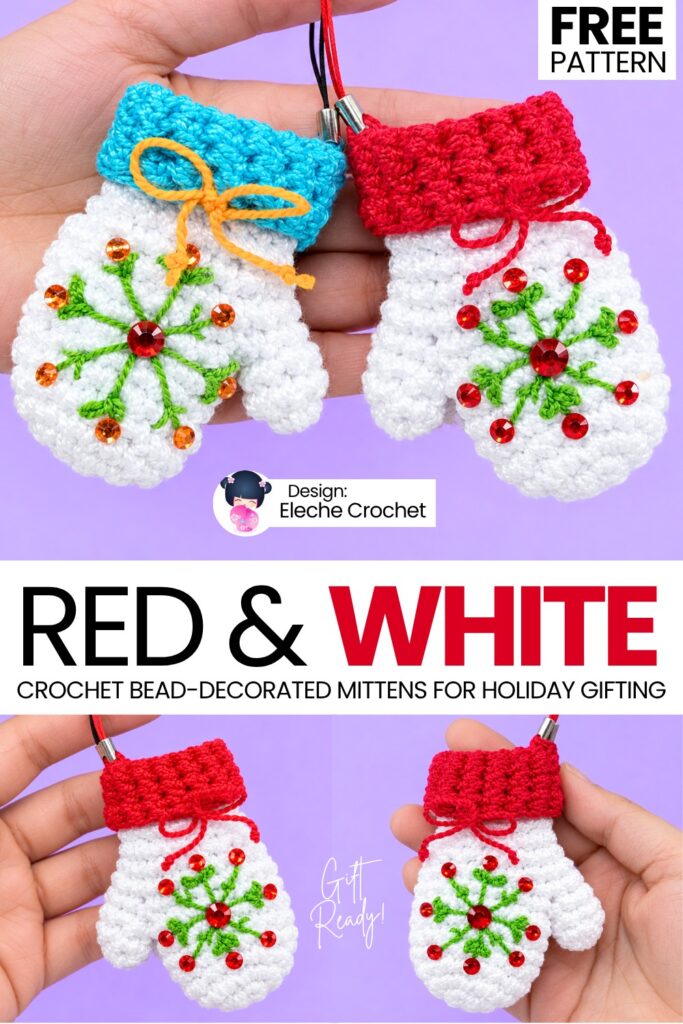
This is the 3rd and last decoration pattern from the “crochet Holly leaf embroidery and sequins-decorated Christmas accessories” decoration series! You have already learned to crochet the blue and white boot as well as the wreath. Today, learn how to crochet this set of miniature crochet mittens that you can crochet as a charm for your Christmas bags and treat bags.
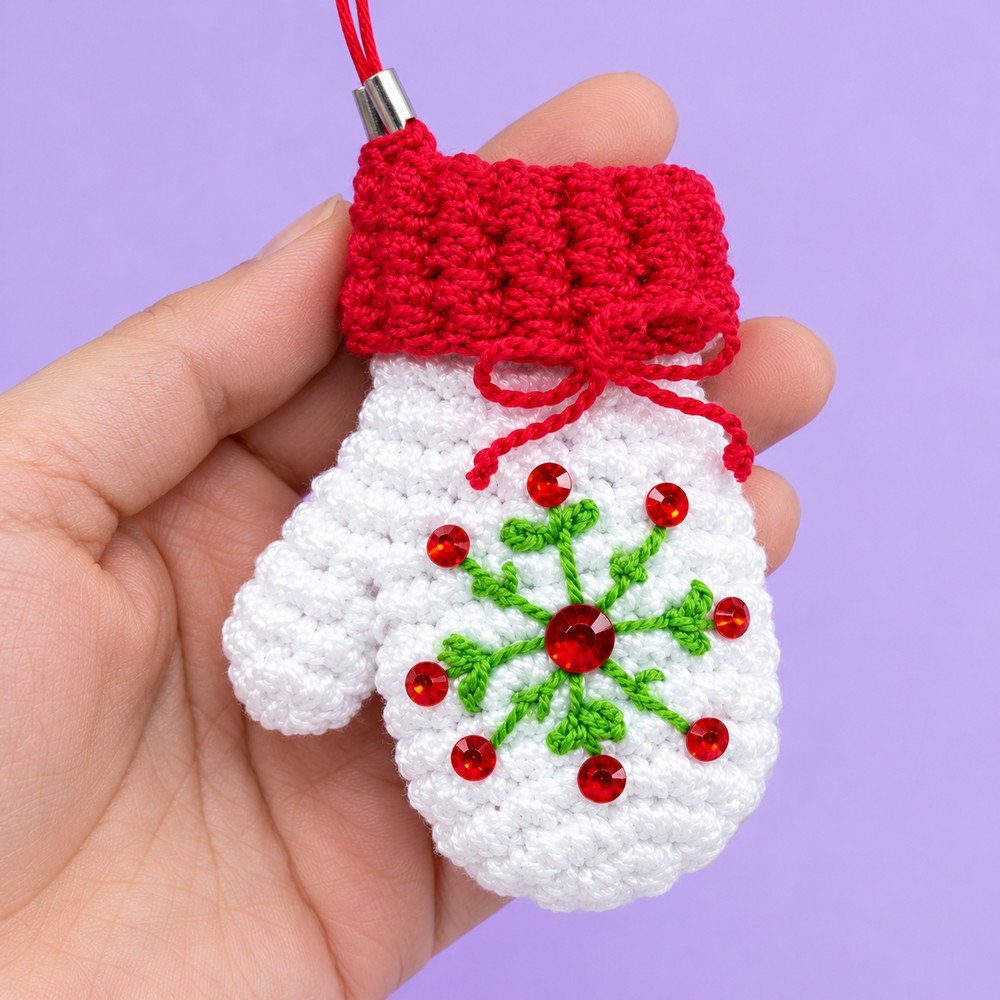
Featuring an adorable folded cuff, a seamless thumb, an embroidered Nordic snowflake embellished with sparkling gems, and a sweet little bow, it makes a wonderful addition to a Christmas garland.
You can also hang it as a Christmas tree ornament, use it as a gift-tag topper, or attach a strap to create a seasonal keychain or bag charm. Now, continue reading to learn more about this crochet amigurumi stocking for all skill levels!
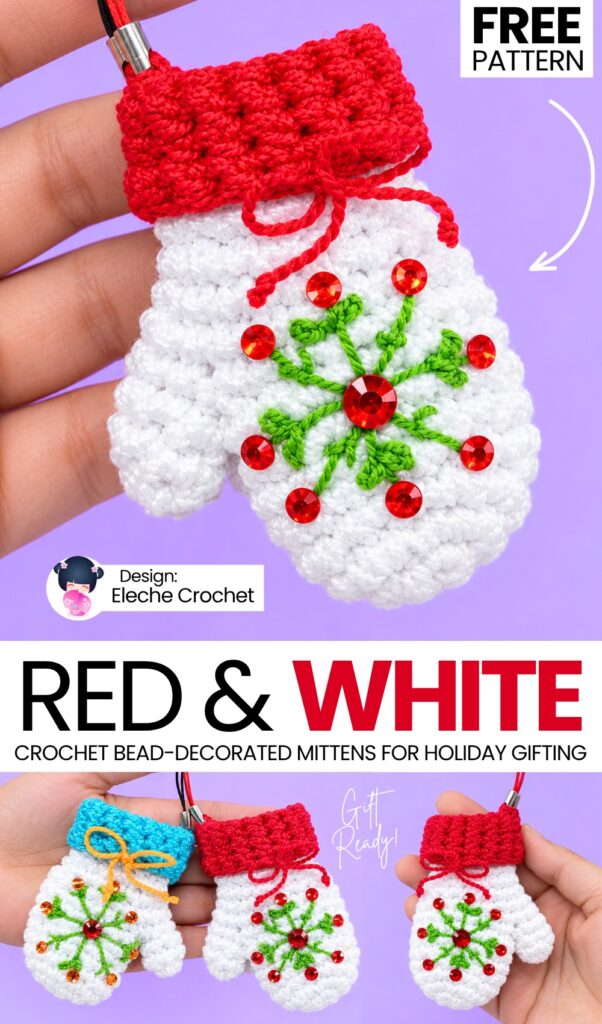
Pattern to Crochet the Bead-Decorated Mitten Amigurumi
Skill Level: Intermediate
Materials & Tools
Yarn: Size 5 pearl cotton or fine mercerized cotton yarn (or sport-weight cotton yarn):
Main Color: White (for the hand and thumb)
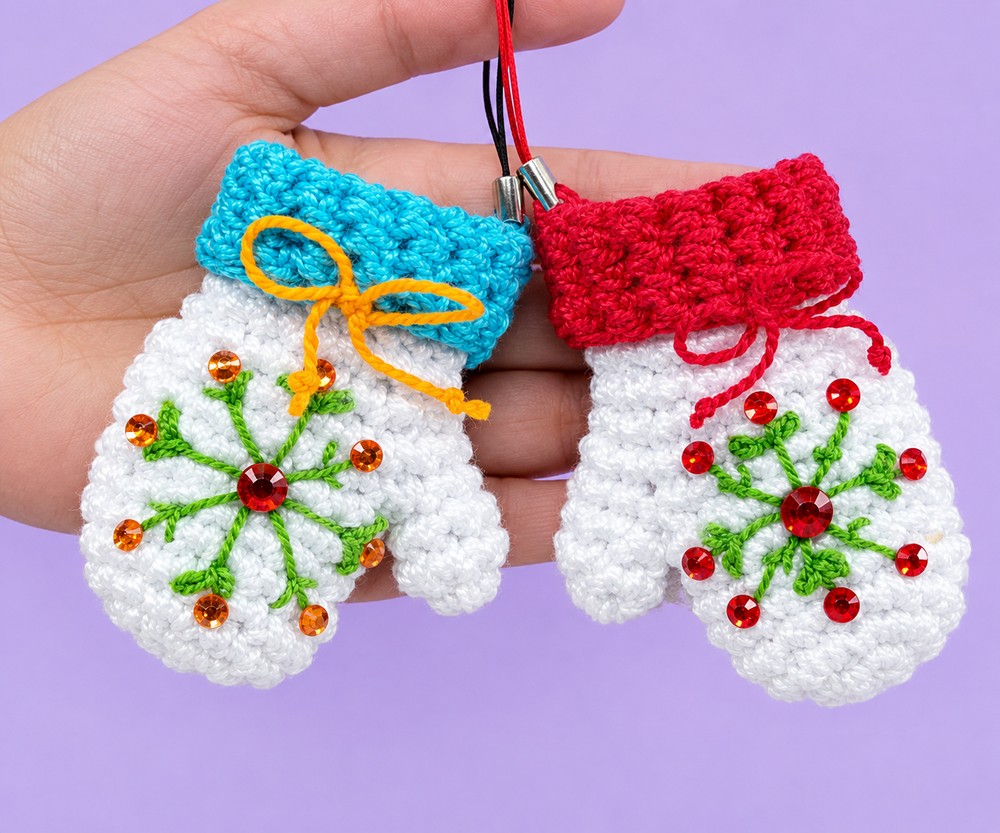
Cuff Color: Turquoise Blue or Festive Red
Embroidery Color: Kelly Green (for the snowflake motif)
Bow Color: Bright Orange or contrasting color
Crochet Hook: 2.55 mm (or 2.5 mm)
Notions & Embellishments:
Tapestry / yarn needle
Sharp scissors
Small craft rhinestones / flatback gems (1 larger red gem for the center, 8 smaller red or green gems for branch tips)
Hot glue stick & lighter (or hot glue gun) for attaching gems
Phone strap loop, keychain cord, or ribbon for hanging
Pattern Notes & Abbreviations (US Terms)
Continuous Spiral: The entire mitten and thumb are worked in continuous spiral rounds without joining with a slip stitch at the end of each round (unless specified). Place a stitch marker in the first stitch of each round to keep count.
Invisible Decrease: Insert hook into front loop only of the first stitch, then into front loop only of the second stitch, yarn over, pull through both front loops, yarn over, pull through both loops on hook.
Abbreviations:
MR: Magic Ring
sc: Single crochet
inc: Increase (work 2 sc in the same stitch)
dec: Invisible single crochet decrease (sc 2 together)
sl st: Slip stitch
st(s): Stitch(es)
Are you a Beginner? Learn Crocheting Easily!
You can learn to crochet better with this crochet mitten tutorial. Or continue to the written pattern below!
Step-by-Step Crochet Instructions
Part 1: The Thumb (El Dedo)
Work in continuous rounds with White yarn and a 2.55 mm hook.
Round 1: In a MR, work 7 sc (or 8 sc). Pull the ring tight. (7 sts)
Rounds 2–3 (2 rounds): Work 1 sc in each of the 7 sts around. (7 sts)
Finishing: In the next st, work 1 sl st to level the edge. Cut the yarn, leaving a tail of approx. 15 cm (6″) for sewing to the hand. Set aside.
Part 2: The Mitten Body (La Manopla)
Work in continuous rounds with White yarn.
Round 1: In a MR, work 7 sc. Pull the ring firmly closed. (7 sts)
Round 2: Work 2 sc in each st around (increase in every stitch) until you reach 13–14 sts. (14 sts)
Round 3: Increase every 5 stitches: [4 sc, inc] 2 times, then work 1 sc in each of the remaining 3 sts. (15 sts)
Rounds 4–8 (5 rounds): Work 1 sc in each of the 15 sts around. (15 sts)
Pause: Pull up the active loop on your hook so your working yarn does not unravel. Do not cut the working yarn.
Part 3: Attaching the Thumb
Flatten the open base of the thumb piece.
Align the base of the thumb against the upper side edge of the mitten body (level with Round 8).
Thread the thumb’s yarn tail onto a tapestry needle.
Sew the inner seam of the thumb opening to the edge of the mitten using 2 to 3 secure whip stitches.
Bring the needle and tail through to the inside of the mitten, weave in securely, and trim any excess tail.
Part 4: Working Across the Thumb & Hand
Place your hook back into the active working loop on the mitten body.
Round 9:
Work 1 sc into the next stitch on the mitten body.
Continue crocheting single crochets along the exposed outer edge of the attached thumb (approx. 4–5 sc around the thumb curve).
Continue along the remaining unworked stitches of the mitten body back to the starting point.
(Depending on your sewing, this round will have 18 to 19 sts total).
Round 10: Work 1 sc in each st around without increasing or decreasing. (18–19 sts)
Part 5: Wrist Shaping (Decreases)
Round 11 (Decrease Round):
Work: 1 dec, 1 sc, 1 dec (at the thumb edge), 5 sc (across the back), 1 dec, 1 sc, 1 dec (at the opposite edge), 4 sc (across the front).
(Total: 4 decreases evenly distributed). (15 sts)
Rounds 12–13 (2 rounds): Work 1 sc in each of the 15 sts around. (15 sts)
Part 6: The Folded Cuff (El Puño)
Color Change: On the last stitch of Round 13, complete the final yarn over with your Cuff Color (Turquoise Blue or Festive Red). Cut the white yarn, knot the ends on the inside, and tuck them away.
Rounds 14–19 (6 rounds): Work 1 sc in each of the 15 sts around in continuous spiral. (15 sts)
Finishing: Work 1 sl st in the next stitch to finish cleanly. Cut the yarn, fasten off, and weave in the tail on the inside.
Cuff Fold: Fold the 6 cuff rounds down in half over the wrist to create a thick, cozy folded cuff.
Part 7: Embroidery & Finishing Touches
1. Snowflake Embroidery (Copo de Nieve)
Thread a tapestry needle with single-strand Kelly Green cotton thread.
Orientation: Choose which side faces forward (left or right mitten thumb).
Center Location: Locate the central stitch of the palm on approximately Round 6 (counting up from the bottom curve).
8-Pointed Star:
Vertical Line: Stitch 3 rounds straight up and 3 rounds straight down through the center point.
Horizontal Line: Stitch 3 stitches horizontally to the left and 3 stitches to the right through the center point.
Diagonal Lines: Make two diagonal cross stitches between the quadrants to create an 8-pointed star.
V-Branches: On each of the main straight lines, add tiny angled V-stitches (ramitas) pointing outwards near the tips to complete the snowflake design.
Secure and knot the green thread inside the mitten.
2. Rhinestones / Gems
Heat a silicone glue stick tip with a lighter (or use a fine-tip craft glue).
Glue a medium red rhinestone directly at the intersection of the snowflake.
Place small droplets of glue at the tips of the snowflake branches and adhere small red or green rhinestones to add festive sparkle.
3. Ribbon Bow (Lazo Básico)
Take a 20 cm (8″) length of Orange (or contrasting) cotton thread.
Form a small bow with two loops and dangling tails.
Tie a small knot in the center to secure the shape, trim the tails to equal length, and sew or glue the bow directly at the center base where the cuff meets the mitten hand.
4. Hanging Loop
Attach a phone strap charm loop or sew a small loop of matching yarn/ribbon to the top corner of the cuff on the thumb side so the mitten hangs neatly on your garland or Christmas tree.
Share on Social Media!
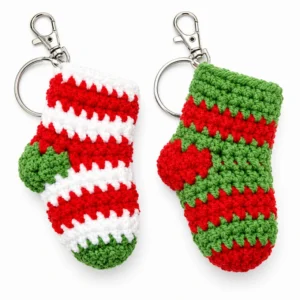
Wanna Crochet Something Else?
3-in-1 Crochet Tree Embroidery, Grinch and Santa Miniature Treat Baskets
How to Crochet Red-Nose Funny Holly Leaf Decorated Candle Buddy Amigurumi
How to Crochet Holly Leaf & Pair of Bells Festive Holiday Decoration Pattern
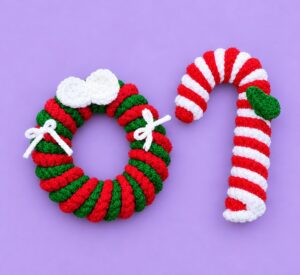
2-in-1 Tutorial: How to Crochet Red & White Festive Candy & Twisted Wreath from Crochet Stripe
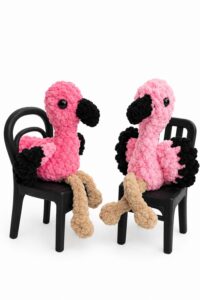
How to Crochet Sitting-on-Chair Crochet Flamingo Pink Bird No-Sew Plushie
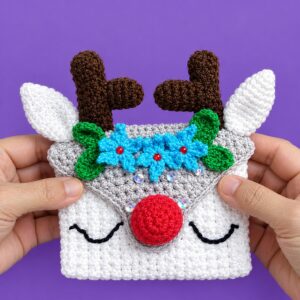
How to Crochet Oh-So Cute Festive Reindeer Wallet for Christams
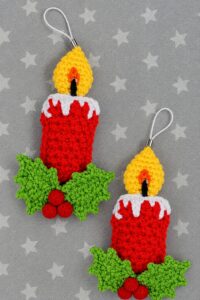
How to Crochet Ornament Stuffed Candle Amigurumi with Holly Leaves & Berries
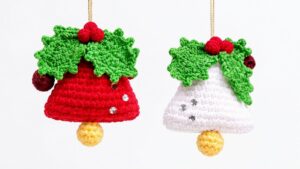
How to Crochet Holly Leaf, Berry & Stuffed Bell Ornament for Christmas