Show support for Marifairyland!
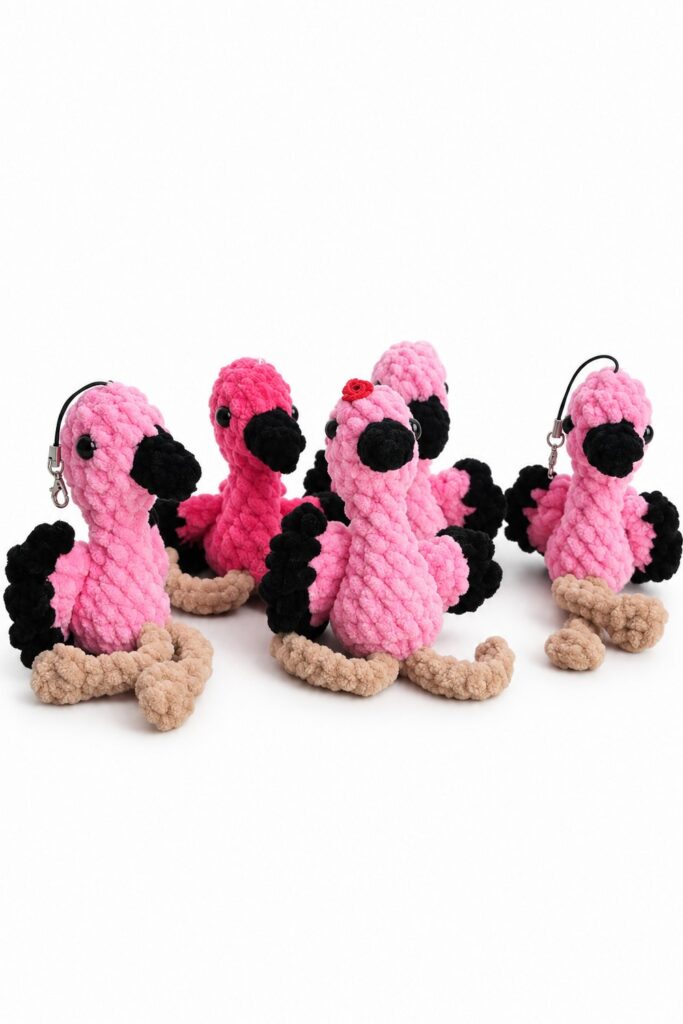
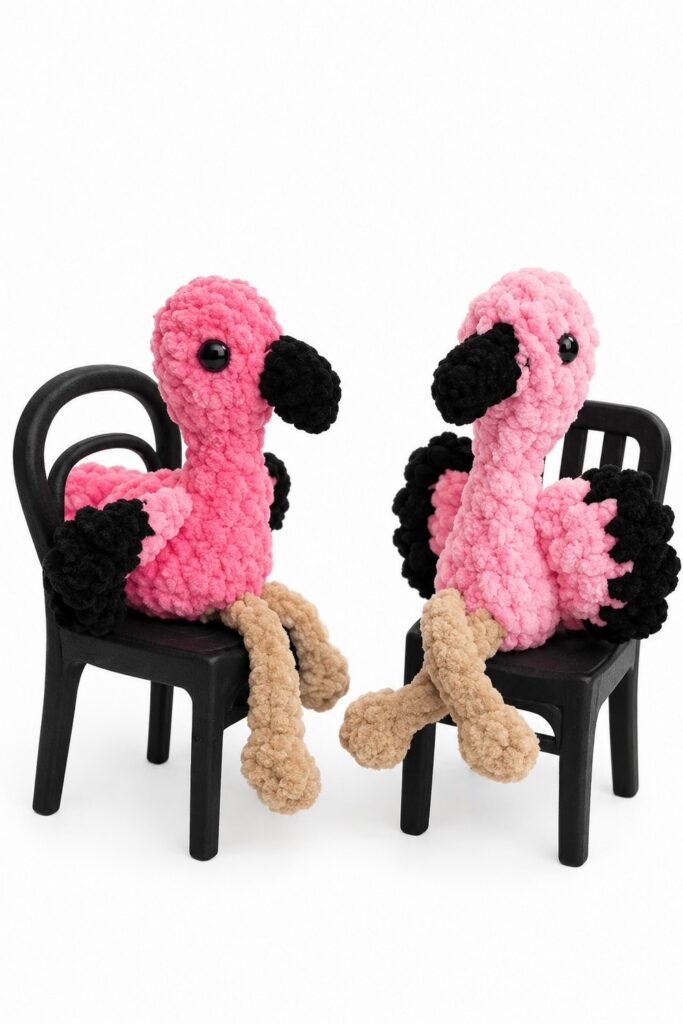
I wanted to show you the sitting-on-the-chair pose of the crochet mini flamingo plushie that you learnt to crochet in the last tutorial. So, I ended up sharing the no-dress version of the crochet miniature leggy flamingo in this crochet pattern. Both the step-by-step instructions and the tutorial are available to learn from! This will be especially irresistible for a baby girl with a small dollhouse. So, enjoy crocheting this super cute crochet flamingo plush in this tutorial.
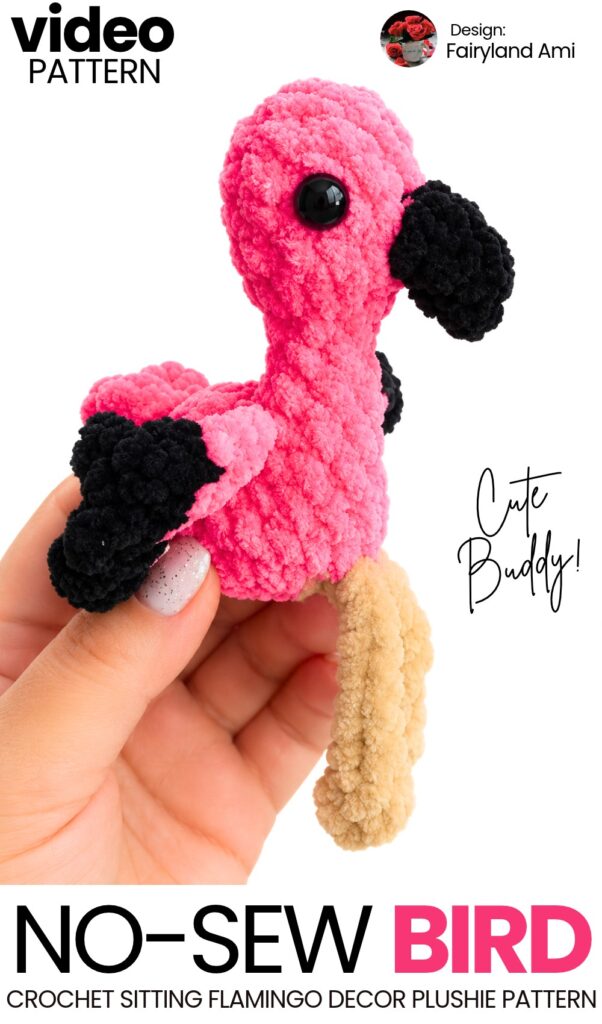
This project is a miniature plush flamingo amigurumi crocheted with soft chenille (velvet) yarn. Standing at approximately 8 cm (around 3 inches) tall, this little bird is designed to be crocheted almost entirely in one continuous piece, minimizing sewing.
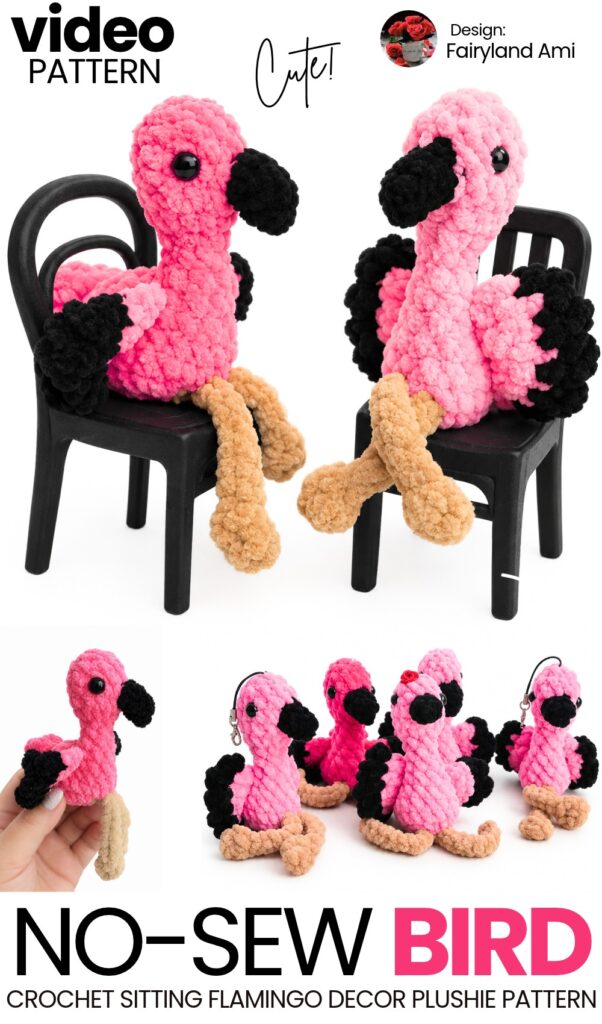
You start at the base, crochet the dangling legs directly into the body round, build up the torso, shape three fluffy tail feathers, and close the back seam with slip stitches. From there, you work straight up the neck, form a downward-curving beak using an integrated cluster stitch, and shape the head. The only separate pieces to sew on are the two two-tone wings. The finished flamingo can sit on a shelf with its legs dangling forward or be turned into a bag charm, car mirror hanger, or keychain.
Pattern to Crochet the Summer Flamingo Plushie for Gifting
Skill Level: Beginner – Level 4
Materials & Tools
Plush / Chenille Yarn (Super Bulky / Category 6, approx. 100 g / 120 m, such as Himalaya Dolphin Baby or YarnArt Dolce):
Pink (Main Color — approx. 15–20 g)
Beige / Tan / Light Brown (Legs — small leftover amount)
Black (Beak & wing feather tips — small leftover amount)
Crochet Hook: 4.0 mm
Safety Eyes or Half-Round Beads: 8 mm (black)
Fiberfill Stuffing (Holofiber / polyester polyfill)
Tapestry / Yarn Needle (blunt tip, large eye)
Sewing Needle & Strong Thread (white or light pink, for securing wings)
Stitch Marker & Sharp Scissors
Lighter (to singe the ends of plush yarn to prevent shedding)
Hot Glue Gun (for gluing flat-back eyes/beads and securing ends)
Stitch Abbreviations (US Terms)
MR: Magic Ring
ch: Chain stitch
sc: Single crochet
hdc: Half double crochet
dc: Double crochet
tr: Treble (triple) crochet (yarn over twice)
inc: Single crochet increase (2 sc in the same stitch)
hdc-inc: Half double crochet increase (2 hdc in the same stitch)
dec: Single crochet decrease (sc 2 stitches together)
sl st: Slip stitch
st(s): Stitch(es)
Popcorn / Cluster: Group of stitches worked into one base stitch, cinched together to form a 3D shape.
Are you a Beginner? Learn Crocheting Easily!
You can learn to crochet better with this crochet miniature buddy flamingo plushie tutorial for beginners:
Complete Step-by-Step Pattern
Part 1: Wings (Make 2)
Each wing is shaped like a cupped triangle with a row of black ruffled feathers along the trailing edge.
Wing Body (Pink Yarn)
Foundation Chain: Ch 3.
Row 1: Starting in the 3rd chain from the hook, work 2 hdc. [2 sts]
Row 2: Ch 2, turn. Work 2 hdc-inc (2 hdc into each of the 2 stitches). [4 sts]
Row 3: Ch 2, turn. Work 1 hdc-inc in the first stitch, 2 hdc across, and 1 hdc-inc in the last stitch. [6 sts]
Pink Edging
Do not turn. You will now crochet single crochets along the two diagonal side edges of the triangle to give it a clean, cupped shape:
Ch 1, then work 3 sc evenly down the first side edge (roughly 1 sc per row end).
Work 1 sc directly into the bottom point/tip of the triangle (into the foundation chain loop).
Work 3 sc evenly up the second side edge. [Total: 7 sc along the outer curve]
Cut the Pink yarn, leaving a short tail. Pull the loop through to fasten off.
Feather Fringe (Black Yarn)
Turn the wing so the top flat edge (the 6 hdc from Row 3) is facing up:
Insert hook into the very first stitch of Row 3, pull up a loop of Black yarn, and work:
[Ch 3, 1 sc into the exact same stitch] (1st feather point created).
For each of the remaining 5 stitches across the edge, work:
[Ch 3, 1 sc into the next stitch] across all 5 stitches.
(You will now have a total of 6 pointed black feather scallops).
Work 1 sl st into the corner to anchor the edge, cut the black yarn, pull through, and fasten off.
On the back side of the wing, gently strip a tiny bit of fluff from the cut yarn ends to expose the thread core, knot them securely, and lightly singe the ends with a lighter to stop fraying.
Repeat these steps to create an identical second wing.
Part 2: Body, Legs, Tail, Neck & Head (Worked in One Piece)
The Body & Legs Base
Start with Pink plush yarn.
Rnd 1: Ch 2, work 8 sc into the 2nd chain from the hook (or 8 sc into a MR). [8 sts]
Rnd 2 (Leg Integration Round):
St 1: 1 inc (place your stitch marker in the first sc).
St 2: 1 inc.
St 3: 1 inc.
St 4 (First Leg):
Insert hook into st 4, yarn over with Pink, pull up a loop (2 pink loops on hook). Complete the stitch by pulling through with Beige yarn (1st sc of increase completed).
Still working in st 4, make 1 sc in Beige.
Do not drop the loop; chain 10 in Beige: ch 10.
Skip 2 chains; in the 3rd chain from the hook, work 1 dc.
Ch 2, work 1 sl st back into the same 3rd chain (this forms the foot pad).
Work 7 sl st back down the remaining chain loops toward the body.
St 5 (Second Leg):
Insert hook into the 5th body stitch, yarn over with Pink, and work 1 sc in Pink.
Drop Pink, pick up Beige, and chain 10: ch 10.
In the 3rd chain from the hook, work 1 dc.
Ch 2, work 1 sl st into the same 3rd chain (second foot pad formed).
Work 7 sl st back down the chain toward the body.
Insert hook back into the same 5th body stitch, pull up a loop of Beige, but complete the final yarn over with Pink yarn to transition back (2nd sc of increase completed).
St 6: 1 inc in Pink.
St 7: 1 inc in Pink.
St 8: 1 inc in Pink. [16 sts around body]
Cut the Beige yarn, tie the ends firmly together on the inside of the piece, and singe the tips. Push the legs so they hang outward on the right side.
Rnds 3–6 (4 rounds): Work 16 sc around in Pink. [16 sts per round]
The Tail, Back Seam & Neck Opening (Rnd 7)
Rnd 7 closes the back half of the flamingo body and transitions into the vertical neck.
Move to Center Back: Work 3 sc (this aligns you directly centered behind the two legs).
Crochet the Tail: In the very next stitch, work all of the following into that single stitch:
[Ch 4, sl st into the same stitch] x 3 times (creates 3 loop-style tail feathers).
Close the Back Seam:
Flatten the body opening from the tail forward so the front and back stitch walls meet.
Insert your hook through the next stitch on the near side and the matching stitch on the far side (working through both thicknesses).
Work 5 sl st across to close the rear of the body.
(5 sl sts join 10 stitches together, leaving 6 open stitches at the front for the neck).
Begin the Neck Foundation:
Continue into the remaining 6 open stitches in a continuous spiral: work 6 sc.
Move your stitch marker here to mark the start of the neck rounds. [6 sts]
Stuffing the Lower Body
Before working up the neck, use tweezers or your fingers to firmly fill the body with fiberfill. Press and flatten the bottom of the body so the flamingo sits flat on its belly with both legs pointing forward.
The Neck
Rnds 8–9 (2 rounds): Work 6 sc around. [6 sts per round]
(Make sure the neck stitches are snug so the stuffing won’t show).
The Head & Curved Beak
Rnd 10 (Head Expansion): Work 6 inc around. [12 sts]
Rnd 11: Work 12 sc around. [12 sts]
Rnd 12 (Beak Round):
Work 6 sc in Pink.
In the 7th stitch, begin a sc in Pink, but do not complete the final yarn over. Yarn over with Black yarn and pull through to complete the stitch.
In the 8th stitch, work the entire Curved Beak Cluster into this single stitch using Black:
Work 2 dc, then 1 tr, then 2 dc (5 tall stitches all into st 8).
Remove your hook from the working loop. Insert the hook from front to back through the top of the first dc of the 5-stitch group.
Pick up the dropped working loop and pull it through the first dc to cinch the group into a tight popcorn shape.
Yarn over with Pink yarn and chain 1 to lock the cluster and switch colors back to Pink.
Work 4 sc in Pink across the rest of the round. [12 sts]
Cut the Black yarn. On the inside of the head, knot the black yarn tails tightly together and tuck them into the neck.
Rnds 13–14 (2 rounds): Work 12 sc around in Pink. [12 sts per round]
Rnd 15 (Closing Round): Work 6 dec around. [6 sts]
Fasten off Pink yarn, leaving an 18–20 cm tail.
Use fiberfill to firmly stuff the neck and head. Push stuffing into the neck cavity so the neck remains stiff and upright without wobbling.
Thread the yarn tail onto a tapestry needle. Weave the needle through the front loops of all 6 remaining stitches, pull tight to close the crown seamlessly, knot securely, and bury the tail inside the head.
Part 3: Attaching Eyes
Placement: Insert or glue 8 mm black safety eyes/beads between Rounds 12 and 13 (just above the beak line), spaced 2 stitches away from the base of the beak on each side.
Securing: If using flat-back beads or safety eyes with posts cut off, apply a small dot of hot glue and press firmly into the fabric until set.
Part 4: Attaching the Wings
Thread a sewing needle with strong matching thread (or use a length of yarn).
Positioning:
Place the top pointed corners of both wings against the upper back near the base of the neck, meeting in the center.
Angle each wing slightly downward and backward so the black scalloped feather edges curve downward toward the tail.
Sewing:
First, stitch the top corners of the wings together where they meet on the spine.
Next, sew through the upper pink curved edges of each wing into the side of the body to anchor them flat.
Leave the black scalloped feather tips free so they flare out with natural dimension.
Knot your thread securely under one of the wings, run the needle into the body to hide the thread, and trim excess.
Your mini plush flamingo amigurumi is complete!
Share on Social Media!
See More:
How to Crochet Festive Mini Pink Bird Wearing Scarf & Santa Hat for Gifting
Featuring: How to Crochet Yellow, Green, White and Red Parrot Bird Plushie & Keychain
How to Crochet Strawberry & Winter Hat Set Little Bird Plushie for Gifting
Featuring: How to Crochet Black, Blue, Red and Green Mini Bird Plushie (Toucan Plush)
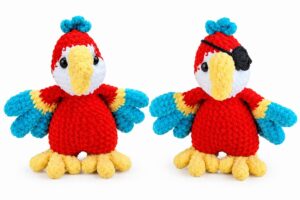
Featuring: How to Crochet Cosplay Red, Blue and Yellow Parrot Buddy Plushie