Show support for Marifairyland!
Today’s crochet pattern is from both the “iconic no-sew characters plushie” and “your favorite crochet characters in holiday accessories” series. Introducing the crochet plush no-sew Squidward Santa in a slouchy plush hat and a scarf that you can learn to crochet with a step-by-step tutorial and a pattern as well. Standing approximately 14 cm (5.5 inches) tall, this quick and satisfying project makes a fantastic pocket-sized desk buddy, keychain plush, or gift for any SpongeBob fan.
This pattern is uniquely designed to be worked almost entirely in one seamless piece from the bottom up – starting with his four tentacle feet, moving up through his classic polo shirt, shaping his arms, neck, distinct drooping nose, and iconic bulbous head all along the way.
With no separate limbs to sew on, the only finishing required is embroidering his characteristic stern eyebrows and unimpressed frown. Now, continue reading to learn more about this plush festive buddy plushie with free patterns!
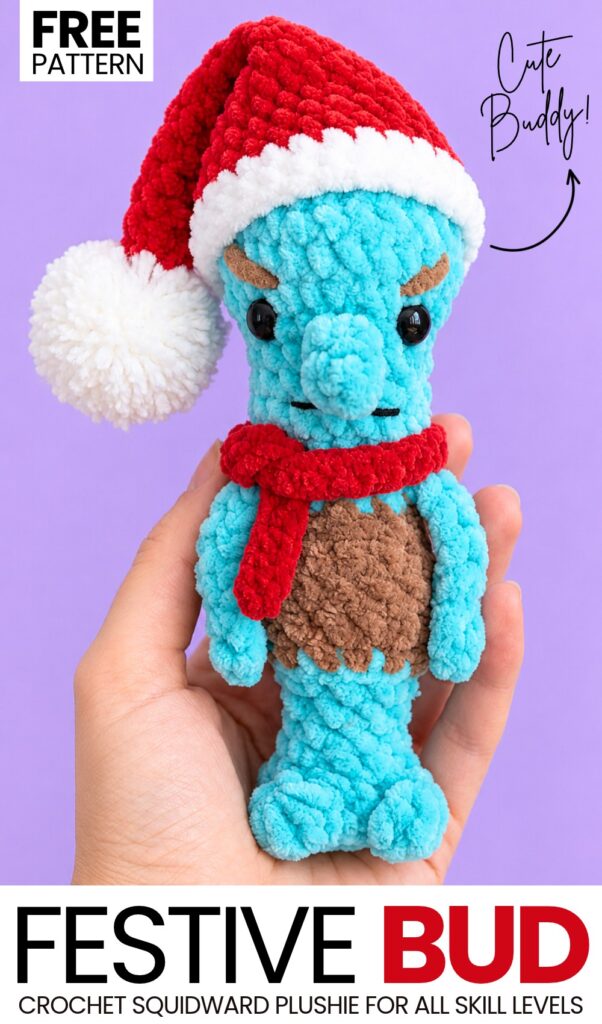
Pattern to Crochet the Squidward Plushie for Holiday Gifting
Height: ~14 cm (~5.5 inches) tall using the specified yarn and hook.
Materials & Tools
Plush / Chenille Yarn (Super Bulky / Category 6; ~100 g / 120 m):
Turquoise / Mint (e.g., Himalaya Dolphin Baby #80335) – Main color for body, arms, nose, and head.
Brown / Tan (e.g., Wizell Baby Smile #023 or Himalaya Dolphin Baby Brown) – For the shirt and eyebrows.
Embroidery Thread: Black sport/fingering-weight cotton or acrylic yarn (e.g., YarnArt Jeans split in half) for the mouth.
Crochet Hook: 4.5 mm.
Safety Eyes: 10 mm black safety eyes (1 pair).
Stuffing: Polyester fiberfill (holofiber).
Notions: Stitch marker, tapestry/yarn needle, sharp scissors, tweezers or a stuffing tool.
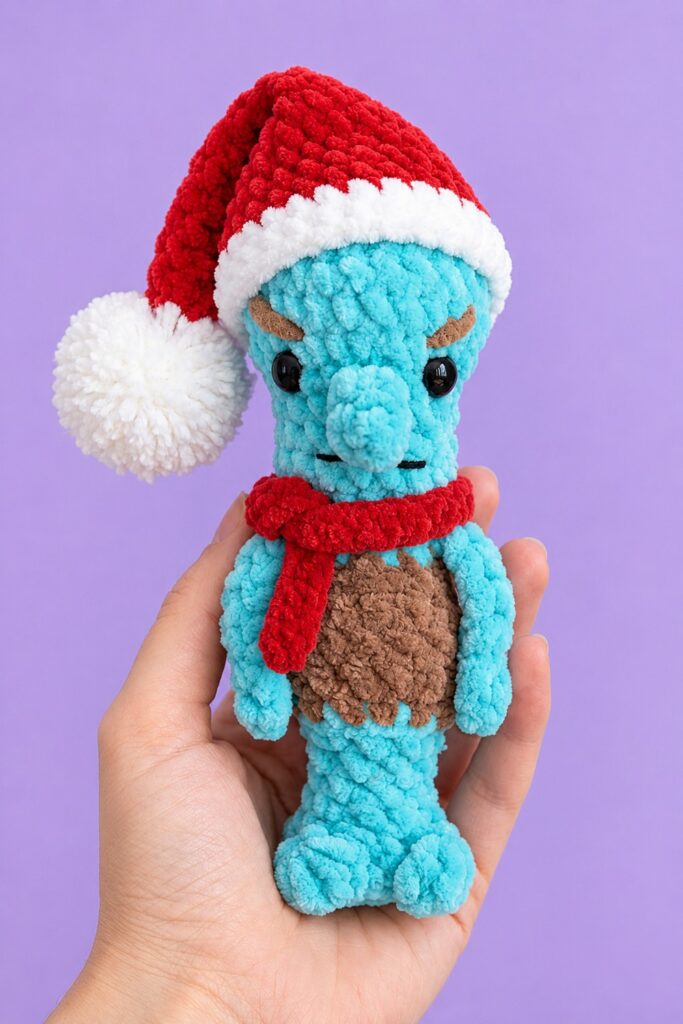
Crochet Santa Hat Materials
Yarn: Bulky plush yarn in Red and White
Hook: 4.5 mm crochet hook
Other Supplies: White yarn/fiberfill or pre-made pom-pom (approx. 4.5 cm), tapestry needle, stitch marker
Abbreviations (US Terms)
MR: Magic Ring (or chain 2 method)
ch: chain
sl st: slip stitch
sc: single crochet
dc: double crochet
inc: increase (2 sc in the same stitch)
dec: decrease (single crochet 2 stitches together)
BLO: back loop only
st(s): stitch(es)
[…] x N: repeat instructions inside brackets times
(N): total stitch count at the end of the round
Special Stitches
4-dc Bobble Stitch (Tentacle / Foot):
Yarn over, insert hook into the stitch, yarn over, pull up a loop, yarn over, pull through 2 loops on hook (2 loops remain on hook).
Repeat step 1 three more times into the exact same stitch (5 loops remain on hook).
Yarn over and pull through all 5 loops on your hook.
Chain 1 to lock/close the bobble.
Crochet Pattern Instructions
Legs & Tentacle Base (Turquoise Yarn)
Work in continuous spirals without joining rounds unless instructed.
Rnd 1: Ch 2, work 8 sc into the 2nd ch from hook [or 8 sc into a MR]. (8)
Rnd 2: [Inc, Bobble st (with ch 1)] x 4. (4 increases + 4 bobbles)
Rnd 3: Skip all bobbles and closing ch-1 stitches; work only into the 2 sc of each increase from Rnd 2: 8 sc around. (8)
Rnds 4–6 (3 rounds): 1 sc in each st around. (8)
Torso & Shirt (Turquoise to Brown Yarn)
Rnd 7: [1 sc, inc] x 4. (12)
On the final stitch of Rnd 7, change to Brown yarn on the last yarn over. Do not cut the turquoise yarn—leave it hanging inside the body.Rnd 8 (Shirt Hem): In BLO, work 12 sc around in brown. (12)
Rnds 9–11 (3 rounds): Working through both loops normally, work 12 sc around. (12)
Rnd 12: [1 sc, dec] x 4. (8)
On the last pull-through of the final decrease, switch back to Turquoise yarn. Cut the brown yarn, leaving a short tail to tuck inside.Stuff the feet and lower body lightly.
Arms & Neck (Turquoise Yarn)
Rnd 13 (Arms Round):
2 sc along the body.
First Arm: Ch 8. In 3rd ch from hook work 1 dc. Ch 2, sl st into the same 3rd ch (forms the hand). Work 1 sc in each of the remaining 5 chains along the underside toward the body (5 sc).
4 sc along the body.
Second Arm: Ch 8. In 3rd ch from hook work 1 dc. Ch 2, sl st into the same 3rd ch. Work 1 sc in each of the remaining 5 chains along the underside toward the body (5 sc).
2 sc along the body. (8 body sts + 2 arms)
Add fiberfill stuffing firmly into the torso.
Rnd 14 (Neck): Work 1 sc in each of the 8 body stitches around, pushing the arms outward. (8)
Head & Nose (Turquoise Yarn)
Rnd 15: 8 inc (2 sc in each st). (16)
Rnd 16: 1 sc in each st around. (16)
Rnd 17: [2 sc, dec] x 4. (12)
Rnd 18 (Nose Round):
8 sc along the head.
Nose: Ch 4. Starting in 2nd ch from hook, work 3 sc down the chain back toward the face.
4 sc along the head. (12 head sts + 1 nose)
Rnd 19: Work 12 sc around the head (skip over the nose chain base, keeping the nose pointing outward on the front of the face). (12)
Rnd 20: 12 inc (2 sc in each st). (24)
Rnds 21–22 (2 rounds): 1 sc in each st around. (24)
Eye Placement & Final Shaping
Insert Safety Eyes: Place the 10 mm safety eyes between Rnds 19 and 20, placed symmetrically 1 stitch away from each side of the nose. Secure washers firmly on the inside.
Stuffing: Firmly stuff the neck, cheeks, and head with fiberfill.
Rnd 23: [2 sc, dec] x 6. (18)
Rnd 24: [1 sc, dec] x 6. (12)
Add any remaining stuffing to ensure the head is firm and rounded.
Rnd 25: 6 dec. (6)
Fasten off, leaving a 15–20 cm tail. Thread the yarn tail onto a needle, weave through the front loops of the remaining 6 stitches, pull tight to close the top of the head, knot securely, and hide the yarn tail inside.
Facial Embroidery & Finishing
Eyebrows:
Thread a yarn needle with a length of the Brown plush yarn.
Insert needle from the back/side of the head and emerge just above one eye.
Embroider a diagonal, downward-slanted brow right above the eye (angling down toward the bridge of the nose).
Cross over and stitch a matching symmetrical brow above the other eye.
Bring the thread to the back of the neck, tie a tight knot, and use tweezers/needle to poke the knot into the head.
Mouth:
Thread a needle with split thin black cotton/acrylic thread.
Insert needle from behind and emerge 1 round below the nose.
Embroider a straight or slightly down-turned horizontal line (~2 to 3 stitches wide) to give him his signature unamused expression.
Knot the thread at the back, pull it inside the plush, and trim any excess.
Your crochet plush Squidward is now complete!
Abbreviations:
mr: magic ring
sc: single crochet
inc: single crochet increase (2 sc in the same st)
dec: single crochet decrease / sc2tog
st(s): stitch(es)
Instructions
Hat Body (Start with Red plush yarn)
Round 1: 6 sc in mr. (6 sts)
Round 2: 5 sc, 1 inc. (7 sts)
Round 3: 6 sc, 1 inc. (8 sts)
Round 4: 7 sc, 1 inc. (9 sts)
Round 5: 8 sc, 1 inc. (10 sts)
Round 6: 9 sc, 1 inc. (11 sts)
Round 7: 10 sc, 1 inc. (12 sts)
Round 8: 11 sc, 1 inc. (13 sts)
Round 9: 12 sc, 1 inc. (14 sts)
Round 10: [6 sc, 1 inc] repeat 2 times. (16 sts)
Round 11: [7 sc, 1 inc] repeat 2 times. (18 sts)
Round 12: [8 sc, 1 inc] repeat 2 times. (20 sts)
Round 13: [9 sc, 1 inc] repeat 2 times. (22 sts)
Round 14: [10 sc, 1 inc] repeat 2 times. (24 sts)
Round 15: [11 sc, 1 inc] repeat 2 times. (26 sts)
(Change to White plush yarn on the final yarn-over of Round 15)
Round 16: [12 sc, 1 inc] repeat 2 times. (28 sts)
Round 17: 26 sc, 1 dec. (27 sts)
Fasten off and weave in the ends.
4.5 cm White Pom-Pom (Make 1)
If making a crocheted ball pom-pom:
Round 1: 6 sc in mr. (6 sts)
Round 2: [inc] in all 6 sts. (12 sts)
Round 3: [1 sc, inc] repeat 6 times. (18 sts)
Rounds 4–5: 18 sc around. (18 sts)
Round 6: [1 sc, dec] repeat 6 times. (12 sts)
(Stuff firmly with fiberfill)
Round 7: [dec] repeat 6 times. (6 sts)
Fasten off, weave tail through the remaining 6 front loops, and pull tight to close.
Finishing
Using a tapestry needle and white yarn, firmly sew the ~4.5 cm pom-pom to the tip (Round 1) of the red hat.
See More:
Tester Call: How to Crochet the Very First Patrik Star Dumpling Plushie for Gifting
How to Crochet Mr. Patrik Celebrating Christmas Miniature Plushie for Holidays
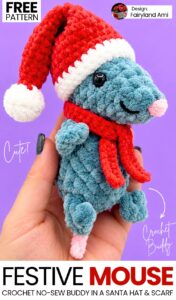
How to Crochet Funny Santa Dress Mouse Plushie Fidget Toy Gift for Christmas
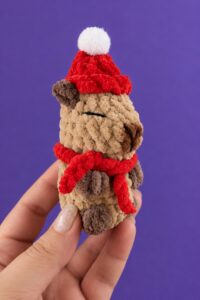
How to Crochet Miniature No-Sew Mr. Capy in Santa Hat Plushie Christmas Gift
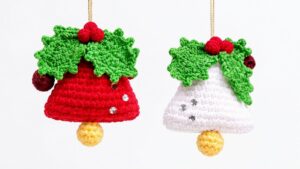
How to Crochet Holly Leaf, Berry & Stuffed Bell Ornament for Christmas
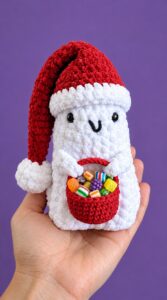
How to Crochet Christmas Ghost Buddy Holding A Treat Basket Plushie
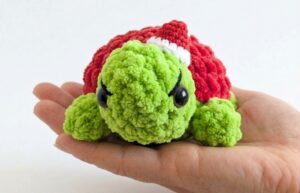
Tester Pattern: How to Crochet Santa Hat Grinch Turtle Plushie for Christmas Gifting
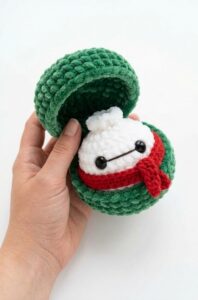
How to Crochet Baymax Dumpling Plushie for Gifting At Christmas
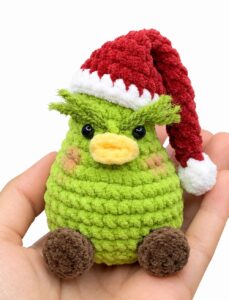
Tester Call: How to Crochet Grinch Pear Miniature Christmas Plushie for Gifting