Show support for Marifairyland!
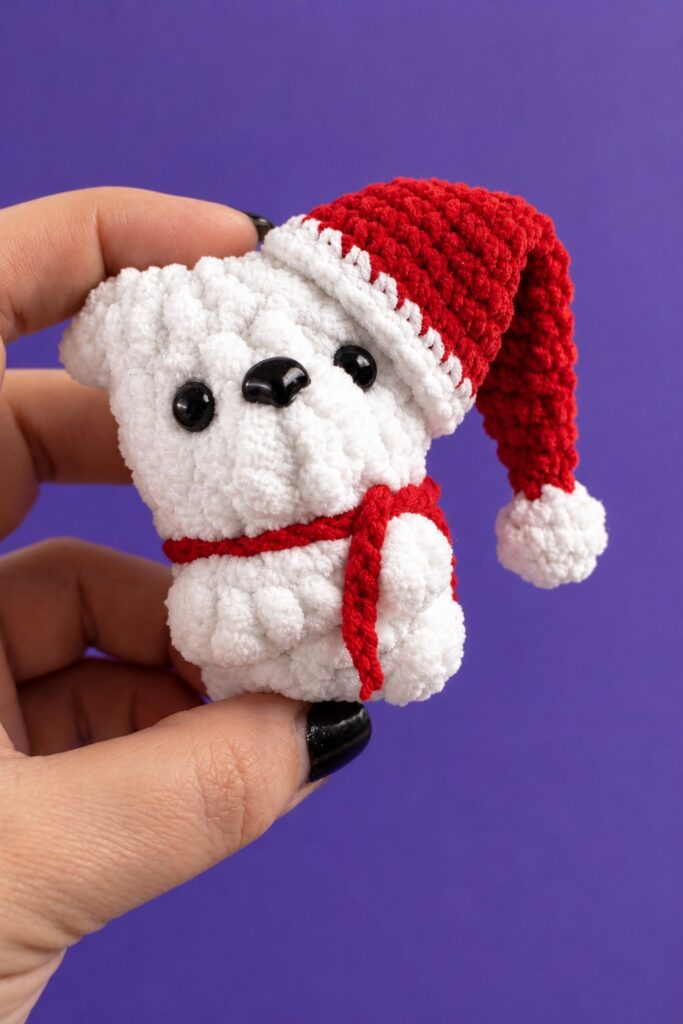
From today, I am sharing a series of crochet tutorials to crochet your favorite animal and character plushies wearing removable crochet accessories. Starting with this adorable, pocket-sized mini plush teddy bear in a slouchy Santa hat that is completely no-sew and can be crocheted as a winter and Christmas gift for kids! This little white bear plush is based on the sitting buddy, so it can be crocheted in minutes.
The legs, tail, arms, muzzle, and ears are all crocheted directly into the body of this crochet polar bear plushie using clever cluster/bobble stitches, so you won’t have to sew on a single limb.
Using super-soft chenille yarn and a 4.5 mm hook, this little bear works up in just 15 to 20 minutes and stands around 6–6.5 cm (2.5 inches) tall. Finished with a tiny holiday scarf and simple glued-on facial features, it makes an ideal keychain charm, bag accessory, or quick gift. Now, continue reading to learn more about this fluffy hat polar bear!

Pattern to Crochet the Plush Miniature Buddy Polar Bear in a Scarf
Skill Level: Beginner – Level 4
Materials & Tools
Body Yarn: Super bulky / plush chenille yarn (e.g., YarnArt Dolce or Himalaya Dolphin Baby, 100g / 120m) in White (or Brown / Grey / Beige).
Scarf Yarn: Sport / DK weight cotton-acrylic blend (e.g., YarnArt Jeans) in Red.
Crochet Hooks:
4.5 mm (for the bear)
3.0 mm (for the scarf)
Eyes: Two 7 mm black half-bead eyes (or safety eyes).
Nose: One 7 mm × 9 mm black plastic nose (triangle or oval).
Stuffing: Fiberfill / polyfill (hollofiber).
Notions: Stitch marker, tapestry needle, scissors, tweezers (for stuffing small openings), and a hot glue gun.
For Hat
Yarn A: Skinny plush yarn in White
Yarn B: DK weight yarn (main hat color)
Yarn C: White DK weight yarn (brim)
Hooks: 3mm crochet hook and 2.5mm crochet hook
Notions: Fiberfill stuffing, stitch marker, yarn needle
Pattern Details & Abbreviations (US Terms)
MR: Magic Ring (or Ch 2 method)
ch: Chain stitch
sc: Single crochet
inc: Single crochet increase (2 sc in the same stitch)
dec: Single crochet decrease (sc 2 together)
dc: Double crochet
st(s): Stitch(es)
FLO: Front loop only
Are you a Beginner? Learn Crocheting Easily!
You can learn to crochet better with this crochet polar bear Santa plushie tutorial for beginners:
Special Stitches
Leg / Tail / Arm Bobble (2-dc Cluster):
[Yarn over, insert hook into stitch, yarn over, pull up a loop, yarn over, draw through 2 loops] twice in the same stitch (3 loops on hook). Yarn over and pull through all 3 loops, then ch 1 to close the bobble. Pop the bobble out to the front (right side) of the work.Muzzle Bobble (4-dc Cluster):
[Yarn over, insert hook into stitch, yarn over, pull up a loop, yarn over, draw through 2 loops] 4 times in the same stitch (5 loops on hook). Yarn over and pull through all 5 loops, then ch 1 to close the bobble.Ear Bobble (3-dc Cluster):
[Yarn over, insert hook into stitch, yarn over, pull up a loop, yarn over, draw through 2 loops] 3 times in the same stitch (4 loops on hook). Yarn over and pull through all 4 loops, then ch 1 to close the bobble.
Teddy Bear (Crocheted Bottom-Up in Continuous Rounds)
Use 4.5 mm hook and plush yarn. Do not join rounds; use a stitch marker to mark the first stitch of each round.
Round 1: Ch 2, work 6 sc into the 2nd chain from hook. [6]
Round 2 (Bottom & Lower Legs):
Inc in each of the first 2 sts (4 sc total so far).
In the 3rd st, work: [1 Leg Bobble (2-dc cluster + ch 1), and 1 sc into the same st].
Inc in the 4th st (2 sc).
In the 5th st, work: [1 sc, and 1 Leg Bobble (2-dc cluster + ch 1) into the same st].
Inc in the 6th st (2 sc). [12 sts around]
(Push both leg bobbles outward to the right side).
Round 3 (Tail):
1 sc in the 1st st.
In the 2nd st, work: 1 Tail Bobble (2-dc cluster + ch 1).
Work 1 sc in each of the remaining 10 sts around (working into the regular sc stitches and the ch-1 top loop of each leg). [12]
Round 4 (Arms):
1 sc in each of the next 5 sts (the 1st st, the ch-1 top of the tail, and 3 regular sts).
In the 6th st, work: 1 Arm Bobble (2-dc cluster + ch 1).
1 sc in each of the next 2 sts.
In the next st, work: 1 Arm Bobble (2-dc cluster + ch 1).
1 sc in each of the remaining 3 sts to the end of the round. [12]
Round 5: 1 sc in each st around (working into sc stitches and the ch-1 tops of the arm bobbles). [12]
Round 6 (Head Increases): (2 sc, inc) × 4 times. [16]
Round 7 (Muzzle):
1 sc in each of the first 9 sts.
In the 10th st (center front), work: 1 Muzzle Bobble (4-dc cluster + ch 1).
1 sc in each of the remaining 6 sts. [16]
Rounds 8–9 (2 rounds): 1 sc in each of the 16 sts around (working into the sc stitches and the ch-1 top of the muzzle). [16 sts per round]
Round 10 (Ears):
1 sc in each of the first 6 sts.
In the 7th st, work: 1 Ear Bobble (3-dc cluster + ch 1).
1 sc in each of the next 7 sts.
In the 15th st, work: 1 Ear Bobble (3-dc cluster + ch 1).
1 sc in the last (16th) st. [16]
Round 11 (Head Decreases): Work 8 dec consecutively around (working into regular sts and the ch-1 tops of the ears). [8]
Fasten off, leaving an 8–10 cm yarn tail for closing.
Stuffing & Closing
Using tweezers or the back of a crochet hook, firmly stuff the body and head with fiberfill through the top opening, shaping the cheeks and tummy.
Thread the yarn tail onto a blunt tapestry needle.
Weave the needle through the front loops only of all 8 remaining stitches around the opening.
Pull the yarn tail tight to cinch the hole closed completely.
Insert the needle into the center of the closure, bring it out through the back of the head, pull gently, knot, and hide the excess thread inside the bear.
Facial Details
Nose: Place a small dab of hot glue on the back of the plastic nose and adhere it directly onto the top edge of the muzzle bobble.
Eyes: Place a small dab of hot glue on each 7 mm half-bead eye and adhere them on either side of the muzzle, level with rounds 7–8, ensuring they are positioned symmetrically.
Mini Scarf
Use 3.0 mm hook and red semi-cotton yarn.
Chain 45.
Fasten off and pull the yarn tight to secure both ends.
Trim the yarn tails closely at the ends of the chain.
Wrap the scarf neatly around the bear’s neck (between the body and the head) and tie a simple single or double knot at the front/side. Adjust the chain flat so it sits smoothly.
Your little no-sew plush bear is now complete!
Hat
Abbreviations
MR: Magic ring
sc: Single crochet
inc: Increase (2 sc in the same stitch)
dec: Decrease (sc 2 stitches together)
st(s): Stitch(es)
Rnd(s): Round(s)
Part 1: Top Tip
Using White skinny plush yarn and a 3mm hook.
Rnd 1: 6 sc in a magic ring (6)
Rnd 2: (sc, inc) x 3 (9)
Rnd 3: sc in each st around (9)
Rnd 4: (sc, dec) x 3 (6)
Firmly stuff this top section with fiberfill before moving on.
Part 2: Hat Body
Switch to DK weight yarn (main color) and a 2.5mm hook. Continue working in continuous rounds, evenly distributing 1 increase per round where necessary to reach the target stitch count.
Rnd 5: sc in each st around (6)
Rnd 6: inc, 5 sc (7)
Rnd 7: sc, inc, 5 sc (8)
Rnd 8: 2 sc, inc, 5 sc (9)
Rnd 9: 3 sc, inc, 5 sc (10)
Rnd 10: 4 sc, inc, 5 sc (11)
Rnd 11: 5 sc, inc, 5 sc (12)
Rnd 12: 6 sc, inc, 5 sc (13)
Rnd 13: 7 sc, inc, 5 sc (14)
Rnd 14: 8 sc, inc, 5 sc (15)
Rnd 15: 9 sc, inc, 5 sc (16)
Rnd 16: 10 sc, inc, 5 sc (17)
Rnd 17: 11 sc, inc, 5 sc (18)
Rnd 18: 12 sc, inc, 5 sc (19)
Rnd 19: 13 sc, inc, 5 sc (20)
Rnd 20: 14 sc, inc, 5 sc (21)
Part 3: Brim
Switch to White DK yarn and keep the 2.5mm hook.
Rnd 21: sc in each st around (21)
Rnd 22: sc in each st around (21)
Fasten off invisibly, cut yarn, and weave in all loose ends.
See More:
Featuring: How to Crochet No-Sew Buddy Scarf-Wearing Buddy Reindeer Plush
How to Crochet Christmas Ghost Buddy Holding A Treat Basket Plushie
Tester Call: To Crochet Winter Olaf Buddy Round Food in A Box Plushie
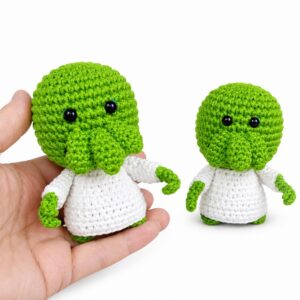
How to Crochet Green & Out-of-This-World Monster Amigurumi Character Buddy for Gifting
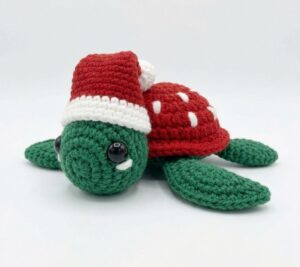
Tester Call: How to Crochet Amigurumi Buddy Slouchy Santa Hat Turtle Gift
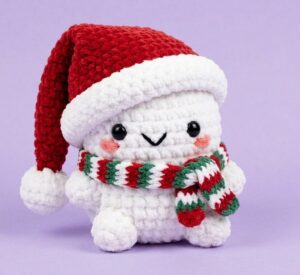
Tester Pattern: How to Crochet Custom White Dressed Winter Buddy Plushie Gift
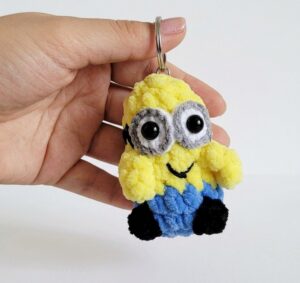
Featuring: Crochet Goggle-Wearing Yellow, Blue and Black Buddy Character Plushie for Gifting
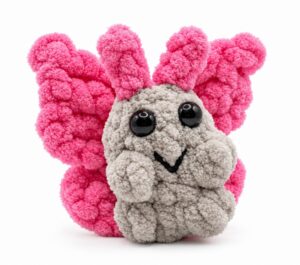
Featuring: How to Crochet the FASTEST No-Sew Butterfly BUDDY Plushie for Gifting
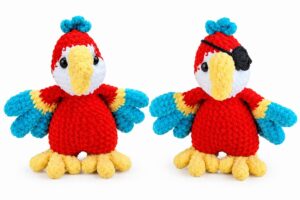
Featuring: How to Crochet Cosplay Red, Blue and Yellow Parrot Buddy Plushie