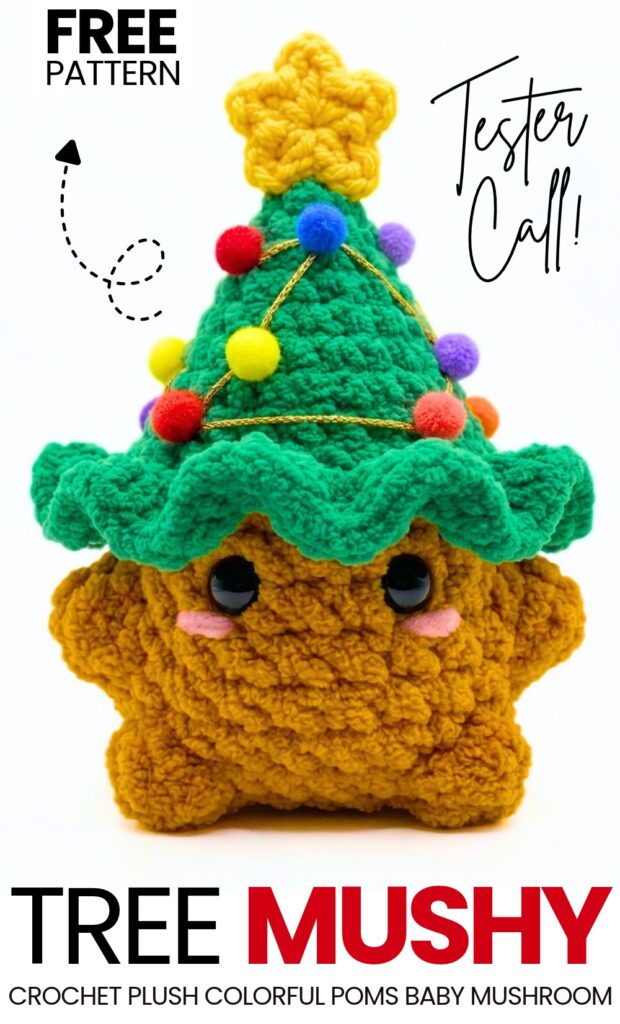
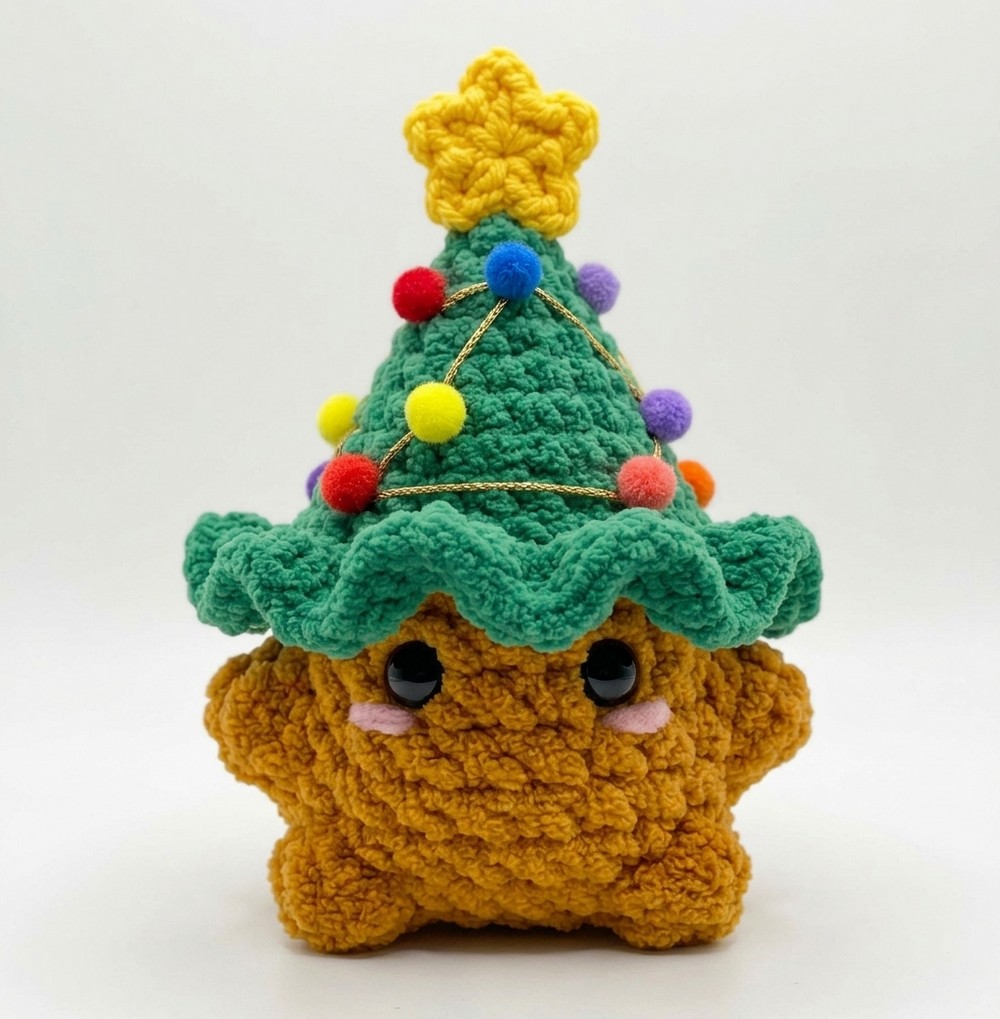
In today’s crochet pattern from the “Christmas mushroom buddies” series, learn how to crochet this super CUTE crochet Christmas tree hat baby mushroom plush. Our crochet tree hat is well decorated with pom-pom balls in many colors and golden string embroidery, too.
You can fill your hat with as many pom-pom balls as you wish. Luckily, this is also a no-sew plush Christmas tree you can crochet in under 30 minutes. Now, continue reading to learn more about this UNIQUE crochet Christmas tree and mushroom idea!
Pattern to Crochet the Plush Baby Mushroom with the Tree
This project is made in one piece from the top down without sewing the head and body together. You start by crocheting the green cone tree hat, creating a ruffled brim. Then, you crochet the golden-brown body directly into the back loops of the hat. The arms and legs are made using bobble stitches as you crochet the body. Finally, you attach the crocheted yellow star on top, wrap metallic gold cord with colorful mini pom-poms around the tree, insert safety eyes, and embroider pink cheeks.
Materials & Tools
Yarn:
Bulky plush/chenille yarn (Weight 5) in Green (for the tree hat)
Bulky plush/chenille yarn (Weight 5) in Golden Brown (for the body)
Sport or Worsted Weight yarn in Yellow (for the top star)
A small length of Pink yarn (for the rosy cheeks)
Crochet Hooks:
4.0 mm crochet hook (main hook for plush yarn)
3.0 mm crochet hook (support hook used to tighten sl st and ch 1 at round joins)
2.5 mm crochet hook (for the yellow star)
Notions & Embellishments:
Safety Eyes: 8 mm or 10 mm black safety eyes
Gold metallic thread/cord (for the tree garland)
Assorted mini crafting pom-poms (colorful pom-poms for ornaments: red, yellow, blue, purple, orange)
Fabric glue or hot glue (for pom-poms)
Stitch markers
Yarn/tapestry needle
Scissors
Polyester fiberfill stuffing
Tweezers (optional, for adjusting yarn ends)
Abbreviations (US Terms)
MR: Magic ring
ch: Chain
sc: Single crochet
hdc: Half double crochet
inc: Increase (2 sc in the same stitch)
dec: Invisible decrease (sc 2 stitches together using the front loops)
sl st: Slip stitch
FLO: Front loop only
BLO: Back loop only
BO: Bobble stitch (4 incomplete double crochets in the same stitch: yarn over, insert hook into stitch, pull up a loop, yarn over, pull through 2 loops. Repeat this 4 times in the same stitch until you have 5 loops on the hook. Yarn over and pull through all 5 loops)
st(s): Stitch(es)
Crochet Instructions
1. Christmas Tree Hat (Green Plush Yarn)
Using 4.0 mm hook and Green bulky plush yarn.
Worked in joined rounds starting from the tip:
Round 1: 6 sc in MR. Join with sl st, ch 1. [6]
Round 2: 1 sc in each st around. Join with sl st, ch 1. [6]
Round 3: (1 sc, inc) × 3. Join with sl st, ch 1. [9]
Round 4: (2 sc, inc) × 3. Join with sl st, ch 1. [12]
Round 5: (3 sc, inc) × 3. Join with sl st, ch 1. [15]
Round 6: (4 sc, inc) × 3. Join with sl st, ch 1. [18]
Round 7: (5 sc, inc) × 3. Join with sl st, ch 1. [21]
Round 8: (6 sc, inc) × 3. Join with sl st, ch 1. [24]
Round 9 (Ruffled Brim): In FLO, work 2 hdc into each stitch across. Join with sl st, ch 1. [48]
Round 10: 1 hdc in each stitch across. Join with sl st. [48]
Finish the Edge Invisibly:
Cut the green yarn, leaving a short tail, and pull the loop open.
Thread the yarn tail onto your tapestry needle.
Insert the needle under both loops of the first stitch of the round from back to front.
Insert the needle back down into the center/front loop of the last stitch made.
Pull gently to create a faux stitch, weave the tail into the inside of the hat, and trim excess.
Turn the mushroom hat upside down so the wrong side (inside of the hat) is facing up.
2. Mushroom Body (Golden Brown Plush Yarn)
Locate the remaining 24 back loops from Round 8 on the inside of the green hat.
Round 11: Insert 4.0 mm hook into the last back loop of Round 8. Pull up a loop of Golden Brown yarn, make a slip knot on your hook, pull it tight, and knot the two yarn tails together on the inside to secure.
Work 1 sc into the marked first back loop.
Continue working 1 sc into each BLO around. Join round with 1 sl st, ch 1. [24]
Rounds 12–13: 1 sc in each st around. Join round with 1 sl st, ch 1. (2 rounds total) [24]
Round 14 (Upper Arms): 7 sc, 1 BO, 8 sc, 1 BO, 7 sc. Join round with 1 sl st, ch 1. [24]
Rounds 15–16: 1 sc in each st around. Join round with 1 sl st, ch 1. (2 rounds total) [24]
Round 17 (Lower Feet): 8 sc, 1 BO, 6 sc, 1 BO, 8 sc. Join round with 1 sl st, ch 1. [24]
Note: Use the back of your crochet hook to push all 4 bobbles (arms and feet) outward so they pop out nicely.
3. Safety Eyes Placement & Closing the Body
Safety Eyes:
Insert black safety eyes between Rounds 12 and 13, with approximately 3 stitches between them.
Make sure they are centered evenly between the two arms.
Fix the safety backings securely on the inside.
Closing the Body:
Round 18: (1 sc, 1 dec) × 8 times. Join round with 1 sl st, ch 1. [16]
Stuffing: Stuff the baby mushroom firmly with polyester fiberfill, making sure the head and body have a plump, rounded shape.
Round 19: 8 dec. Join round with 1 sl st. [8]
Closing the Hole:
Cut the yarn, leaving an 8-inch (20 cm) tail, and pull the working loop all the way through.
Thread the yarn tail onto your tapestry needle.
Weave the needle through the front loops only of all 8 stitches around the opening.
Pull the tail firmly to cinch the hole closed.
Tie a small knot, insert the needle into the center of the closed ring, bring it out through the back of the body, pull tight, cut the yarn, and hide the tail inside.
4. Yellow Star Accent
Using Yellow yarn and 2.5 mm crochet hook.
Start: Make a Magic Ring and ch 1.
Star Points: Work the following into the magic ring 5 times:
(1 hdc, ch 2, 1 hdc, 1 sl st)× 5
Finishing:
Cut the yarn, leaving a tail for sewing, and pull the loop through.
Pull the magic ring tail tightly to close the center hole.
Tie the magic ring tail securely on the back side and trim it, keeping the longer tail to attach to the top of the tree.
Assembly & Details
Attach the Yellow Star:
Sew the crocheted yellow star securely to the top tip of the green Christmas tree hat using the long yellow yarn tail and a tapestry needle.
Gold Garland Cord:
Wrap gold metallic cord around the cone of the green tree hat from top to bottom in a spiral path.
Secure the ends invisibly by stitching or gluing them near the top star and underneath the ruffled brim.
Mini Pom-Pom Ornaments:
Using fabric glue or hot glue, attach assorted mini colorful pom-poms (red, yellow, blue, purple, orange) along the gold garland path around the green tree hat.
Rosy Cheeks:
Thread your tapestry needle with a strand of pink yarn.
Embroider a small horizontal stitch just below each eye (between Rounds 13 and 14).
Tie the ends securely and push the knot inside the body using tweezers or a needle.
See More:

Featuring: How to Crochet Layered UNIQUE Star and Snowflake on the Top Christmas Tree Keychain
Featuring: Tutoral to Crochet White Edging & Bell Hanging Mini Tree Spinner
Featuring: How to Crochet Rainbow Pop Holiday Tree Hanging & Table Decoration

How to Crochet Red Bell Topped Snowy Christmas Tree Table Decoration for All
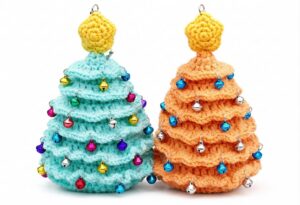
How to Crochet Tiered Pink and Blue Christmas Tree with Amigurumi Star Decoration

How to Crochet A Tiered Miniature Tree Decorated with Golden & White Pearls
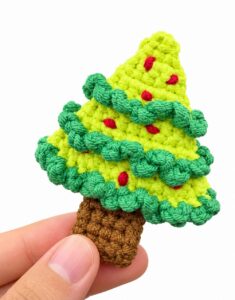
How to Crochet Mini is the Christmas Tree Holiday No-Sew Bag Charm Pattern

How to Crochet the Craziest FUNNY Christmas Tree Buddy Amigurumi Ornament
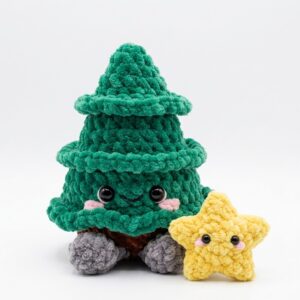
Featuring: Crochet Amuseables Sitting Christmas Tree & Star Are Buddies Plushie