Show support for Gulnara!
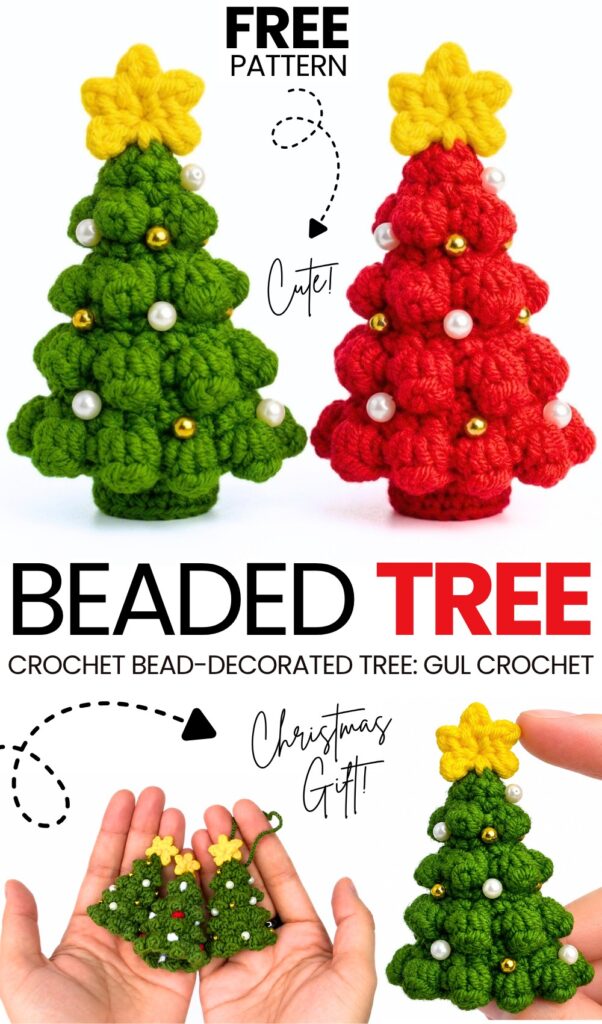
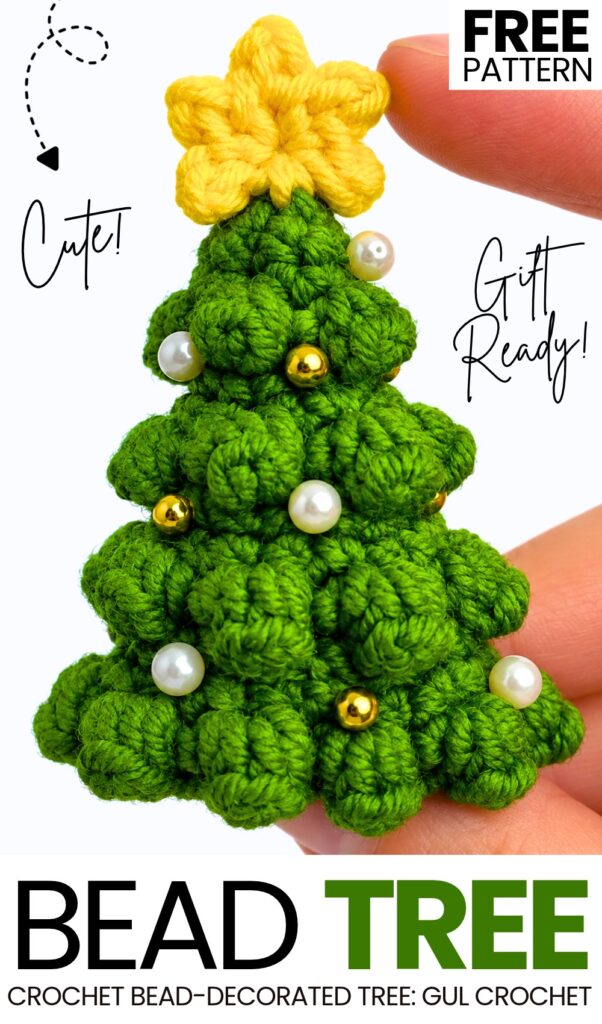
This year, I decided to share mostly the CUTE and quirky crochet Christmas tree decorations, but who can resist the elegance of a beaded crochet Christmas tree? So, today, learn how to crochet this UNIQUE crochet miniature tiered Christmas tree that is finished with golden and white pearls all around.
You can follow both the crochet step-by-step beaded tree pattern and the full written pattern. You can also crochet your Christmas tree in red and even choose the rainbow color variation that went viral last year.
This is a last-minute, no-sew Christmas ornament that is small and can be crocheted in less than 30 minutes. This year, be sure to crochet a handful of these as Christmas ornaments following the patterns below!
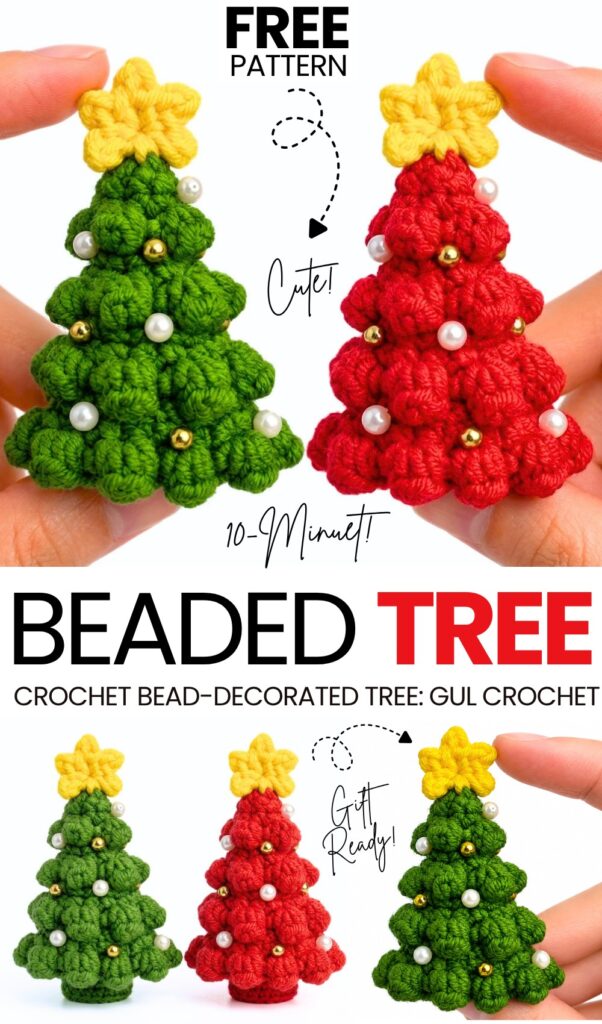
Pattern to Crochet the Beaded Christmas Tree Amigurumi Charm
This project is a tiny crochet Christmas tree. It is made in one piece from the top down using single crochet stitches and popcorn stitches to make the tree branches. A small yellow star is crocheted separately and attached to the top of the tree.
A thin cord is added at the very top so you can hang it as a Christmas tree ornament, use it as a keychain, or attach it as a bag charm. You can also add small beads or pearls as tree decorations.
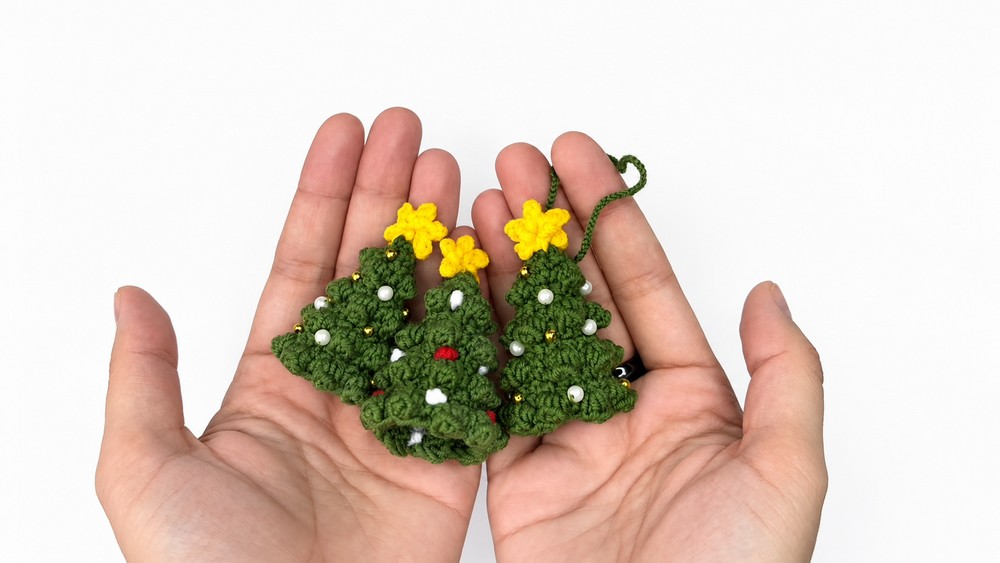
Materials & Tools
Yarn:
Green yarn (cotton or acrylic yarn, sport/fingering weight)
Yellow yarn (same weight, for the star)
Crochet Hooks:
Standard hook suited for your yarn (approx. 1.5 mm – 2.0 mm)
1.0 mm hook (for making the hanging cord)
Notions:
Stitch marker
Yarn needle
Scissors
Small beads or pearls (optional, for ornaments)
Glue or needle and thread (to attach star and beads)
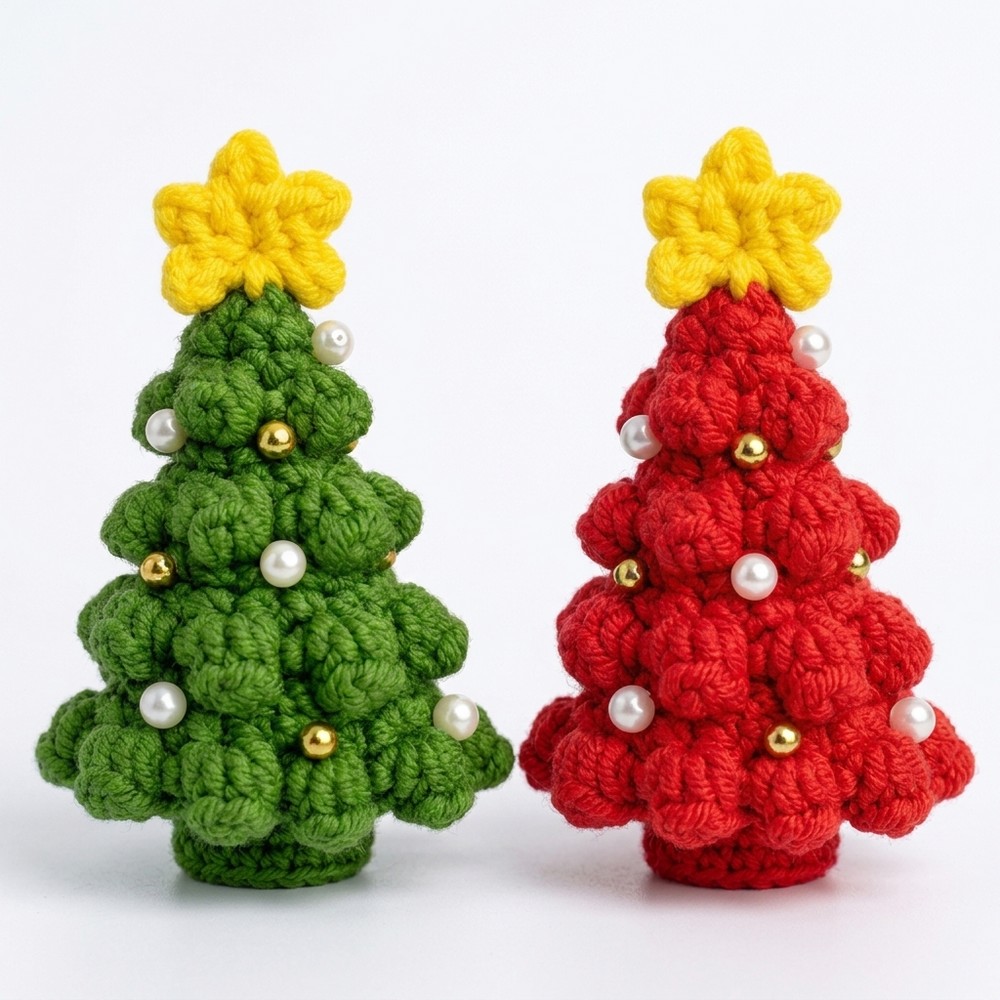
Abbreviations (US Terms)
mr: Magic ring
ch: Chain
sc: Single crochet
inc: Increase (2 sc in the same stitch)
sl st: Slip stitch
st(s): Stitch(es)
PC: Popcorn stitch
(Work 5 single crochet stitches into the same stitch. Drop the loop from your hook, insert the hook into the first single crochet of the group, grab the dropped loop, pull it through, and chain 1 to close the popcorn stitch).
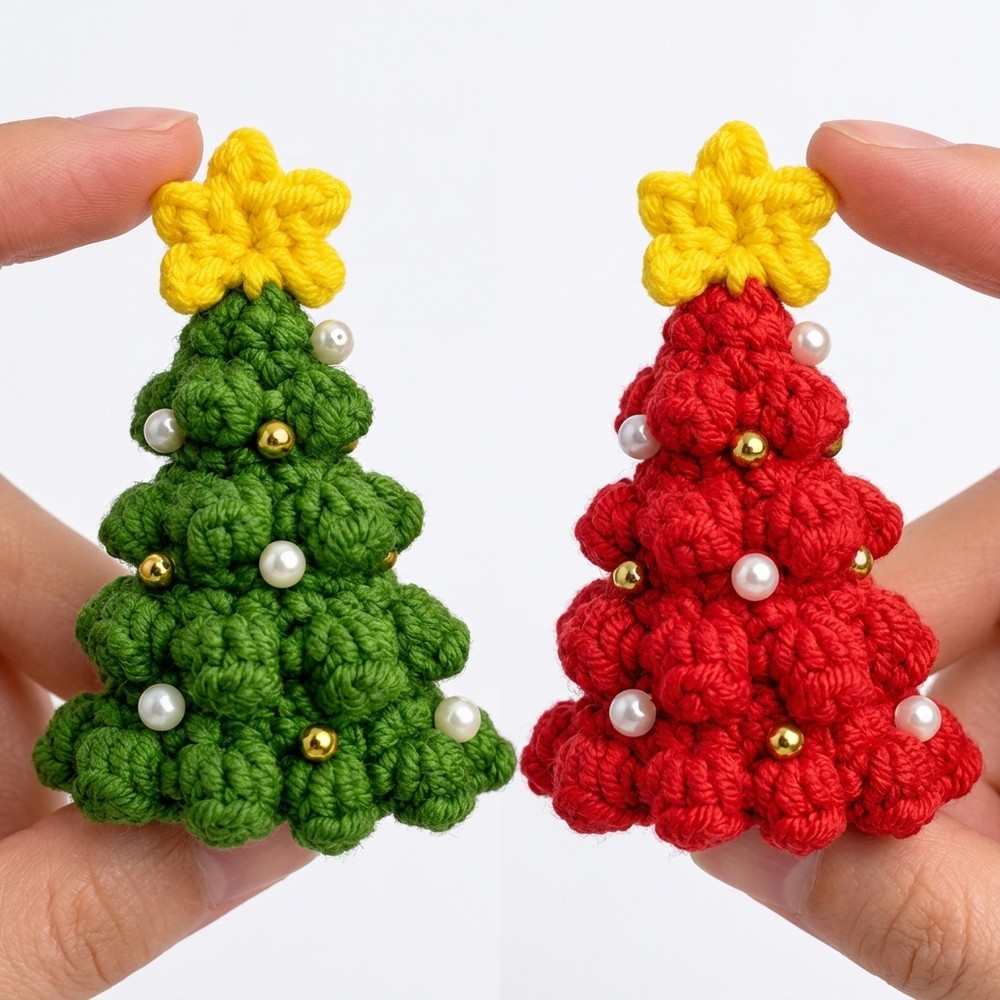
Are you a Beginner? Learn Crocheting Easily!
You can learn to crochet better with this cute little Christmas tree using the following video tutorial or continue to the pattern:
Pattern Instructions
1. Christmas Tree (Green Yarn)
Note: Every round is closed with a slip stitch (sl st) into the first stitch of the round, followed by a chain 1 (ch 1) before starting the next round.
Round 1: Make 6 sc into a mr. Sl st to the first st to close the round, ch 1. [6]
Round 2: (inc, 2 sc) × 2 times. Sl st into the first st, ch 1. [8]
Round 3: 1 sc in each st around. Sl st into the first st, ch 1. [8]
Round 4: (PC, 1 sc) × 4 times. Sl st into the first st, ch 1. [8]
Round 5: (inc, 1 sc) × 4 times. Sl st into the first st, ch 1. [12]
Round 6: 1 sc in each st around. Sl st into the first st, ch 1. [12]
Round 7: (PC, 1 sc) × 6 times. Sl st into the first st, ch 1. [12]
Round 8: (inc, 2 sc) × 4 times. Sl st into the first st, ch 1. [16]
Round 9: 1 sc in each st around. Sl st into the first st, ch 1. [16]
Round 10: (PC, 1 sc) × 8 times. Sl st into the first st, ch 1. [16]
Round 11: (inc, 3 sc) × 4 times. Sl st into the first st, ch 1. [20]
Round 12: 1 sc in each st around. Sl st into the first st, ch 1. [20]
Round 13: (PC, 1 sc) × 10 times. Sl st into the first st. [20]
Cut yarn, fasten off, and weave in loose ends inside the tree.
2. Mini Star (Yellow Yarn)
Round 1: Make a magic ring.
Work the star points into the ring:
*(ch 2, work 1 sc into the 2nd chain from hook, 1 sl st into the magic ring)*
Repeat between * a total of 5 times to create 5 star points.Pull the magic ring tight to close the center hole.
Fasten off, leaving a short tail if sewing, or cut close to the back if gluing.
3. Hanging Cord
Take 1 strand of green yarn approximately 1 meter (~40 inches) long and use a 1.0 mm crochet hook.
Fold the yarn strand in half.
Insert your hook through the top tip of the tree, grab the folded loop of yarn, and pull it partially through.
Crochet the cord:
Yarn over your hook with the bottom end/tail of the yarn (you now have 2 loops on your hook).
Catch the top working end of the yarn and pull it through both loops.
Repeat this process until your cord reaches the desired hanging length.
Fasten off, secure both yarn tails to the top of the tree, weave them in, and trim the excess yarn.
4. Assembly & Finishing
Attach the Star: Sew or glue the yellow star securely to the very top point of the tree (just in front of or around the base of the hanging cord).
Add Decorations (Optional): Sew or glue small white or gold pearl beads onto the textured popcorn stitches to look like tree ornaments.
Share on Social Media!
See More:
How to Crochet Mini is the Christmas Tree Holiday No-Sew Bag Charm Pattern

How to Crochet the Craziest FUNNY Christmas Tree Buddy Amigurumi Ornament
Featuring: Crochet Amuseables Sitting Christmas Tree & Star Are Buddies Plushie
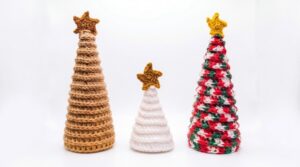
Featuring: Crochet 5-in-1 Ribbed Standing & Shimmering Christams Tree Decorations
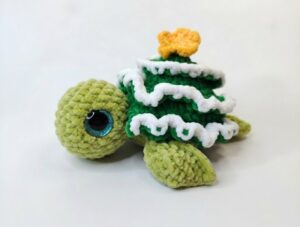
Featuring: How to Crochet A Christmas Tree Turtle Plushie for Gifting
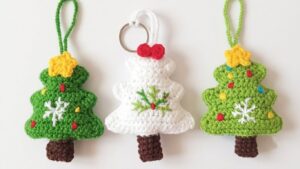
How to Crochet A Christmas Tree Bag Charm with Snowflake Embroidery
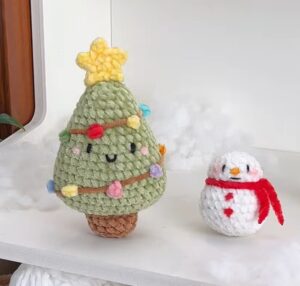
Featuring: How to Crochet Plush Christmas Tree with Colorful Crochet Lighting