Show support for Otakulandia!
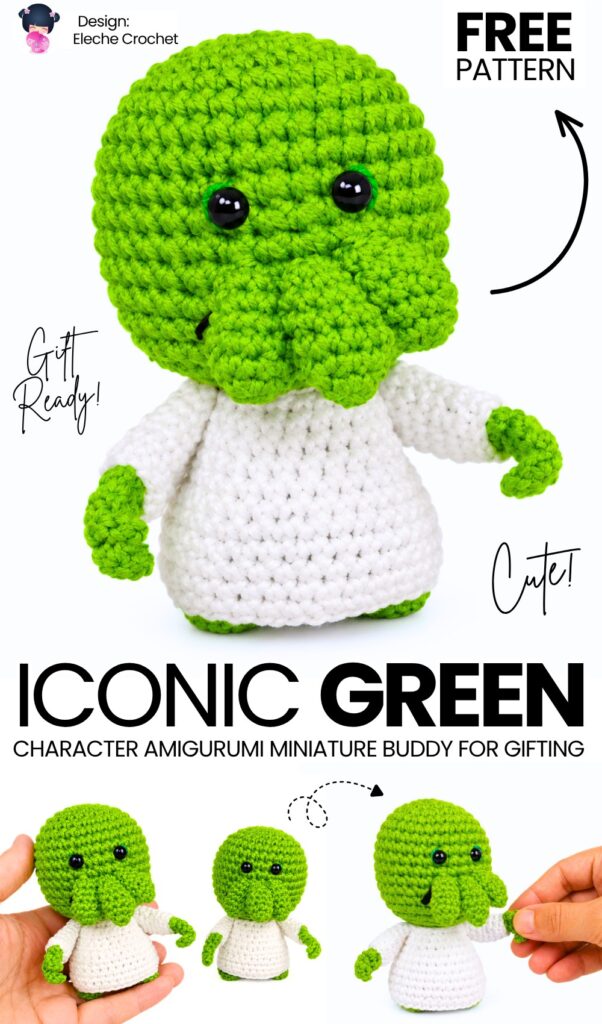
You all have liked our crochet “iconic character no-sew buddy plushies” series more than I imagined. But most of you have gotten better at working with amigurumi yarn, and I also wanted to share some out-of-this-world character amigurumi buddy tutorials. So, today, learn how to crochet this UNIQUE out-of-this-world green monster octopus character amigurumi with a step-by-step tutorial and a FREE written pattern as well.
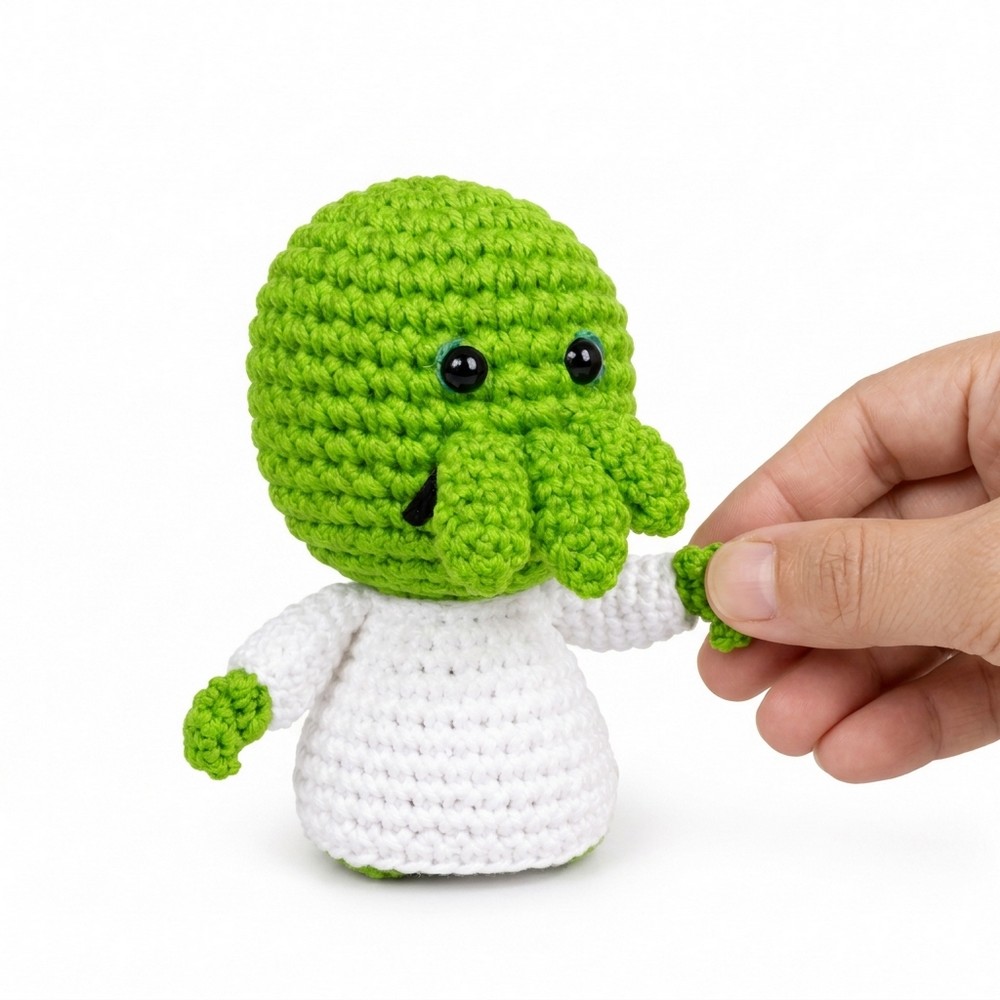
Our little amigurumi buddy, which is great for gifting and making a desktop buddy, wears a white shirt that is super easy to crochet, even for beginners.
You can, of course, crochet yours using the skinny plush yarn, but since the pattern is much more detailed, even super bulky yarn will work pretty nicely. Now, continue reading for learning more about this UNIQUE crochet amigurumi buddy project for all skill levels!
Pattern to Crochet the Amigurumi Octopus Character Buddy
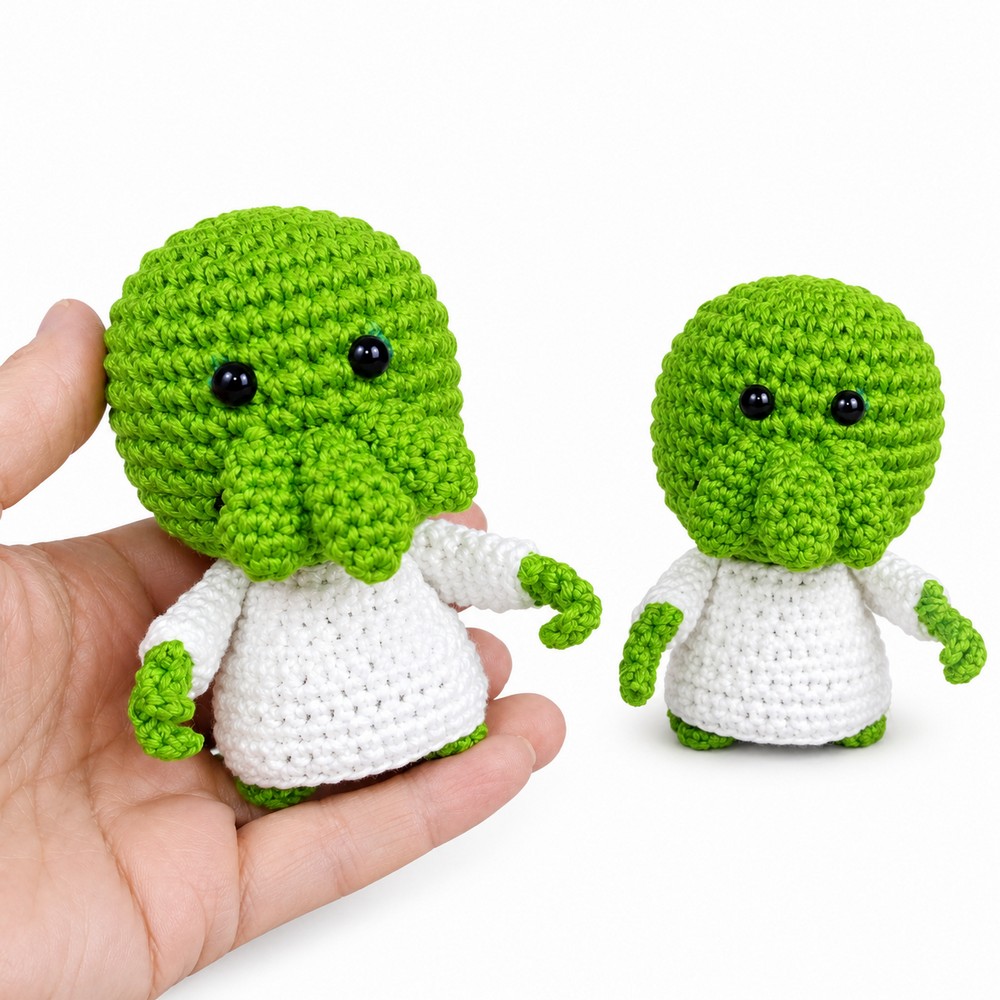
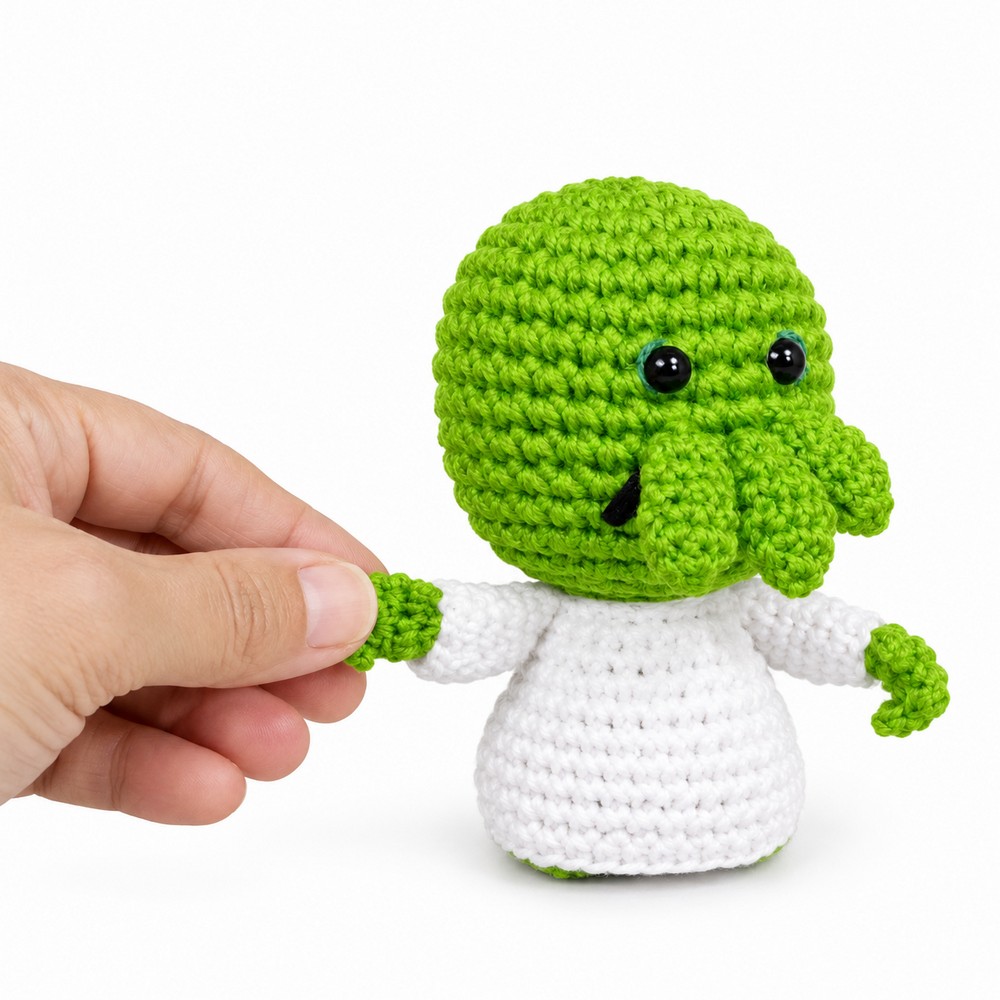
Created by designer Raquel of Otakulandia Crochet, this project transforms H.P. Lovecraft’s cosmic terror into a charming, miniature chibi creature. Featuring an oversized rounded cranium, three signature facial tentacles, tiny webbed feet, four-fingered hands, and a hooded cultist-style white robe, this grumpy little monster makes a fantastic desk companion, collectible, or keychain.
The head and body are worked in a single seamless piece from the crown down, with the feet picked up directly from the base and the extremities added in fine detail.
Materials & Tools
Yarn: Size 5 Pearl/Perlé Cotton Thread (or lace weight / fingering weight cotton thread):
Main Green: Head, body, feet, tentacles, hands
White: Robe/tunic and sleeves
Contrasting/Darker Green: Eye contour embroidery
Black: Mouth embroidery
Crochet Hook: 1.75 mm (a 1.50 mm hook can also be used if your tension is loose)
Eyes: Two 5 mm black half-pearl beads or flat-backed safety beads
Stuffing: Polyester fiberfill (synthetic batting)
Adhesive: Hot glue gun and glue stick
Notions: Tapestry/yarn needle, fine embroidery needle, sewing pins (pearl-head pins), stitch marker, sharp embroidery scissors
Working Note on Yarn Strands:
Double Strand (2 hebras): The Head, Body, and Feet are worked holding two strands together for firmness and volume.
Single Strand (1 hebra): The Hands, Sleeves, Robe, and Tentacles are worked with one single strand for fine, delicate shaping.
Abbreviations (US Crochet Terms)
MR: Magic Ring
ch: Chain stitch
sl st: Slip stitch
sc: Single crochet
inc: Increase (2 sc in the same stitch)
inv dec: Invisible decrease (insert hook through front loops of next 2 sts, yarn over, pull through, yarn over, pull through 2)
BLO: Back Loop Only
st(s): Stitch(es)
[ … ]: Total stitch count at the end of the round/row
Pattern Instructions
1. Head & Body (Worked as One Continuous Piece)
Use Green Yarn (2 strands held together) and a 1.75 mm hook. Worked in continuous spiral rounds without joining.
Rnd 1: In a MR, work 7 sc [7].
Rnd 2: Work 6 inc, 1 sc in the last st [13].
Rnd 3: (1 sc, 1 inc) around, ending with 1 sc in the last st [20].
Rnd 4: (2 sc, 1 inc) around, ending with 2 sc in the last sts [26].
Rnd 5: (3 sc, 1 inc) around, ending with 2 sc in the last sts [32].
Rnds 6–14 (9 rounds): 1 sc in each st around [32].
Rnd 15 (First Neck Decreases): (3 sc, 1 inv dec) around to execute 7 decreases evenly around [21].
Rnd 16 (Second Neck Decreases): (4 sc, 1 inv dec) around to execute 4 decreases evenly around [17].
Rnd 17 (Cinching the Neck): (1 sc, 1 inv dec) around, then inv dec across remaining sts until reduced to [11].
Rnd 18 (Neck Collar): 1 sc in each of the 11 sts around [11].
Body Section
Rnd 19: Work 1 inc in the first st, then (1 sc, 1 inc) around [17].
Rnds 20–21 (2 rounds): 1 sc in each st around [17].
Rnd 22: (3 sc, 1 inc) 4 times, 1 sc in the last st [21].
Rnds 23–26 (4 rounds): 1 sc in each st around [21].
Stuffing Checkpoint: Pause and firmly stuff the head. Push fiberfill with your finger into the neck joint so the head stays rigid and upright.
Rnd 27 (Base Shaping): Working in BLO, work inv dec across every st around until the opening narrows to approximately [11].
Final Stuffing & Closing:
Add firm stuffing into the torso.
Work 4 consecutive decreases [7–8].
Cut the yarn, leaving a 15 cm tail. Thread a tapestry needle and weave through the remaining front loops in a zig-zag motion.
Pull the tail firmly to cinch the base closed.
Push the bottom inward against a flat surface to create a recessed, flat base so the doll stands unsupported. Weave in the tail securely.
2. Little Feet (Worked Directly onto the Body)
Use Green Yarn (2 strands held together) and a 1.75 mm hook.
The feet are worked as flat tabs anchored to the lower ridge of the body (just above the base decreases).
Locate Placement: Find the front center of the doll. Count 4 unworked stitches in the center between where the two feet will sit.
First Foot:
Join yarn to the surface stitch on the right side.
Row 1: Work 3 sc directly across the surface of the body.
Row 2: Ch 1, turn. Work 3 sc across [3].
Sl st into the body at the corner of the foot, fasten off, and thread the yarn tail through the body to tuck the edges under, creating a small rounded foot.
Second Foot:
Skip 4 sts across the front and join yarn to the next st.
Repeat Rows 1–2 of the first foot. Sl st to secure, fasten off, and weave in all yarn tails.
3. Arms & Hands (Make 2)
Use Green Yarn (1 single strand) and a 1.75 mm hook.
Arm Tube
Foundation: Ch 3.
Rnd 1: Starting in the 2nd ch from hook, work 1 sc, 2 sc in the last ch. Turn to work along the opposite side of the foundation chain: 3 sc [6].
Rnds 2–5 (4 rounds): Work 1 sc in each st around [6].
Sl st in next st, but do not fasten off.
Webbed Fingers
Flatten the top edge of the arm flat:
Finger 1: Ch 4, starting in the 2nd ch from hook, work 3 sl st down the chain. Sl st back into the base st on the arm.
Finger 2: Sl st into the next arm st. Ch 4, starting in the 2nd ch from hook, work 3 sl st down the chain. Sl st back into the same st on the arm.
Finger 3 (Pinky): Sl st into the next arm st. Ch 3, starting in the 2nd ch from hook, work 2 sl st down the chain. Sl st back into the arm. Fasten off and leave a tail.
Thumb
Find the side of the arm roughly 2 rounds below the fingers (ensure the thumb points upward when the arm is attached to the body).
Join green yarn to the side stitch: Ch 2, 1 sl st in the 2nd ch from hook, sl st into the base st on the arm.
Fasten off and weave all ends inside the arm. Repeat for the second arm, mirroring thumb placement.
4. White Sleeves (Make 2)
Use White Yarn (1 single strand) and a 1.75 mm hook.
Rnd 1: In a MR, work 7 sc [7].
Rnd 2: (1 sc, 1 inc) around, ending with 1 sc in the last st [10].
Rnds 3–5 (3 rounds): 1 sc in each st around [10].
Rnd 6: 1 inc, 4 sc, 1 inc, 4 sc [12].
Rnds 7–8 (2 rounds): 1 sc in each st around [12].
Sl st in next st. Fasten off, leaving a long tail for sewing.
Hand Assembly
Insert one green arm inside each white sleeve so only the webbed fingers and thumb project out of the opening.
Using the white tail and a tapestry needle, sew through the sleeve rim and arm core to anchor them together.
5. Tunic / Robe
Use White Yarn (1 single strand) and a 1.75 mm hook. Worked flat in rows.
Row 1: Ch 17. Starting in the 2nd ch from hook, work 16 sc across [16].
Row 2: Ch 1, turn. 1 inc in first st, (1 sc, 1 inc) across [25].
Row 3: Ch 1, turn. 1 sc in each st across [25].
Row 4: Ch 1, turn. 1 inc in first st, (4 sc, 1 inc) across, 1 sc in remaining sts [30].
Row 5: Ch 1, turn. 1 inc in first st, (4 sc, 1 inc) across, 1 sc in remaining sts [36].
Rows 6–10 (5 rows): Ch 1, turn. 1 sc in each st across [36].
Fasten off, leaving a long tail for sewing.
Attaching the Robe
Wrap the robe around the lower green body with the opening positioned down the center front.
Adjust the height so the tiny green feet stick out slightly from under the hem.
Using the yarn tail, stitch the front vertical seam closed starting from the bottom hem up to the collar, catching a few green stitches of the body underneath to fix the robe firmly in place.
6. Facial Tentacles (Make 3)
Use Green Yarn (1 single strand) and a 1.75 mm hook.
Rnd 1: In a MR, work 7 sc [7].
Rnd 2: 1 inc, 2 sc, 1 inc, 3 sc [8].
Rnds 3–6 (4 rounds): 1 sc in each st around [8].
Rnd 7: 1 inv dec, 1 sl st.
Fasten off, leaving a tail for sewing. Do not stuff.
7. Assembly & Facial Details
Tentacle Placement:
Count 10 rounds down from the crown of the head.
Pin the 3 tentacles side-by-side across the lower center of the face, curved slightly downward.
Using their yarn tails, stitch them securely across round 10.
Eye Placement:
Count 7 to 8 rounds down from the crown.
Mark positions directly above the outer edges of the tentacles, spaced 2.5 to 3 stitches apart.
Secure the two 5 mm black half-pearl beads using small drops of hot silicone glue.
Eyelid / Eye Detail:
Thread a needle with contrasting darker green yarn.
Make a horizontal stitch/curve along the outer edge of each eye bead to form a furrowed brow/eyelid accent.
Grumpy Mouth:
Thread a needle with black cotton thread (2 strands).
Embroider a diagonal, annoyed smirk across the lower left cheek below the tentacles, spanning about 2 rounds diagonally. Backstitch or satin-stitch across it twice to give the line clean definition.
Arm Placement:
Pin the assembled sleeved arms to the sides of the white robe just below the neck collar, angled slightly forward with thumbs facing upward.
Stitch the top edge of each sleeve securely into the shoulder and side of the body. Fasten off and hide all ends inside the body.
See More:
How to Crochet Sphere Faces Anti-Stress Softie Amigurumi (Emoji, Monster & More)
Tester Pattern: How to Crochet A Monster Funny Bao Bun Plushie for Kids
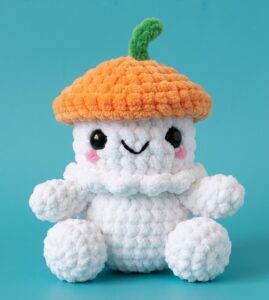
Tester Call: How to Crochet Ghost Monster in a Pumpkin Hat Plushie Pattern
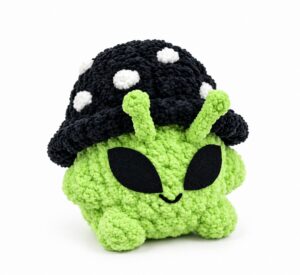
Tester Call: How to Crochet Green Alien Mushroom Plushie Buddy for Gifting
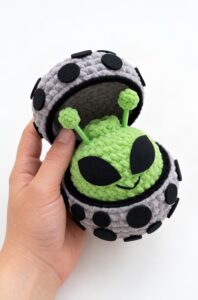
Pattern Tester: How to Crochet An Alien Dumpling in A Pod Box Plushie
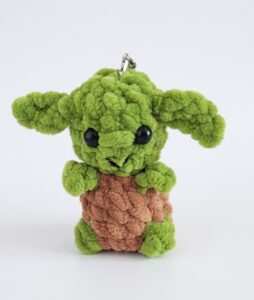
How to Crochet Market-Make Green Alien & Brown Outfit Character Plushie
How to Crochet Toy Story’s Green Alien Amigurumi for Latest Release
Tester Call: How to Crochet Amigurumi Buddy Slouchy Santa Hat Turtle Gift
Tester Pattern: How to Crochet Custom White Dressed Winter Buddy Plushie Gift