Show support for Linh!
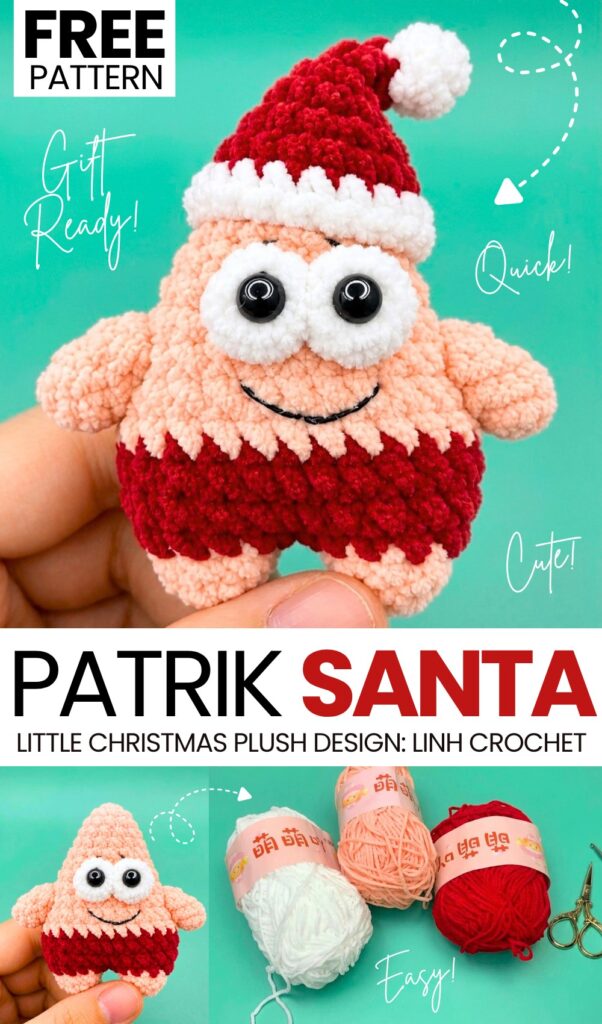
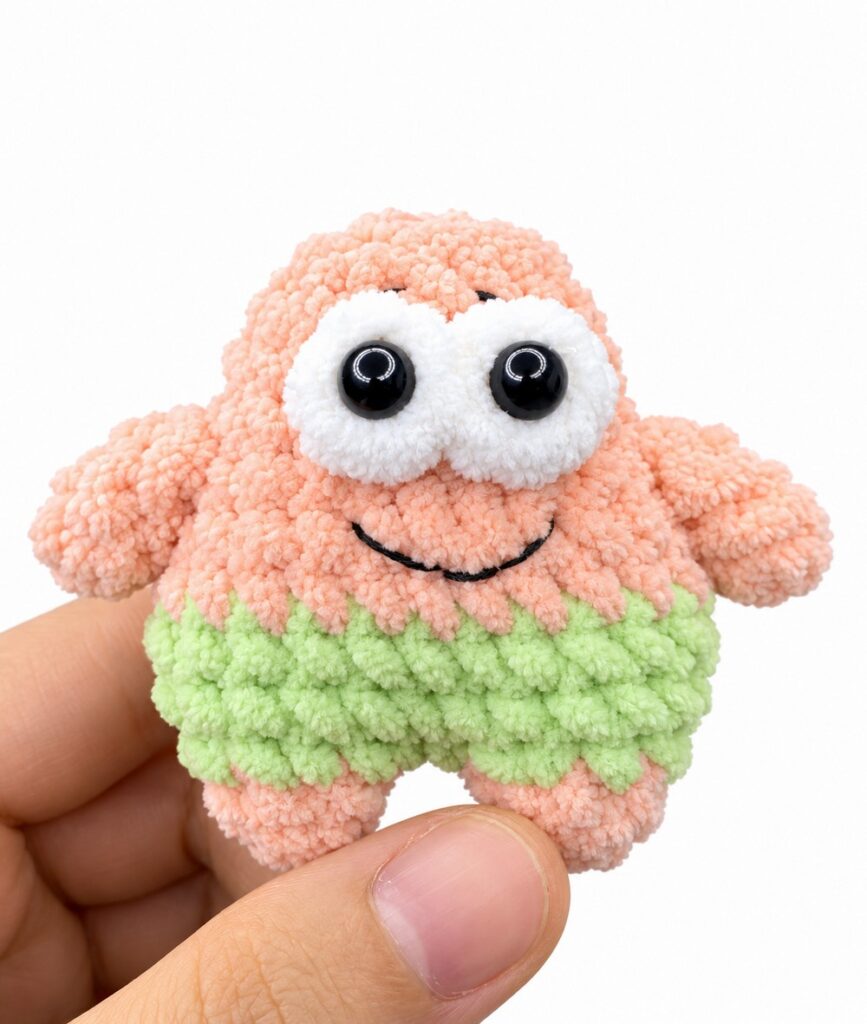
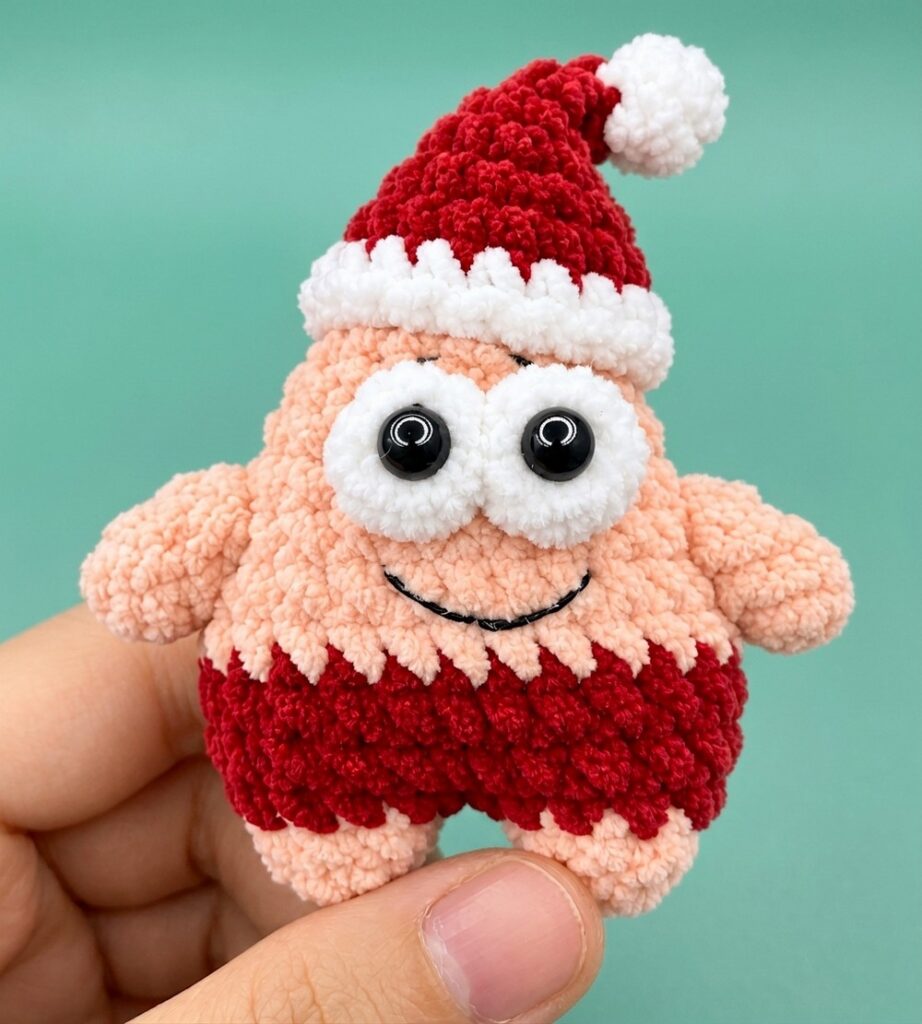
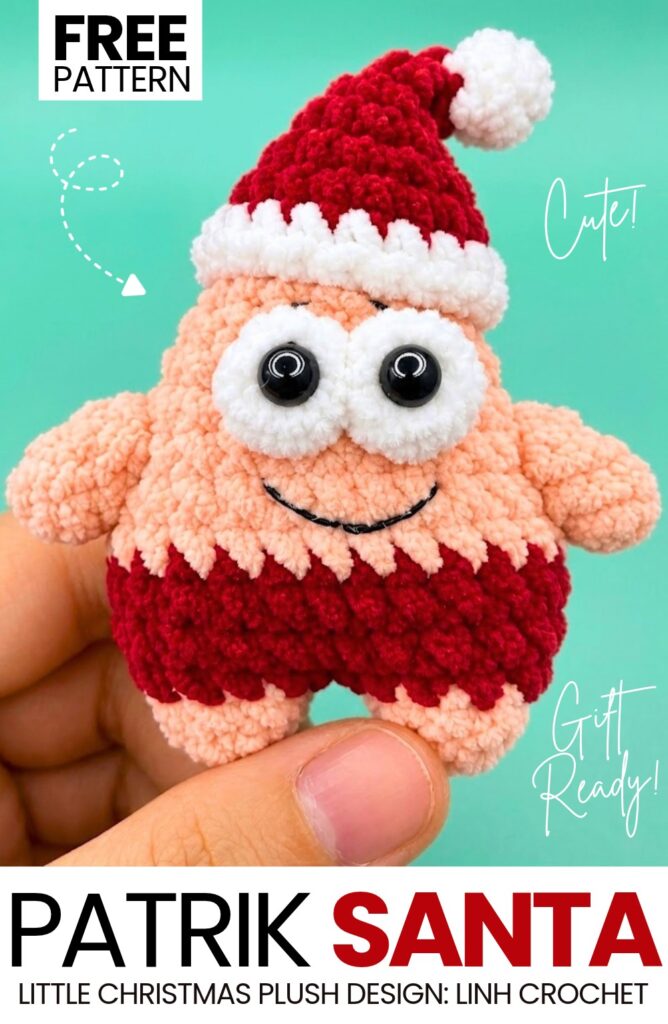
Today, I’ll share another FREE pattern from the “crochet miniature and last-minute Christmas gifts” series. Introducing the Mr. Santa Patrik Star plushie, which you can learn to crochet with a video tutorial as well as a WRITTEN PATTERN. This is a small, chonky, low-sew plushie with red pants instead and a slouchy Santa hat.
If it were not for Christmas, it would be part of “iconic characters”all-year plushie, but since many of you might be looking for quick ways to crochet cute plush gifts for kids, I will also provide a pattern to crochet the Santa hat here.
The accessories pair perfectly with the pink Patrick Star body. Now, continue reading to learn more about this quick and easy crochet plush from the SpongeBob series.
Materials Needed
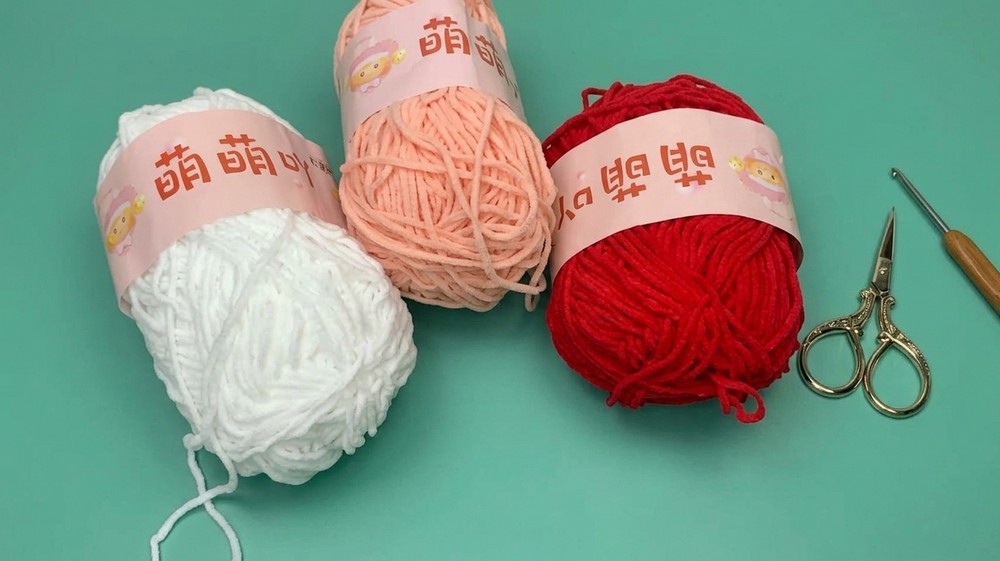
Yarn: Plush / Chenille yarn (about 2 mm thick) in Pink (body, legs, arms), Green (shorts), and White (eyes)
Crochet Hook: 2.5 mm hook
Safety Eyes or Black Plastic Eyes: 1 pair (small black beads or plastic safety eyes)
Fiberfill Stuffing: Polyester stuffing for filling
Tapestry Needle / Yarn Needle
Stitch Marker
Scissors
Craft Glue (optional, for securing eyes)
Abbreviations & Terms
MR: Magic Ring
ch: Chain
sc: Single Crochet
inc: Increase (2 single crochet stitches in the same stitch)
dec: Decrease (single crochet 2 stitches together)
sl st: Slip Stitch
st(s): Stitch(es)
Are you a Beginner? Learn Crocheting Easily!
You can learn to crochet better with this miniature Christmas and all-year Mr. Patrik star or continue with the pattern below:
Detailed Crochet Pattern Instructions
Part 1: Legs (Make 2)
Use Pink Yarn.
Leg 1:
Round 1: Start with a MR. Work 6 sc into the ring. Sl st to the first sc to join. (6 sts)
Round 2: Ch 1. Work 1 sc in each of the 6 sts around. Sl st to join. Fasten off yarn. (6 sts)
Leg 2:
Round 1: Start with a MR. Work 6 sc into the ring. Sl st to the first sc to join. (6 sts)
Round 2: Ch 1. Work 1 sc in each of the first 5 sts. On the 6th st, change color to Green Yarn. Sl st to the first st to join. Do not cut the green yarn. (6 sts)
Part 2: Joining Legs & Green Shorts
Use Green Yarn.
Round 3:
Chain 2. Insert hook into the slip stitch location of Leg 1 to join the two legs together.
Work across Leg 1:
[1 sc, 1 inc]repeat 3 times across the 6 sts of Leg 1. (9 sts)Work 2 sc along one side of the 2-chain bridge between legs. (2 sts)
Work across Leg 2:
[1 sc, 1 inc]repeat 3 times across the 6 sts of Leg 2. (9 sts)Work 2 sc along the other side of the 2-chain bridge. (2 sts)
Sl st to the first st to join the round. (Total: 22 sts)
Round 4:
Ch 1. Work 4 sc, 1 inc, 10 sc, 1 inc, 6 sc. Sl st to the first st to join. (Total: 24 sts)
Round 5:
Ch 1. Work 1 sc in each of the 24 sts around.
On the 24th st, pull through with Pink Yarn to switch color back to pink. Sl st to the first st to join. Cut the green yarn. (24 sts)
Part 3: Body & Cone Head
Use Pink Yarn.
Round 6: Ch 1. Work 1 sc in each of the 24 sts around. Sl st to join. (24 sts)
Round 7: Ch 1. Work 4 sc, 1 dec, 10 sc, 1 dec, 6 sc. Sl st to join. (22 sts)
Round 8: Ch 1. Work 4 sc, 1 dec, 9 sc, 1 dec, 5 sc. Sl st to join. (20 sts)
Round 9: Ch 1. Work 3 sc, 1 dec, 8 sc, 1 dec, 5 sc. Sl st to join. (18 sts)
Round 10: Ch 1. Work 3 sc, 1 dec, 7 sc, 1 dec, 4 sc. Sl st to join. (16 sts)
Round 11: Ch 1. Work 2 sc, 1 dec, 7 sc, 1 dec, 3 sc. Sl st to join. (14 sts)
Round 12: Ch 1. Work 2 sc, 1 dec, 6 sc, 1 dec, 2 sc. Sl st to join. (12 sts)
Fasten off, leaving a short yarn tail.
Stuffing & Closing:
Fill the legs, shorts, and body firmly with fiberfill stuffing.
Thread the pink yarn tail onto a yarn needle.
Weave the needle through every second front loop around the top opening (6 total passes), pull the yarn tight to close the pointed cone head smoothly, and weave in the end.
Part 4: Arms (Make 2)
Use Pink Yarn.
Round 1: Start with a MR. Work 5 sc into the ring. Sl st to the first st to join. (5 sts)
Round 2: Ch 1. Work 1 sc in each of the 5 sts around. Sl st to join. (5 sts)
Round 3: Ch 1. Work 1 sc in each of the 5 sts around. Sl st to join. (5 sts)
Fasten off, leaving a yarn tail for sewing. (Do not stuff the arms).
Part 5: Eyes (Make 2)
Use White Yarn.
Round 1: Start with a MR. Work 6 sc into the ring. Sl st to the first st to join. (6 sts)
Fasten off, leaving a yarn tail for sewing or gluing.
Part 6: Assembly & Finishing
Eyes: Attach the small black plastic eyes or safety eye pins into the center of the white eye circles. Glue or sew the two white eyes onto the front upper face of the head.
Arms: Sew or glue one arm to each side of the pink body, positioned just below the head level.
Facial Details: Use black thread to stitch a simple curved line for the mouth below the eyes.
Share on Social Media!
See More:
Featuring: How to Crochet Snow Buddy in A Beanie Treat Bag for Christmas
How to Crochet Christmas Gift Smiling Santa Mobile Phone Pouch and Gift Bag
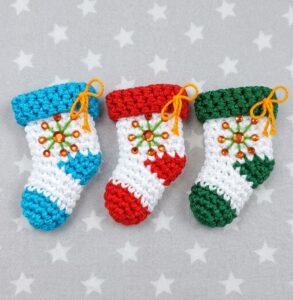
How to Crochet White & Blue Bead Decorated Mini Boot Ornament for Christmas
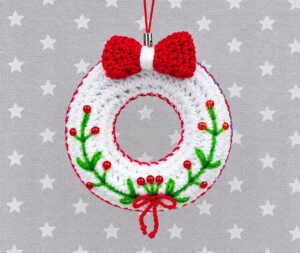
How to Bow and Bead Decorated Christmas Wreath Rings for Beautiful Garlands
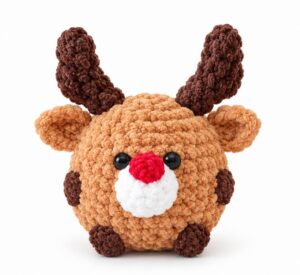
Featuring: How to Crochet A Red-Nosed Animal Buddy Christmas Plushie
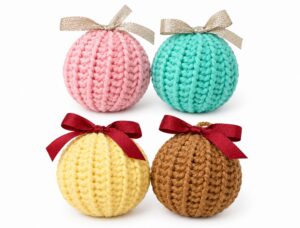
How to Crochet 4 Set Ribbed Decoration Christmas Festive Ball Ornaments
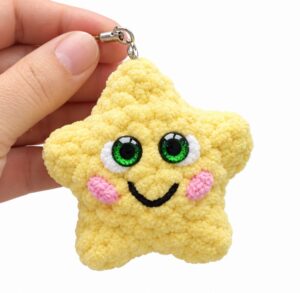
How to Crocet Holdiday Mr. Smiling Star Plushie for Christmas Gifting
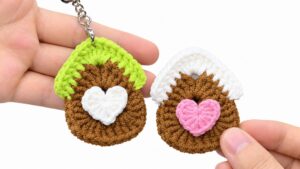
How to Crochet the CUTEST Mini Christmas Applique Keychain (Christams House)
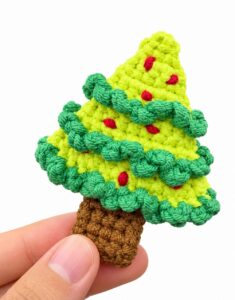
How to Crochet Mini is the Christmas Tree Holiday No-Sew Bag Charm Pattern