Author: Talha
I am a crochet designer, macramé maker and a crafter who also loves doing MATH.
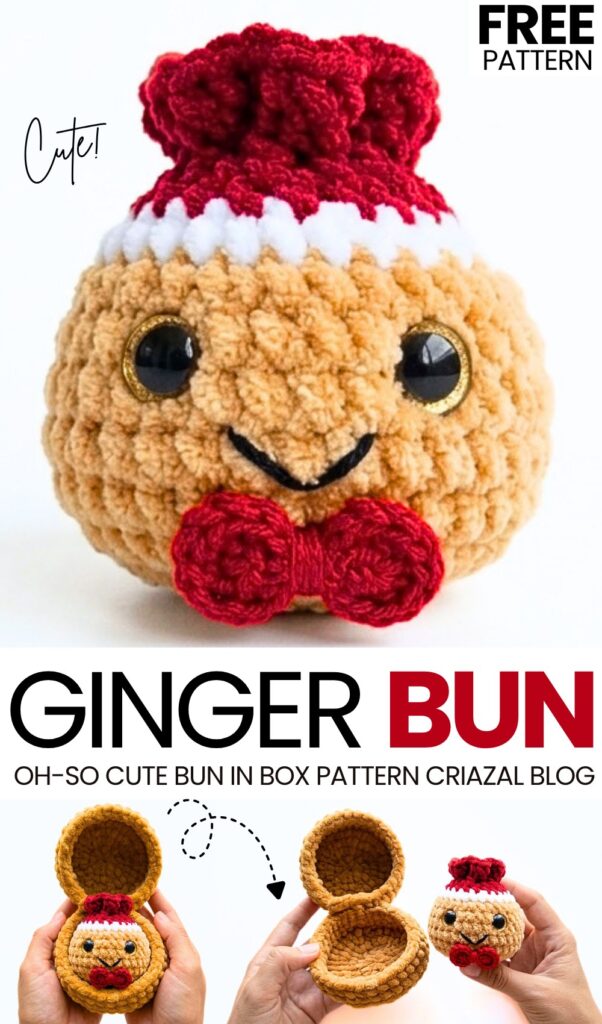
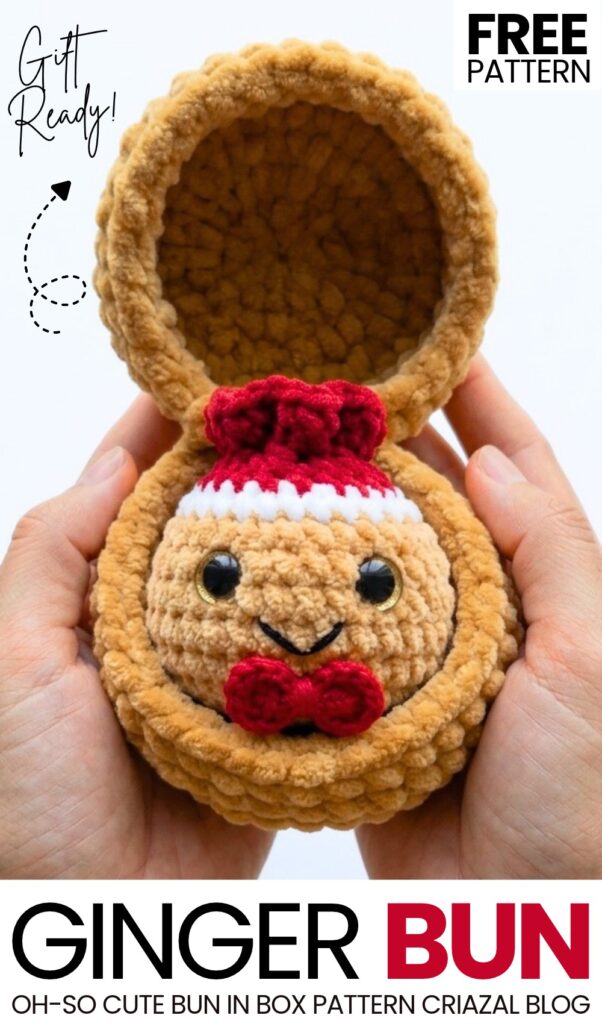
Here is another crochet dumpling plushie pattern from the crochet “Christmas character bao buns” plushie series. Today, learn how to crochet this UNIQUE Mr. Gingerbread dumpling plushie with a FREE written pattern for absolute beginners.
This time, I have upgraded the crochet bao bun pattern to make it look more lifelike, with a bun top. It will be done by needle-sewing the ruffles after crocheting the FLO top.
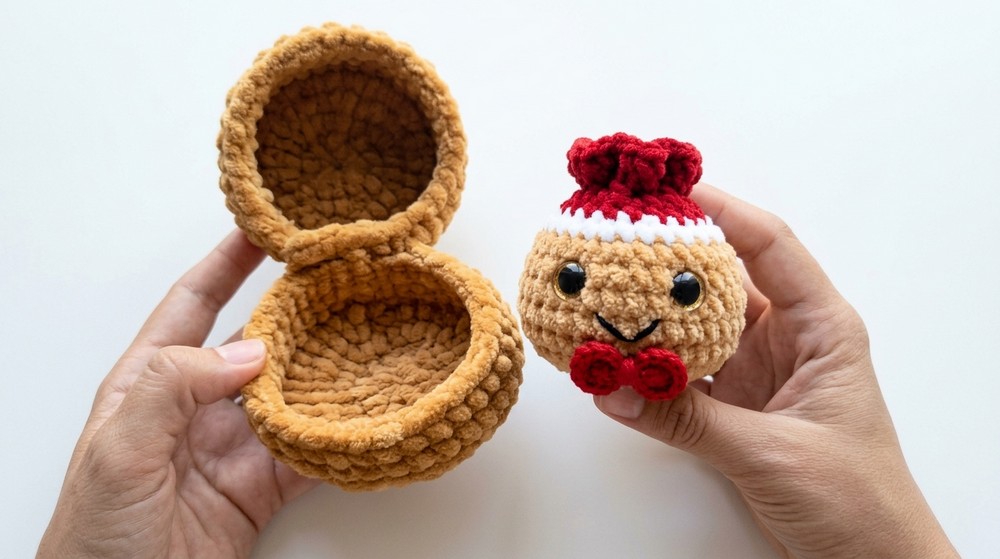
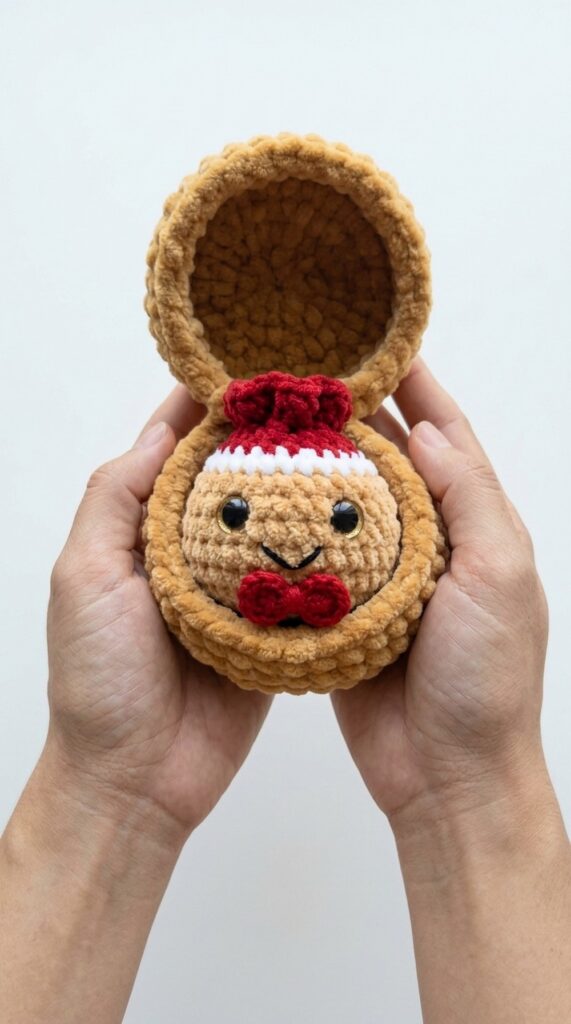
Our little crochet dumpling also has a little bow on its neck that makes it look super festive and oh-so cute. You will again and still learn how to crochet a basket with a lid, following the same pattern!
Similar Project(s)
Pattern to Crochet the Plush Gingerbread Bao Bun Dumpling
Skill Level: Beginner – Level 4
Materials List
- Gingerbread/Tan Plush Yarn (100g / 120m) for the body.
- Red Plush Yarn (100g / 120m) for the top pouch/ruffle.
- White Plush or DK Yarn for the icing trim border.
- Black Plush Yarn (slightly thicker, 100g / 120m) for the box/basket.
- Red DK / Semi-Cotton Yarn for the bow tie.
- Semi-Cotton Yarn (like YarnArt Jeans) in:
- Black for facial embroidery.
- Tan or Red for cinching, closing holes, and securing the handle.
- 12 mm – 14 mm Gold Glitter Safety Eyes (1 pair).
- Crochet Hook Size: 4 mm.
- Toy Stuffing.
- Yarn Needle for sewing/weaving in ends.
- Scissors.
Abbreviations List
- MR = Magic Ring
- sc = single crochet
- inc = increase
- dec = decrease
- sl st = slip stitch
- ch = chain
- BLO = back loops only
- FLO = front loops only
- R = Round
- st(s) = stitch(es)
Gingerbread Dumpling Pattern
Body (Use Tan/Gingerbread Plush Yarn)
- R1: 8 sc in MR (8).
- R2: 8 inc (16).
- R3: (1 sc, inc) repeat 8 times (24).
- R4: (2 sc, inc) repeat 8 times (32).
- R5 to R8 (4 rounds): 32 sc (32).
- R9: (2 sc, dec) repeat 8 times (24).
Face Details & Eyes (Do before closing)
- Safety Eyes: Insert the gold glitter safety eyes between R6 and R7, spacing them approximately 5 to 6 stitches apart.
- Mouth: Thread a yarn needle with black semi-cotton yarn. Embroider a wide “V” shaped smile centered between R7 and R8 just below the eyes.
Icing Border & Red Top Pouch
- R10: Switch to White Yarn. 24 sc around (24).
- R11: Switch to Red Plush Yarn. Working in BLO, (1 sc, dec) repeat 8 times (16).
- Stuff the gingerbread dumpling firmly with toy stuffing, ensuring the round shape holds without stretching the stitches apart.
- R12: 8 dec (8).
Top Pouch Ruffle
- R13: Working in FLO of R12, (inc, 1 sc) repeat 4 times (12).
- R14: (2 sc, inc) repeat 4 times (16).
- R15: 16 sc across (16). Cut red plush yarn and finish off with a sl st. Weave in the red tail inside the pouch.
Cinching & Shaping Instructions
- Closing the Inner Hole:
- Thread a yarn needle with a length of red or tan semi-cotton yarn.
- Weave through the remaining unworked back loops of R12.
- Pull tightly to cinch the bottom opening of the top pouch completely closed, knot securely, and hide the thread end inside the stuffed body.
- Cinching the Drawstring Pouch Neck:
- Thread a yarn needle with a 12-inch length of red semi-cotton yarn.
- Insert the needle around R11 / R14 (just below the top ruffle flare) through the BLO or between stitches, weaving in and out while skipping 2 stitches at a time all the way around.
- Pull both ends of the yarn thread gently to gather the neck inward. This creates the gathered drawstring pouch shape topped by the puffed ruffle.
- Do not pull as tightly as the base closure; leave enough tension to define the neck gather.
- Tie a secure double knot inside the gathers and weave both yarn tails into the body to hide them.
Bow Tie Pattern (Worked in rows using Red DK Yarn)
- Row 1: Ch 7. Starting in 2nd ch from hook, sc in each st across [6].
- Rows 2–8: Turn, ch 1, sc in each st across [6].
- Row 9 (Border finish): Turn, sc in each st around the outer border of the entire piece for a clean finish. Work 2 sc into each of the outer corners to turn smoothly. Sl st in the first sc to join.
Bow Assembly & Attachment
- Cut the yarn, leaving a 12-inch tail for finishing and sewing.
- Thread a needle with the yarn tail and bring it to the center back of the rectangle.
- Pinch the center of the rectangle vertically to form the bow shape.
- Wrap the yarn tail tightly around the pinched center 4–5 times until a clean center band forms.
- Secure with a knot at the back.
- Using the remaining tail, sew the bow tie securely onto the bottom front center of the gingerbread plushie (directly under the smile).
Basket / Box Pattern (Use Black Plush Yarn, Make 2 parts)
- R1: 8 sc in MR (8).
- R2: 8 inc (16).
- R3: (1 sc, inc) repeat 8 times (24).
- R4: (2 sc, inc) repeat 8 times (32).
- R5: (7 sc, inc) repeat 4 times (36).
- R6: 36 sc in BLO (36).
- R7 to R8 (2 rounds): 36 sc (36).
- Top Lid (Part 1): Fasten off and weave in the end.
- Bottom Base (Part 2): Do not cut the yarn.
Connecting the Box and Handle
- Connecting the Hinge:
- Align the bottom base and top lid with right sides facing out.
- Single crochet 6 stitches together through the back loop of the lid and front loop of the base to join the back edge.
- Fasten off and weave in black yarn ends.
- Attaching the Handle:
- Attach tan/orange semi-cotton yarn to the right side of the bottom base.
- Ch 10–12 to form a finger loop handle.
- Sl st back into the adjacent stitch on the base, knot securely, and weave in all yarn ends.
Share on Social Media!
See More:
Pattern Tester: Flower on the Top Tribute Spooky Dumpling Plushie Pattern
Pattern Tester: How to Crochet An Alien Dumpling in A Pod Box Plushie
Tester Pattern: How to Crochet Hello Kitty Dumpling Plushie for Playing With
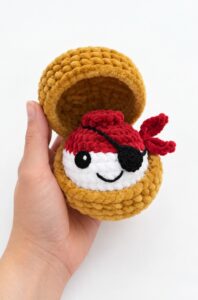
Tester Call: How to Crochet Mr. Pirate Dumpling Plushie in A Treasure Box
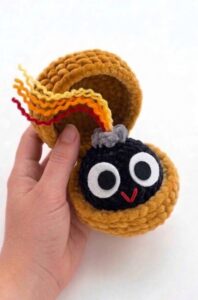
Tester Pattern: How to Crochet Birthday-Popper Dumpling Plushie for Gifting

Tester Pattern: How to Crochet Dumpling Buddy in A Steamer Costume Plushie

Tester Pattern: To Crochet A Snowball Christmas Dumpling in Basket Plush
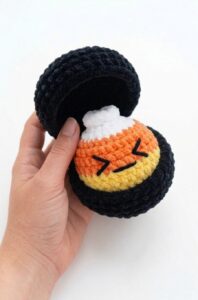
Tester Call: Free Crochet Orange, Yellow & White Dumpling Plushie
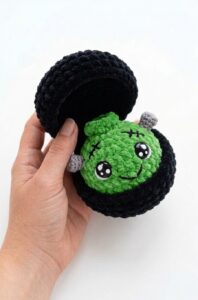
Tester Call: Free Crochet Kawaii-Eyes Bolt Zombie Dumpling Plushie