Author: Talha
I am a crochet designer, macramé maker and a crafter who also loves doing MATH.
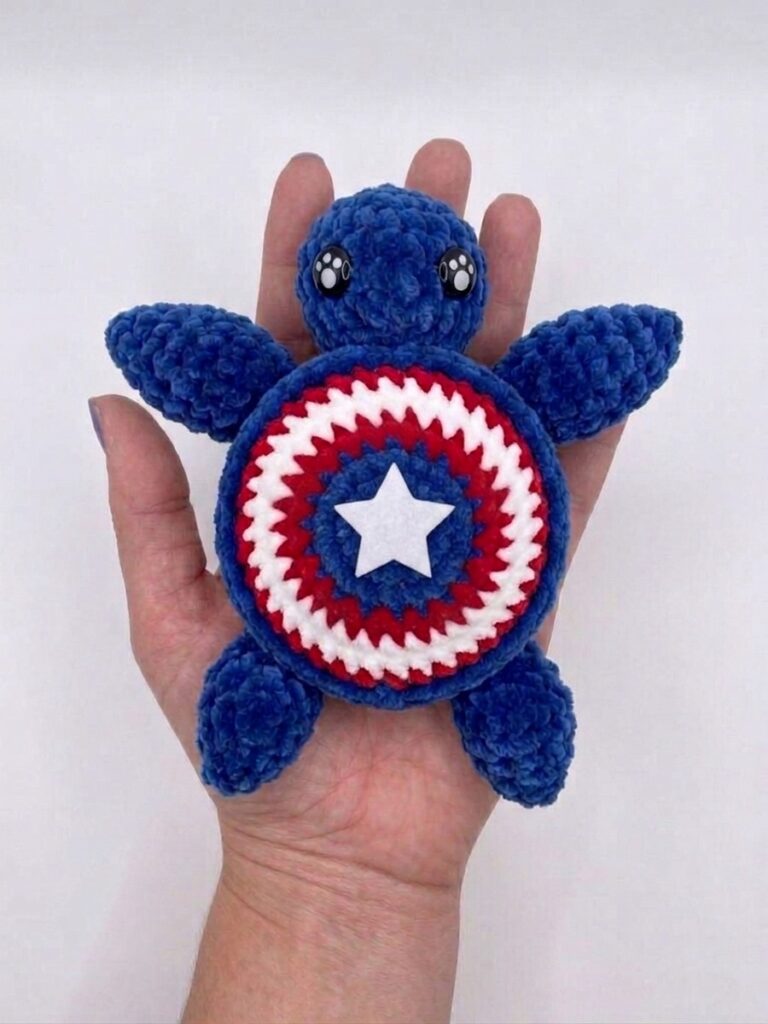
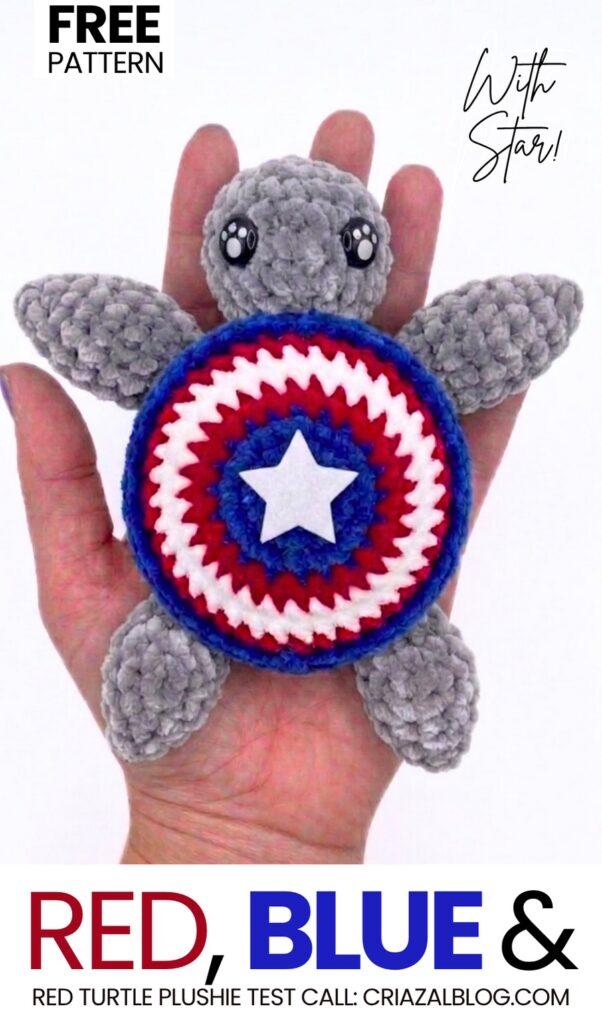
Today’s crochet tester pattern is perfect for the 4th of July and any time of year for a superhero fan! Test this crochet mini low-sew red, blue, and white turtle plushie in under 29 minutes, and learn how to crochet with a complete written pattern. It features a crochet Captain America shield shell, made by changing the colors and adding a felt white star in the middle. Crochet your turtle plushie with the same kawaii safety eyes!
Similar Project(s)
Pattern to Crochet the Captain America Amigurumi Plush Turtle
Captain America Shield Turtle Crochet Pattern
PATTERN OVERVIEW
Difficulty: Beginner / Intermediate
Skills Required: Single Crochet (sc), Increase (inc), Decrease (dec), Front Loop Only (FLO), Back Loop Only (BLO), Magic Ring (MR), Color Changes
Materials & Tools:
Super Bulky Chenille Yarn: Grey (Head & Flippers), Blue, Red, and White
White felt sheet (for the star appliqué)
White sewing thread & embroidery needle
6.0 mm crochet hook
12 mm paw print safety eyes
Fiberfill stuffing, yarn needle, stitch marker, scissors

ABBREVIATIONS (US TERMS)
mr: Magic Ring
sc: Single Crochet
inc: Single Crochet Increase (2 sc in same st)
dec: Single Crochet Decrease (sc2tog)
FLO: Front Loop Only
BLO: Back Loop Only
sl st: Slip Stitch
1. FLIPPERS & LEGS (Make 4 – All in Grey) Worked in continuous rounds. Make 4 limbs first to join directly into the shell base.
Rnd 1: 6 sc in mr (6)
Rnd 2: [1 sc, inc] x 3 (9)
Rnd 3–5: sc in each st around (9)
Rnd 6: [1 sc, dec] x 3 (6) Flatten opening and sl st across to close. Fasten off and weave in ends (no stuffing needed).
2. HEAD (In Grey) Worked in continuous rounds.
Rnd 1: 6 sc in mr (6)
Rnd 2: inc in each st around (12)
Rnd 3: [1 sc, inc] x 6 (18)
Rnd 4–6: sc in each st around (18) Insert paw print safety eyes between Rnds 4 and 5, spaced about 4 stitches apart.
Rnd 7: [1 sc, dec] x 6 (12) Stuff head firmly. Change to Blue yarn on the last stitch. Do not fasten off.
3. SHIELD SHELL & NO-SEW BODY
Rnd 8 (Blue): sc around (12)
Rnd 9 (Blue): [1 sc, inc] x 6 (18)
Rnd 10 (Blue – Attach Flippers & Legs): Work [2 sc, inc] x 6 while crocheting through both the body and flattened limbs spaced evenly (24)
Rnd 11 (Blue): [3 sc, inc] x 6 (30)
Change to White Yarn
Rnd 12 (White): Working in FLO for shell rim edge: [4 sc, inc] x 6 (36)
Change to Red Yarn
Rnd 13 (Red): sc in each st around (36)
Change to Blue Yarn
Rnd 14 (Blue): sc in each st around (36)
Rnd 15 (Blue): Working in BLO: [4 sc, dec] x 6 (30)
Rnd 16 (Blue): [3 sc, dec] x 6 (24) Add stuffing to the body base.
Rnd 17 (Blue): [2 sc, dec] x 6 (18)
Rnd 18 (Blue): [1 sc, dec] x 6 (12) Finish stuffing firmly.
Rnd 19 (Blue): dec x 6 (6) Fasten off, weave tail through remaining 6 front loops, pull tight to close, and hide thread end.
4. FELT STAR & FINISHING DETAILS
Felt Piece: Cut 1 medium star from the white felt sheet.
Appliqué Attachment: Center the white felt star in the middle blue section on top of the shell. Using white sewing thread, hand-sew around the border with small whip stitches to secure it. Or you can also glue it!