Author: Talha
I am a crochet designer, macramé maker and a crafter who also loves doing MATH.

Featuring: KumoAmu
She is a SUPER CREATIVE plushie designer who makes all things festive and cute!
Pattern Type: Video Tutorial & Pattern by Kumo. Kumo is one of our dearest friends, so be sure to support her!
Today’s crochet plushie tutorial is a part of both our “crochet no-sew Halloween buddy plushies” and “skinny yarn is awesome” series. So don’t miss crocheting this little purple, green, and black zombie desk buddy plushie designed for absolute beginners. If you are looking for a spooky-cute last-minute buddy to carry during the spooky festival, be sure to crochet this quick bolt zombie plush.
I have already shared some more beginner projects for the bolt zombie, such as the crochet donut zombie and green zombie doll as well, so be sure to check them later on, too.
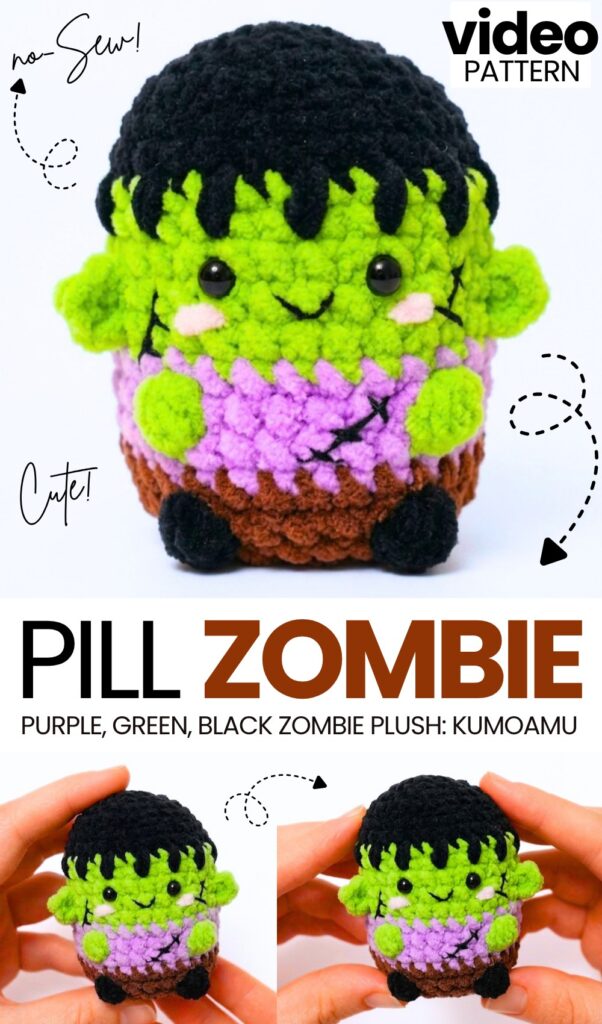
For now, we crochet a chill pill zombie amigurumi plush that is so satisfying to hold and squish. Actually, this is the continuation of last year’s Halloween and other festive buddies series, and I also took my part in providing tutorials for all of them. This year, too, I will try my best to bring all the crochet plush spooky buddies patterns. Now, continue reading for learning more about this crochet plush Frankstenstein project!
Similar Project(s)
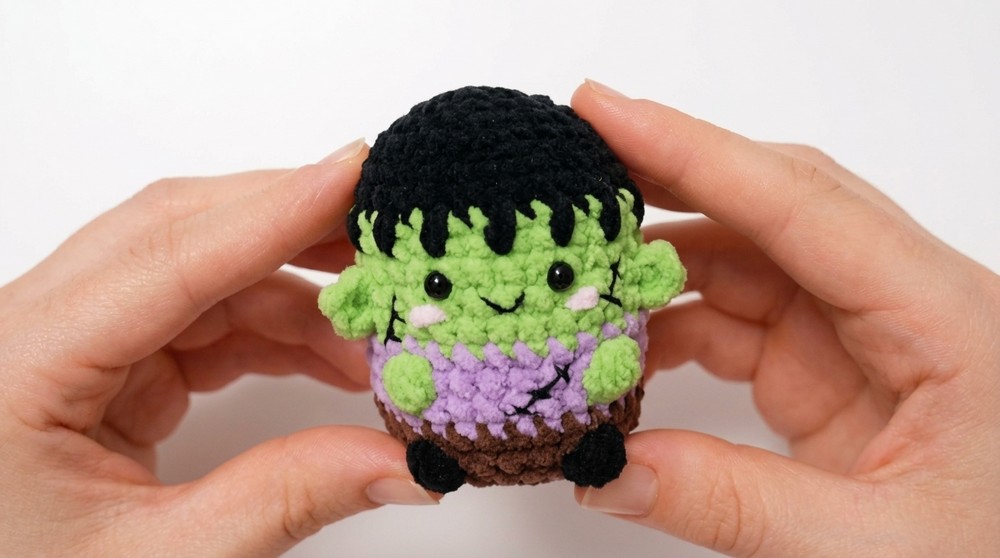
Tutorial to Crochet a Skinny Plush Yarn Bolt Zombie Plushie
This tutorial shows how to crochet a cute Frankenstein toy. You start with a magic ring using black yarn for the head. You crochet in rounds with increases, then work in the back loop.
Next, you change yarn to green for the face. You switch to purple yarn to make the body and arms using bobble stitches.
Then, switch to brown yarn to make the feet and bottom. Add safety eyes and fiberfill stuffing before closing the body. Finally, embroider black hair, crochet and sew on the ears, and embroider pink cheeks, mouth, and scar lines.
Materials
Chenille Yarn (50g / 135m): Black, Green, Purple, Brown, Pink
Crochet Hook: 2.5 mm
Black Embroidery Thread
Scissors
Polyester Fiberfill Stuffing
Sewing Needle
Stitch Markers
Safety Plastic Eyes: 6 mm
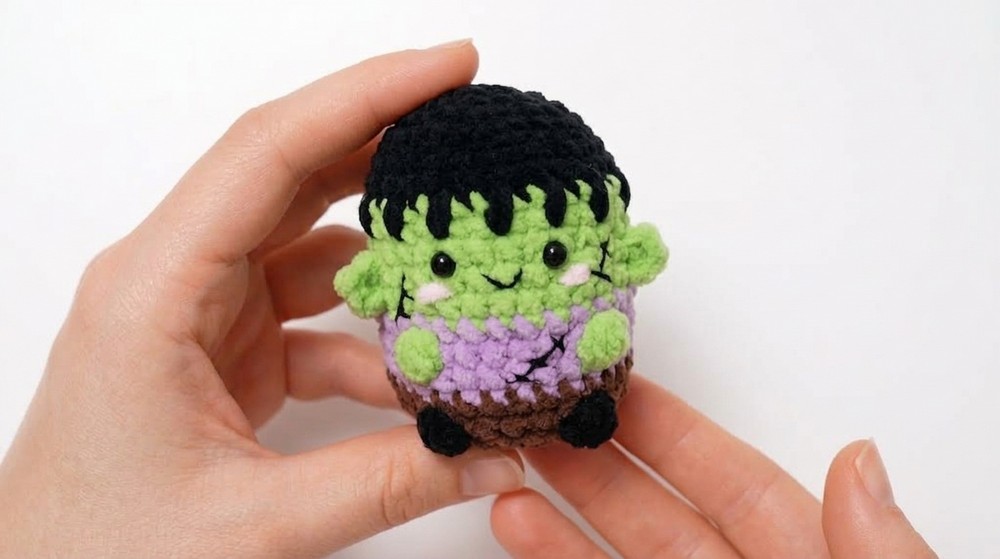
How to Make the Bobble Stitch (BO)
The bobble stitch creates the arms and legs:
Yarn over, insert your hook into the stitch, yarn over, and pull up a loop (3 loops on hook).
Yarn over and pull through the first 2 loops (2 loops remain on hook — 1 incomplete double crochet).
Work 4 more incomplete double crochets into the exact same stitch following the same method. You will have 6 loops on your hook.
Yarn over (switch to the main color yarn if changing colors) and pull through all 6 loops on your hook to close the bobble together.
Learn Crocheting Now!
Better learn the whole method of crocheting these sitting Frankenstein plushies in this tutorial:
Written Pattern?
You can also use the “ask” feature of the tutorial to retrieve the quick pattern. This pattern-getting method is designer-compliant!