Author: Talha
I am a crochet designer, macramé maker and a crafter who also loves doing MATH.
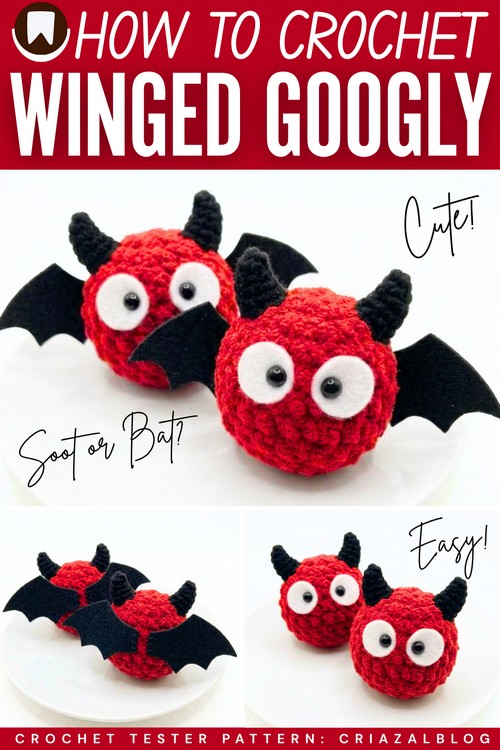
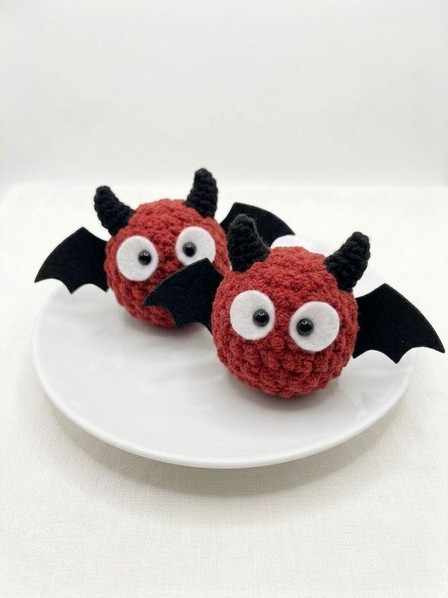
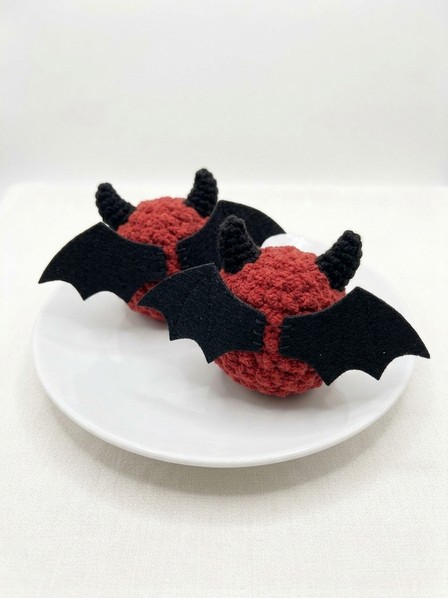
Today’s crochet tester pattern makes a SUPER UNIQUE crochet sphere bat plushie for absolute beginners. So, say welcome to this black-horned and black-winged crochet googly-eyed red soot bat plushie that you can learn how to crochet with a step-by-step tutorial for absolute beginners.
This is the easiest crochet tester pattern for this ear, as you only have to crochet a sphere and easy cone horns, with the rest handled by the felt (for eyes and wings).
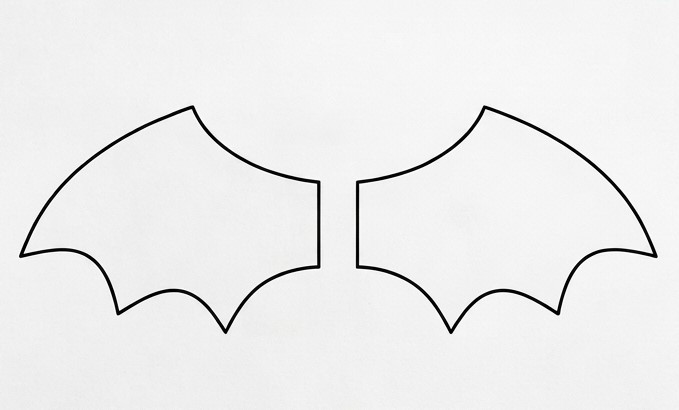
And the luck has got you because I will also provide a FREE printable template for cutting the bat wings. Also, you will learn the method on how add an arc to the horn to make the traditional Halloween horns. Making this crochet plush won’t take more than 29 minutes, so be sure to give this NEW pattern a try and show me your creations.
Similar Project(s)
Pattern to Crochet the Winged Googly-Eyed Red Bat Plushie
Skill Level: Beginner – Level 2
Materials Needed
Super Bulky Yarn: Red / Burgundy (for Body)
DK Yarn: Black (for Horns)
Crochet Hooks: 6.0 mm (for body) and 2.5 mm – 3.0 mm (for horns)
Felt Sheets: White felt (for eyes) and Black felt (for wings)
Eyes: Two 9mm black half beads
Tools: Fiberfill stuffing, fabric/hot glue, yarn needle, scissors, stitch marker
Abbreviations (US Terms)
MR: Magic Ring
sc: Single Crochet
inc: Increase (2 sc in the same stitch)
dec: Invisible Decrease (sc 2 stitches together)
st(s): Stitch(es)
Body (Super Bulky Yarn)
Work in continuous rounds.
Rnd 1: 6 sc in MR [6]
Rnd 2: [inc] x 6 [12]
Rnd 3: [1 sc, inc] x 6 [18]
Rnd 4: 18 sc [18]
Rnd 5: 18 sc [18]
Rnd 6: 18 sc [18]
Rnd 7: 18 sc [18]
Rnd 8: [1 sc, dec] x 6 [12] (Stuff firmly with fiberfill)
Rnd 9: [dec] x 6 [6]
Fasten off: Weave yarn tail through front loops of remaining 6 sts, pull tight to close, and weave in end.
Horns (Make 2 – Black DK Yarn)
Work in continuous rounds. Increases by 1 stitch per round from rounds 1 to 7.
Rnd 1: 3 sc in MR [3]
Rnd 2: inc, 2 sc [4]
Rnd 3: inc, 3 sc [5]
Rnd 4: inc, 4 sc [6]
Rnd 5: inc, 5 sc [7]
Rnd 6: inc, 6 sc [8]
Rnd 7: inc, 7 sc [9]
Fasten off: Leave a long yarn tail for shaping and sewing.
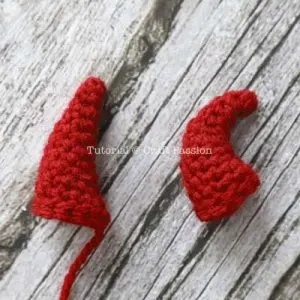
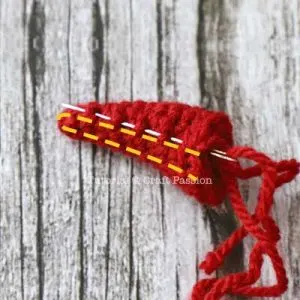
Technique: How to Arch the Horns
To give the horns a curved shape, perform the following steps:
Thread the remaining yarn tail onto a tapestry needle.
Sew a line of running stitches along the inner (concave) side of the horn, working from the base up to the tip.
Once at the tip, turn and sew back down along the same line to return to the base.
Gently pull the yarn tail from the base. This contracts the stitched side and pulls the horn into an arch.
Tie the yarn securely at the base to lock the arched shape in place.
Assembly & Finishing Details
1. Horn Attachment
Sew the two curved horns onto the top of the body, angled slightly outwards.
2. Eyes
Cut two circles out of white felt (approx. 15–18mm diameter).
Attach a 9mm black half bead onto the center of each white felt circle using fabric glue.
Glue the completed eyes onto the front of the plush body.
3. Wings
Cut two bat wing shapes out of black stiff felt.
Securely glue or stitch the base of each wing to the upper back of the body, extending outward on either side.