Pattern type available is the video tutorial, so show support for!
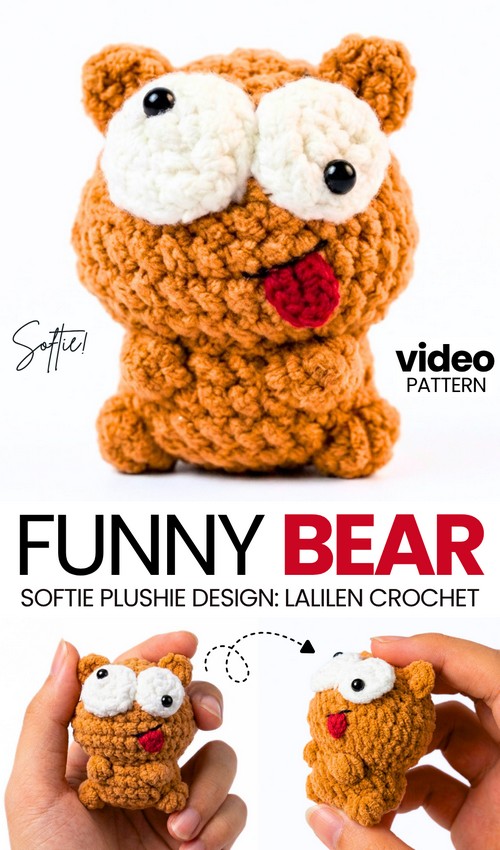
Back to the crochet “no-sew FUNNY animal softies” series, today, learn how to crochet this oh-so-cute miniature bear plush using skinny plush yarn! I am more than excited for this crochet anti-stress plush sitting buddy bear because of its SO CUTE and wacky features. And the best part is that this crochet brown bear uses the same “sitting animal” buddy base that needs bobble stitch as a no-sew technique to crochet the legs and arms. Crochet this plush as a Valentine’s Day, Christmas, and birthday gift. Make this little bear your buddy by attaching it to your shoulder bag.
The stuffed wobble eyes are super easy to recreate, since you follow the same basic circle pattern to crochet both. Then, just misplace the positions of the half beads on both to end up with a wobbly-eyed little buddy.
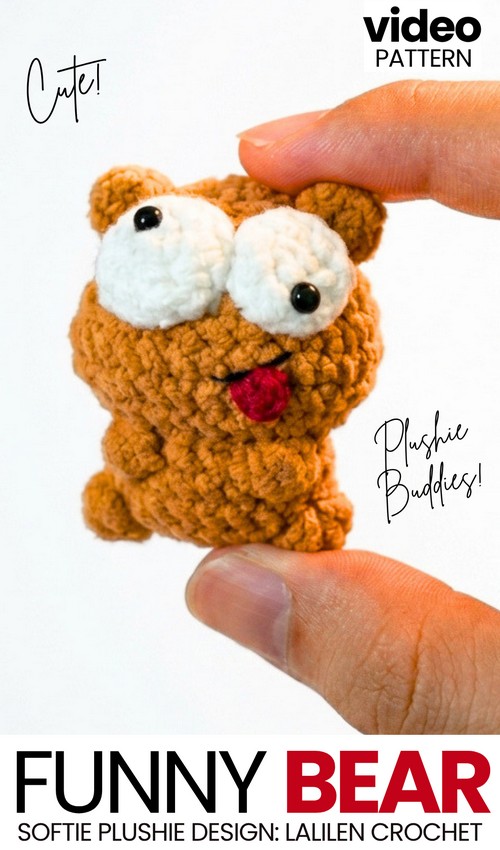
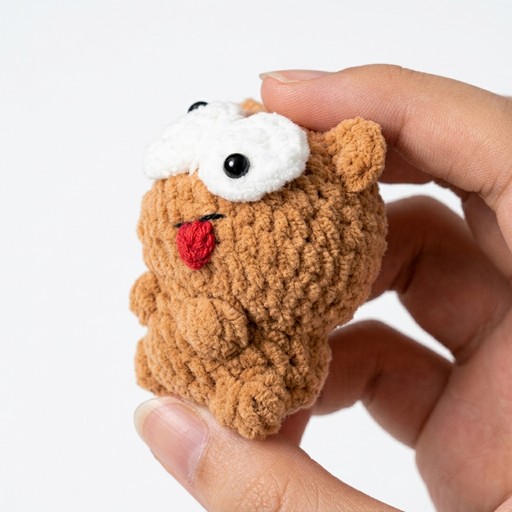
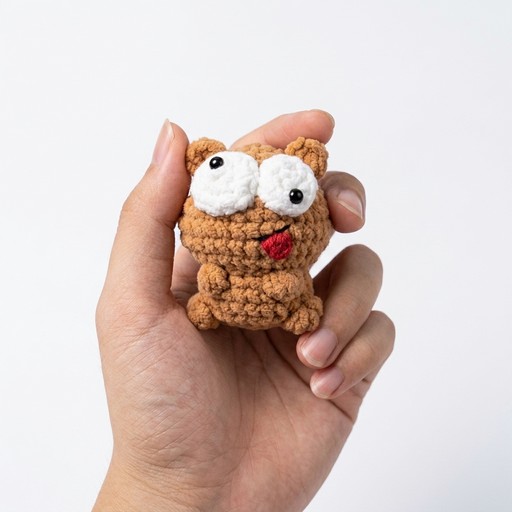
The red tongue outside is no less of a funny feature of this crochet miniature bear plushie softie. You can also make your crochet bear wear a small Santa hat to turn it into a crochet plush winter funny grizzly bear gift for the little ones. You can also crochet your bear plush using super bulky yarn or just go with the skinny plush yarn, which makes it so small and soft at the same time. The idea to crochet the legs and arms using the same stitch is to reduce the number of loops in the bobble stitch for the arms. Anyway, you can continue reading to learn more about this funny project and see in action the techniques in teh tutorial.
[ez-toc]
Tutorial to Crochet the Miniature Brown Bear Plushie
Start with a magic ring. Crochet eleven rounds for the head using brown yarn. Use increases and decreases to shape it. Crochet rounds twelve to sixteen for the body. Use front loop only for round twelve.
Make four bobble stitches for paws. Stuff the bear with fiberfill. Crochet two white circles for eyes. Crochet two small circles for ears. Crochet a red tongue. Sew ears, tongue, and white eyes onto the bear. Glue small black eyes on the white circles. Your mini bear is finished.

Difficulty Level: Intermediate
This tutorial is intermediate because the bear is very small, which makes it hard to hold. Plush yarn is also used, which makes it difficult to see individual stitches.
Pattern Abbreviations
MR: Magic Ring
sc: Single Crochet
inc: Increase
dec: Decrease
BO: Bobble Stitch
FLO: Front Loop Only
hdc: Half Double Crochet
sl st: Slip Stitch
Materials
Brown plush yarn
White yarn
Red baby yarn
3.0mm crochet hook
4mm black eyes
Stuffing
Needle, scissors, and glue gun
Special Stitch: Bobble Stitch (BO)
To make a bobble stitch, yarn over and insert the hook into the stitch. Pull up a loop, yarn over, and pull through two loops. Repeat this four more times in the same stitch until you have six loops on your hook. Yarn over and pull through all six loops.
Learn Crocheting Now!
Better learn the whole method of crocheting this spooky little funny bear plush in this tutorial:
Written Pattern?
You can use the “ask” feature of the tutorial to retrieve the quick pattern. This pattern-getting method is designer-compliant!
Share on Social Media!
See More:
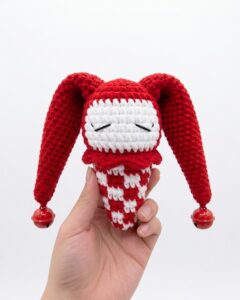
Tester Call: How to Crochet Mr. Enternainer Funny Character Cone Plushie for Gifting
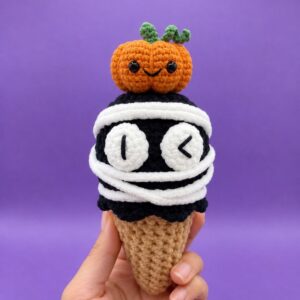
Pattern Tester: How to Crochet Funny Mummy Scoop & Cone in Orange Hat Plushie
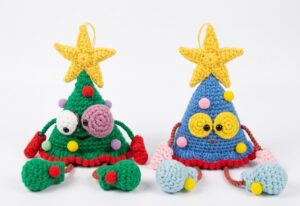
How to Crochet the Craziest FUNNY Christmas Tree Buddy Amigurumi Ornament
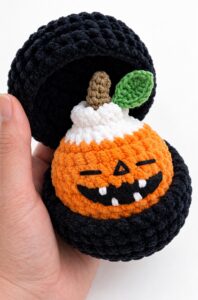
Tester Pattern: How to Crochet A Funny Orange Food Plushie for Kids
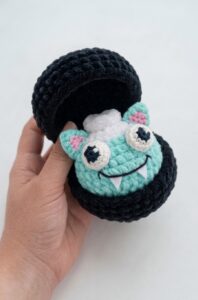
Tester Pattern: How to Crochet A Monster Funny Bao Bun Plushie for Kids
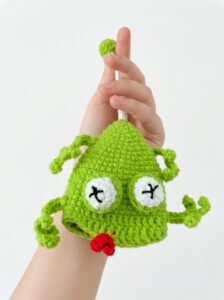
Featuring: How to Crochet Fidget Funny Animal Key Holder for Gifting
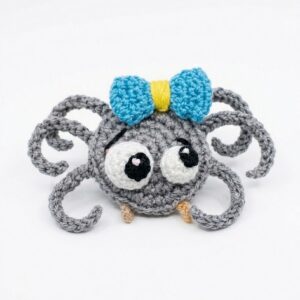
How to Crochet a Funny Googly-Eyed Spider in A Bow Amigurumi Decorations
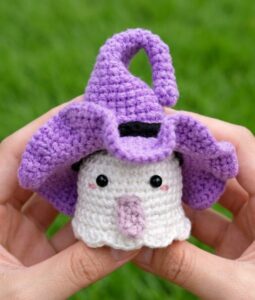
How to Crochet Funny Standing Ghost in the Most Detailed Witch Hat Amigurumi
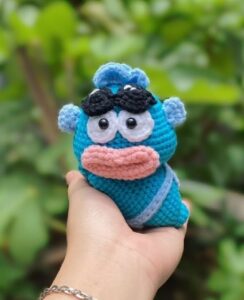
Crochet Funny Blue Googly Character Amigurumi (Palm Pet Amigurumi)