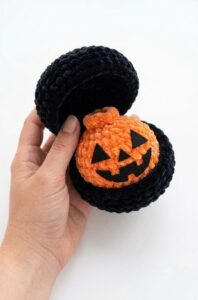
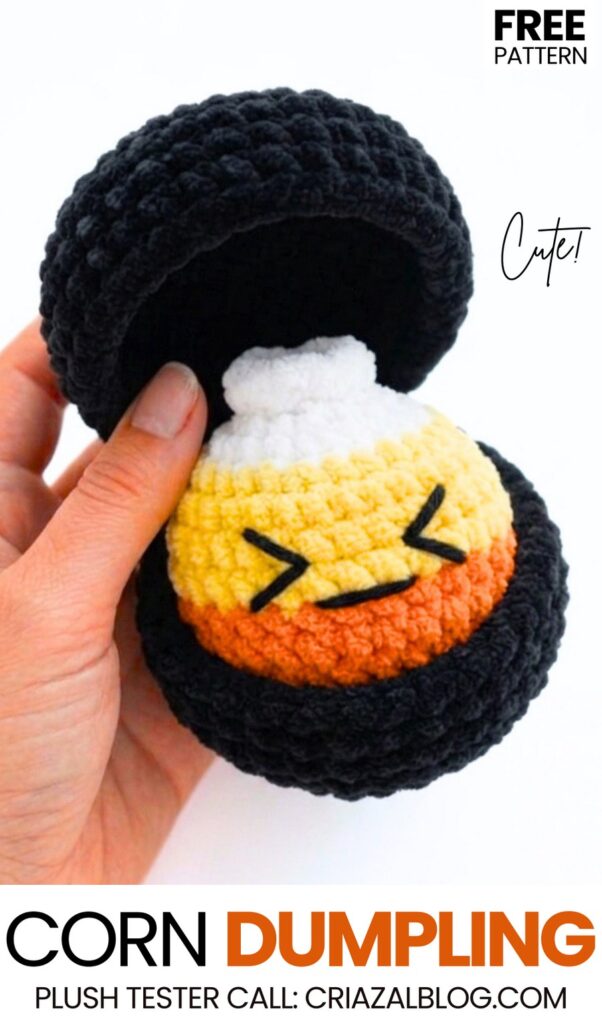
Here is the 2nd and last “crochet Halloween dumpling plushie pattern” of this week. Today, I will be sharing a FREE pattern to crochet this easy yellow, white, and orange candy corn dumpling plushie that has cute “><” kawaii eyes and fits inside a black clamshell dumpling steamer plushie box with a lid. You can quickly crochet this variation, too, just like the crochet cat in a witch dumpling plush!
[ez-toc]
Pattern to Crochet the Candy Corn Dumpling Pattern
Pattern Overview & Abbreviations
Terms (US): MR (Magic Ring), sc (Single Crochet), inc (Increase – 2 sc in same st), dec (Invisible Decrease), BLO (Back Loops Only), FLO (Front Loops Only), st/sts (Stitch/Stitches), FO (Fasten Off).
Finished Size: Fits inside hand palm/basket (~3–4 inches tall).
Materials
Super Bulky Plush Yarn (Size 6): Yellow, Orange, White, and Black
Hook: 4.0 mm crochet hook
Notions: Black cotton embroidery floss, thin semi-cotton yarn (for cinching top), fiberfill stuffing, tapestry needle, stitch marker, scissors.
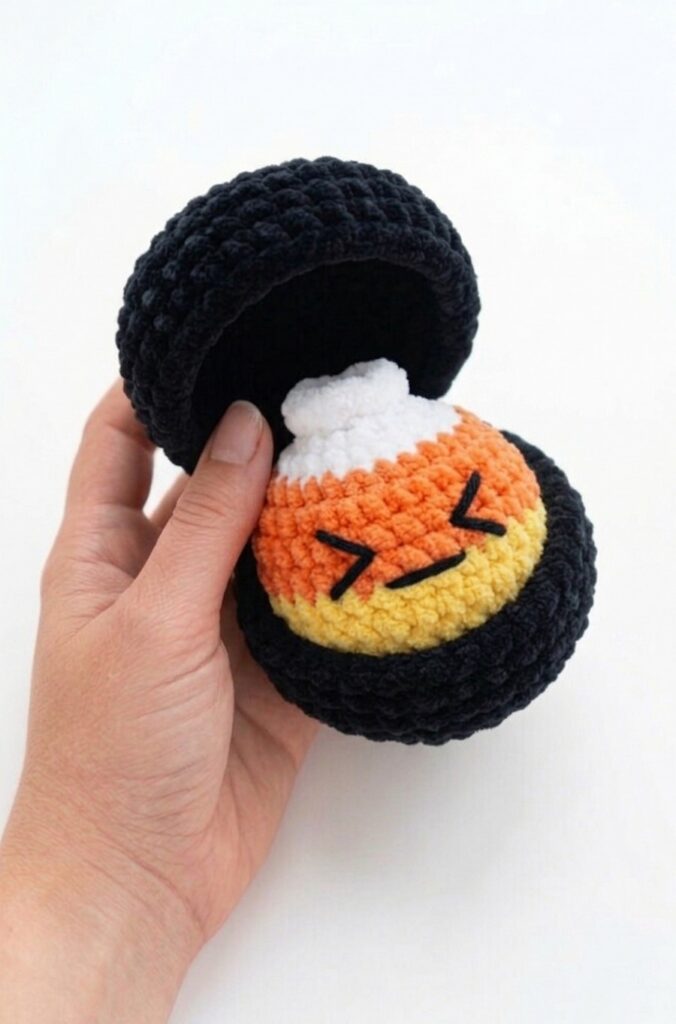
Part 1: Candy Corn Dumpling
Start with Yellow Plush Yarn
R1: 8 sc into MR. Pull tight. (8 sts)
R2: [Inc] in each st around. (16 sts)
R3: [1 sc, inc] 8 times. (24 sts)
R4: [2 sc, inc] 8 times. (32 sts)
Change to Orange Plush Yarn on the last yarn-over of R4.
Orange Plush Yarn
R5–R8: 1 sc in each st around. (32 sts each round)
Pause after R8 to embroider facial details (see guide below).
Change to White Plush Yarn on the last yarn-over of R8.
White Plush Yarn
R9: [2 sc, dec] 8 times. (24 sts)
R10: [1 sc, dec] 8 times. (16 sts)
Stuff the body moderately with fiberfill.
R11: [Dec] 8 times. (8 sts)
R12 (Ruffle Top): In FLO, [1 inc, 1 sc] around. (12 sts)
Finishing: FO. Thread thin semi-cotton yarn through the remaining BLO loops of R11, pull tight to cinch the inner top flat, tie off, and weave in ends.
Facial Embroidery Guide
Using black cotton embroidery yarn and a tapestry needle on the Orange section (R6–R7):
Right Eye (
>): Stitch a sideways “V” across R6–R7, approximately 2 stitches wide.Left Eye (
<): Stitch an opposite sideways “V” across R6–R7, leaving 4 stitches between the inner corners of the eyes.Mouth (
—): Stitch a single straight horizontal line across 2 stitches centered on R6 directly between the eyes.
Part 2: Black Basket Container
Base (Black Plush Yarn)
R1: 6 sc in MR. (6 sts)
R2: [Inc] 6 times. (12 sts)
R3: [1 sc, inc] 6 times. (18 sts)
R4: [2 sc, inc] 6 times. (24 sts)
R5: [3 sc, inc] 6 times. (36 sts)
R6: In BLO, 1 sc in each st around. (36 sts)
R7–R8: 1 sc in each st around. (36 sts)
FO and weave in tail.
Lid (Black Plush Yarn)
R1–R5: Repeat R1–R5 of the Base. (36 sts)
R6: In BLO, 1 sc in each st around. (36 sts)
R7–R8: 1 sc in each st around. (36 sts)
Do not cut yarn after R8.
Hinge Assembly
Place Lid over Base with right sides facing out, aligning the edges.
Insert hook through corresponding stitches on both Lid and Base simultaneously.
Work 1 sc across 6 stitches through both thicknesses to form the back hinge.
FO and weave in remaining yarn tails.
See More:
Tester Call: How to Crochet Gingerbread Bao Bun Dumpling Plushie for Christmas
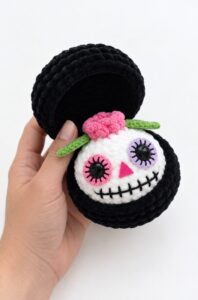
Pattern Tester: Flower on the Top Tribute Spooky Dumpling Plushie Pattern
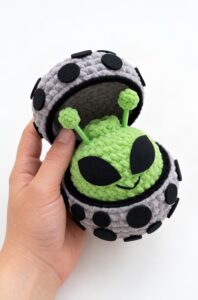
Pattern Tester: How to Crochet An Alien Dumpling in A Pod Box Plushie
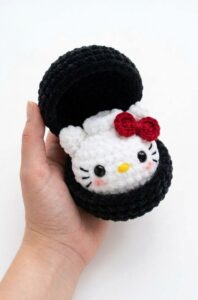
Tester Pattern: How to Crochet Hello Kitty Dumpling Plushie for Playing With
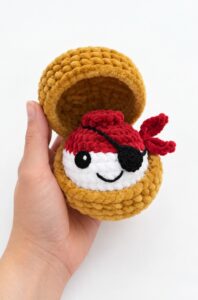
Tester Call: How to Crochet Mr. Pirate Dumpling Plushie in A Treasure Box
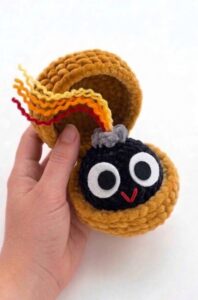
Tester Pattern: How to Crochet Birthday-Popper Dumpling Plushie for Gifting

Tester Pattern: How to Crochet Dumpling Buddy in A Steamer Costume Plushie

Tester Pattern: To Crochet A Snowball Christmas Dumpling in Basket Plush
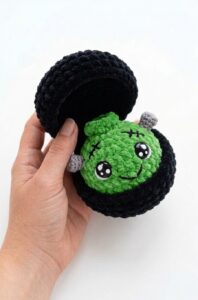
Tester Call: Free Crochet Kawaii-Eyes Bolt Zombie Dumpling Plushie