
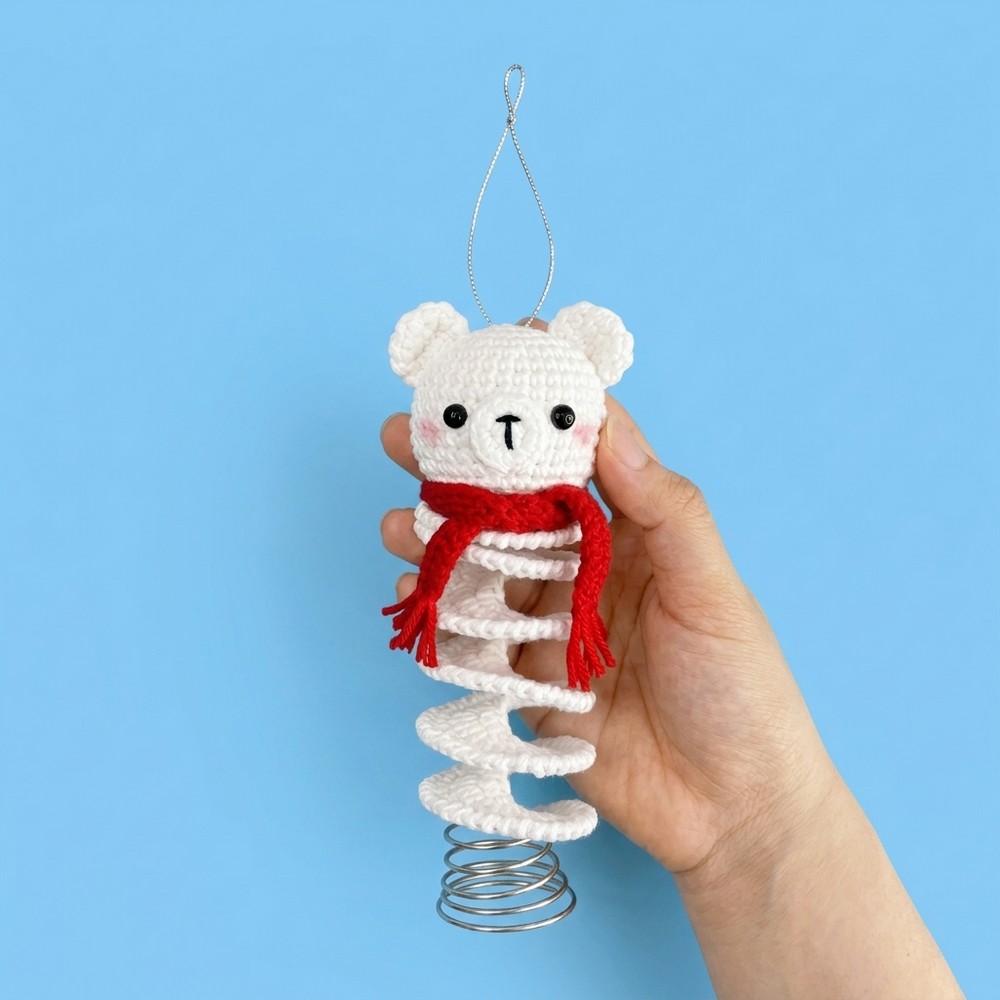
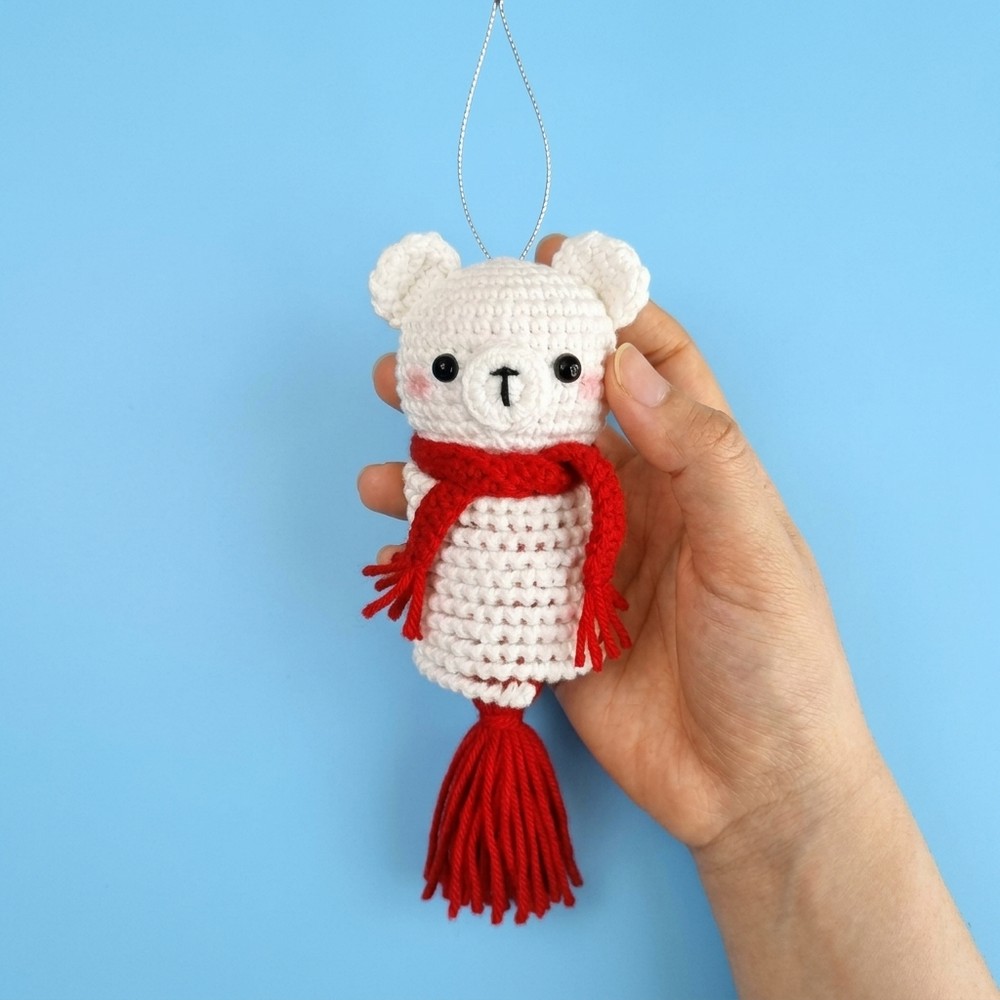
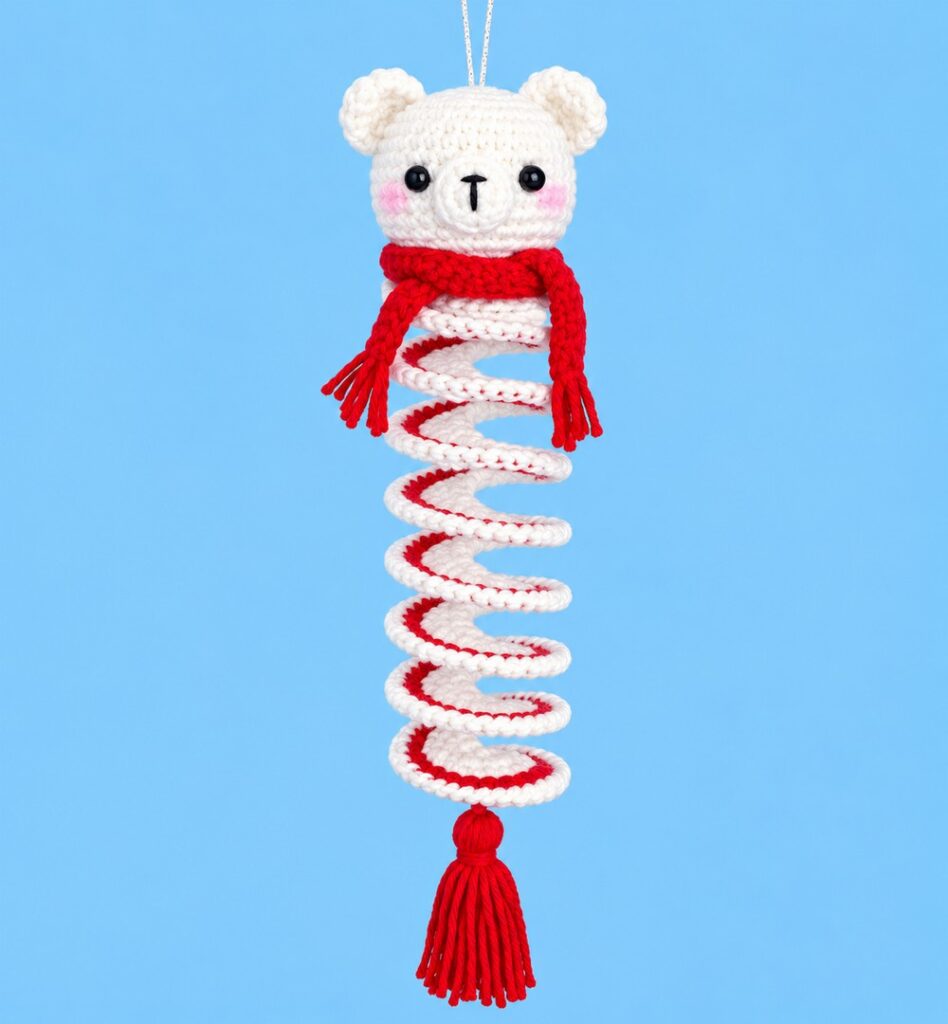
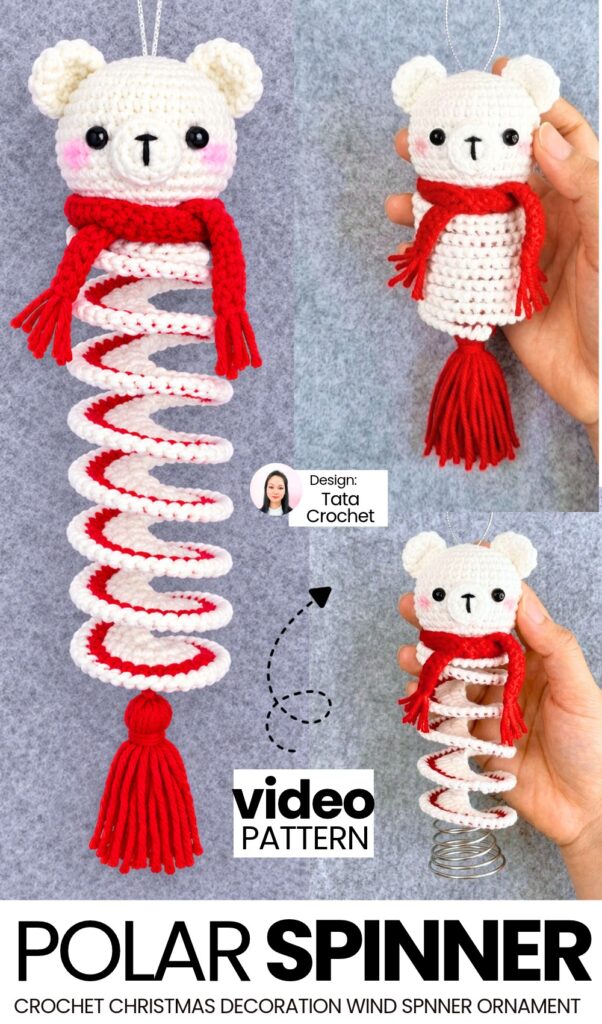
Welcome to part 3 of my new “crochet Christmas characters wind spinner” series! Today, learn how to crochet this, the easiest polar bear in a red scarf wind spinner, by following a step-by-step tutorial for beginners. We are crocheting the same red-and-white striped wind spinner with a tassel at the bottom and a CUTE crochet polar bear amigurumi head on top.
With the blush on the cheeks, this is the CUTEST crochet decoration you can make this year.
You will actually be learning to crochet two wind spinners in this step-by-step tutorial. These are bouncy, spiraling wind spinners. Make them Christmas tree decorations, ornaments, window hangers, or gifts. Now, continue reading for learning more about this amigurumi wind spinner project!
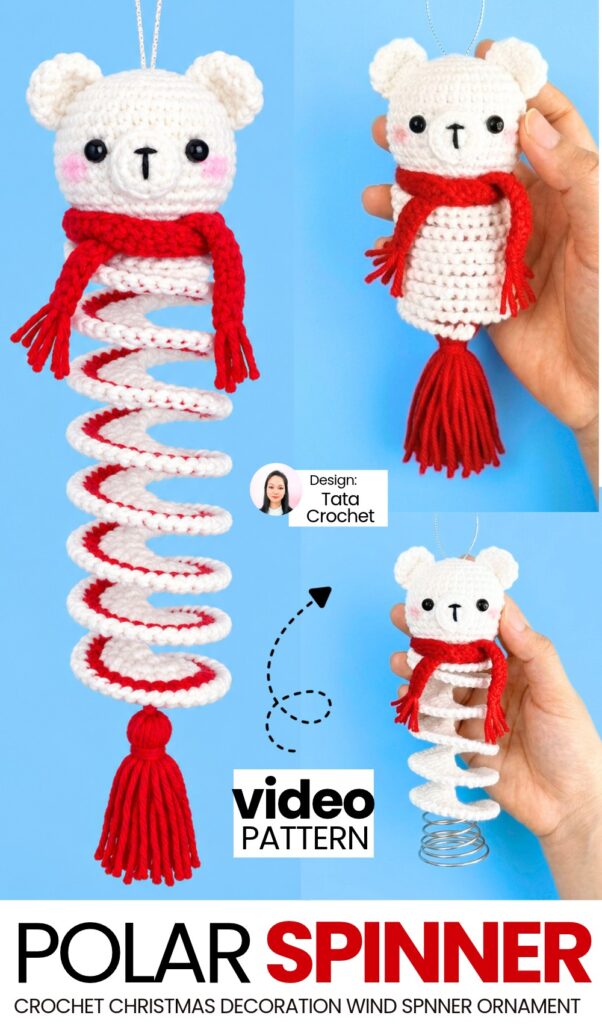
Tutorial to Crochet a Polar Bear Spinner for Gifting
Skill Level: Beginner – Level 4
Materials & Tools
Yarn: DK or sport-weight cotton or cotton-blend yarn in the following colors:
White (for the Polar Bear head, ears, muzzle, hat trim, and spiral stripes)
Gingerbread Brown / Camel (for the Gingerbread Man head and spiral)
Bright Red (for the Santa hat, scarf, tassel, and spiral accents)
Forest Green (for the bow tie and spiral accents)
Light Beige (optional, for Reindeer variation)
Black embroidery thread or thin yarn (for facial details)
Crochet Hook: 2.75 mm
Safety Eyes: 7 mm black safety eyes (2 per character)
Stuffing: Polyester fiberfill
Adhesive: Hot glue gun and glue sticks
Notions:
Tapestry / yarn needle
Scissors
Stitch marker
Sewing pins / ball-head pins
Gold or silver metallic hanging cord
Powder blush and small makeup brush (for rosy cheeks)
Stitch Abbreviations (US Terms)
MR: Magic Ring
ch: Chain
sc: Single crochet
hdc: Half double crochet
dc: Double crochet
inc: Increase (work 2 single crochet stitches into the same stitch)
hdc inc: Half double crochet increase (work 2 half double crochet stitches into the same stitch)
dc inc: Double crochet increase (work 2 double crochet stitches into the same stitch)
dec: Decrease (work 2 single crochet stitches together)
sl st: Slip stitch
reverse sc (crab stitch): Single crochet worked in reverse (from left to right)
st(s): Stitch(es)
Learn Crocheting Now!
Better learn the whole method of crocheting this polar bear spinner, no-sew, in this tutorial:
Base Spiral (Wind-Spinner Body)
The spiral body is worked back and forth in rows across a long chain. As stitches are heavily increased, the strip naturally curls into an accordion-style spring.
Color Sequences by Character:
Polar Bear: Row 1 (White), Row 2 (White), Row 3 (Red), Row 4 (White)
Gingerbread Man: Row 1 (Brown), Row 2 (Brown), Row 3 (White), Row 4 (Brown)
Gnome: Row 1 (Red), Row 2 (White), Row 3 (Green), Row 4 (Red)
Reindeer: Row 1 (Beige), Row 2 (Red), Row 3 (White), Row 4 (Beige)
Spiral Pattern:
Foundation: Using the color for Row 1, ch 62.
Row 1: Skip 2 chains from the hook. Work 1 hdc inc (2 hdc) in each of the next 60 chains across. (120 sts)
Row 2: Ch 2, turn. Work 1 dc inc (2 dc) in each of the 120 stitches across. (240 sts)
Row 3: Change to Row 3 accent color. Ch 1, turn. [1 sc, 1 inc] repeat 120 times across. (360 sts)
Row 4 (Decorative Edge): Change to Row 4 color. Ch 1, do not turn. Work 1 reverse sc (crab stitch) in every stitch along the edge across all 360 stitches.
Forming the Top Spiral Stack:
Cut the yarn, leaving a tail of about 10 inches, and thread onto a yarn needle.
Coil the very top segment of the spiral so that the first few circular folds sit flat against one another like stacked rings.
Pass the needle vertically up and down through the center of these stacked top coils, sewing them securely together so they form a flat, stable platform to glue directly beneath the head. Fasten off and trim excess yarn.
Learn the remaining through the video tutorial!
Share on Social Media!

See More:
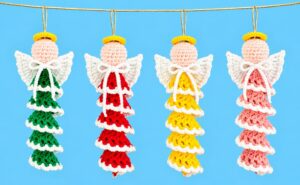
Featuring: Tutorial to Crochet Angel Buddy Wind Spinner with Red, Green, Pink and Yellow Options
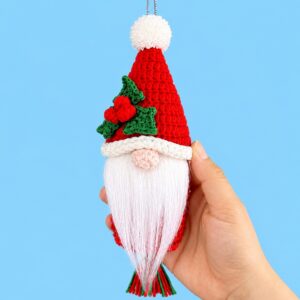
Featuring: How to Crochet Holly Leaf on the Hat Gnome Wind Spinner with Tassel
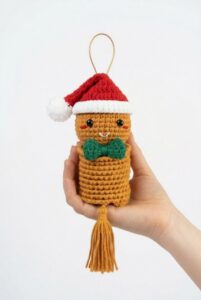
Featuring: How to Crochet Amigurumi Mr. Gingerbread in Santa Hat Wind Spinner for Christmas
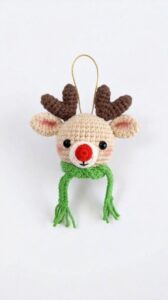
Featuring: How to Crochet Reindeer in Scarf Christmas Wind Spinner for Decoration
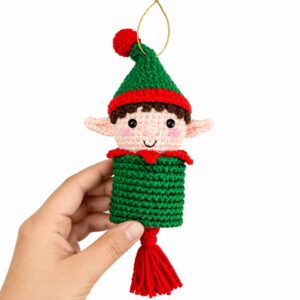
Featuring: How to Crochet 5-in-1 Elf Wind Spinner Ornament Decoration Tutorial
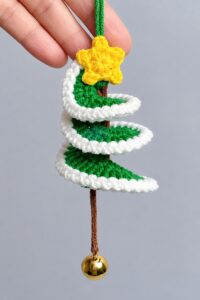
Featuring: Tutoral to Crochet White Edging & Bell Hanging Mini Tree Spinner
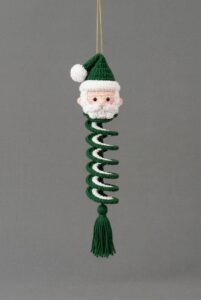
How to Crochet A Santa on the Top Wind Spinner for Christmas
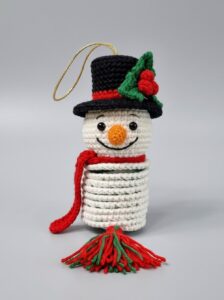
[PDF Pattern] How to Crochet Smiling Snowman Wind Spinner for Christmas
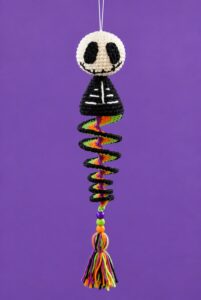
Featuring: How to Crochet the Skeleton Wind Spinner With Stripes of Halloween Colors
