Show support for Marifairyland!
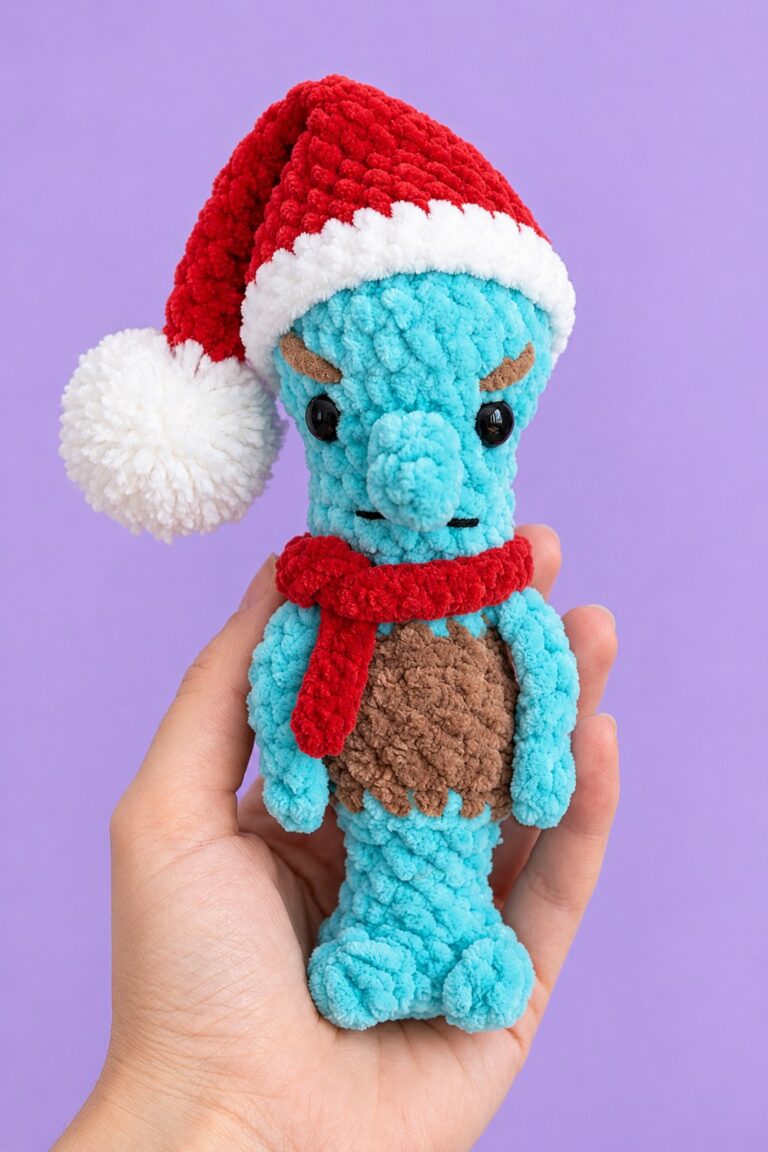
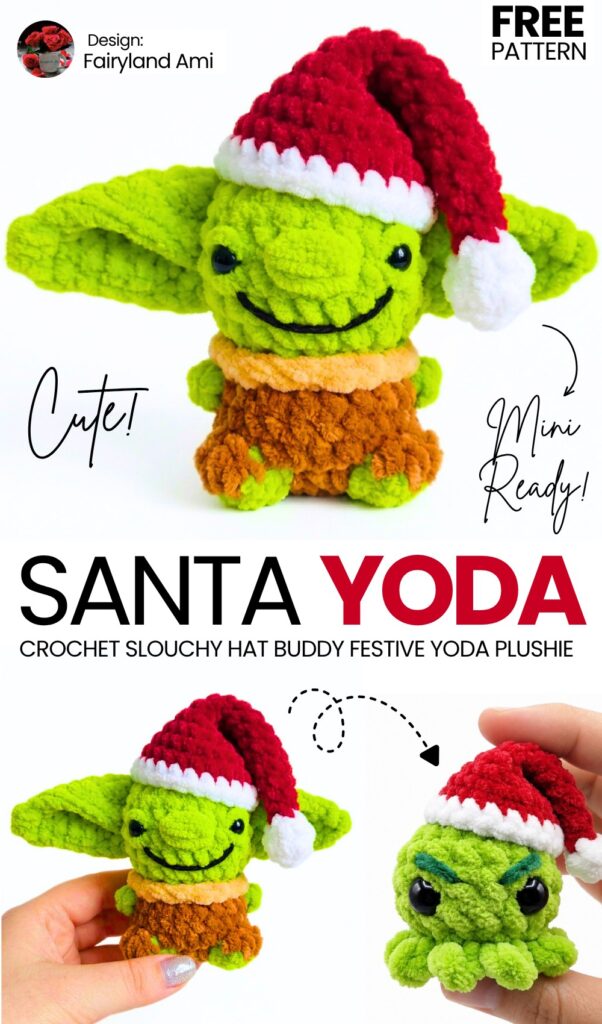
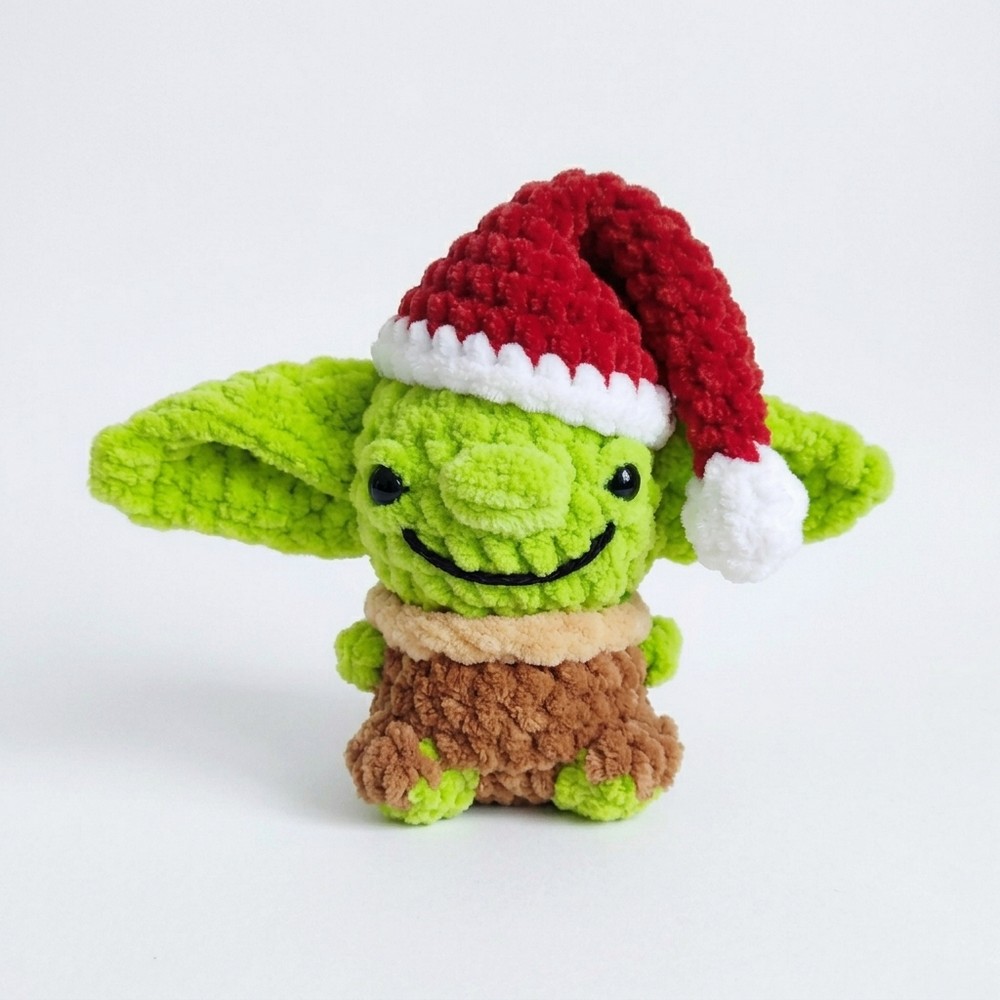
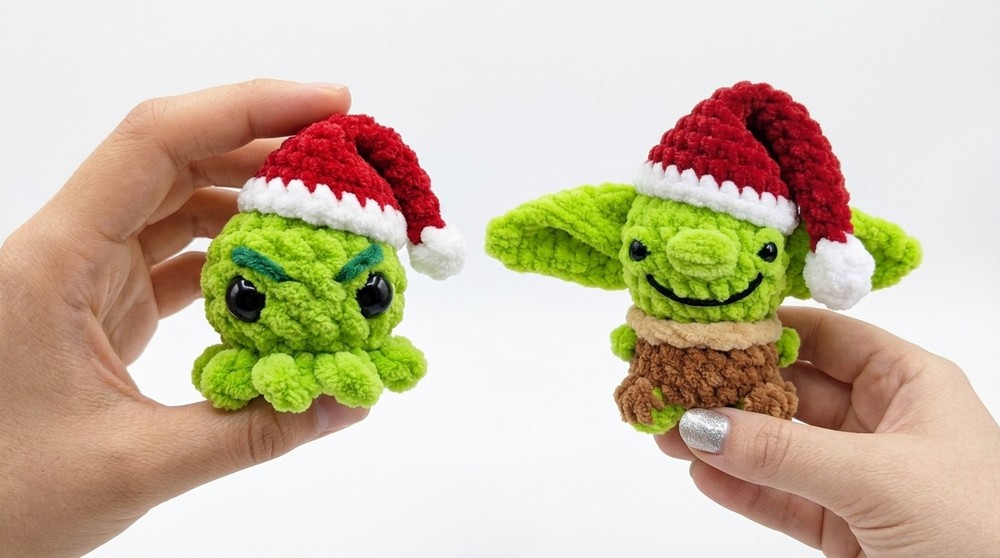
For a couple of days, I have shared tens of crochet Grinch + other-themed CUSTOM plushies, but today, I am the most excited! Because today, you will be learning how to crochet this UNIQUE no-sew, pocket-sized plush Baby Yoda in the crochet slouchy Santa hat plushie that you can crochet in under 45 minutes. Standing at approximately 8 cm (3.2 inches) tall, this little Jedi master is crocheted in one continuous piece from the base of his robe all the way to the top of his head.
The feet and arms are of this crochet Baby Yoda that you can crochet as a Christmas present are crocheted directly into the body. That’s because of the use of clever color changes and chain techniques, while the fluffy collar is worked straight into the front loops of the neck.
The only separate pieces you will need to sew on are his iconic large ears! With cute sculpted eyelids and an embroidered nose, this quick and beginner-friendly project makes a perfect keychain, bag charm, or gift for any Star Wars fan.
Pattern to Crochet the Plush Miniature Grinch Baby Yoda in Santa Hat
Skill Level: Beginner – Level 5
Materials & Tools
Plush / Chenille Super Bulky Yarn (e.g., YarnArt Dolce, Himalaya Dolphin Baby, or similar 100g / 120m):
Olive / Lime Green (Head, hands, feet, ears)
Brown / Caramel (Coat / Robe)
Beige / Cream (Robe collar)
Crochet Hook: 4.0 mm
Safety Eyes: 10 mm black safety eyes (or half-bead eyes)
Stuffing: Polyester fiberfill (hollofiber)
Notions: Tapestry needle, stitch marker, sharp scissors, lighter (to melt eye posts or seal plush ends), fabric glue or hot glue (to secure eyelids)
Materials for the Hat
Yarn A: Bulky (Weight 6) Plush Yarn in White
Yarn B: Red Plush Yarn
Yarn C: White Yarn (for brim)
Hook: 4.0mm crochet hook
Notions: Fiberfill stuffing, stitch marker, yarn needle
Stitch Abbreviations (US Terms)
MR: Magic Ring (or Ch 2 method)
ch: Chain stitch
sc: Single crochet
inc: Single crochet increase (2 sc in the same stitch)
dec: Single crochet decrease (sc 2 stitches together)
sl st: Slip stitch
st(s): Stitch(es)
BLO: Back loop only
FLO: Front loop only
Tutorial to Crochet teh Yoda!
Special Stitches
Foot Bobble (5-dc Cluster):
[Yarn over, insert hook into stitch, yarn over, pull up a loop, yarn over, draw through 2 loops] 5 times in the same stitch (6 loops on hook). Yarn over with the new color and pull through all 6 loops on your hook.Color Change: When switching colors on a single crochet or cluster, work the stitch until the final pull-through, then yarn over with the new color and pull through all loops to complete the stitch
Step 1: Ears (Make 2)
Use 4.0 mm hook and Green plush yarn. Worked in flat rows.
Row 1: Ch 2, work 1 sc in 2nd ch from hook. [1]
Row 2: Ch 1, turn. 1 inc (2 sc in the st). [2]
Row 3: Ch 1, turn. 2 inc (2 sc in each st). [4]
Row 4: Ch 1, turn. 1 sc in each of the 4 sts. [4]
Row 5: Ch 1, turn. 1 inc, 2 sc, 1 inc. [6]
Ear Border / Edging:
Do not turn around to make another row. Ch 1, and work single crochets evenly around the two slanted side edges of the triangular ear:
Work 3 sc evenly down the first side edge.
In the corner tip (the initial starting chain), work 3 sc in the same st to round the point.
Work 3 sc evenly up the second side edge.
Join with a sl st into the first stitch along the top straight edge.
Fasten off, leaving a 20 cm (8 in) yarn tail for shaping and sewing. Make a second identical ear and set both aside.
Step 2: Legs & Coat Body
Start with Brown plush yarn and 4.0 mm hook. Worked in continuous spiral rounds from the base up; use a stitch marker.
Round 1: Ch 2, work 6 sc into the 2nd chain from hook. [6]
Round 2: 6 inc (2 sc in each st around). [12]
Round 3 (Feet & Increases):
1 sc in Brown, 1 inc in Brown.
In the next st: work 1 sc in Brown; in the 2nd sc of this increase, change to Green on the final pull-through.
In the next st: work 1 Foot Bobble in Green (5-dc cluster, changing back to Brown on the final pull-through).
In next st: 1 inc in Brown.
1 sc in Brown, 1 inc in Brown, 1 sc in Brown.
In the next st: work 1 sc in Brown; in the 2nd sc of this increase, change to Green on the final pull-through.
In the next st: work 1 Foot Bobble in Green (5-dc cluster, changing back to Brown on the final pull-through).
In next st: 1 inc in Brown.
1 sc in Brown.
In the last st: 1 inc in Brown. [18 sts around]
(Push both green foot bobbles outward so they protrude from the front of the body).
Round 4:
Work 6 sc in Brown up to the first foot.
1 sc into the top loop of the foot.
5 sc in Brown between the feet.
1 sc into the top loop of the second foot.
5 sc in Brown to the end of the round. [18]
Round 5: 1 sc in each of the 18 sts around in Brown. [18]
Round 6 (Arms):
Work 5 sc in Brown; on the 6th sc, change to Green on the final pull-through.
First Arm: With Green, ch 4. Starting in the 2nd ch from hook, work 1 sc in each of the 3 chain stitches back toward the body. Work a sl st back into the base stitch on the body, changing back to Brown on the pull-through.
Work 8 sc in Brown across the front; on the 9th sc, change to Green on the final pull-through.
Second Arm: With Green, ch 4. Starting in the 2nd ch from hook, work 1 sc in each of the 3 chain stitches back toward the body. Work a sl st back into the base stitch on the body, changing back to Brown on the pull-through.
3 sc in Brown to end of round. [18 sts around body]
(Do not cut the Green yarn; carry it inside or leave attached).
Round 7: In Brown: (1 sc, dec) × 6 times around. (Hold arms forward so they stay outside the body). [12]
Fasten off Brown yarn and cut.
Step 3: Head (Worked Continuously)
Attach Green yarn into the last loop of Round 7.
Round 8: In BLO (Back Loop Only): (1 sc, inc) × 6 times. [18]
(Keep the front loops exposed—they will be used for the collar in Step 5).Round 9: In both loops: (2 sc, inc) × 6 times. [24]
Rounds 10–12 (3 rounds): 1 sc in each of the 24 sts around. [24 sts per round]
Round 13: (2 sc, dec) × 6 times. [18]
Step 4: Inserting Safety Eyes
Flatten the head slightly and align it with the arms so the face looks straight forward.
Insert the 10 mm black safety eyes between Rounds 11 and 12, spaced about 4 to 5 visible stitches apart (centered evenly above the arms and feet).
Secure the backing washers firmly inside.
(Tip from video: use a lighter to melt the protruding plastic post on the inside of the head and press it flat with a metal tool to make the back completely smooth)
Step 5: Robe Collar
Crochet the collar now before closing the top of the head.
Hold Grogu upside down (head facing down, feet facing up).
Attach Beige/Cream plush yarn to the first exposed front loop of Round 7 at the center back of the neck.
Ch 1, then work (1 sc, inc) × 6 times around the 12 front loops. [18 sc]
Join with a sl st to the first sc. Fasten off and weave both tails securely inside the body.
Step 6: Closing & Stuffing the Head
Firmly stuff the lower body and the bottom half of the head with fiberfill.
Round 14: (1 sc, dec) × 6 times. [12]
Round 15: 6 dec consecutively around. [6]
Finish stuffing the head firmly so it forms a rounded, slightly flat-topped alien head. Fasten off Green yarn, leaving a long tail (approx. 35 cm / 14 in) for closing and facial sculpting.
Closing:
Thread the long tail onto a tapestry needle.
Weave through the front loops only of all 6 remaining stitches.
Pull tightly to cinch the hole shut, then secure with a small knot.
Step 7: Sculpting the Face (Nose & Eyelids)
Using the same Green yarn tail attached to the top of the head:
Embroidered Nose:
Insert the needle into the closed top of the head and bring it out centered horizontally between the eyes along Round 11 (leaving 1 st space from each eye).
Make 3–4 horizontal stitches across 1 to 2 center stitches to build a plump, rounded nose ridge.
Eyelids:
Bring the needle out at the outer corner of the left eye.
Drape the plush yarn across the top curve of the eye, insert the needle into the inner corner, and pull until the yarn forms a hooded upper eyelid.
Bring the needle out at the inner bottom corner, drape the yarn across the lower curve of the eye, and insert at the outer corner to form a subtle lower eyelid.
Bring the needle through to the right eye and repeat the process to sculpt symmetrical upper and lower eyelids.
Secure the eyelids in place by applying a tiny drop of fabric glue or hot glue underneath the yarn strands so they hug the plastic eye curves closely.
Bring the needle out at the back of the head, knot securely, and hide the excess tail inside the head.
Step 8: Attaching the Ears
Take one ear and fold it in half lengthwise at the base (pinch the edges together), leaving about 1 stitch open at the top edge. Take 2–3 needle stitches through the base to hold this cupped fold in place.
Position the ear on the side of the head:
Level with Rounds 11–12 (eye level).
Spaced approximately 1 stitch behind the outer corner of the eye.
Ensure the folded hollow of the ear faces downward and slightly forward.
Sew the base of the ear securely to the head with several tight stitches.
Repeat on the opposite side with the second ear, ensuring they sit symmetrically and stick straight out.
Knot all thread tails, bury them inside the head, and trim any excess.
Your plush Baby Yoda / Grogu is now complete and ready for galactic adventures!
Crocheting the Hat
Abbreviations
MR: Magic ring
sc: Single crochet
inc: Increase (2 sc in the same stitch)
dec: Decrease (sc 2 stitches together)
st(s): Stitch(es)
Rnd(s): Round(s)
Part 1: Top Pom-Pom / Tip
Using White Super Bulky plush yarn (Weight 6) and a 4.0mm hook.
Rnd 1: 4 sc in a magic ring (4)
Rnd 2: (sc, inc) x 2 (6)
Rnd 3: sc in each st around (6)
Rnd 4: (sc, dec) x 2 (4)
Stuff this section with fiberfill before moving on.
Part 2: Hat Body
Switch to Red plush yarn, continuing with the 4.0mm hook.
Rnd 5: sc in each st around (4)
Rnd 6: sc in each st around (4)
Rnd 7: sc in each st around (4)
Rnd 8: 3 sc, inc (5)
Rnd 9: 4 sc, inc (6)
Rnd 10: 5 sc, inc (7)
Rnd 11: 6 sc, inc (8)
Rnd 12: 7 sc, inc (9)
Rnd 13: 8 sc, inc (10)
Rnd 14: 9 sc, inc (11)
Rnd 15: 10 sc, inc (12)
Rnd 16: (5 sc, inc) x 2 (14)
Rnd 17: (6 sc, inc) x 2 (16)
Rnd 18: (7 sc, inc) x 2 (18)
Rnd 19: (8 sc, inc) x 2 (20)
Rnd 20: (9 sc, inc) x 2 (22)
Part 3: Brim
Switch to White yarn, continuing with the 4.0mm hook.
Rnd 21: sc in each st around (22)
Rnd 22: sc in each st around (22)
Fasten off invisibly, cut yarn, and weave in all loose ends.
See More:
Tester Pattern: How to Crochet Santa Hat Grinch Turtle Plushie for Christmas Gifting
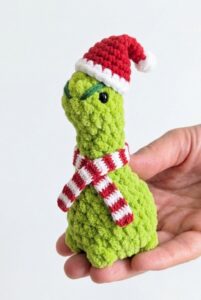
Tester Call: Crochet Santa Mr. No-Sew Dino Grinch Plushie for Gifting
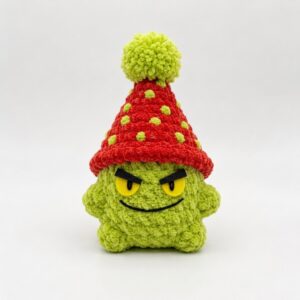
Tester Call: How to Crochet Grinch & Frog Festive Hat Baby Mushroom Plushie for Gifting
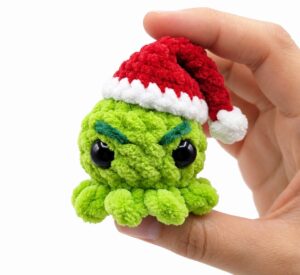
Tester Call: How to Crochet Mini No-Sew Grinch Santa Octopus Plushie for Kids
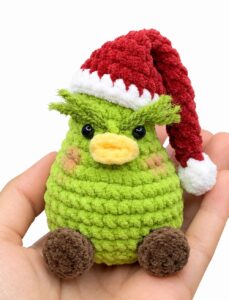
Tester Call: How to Crochet Grinch Pear Miniature Christmas Plushie for Gifting

Tester Call: How to Crochet Grinch Christmas Gift Plushie for Kids
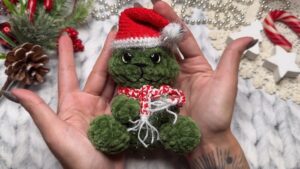
How to Crochet A Plush Grinch in a Santa Hat & Peppermint Scarf
How to Crochet Funny Santa Dress Mouse Plushie Fidget Toy Gift for Christmas
How to Crochet Miniature No-Sew Mr. Capy in Santa Hat Plushie Christmas Gift