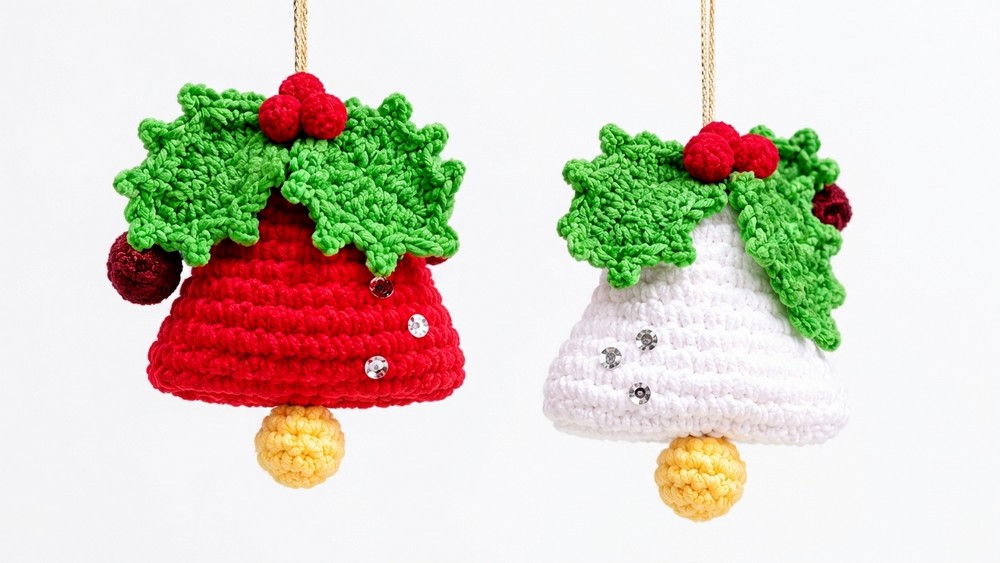
In today’s part of the crochet Christmas traditional decorations series, learn how to crochet this vintage-inspired Christmas bell ornament, worked in continuous rounds using simple single crochet stitches. Unlike traditional hollow bells, this design is lightly stuffed and flat-sewn at the base. Can be attached to wreaths or garlands, or used as a holiday keychain or gift topper.
Topped with classic holly leaves, fluffy red pom-pom berries, and glittering crystal rhinestones, it makes a festive project to hang on the Christmas tree. Now, continue reading to learn more about this amigurumi rag doll bell pattern for all skill levels!
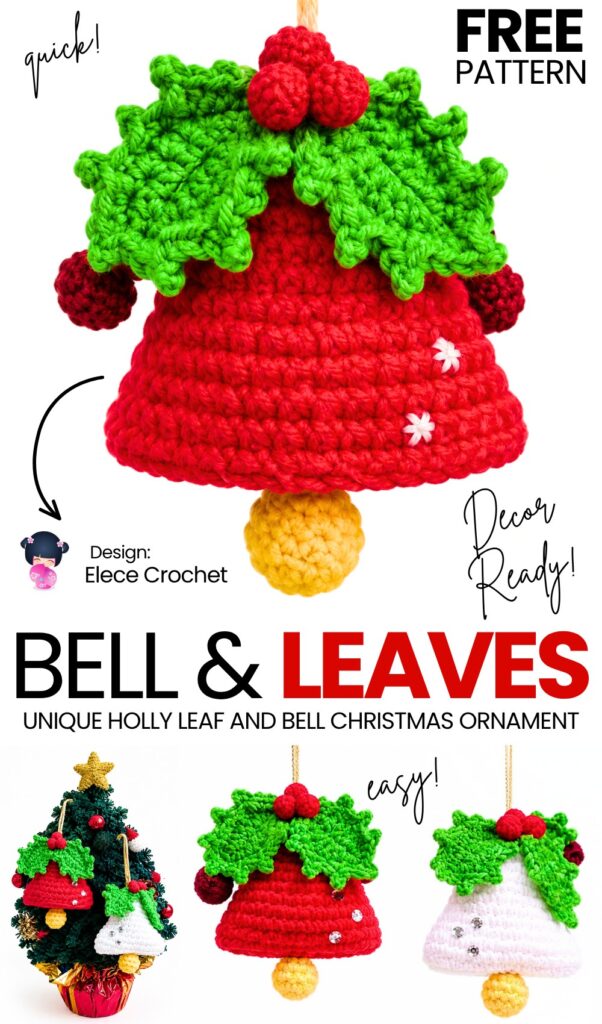
Pattern to Crochet the Amigurumi Bell with Leaves
Skill Level: Beginner – Level 7
Materials & Tools
Yarn:
Main Color (Bell): Medium-weight acrylic yarn in Red (or White)
Leaf Color: Medium-weight acrylic yarn in Bright Green
Clapper Color: Fine or medium acrylic yarn in Yellow
Crochet Hook: 1.75 mm (or 1.50 mm)
Stuffing: Polyester fiberfill (vellón siliconado)
Embellishments:
3 mini red craft pom-poms (for holly berries)
3 flat-back craft rhinestones / crystals
Gold ribbon or metallic cord for hanging
Notions & Hardware:
Tapestry / yarn needle
Sharp scissors
Stitch marker & sewing pins with ball heads
- Hot glue stick & lighter (or hot glue gun)
Stitch Key & Abbreviations (US Terms)
MR: Magic Ring
ch: chain
sc: single crochet
inc: increase (work 2 single crochet stitches into the same stitch)
dec: invisible decrease (single crochet 2 stitches together through the front loops)
3-sc inc: triple increase (work 3 single crochet stitches into the same stitch)
hdc: half double crochet
dc: double crochet
picot: ch 2, sl st into the 2nd ch from hook
sl st: slip stitch
st(s): stitch(es)
[ ]: stitch count at the end of the round

Are you a Beginner? Learn Crocheting Easily!
You can learn to crochet better with this crochet set of candle amigurumi ornament tutorial. Or continue to the written pattern below!
Pattern Instructions
1. The Bell Body
(Worked in a continuous spiral from the top down. Do not join with a slip stitch unless instructed.)
Round 1: Using Red (or White) yarn, make a MR, ch 1, and work 7 sc into the ring. Pull gently to close. [7]
Round 2: Work increases around into the visible stitches until you reach 13 stitches total (work 2 sc into each of the first 6 sts, 1 sc in the last st). [13]
Round 3: (2 sc, inc) around until you have 16 sts total (work [2 sc, inc] 3 times, then sc in remaining sts). [16]
Rounds 4 – 8 (5 rounds): 1 sc in each st around. [16]
Round 9 (Flaring the bell): 1 inc (2 sc in the first st), 7 sc, 2 inc (2 sc in each of the next 2 sts), 6 sc. [19]
Round 10: 9 sc, 1 3-sc inc (3 sc into the same st), 10 sc, 1 3-sc inc (3 sc into the same st). [23]
Round 11: (2 sc, inc) repeating around until you reach 32 stitches total. [32]
Round 12: Fold the bell flat to mark the two outer edges with sewing pins. Work 15 sc to the first pinned fold, work 1 inc, work 15 sc across to the opposite pinned fold, work 1 inc. [34]
Round 13: 1 sc in each st around without increasing. [34]
Round 14: Flatten the piece again to locate the outer corner edges. Work 1 dec at the first corner, 16 sc across the front, 1 dec at the second corner, and 14 sc across the back. [32]
Round 15: 1 sc in each st around. [32]
Finishing the edge: Sl st into the next stitch to secure the round. Cut yarn, leaving a generous tail (approx. 20–25 cm / 8–10 in) for closing the base.
2. Stuffing & Closing the Base
Flatten the bottom opening so the 32 stitches align into two parallel rows of 16 stitches.
Thread the long tail onto a tapestry needle.
Whip stitch through the inner loops (or through both loops) of opposing stitches, starting from one corner and working across.
Pause when halfway across: Gently insert polyester fiberfill into the bell cavity. Fill it firmly enough to define the bell shape, but take care not to overstuff so the stitches do not stretch open.
Continue whip stitching across the remaining stitches to the opposite corner.
Make a discreet knot at the corner. Insert the needle through the center of the bell, tugging lightly to create a subtle inward dimple at the bottom, then weave in the excess tail securely inside the body.
3. The Clapper (Badajo)
(Worked in a continuous spiral in Yellow yarn.)
Round 1: Make a MR, ch 1, and work 7 sc into the ring. [7]
Round 2: (1 sc, inc) around until you have 10 sts total. [10]
Rounds 3 – 4 (2 rounds): 1 sc in each st around. [10]
Round 5: Work 2 or 3 invisible decreases, then add a small pinch of fiberfill into the ball. Finish decreasing around until 5 sts remain. [5]
Fasten off, leaving a tail for sewing. Thread the tail through the front loops of the remaining 5 stitches, cinch tightly to close, and tie a knot.
Attachment: Center the clapper against the bottom seam of the bell. Sew securely into the center seam using the yarn needle, circling through both pieces several times. Knot and bury the thread inside the bell.
4. Holly Leaves (Make 2)
(Worked in Bright Green yarn.)
Foundation: Chain 9.
Row 1: Starting in the 2nd ch from hook:
1 sc, 1 hdc, 2 dc, 1 hdc, 1 sc, sl st into the last chain.
Work 1 picot (ch 2, sl st into 2nd ch) at the tip.
Rotate to work along the opposite side of the foundation chain: 1 sc, 1 hdc, 2 dc, 1 hdc, 1 sc.
Pointed Leaf Border (Picot Round):
Work along the edge: (sl st, ch 2, sl st in same space) at intervals along both sides to create 2–3 sharp holly leaf points on each side.
Fasten off, leaving a tail for sewing.
Assembly & Decoration
Attaching the Leaves:
Position the two holly leaves across the top curve of the bell (just beneath Round 1/2) in a shallow “V” formation with the tips pointing outwards.
Pin them in place, then sew the top base of each leaf to the bell body using the green yarn tail. Leave the pointed tips free to create natural dimension.
Adding the Hanging Loop:
Thread a strip of gold ribbon (or a length of yellow yarn) through a tapestry needle.
Insert the needle through the center top magic ring from front to back, pull through, loop it, and tie a firm overhand knot at your desired hanging length. Trim excess ends.
Adding Berries & Sparkle:
Holly Berries: Using a hot glue stick (warmed carefully with a lighter or glue gun), apply a small dab of glue at the juncture where the two leaves meet. Press one mini red pom-pom at the center top, and two directly underneath it, forming a tight cluster of three berries.
Rhinestones: Apply three tiny pinches of glue on the lower front corner of the bell. Press the 3 crystal rhinestones into the glue in a gentle diagonal line to give the ornament a festive sparkle.
See More:
Featuring: Tutoral to Crochet White Edging & Bell Hanging Mini Tree Spinner
How to Crochet Red Bell Topped Snowy Christmas Tree Table Decoration for All
Featuring: How to Crochet A Sitting Grey Baby Sheep with Bell & Little Horns Plushie
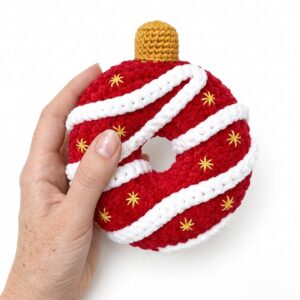
Crochet Bell Christmas Ornament Ring Plushie for Decoration & Playing with
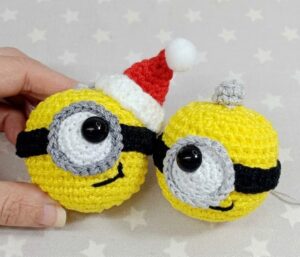
How to Crochet Christmas Yellow Goggle Character Bell Buddy in Santa Hat
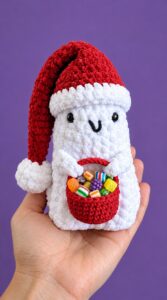
How to Crochet Christmas Ghost Buddy Holding A Treat Basket Plushie
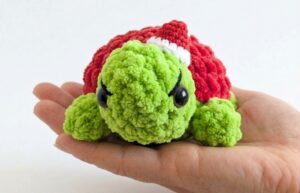
Tester Pattern: How to Crochet Santa Hat Grinch Turtle Plushie for Christmas Gifting
How to Crochet Baymax Dumpling Plushie for Gifting At Christmas
Tester Call: How to Crochet Grinch Pear Miniature Christmas Plushie for Gifting