Show support for Gulnara!
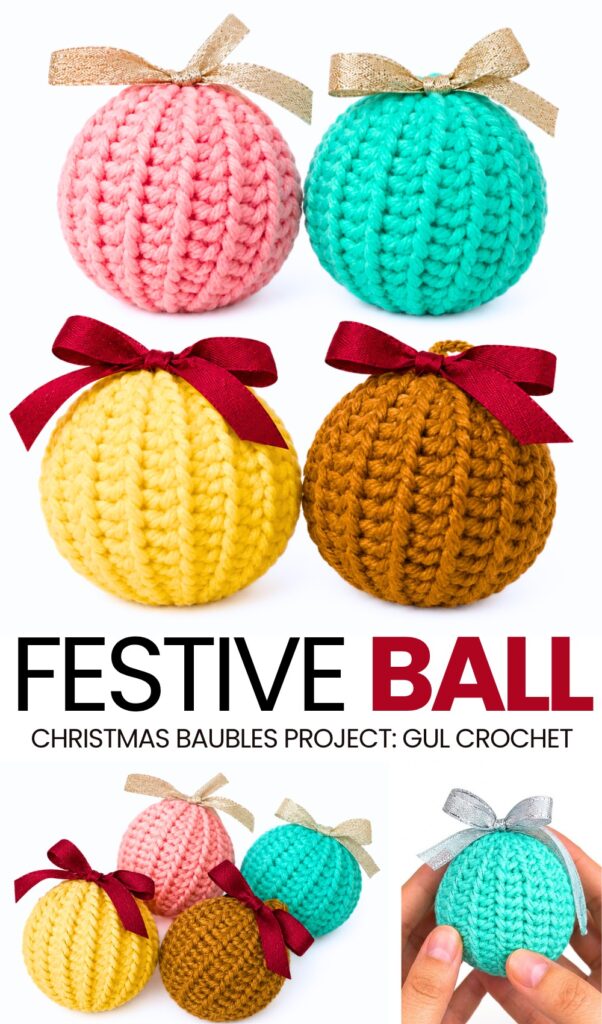
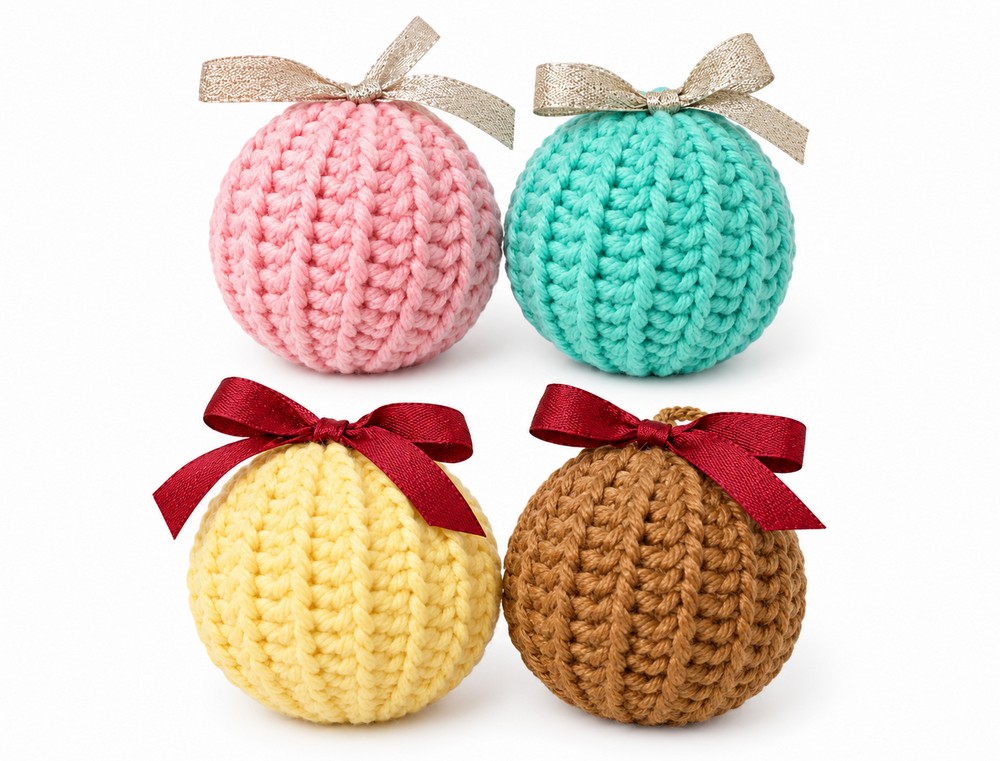
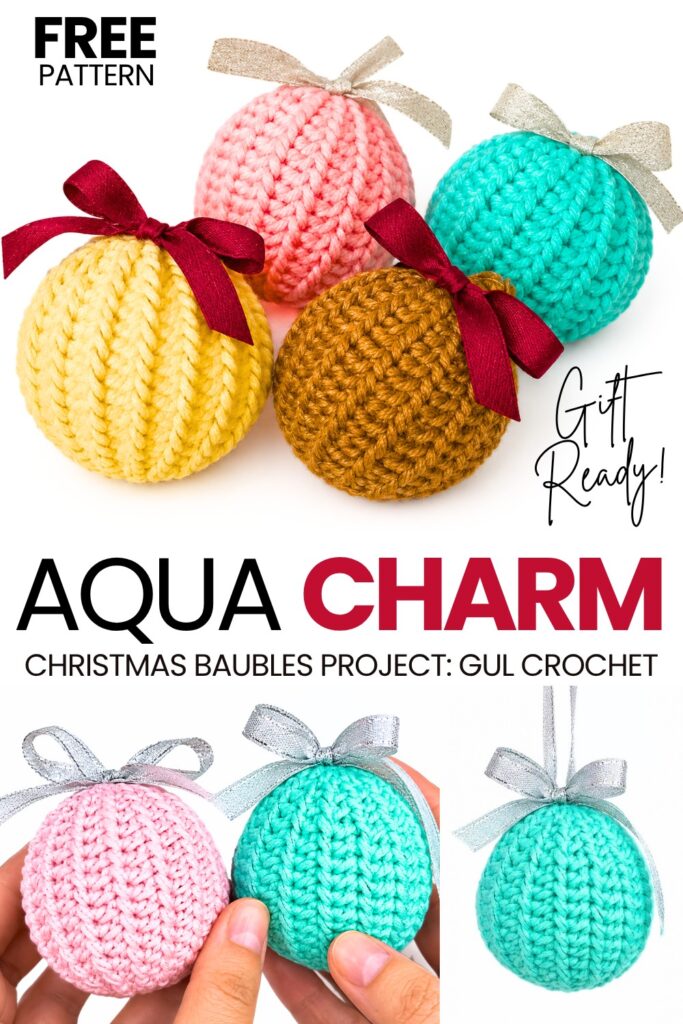
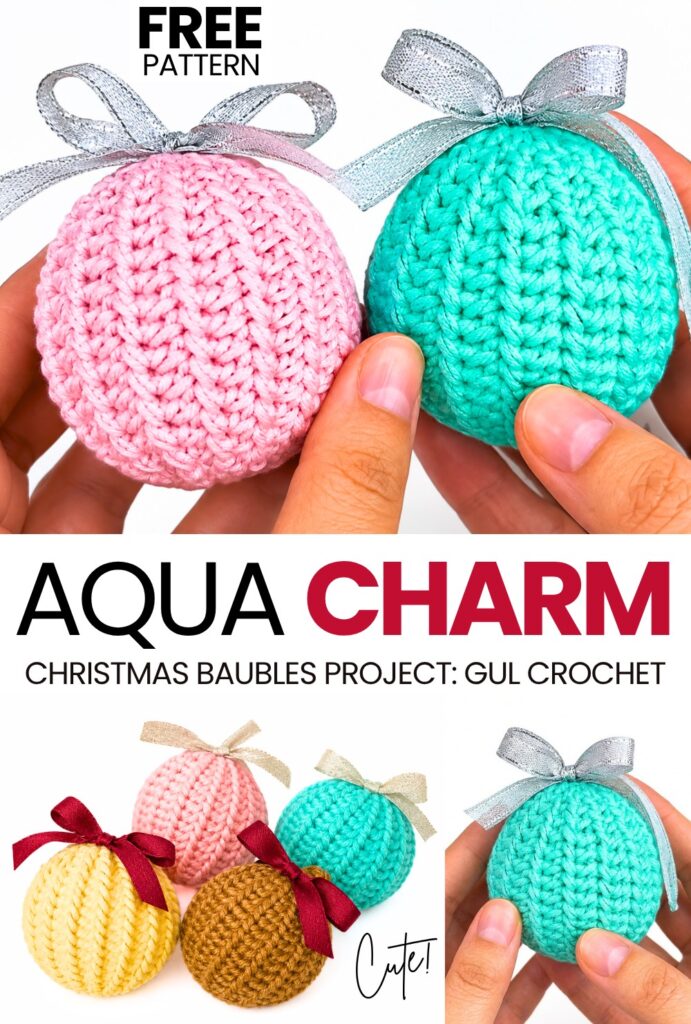
Last year, I could not share any crochet Christmas bauble tutorials! But this year, you have my word, as well as the NEW crochet “Christmas tree needs festive ball ornaments” series. Today, we will be crocheting this set of 4 SUPER easy & glittery crochet aqua, pink, yellow, and cottage bauble amigurumi with the silvery ribbon ties for hanging.
You can crochet this by following a beginner-friendly, basic crochet ribbed sphere pattern. Crochet these as this year’s last-minute ornaments by following a FREE written as well as step-by-step pattern.
It is practically the easiest way to crochet a Christmas bauble, and you can also use metallic yarns for your crochet bauble. Anyway, continue reading to learn more about this set of crochet Christmas baubles!
Pattern to Crochet An Amigurumi Bauble Charm Set for Christmas
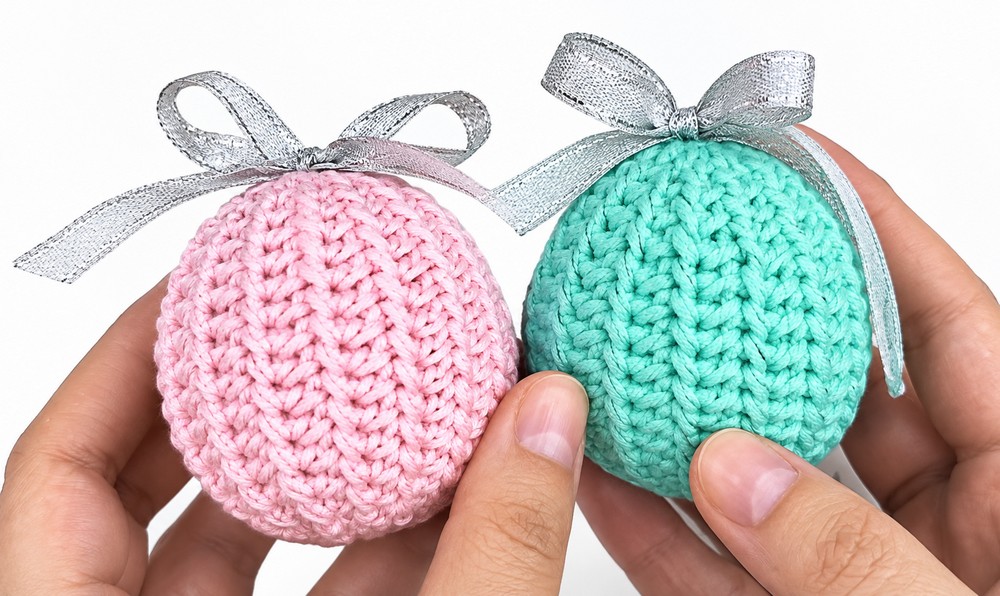
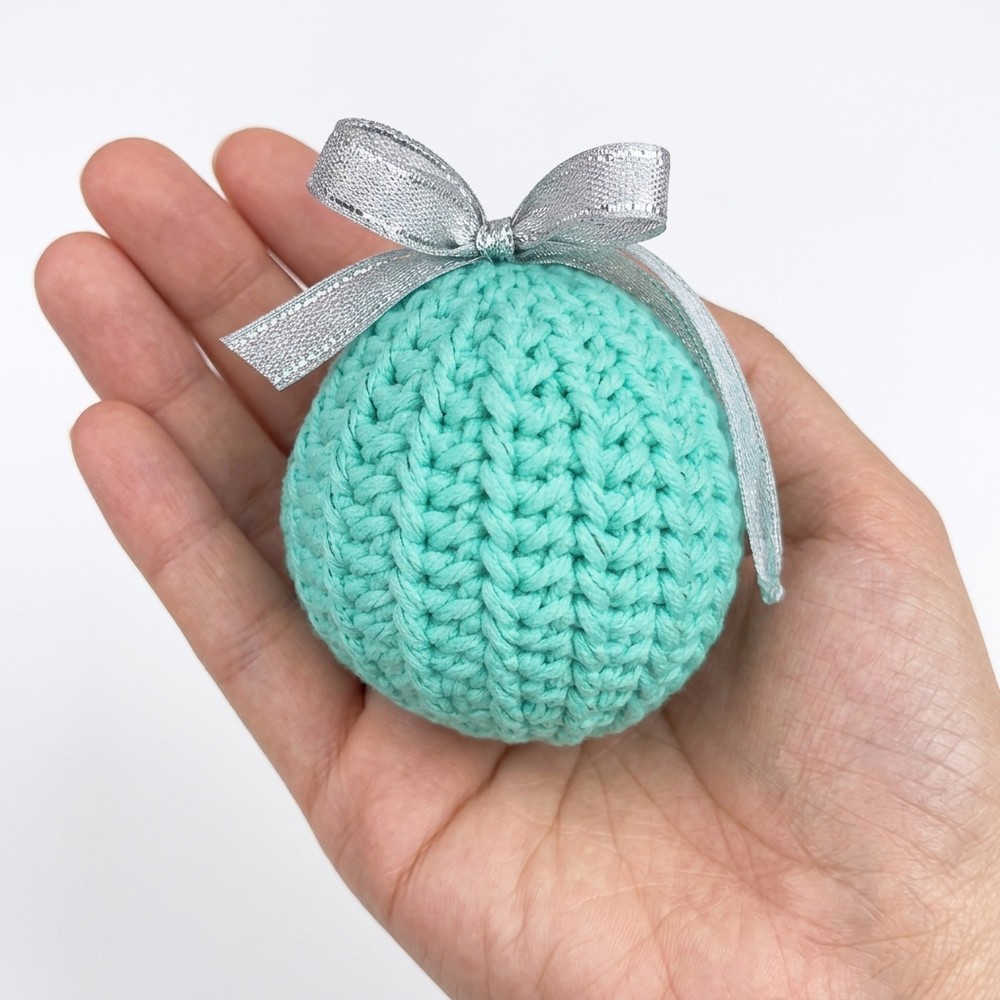
This project is a ribbed crochet Christmas bauble ornament. You crochet a flat rectangle with 26 rows using slip stitches, half double crochet stitches, and yarn over slip stitches. The ends have slip stitches in the back loop to make them narrow, while the middle stays wide to create a round ball shape.
Once the rectangle is finished, you fold it in half and join the sides together with slip stitches to make a tube. You then place a foam ball or fiberfill stuffing inside, gather both the bottom and top closed with a yarn needle, make a hanging loop from the yarn tail, and add a decorative ribbon bow on top.
Materials & Tools
Yarn: Cotton or acrylic yarn (Sport / DK / Worsted weight) in cream, pink, mint, gold, or any color you prefer.
Crochet Hook: Size suited to your yarn (approx. 2.5 mm – 3.0 mm).
Insert/Stuffing: A smooth foam ball (styrofoam ball), a plastic ornament ball, or polyester fiberfill stuffing.
Tapestry / Yarn Needle: For gathering the ends and weaving in yarn.
Scissors.
Ribbon: Narrow decorative ribbon (satin, velvet, or metallic) for tying a bow.
Abbreviations (US Terms)
ch: Chain
st(s): Stitch(es)
sl st: Slip stitch
BLO: Back loop only
hdc: Half double crochet
yo sl st: Yarn over slip stitch (Yarn over, insert hook into stitch, yarn over again, and pull the yarn directly through all loops on the hook).
Pattern Instructions
Starting Chain
Chain 16.
The Ribbed Body
Row 1:
Start in the 2nd chain from the hook.
Work 1 sl st into the 2nd chain.
Work 1 hdc in each of the next 13 chains.
Work 1 sl st into the last chain. [15 sts]
Ch 1, turn.
Row 2:
Work 1 sl st in the BLO of the 2nd stitch from the hook.
Work 1 yo sl st through both loops in each of the next 13 stitches.
Work 1 sl st in the BLO of the last stitch. [15 sts]
Ch 1, turn.
Row 3:
Work 1 sl st in the BLO of the 2nd stitch from the hook.
Work 1 hdc through both loops in each of the next 13 stitches.
Work 1 sl st in the BLO of the last stitch. [15 sts]
Ch 1, turn.
Row 4:
Repeat Row 2: 1 sl st in the BLO of the 2nd stitch from the hook, 13 yo sl st through both loops, 1 sl st in the BLO of the last stitch. [15 sts]
Ch 1, turn.
Rows 5 – 26:
Work all odd rows the same as Row 3.
Work all even rows the same as Row 4.
Repeat this 2-row sequence until you have completed a total of 26 rows.
Joining the Sides
Turn the piece so the wrong side is facing out.
Fold the piece in half so the first row meets the last row.
Align the edges and slip stitch across all 15 stitches through both layers to join them into a ribbed cylinder.
Cut the yarn, leaving a long tail (around 10–12 inches / 25–30 cm) for closing the bottom, and pull the loop through.
Turn the piece right side out so the seam is hidden on the inside.
Inserting the Ball & Closing
Insert the Form:
Slide your foam or plastic ball inside the crocheted sleeve.
(Note: If you are using loose polyester fiberfill instead of a solid ball, close the bottom first, firmly pack the bauble with fiberfill, and then close the top).
Closing the Bottom:
Thread your tapestry needle with the bottom yarn tail.
Weave the needle in and out through the edge stitches around the bottom opening.
Pull the yarn tail firmly to cinch the bottom opening completely closed.
Take a couple of small securing stitches to lock it in place, make a knot, weave the end inside the ball, and cut off any excess.
Closing the Top & Making the Hanger:
Thread a new length of matching yarn (or a remaining top tail) onto the needle.
Weave the needle through the edge stitches all the way around the top opening.
Pull the yarn tight to gather and close the top over the ball.
Tie a secure knot at the base.
Knot the remaining ends together higher up to form a hanging loop.
Trim any small tails and use your hook to push the knot down inside the top opening.
Finishing & Decoration
Cut a length of your chosen ribbon (such as satin, metallic, or velvet).
Tie it into a neat bow and trim the ribbon ends at an angle.
Tie or glue the bow directly to the top of the bauble at the base of the hanging loop.
Share on Social Media!
Wanna Crochet Something Else?
How to Crochet White & Blue Bead Decorated Mini Boot Ornament for Christmas
How to Bow and Bead Decorated Christmas Wreath Rings for Beautiful Garlands
To Welcome the Guests Crochet these Little Candle Buddies Holding Pumpkins

Crochet CUTEST Guest-Welcoming BOO Ghost with Bow, Hat and Pumpkin Accessories

How to Crochet Bunny Bat White Foldable Wings Amigurumi with Bow for Halloween
How to Crochet A Tiered Miniature Tree Decorated with Golden & White Pearls
How to Crochet Red Mouth Spooky-Cute Grey and Black Bat Amigurumi
How to Crochet the CUTEST Mini Christmas Applique Keychain (Christams House)
How to Crochet Mr. Patrik Celebrating Christmas Miniature Plushie for Holidays