This is part 3 of crocheting the spooky potted buddies plushies. Today, learn how to crochet this UNIQUE kawaii-faced potted buddy plushie with red horns and spooky sphere flower plants on top. With the FREE written pattern, learn to crochet this buddy pot to prepare a super adorable gift for this year’s spooky festivals.
You can embroider different faces on each spooky flower. The crochet spooky character is inspired by one of my crochet food plushie tester pattern ideas.
Anyway, it will also make a GREAT Valentine’s Day gift with a few modifications. Now, keep reading to learn more about this crochet potted bud project!
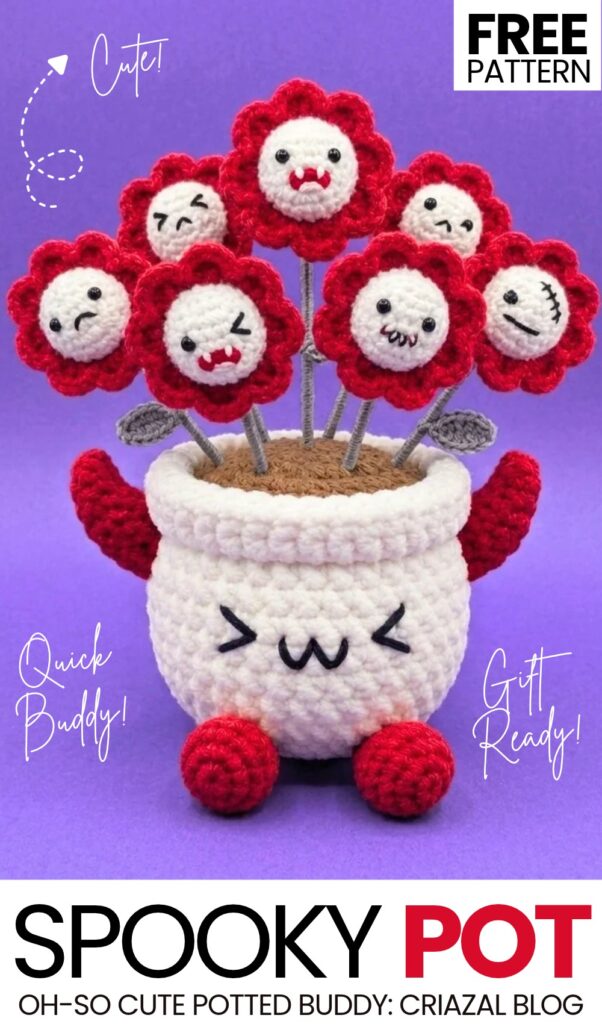
Pattern to Crochet the Potted Buddy Plushie for Kids
Materials & Tools Guide
Pot & Soil: White and Brown plush yarn, 4.0 mm crochet hook.
Horns & Legs: Red DK yarn, 2.5 mm crochet hook.
Leaves: Grey/green DK yarn, 2.5 mm crochet hook.
Sphere Flowers & Petals: White and Red sport yarn, 2.0 mm crochet hook.
Hardware: 16 or 18-gauge craft wire/floral stems, flat-nose pliers, wire cutters.
Details: Black, red, and pink embroidery thread, tapestry needle, fiberfill stuffing, optional hot glue.
Abbreviations (US Terms)
MR: Magic Ring
ch: Chain
sc: Single Crochet
hdc: Half Double Crochet
dc: Double Crochet
inc: Increase (2 sc in the same stitch)
dec: Invisible Decrease (sc 2 together)
BLO: Back Loops Only
FLO: Front Loops Only
sl st: Slip Stitch
st(s): Stitch(es)
Part 1: Main Pot & Soil Base (4.0 mm hook, Plush Yarn)
Phase 1: Soil / Dirt (Brown Yarn)
Starting from the base of the stem/plant insert at timestamp.
Round 1: Attach brown yarn to the remaining loop/stem base. Work 6 sc around. (6 sts)
Round 2: [inc] in each st around. (12 sts)
Round 3: [sc 1, inc] × 6. (18 sts)
Round 4: [sc 2, inc] × 6. (24 sts)
Round 5: [sc 3, inc] × 6. (30 sts)
Fasten off brown yarn or color-change to your pot color as directed in the video at.
Phase 2: Plant Pot (White / Color of Choice)
Transition to pot color at timestamp.
Round 6 (BLO): Working in the Back Loops Only, sc in each st around. (30 sts)
Rounds 7–11: sc in each st around (5 rounds total). (30 sts)
Round 12: [sc 3, dec] × 6. (24 sts)
Round 13 (BLO): Working in the Back Loops Only, sc in each st around. (24 sts)
Round 14: [sc 2, dec] × 6. (18 sts)
Phase 3: Stuffing the Pot
Refer to timestamp.
Fiberfill Stuffing: Firmly stuff the interior of the pot. Ensure the bottom stays flat while keeping the sides shaped evenly.
Continue Decreasing to Close Base:
Round 15: [sc 1, dec] × 6. (12 sts)
Add any final bits of stuffing needed to achieve a sturdy structure.
Round 16: [dec] × 6. (6 sts)
Closing: Cut yarn leaving a tail, weave through the front loops of the remaining 6 stitches with a yarn needle, pull tight to close, and weave in the end.
Phase 4: Pot Rim / Lip (White)
Refer to timestamp.
Turn the pot upside down (or position it to work into the unworked front loops left behind from Round 6).
Attach pot-colored yarn to the front loop of Round 6.
Rim Round (FLO): [sc in FLO] in each loop around. (30 sts)
Finish: Slip stitch into the first st, fasten off, and weave in all yarn tails inside the pot body.
Part 2: Spooky Pot Details (2.5 mm hook, Red DK Yarn)
Horns (Make 2)
Round 1: 4 sc in MR. (4 sts)
Round 2: [3 sc, inc]. (5 sts)
Round 3: [4 sc, inc]. (6 sts)
Round 4: [5 sc, inc]. (7 sts)
Round 5: [6 sc, inc]. (8 sts)
Round 6: [7 sc, inc]. (9 sts)
Round 7: [8 sc, inc]. (10 sts)
Fasten off, leave a tail for sewing, and stuff lightly. Sew to the upper sides of the pot body.
Feet / Legs (Make 2)
Round 1: 6 sc in MR. (6 sts)
Round 2: [inc] × 6. (12 sts)
Rounds 3–5: sc in each st around. (12 sts)
Round 6: [1 sc, dec] × 4. (8 sts)
Stuff firmly. Fasten off, leave a tail, and sew to the bottom front of the pot.
Part 3: Spooky Sphere Flowers (2.0 mm hook, Sport Yarn)
Flower Spheres (Make 7 in White)
Round 1: 6 sc in MR. (6 sts)
Round 2: [inc] × 6. (12 sts)
Round 3: [sc 1, inc] × 6. (18 sts)
Round 4: [sc 2, inc] × 6. (24 sts)
Rounds 5–7: sc in each st around (3 rounds total). (24 sts)
Round 8: [sc 2, dec] × 6. (18 sts)
Begin stuffing the sphere firmly.
Round 9: [sc 1, dec] × 6. (12 sts)
Round 10: [dec] × 6. (6 sts)
Fasten off and close the remaining 6 stitches.
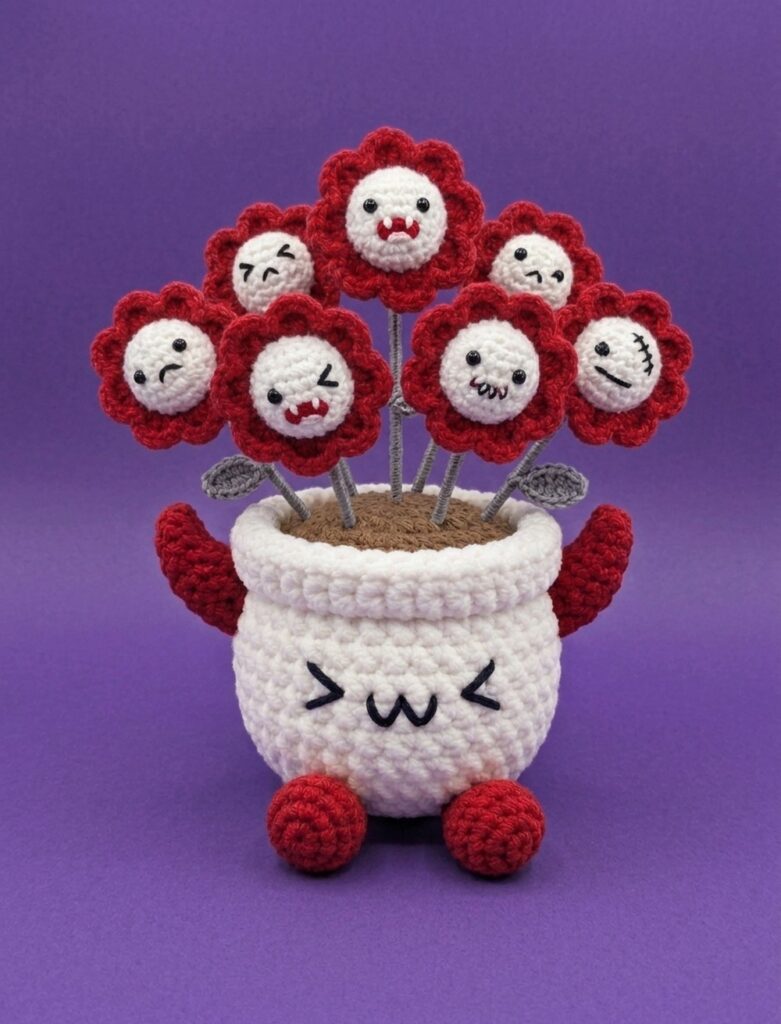
Surface Crocheted HDC-Shell Petals (Red) The 24-stitch circumference around the middle of the sphere perfectly accommodates 8 petals to match the visual in “crochet spooky pot (1).jpg”.
Hold the completed white sphere so the closed base (Round 10) faces downward.
Attach red sport yarn with a slip stitch directly onto the surface of the sphere, working between Rounds 5 and 6.
Shell Round: Work
[sl st into the surface, 4 hdc in the next adjacent space, sl st into the next adjacent space]directly into the posts around the circumference. Repeat this sequence 8 times to encircle the sphere.Fasten off and weave the ends into the sphere.
Part 4: Leaves and Assembly (2.5 mm hook, Grey DK Yarn)
Leaves (Make 4-6)
Row 1: Ch 8.
Row 2: Starting in the 2nd ch from the hook: sl st, sc, hdc, dc, dc, hdc, sc.
Row 3: Working down the opposite side of the chain: sc, hdc, dc, dc, hdc, sc, sl st.
Fasten off, leaving a long tail for wrapping around the wire stem.
Embroidery & Final Assembly Guide
Faces: Using black embroidery thread, stitch the
> ω <face onto the front of the white pot. Embroider unique spooky expressions (winks, stitched mouths, fangs, angry brows) onto the center of each white flower sphere using black and red thread.Stems: Cut 7 lengths of craft wire. Wrap each tightly with grey yarn, securing the ends with glue.
Attaching Flowers: Pierce the bottom of each flower sphere (Round 10) with the wrapped wire stems. Secure with hot glue if necessary. Wrap and tie the leaves to the middle of the outer stems.
Planting: Pierce the brown soil top (Phase 1) with the bottom ends of the wire stems. Push them deep into the pot’s stuffing to anchor the flowers firmly.
Share on Social Media!
See More:

Tester Call: How to Crochet A Candy Corn, Pumpkin & Kawii Buddy Potted Plant Plushie

Tester Pattern: How to Crochet A Spooky Face Potted Heart Buddy Plushie
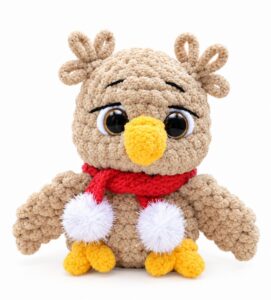
Featuring: How to Crochet A Glitter-Eyed Loopy-Ear Owl in Scarf Plushie Buddy
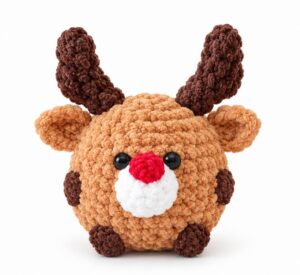
Featuring: How to Crochet A Red-Nosed Animal Buddy Christmas Plushie
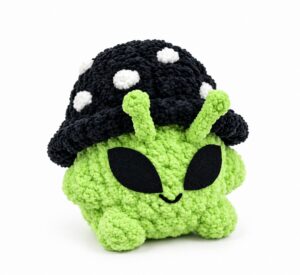
Tester Call: How to Crochet Green Alien Mushroom Plushie Buddy for Gifting
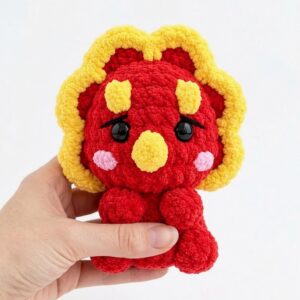
Featuring: How to Crochet No-Sew Red & Yellow Tricera Buddy Plushie
Featuring: How to Crohcet Mr. Cookie Sitting No-Sew Buddy Plushie for Gifting
How to Crochet REALLY BOO No-Sew Pocket and Palm Buddy Ghost Gurumi
Featuring: How to Crochet A Little Red & Brown Plant Plushie Buddy for Gifting