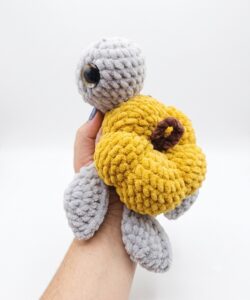
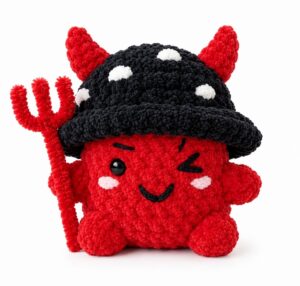
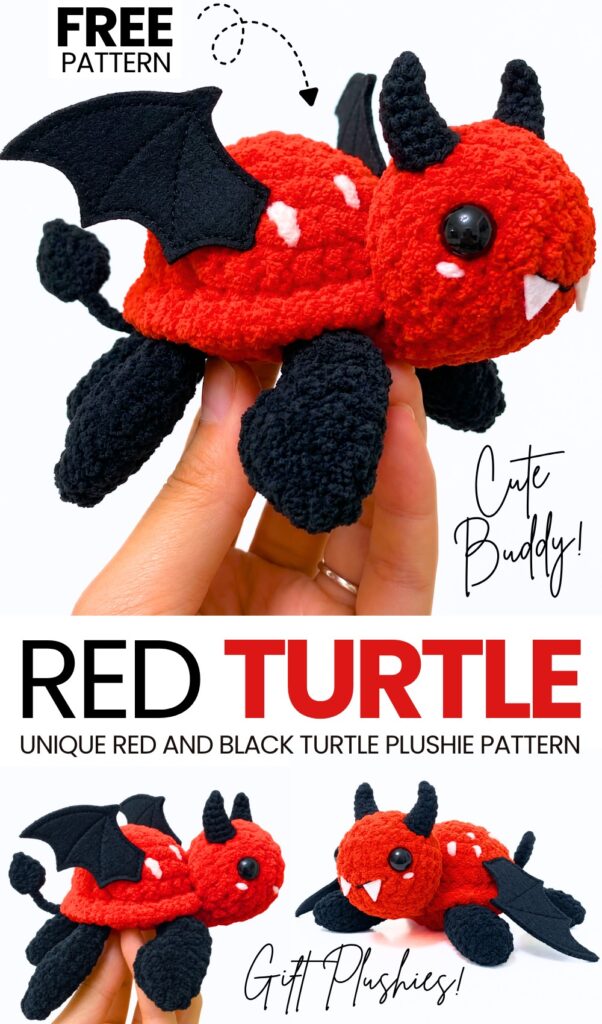
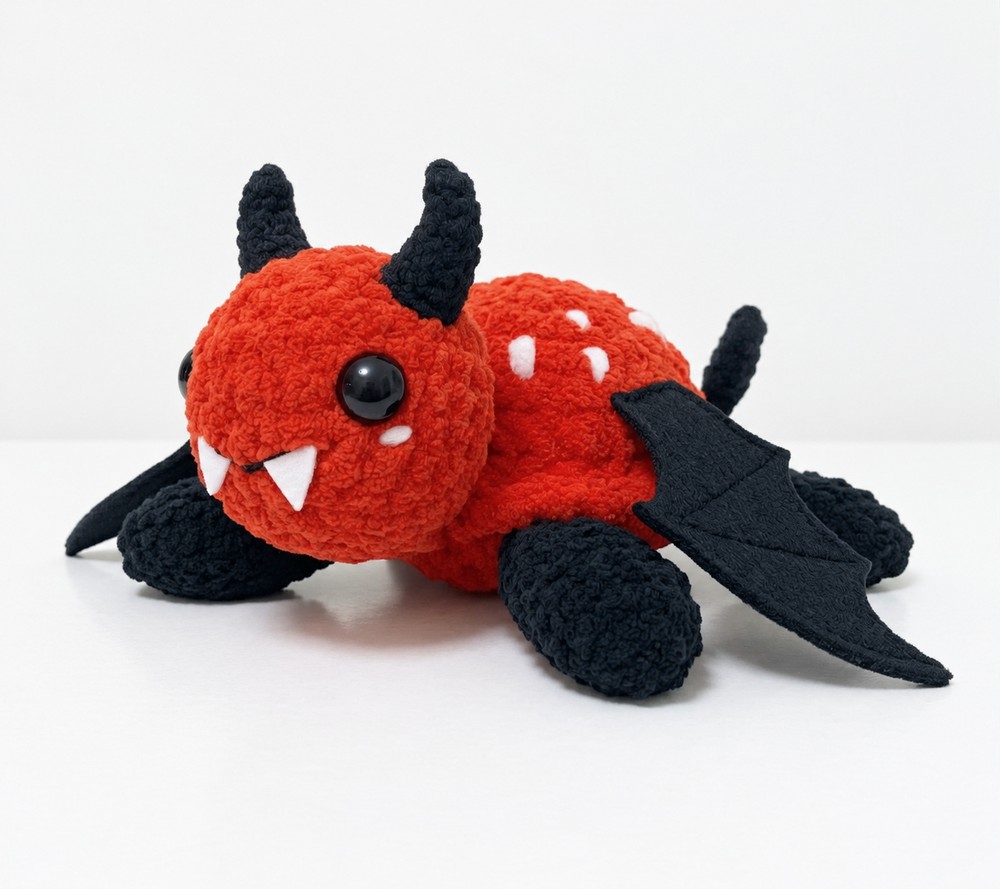
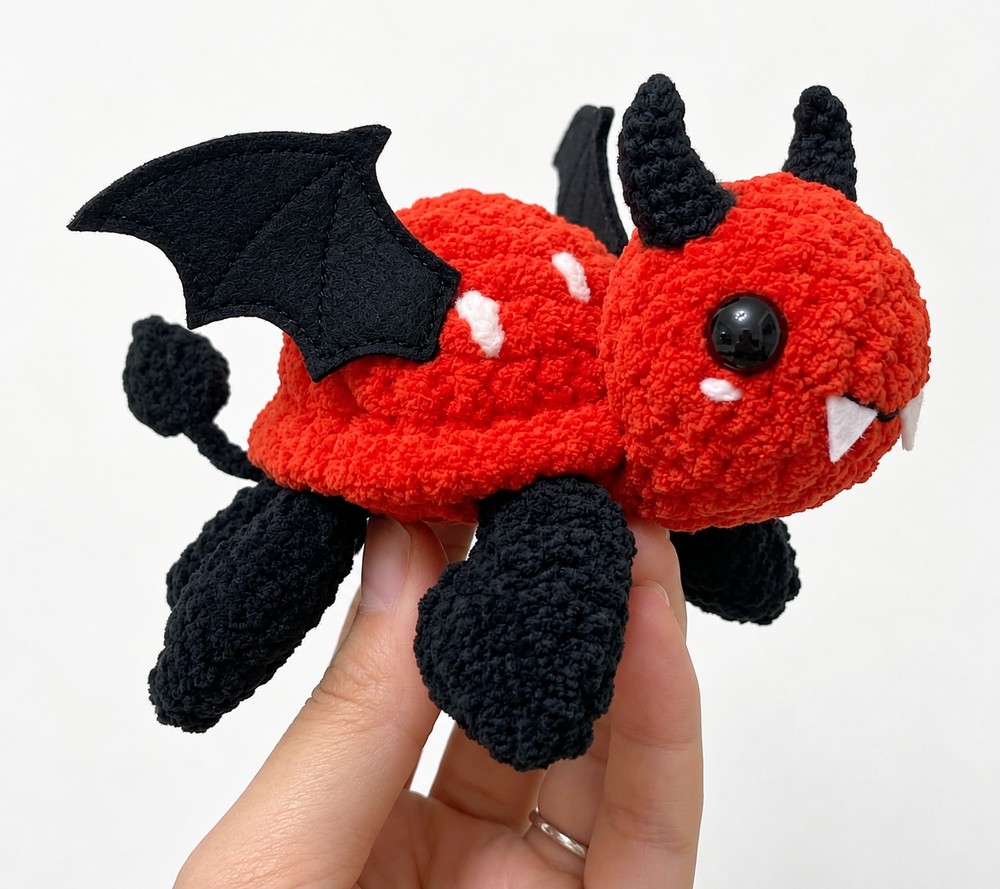
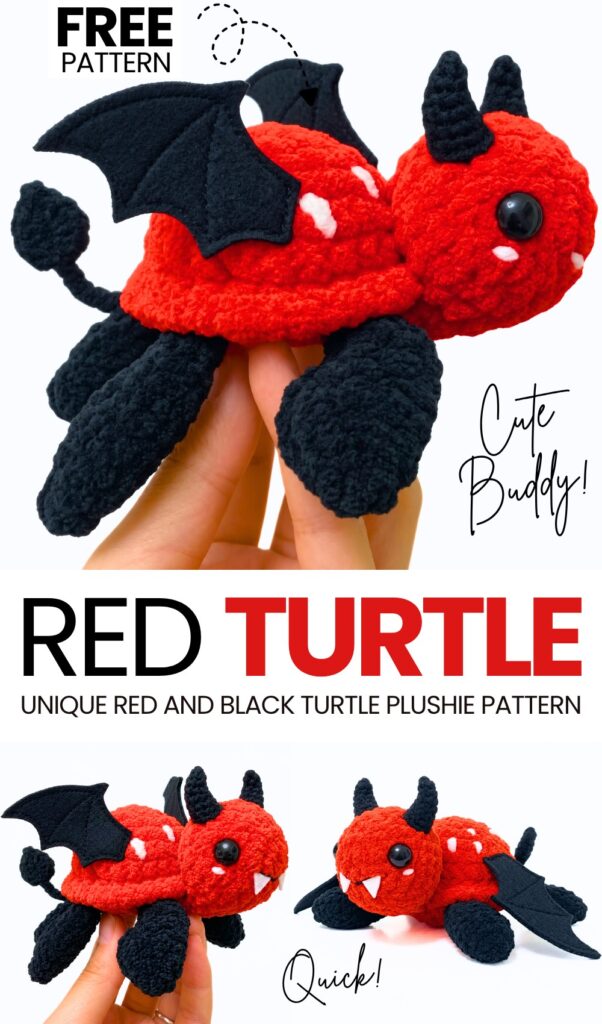
I am finally back with another FREE crochet spooky Halloween turtle plushie! Today, learn how to crochet this UNIQUE red and black winged and horned plush turtle with a FREE written pattern. This is one of the very first turtle plushie variations and is actually inspired by my “crochet red spooky-cute buddies” series. You will also learn how to arch the horns, find a FREE template to cut the felt wings, as well as how to make the tail of the turtle poseable.
With the cute felt fangs and black flappers, I am personally in love with this crochet plush turtle. And the best part is how quick and miniature this red and black buddy turtle plushie is.
You can also bring this idea to life for any of your other turtle plushies, as I am using the classic flapping turtle plushie design for this little red and black buddy. Now, continue reading for learning more about this little crochet plush keychain-ready turtle plushie designed for absolute beginners!
Pattern to Crochet the Plush Gift-Ready Turtle Plushie for Kids
Skill Level: Beginner – Level 4
Materials & Tools
Plush / Chenille Blanket Yarn (Super Bulky / Size 6):
Red Yarn: For Head and Shell
Black Yarn: For 4 Fins and Belly
Fine / DK Weight Yarn (Size 3):
Black DK Yarn: For Horns and Devil Tail Tip
White Yarn: For embroidering shell spots and eye accents/blush
Crochet Hooks:
4.0 mm – 5.0 mm Hook: For plush yarn (use a hook size that gives tight stitches with no gaps)
2.5 mm Hook: For DK yarn (Horns and Tail Tip)
Felt & Notions:
Black Stiff Felt: For Wings (download and print wing template to cut)
White Stiff Felt: For Fangs (cut 2 small triangles)
Safety Eyes: 1 pair (approx. 10–12 mm black safety eyes)
Polyester Fiberfill Stuffing
Fabric Glue or Black Sewing Thread & Needle (for attaching felt wings and fangs)
Stitch Marker, Tapestry/Yarn Needle, Scissors, Tweezers (optional, for tucking yarn tails)
Abbreviations (US Crochet Terms)
MR: Magic Ring
ch: Chain
sc: Single Crochet
hdc: Half Double Crochet
dc: Double Crochet
tr: Treble Crochet
inc: Increase (2 sc in the same stitch)
dec: Invisible Decrease (sc 2 together)
sl st: Slip Stitch
FLO: Front Loop Only
BLO: Back Loop Only
sts: Stitches
( ) / [ ]: Total stitch count at the end of the round
Pattern Instructions
1. Fins (Make 4)
Use Black plush yarn and 4.0 mm – 5.0 mm hook.
Round 1: Make a MR, work 6 sc into the ring. Pull tight. (6 sts)
Round 2: 6 inc. (12 sts)
Round 3: [1 sc, 1 inc] × 6. (18 sts)
Round 4: Fold the circle in half flat. Working through both layers across the straight edge: crochet 8 sc through both layers, then work 1 inc (2 sc) into the final corner pair of stitches. (10 sts)
Fasten off leaving a medium yarn tail (used to tack down the fin later).
Repeat to make 4 black fins. Set aside.
2. Head
Use Red plush yarn and 4.0 mm – 5.0 mm hook.
Round 1: Make a MR, work 6 sc into the ring. (6 sts)
Round 2: 6 inc. (12 sts)
Round 3: [1 sc, 1 inc] × 6. (18 sts)
Rounds 4 – 6 (3 rounds): 18 sc around. (18 sts)
Insert Safety Eyes: Place safety eyes between Rounds 4 and 5, approximately 7 stitches apart. Snap backings securely inside.
Round 7: [1 sc, 1 dec] × 6. (12 sts)
Stuff firmly with fiberfill.
Round 8: 12 sc around. (12 sts)
Round 9: 6 dec. (6 sts)
Round 10 (Closing the neck flat): Work 2 sc (adjust by 1–2 sts so eyes face forward when folded flat). Flatten the opening and crochet 3 sc through both layers to seal the neck closed. (3 sts)
Fasten off leaving a tail for securing head position later. Set aside.
3. Horns (Make 2)
Use Black DK Yarn and 2.5 mm hook. Work in joined rounds.
Rnd 1: 3 sc in a Magic Ring [4]
Rnd 2: inc, 2 sc [5]
Rnd 3: inc, 3 sc [6]
Rnd 4: inc, 4 sc [7]
Rnd 5: inc, 5 sc [8]
Rnd 6: inc, 6 sc [9]
Rnd 7: inc, 7 sc [10]
Fasten off leaving a tail for sewing onto the head.
4. Red Shell
Use Red plush yarn and 4.0 mm – 5.0 mm hook.
Round 1: Make a MR, work 6 sc into the ring. (6 sts)
Round 2: 6 inc. (12 sts)
Round 3: [1 sc, 1 inc] × 6. (18 sts)
Round 4: [2 sc, 1 inc] × 6. (24 sts)
Rounds 5 – 7 (3 rounds): 24 sc around. (24 sts)
Round 8 (Shell Rim): In FLO only, work [3 sc, 1 inc] × 6. (30 sts)
Cut yarn, make an invisible finish, and weave the tail inside the shell.
5. Belly & Joining (No-Sew Assembly)
Turn the shell upside down. The unworked Back Loops of Round 7 are visible inside the shell rim. Use Black plush yarn.
Preparation: Make a slip knot on hook and insert into any back loop of R7 at the back of the shell.
Round 9 (Joining limbs and head to BLO of Round 7):
2 sc in BLO
1 sc-fin: Insert hook through 1st stitch of a fin and next BLO of R7; work 1 sc.
5 sc in BLO
1 sc-fin: Attach 2nd fin with 1 sc.
1 sc in BLO
3 sc-head: Attach the 3 stitches of the flattened neck to next 3 BLO sts of R7 with 3 sc.
1 sc in BLO
1 sc-fin: Attach 3rd fin with 1 sc.
5 sc in BLO
1 sc-fin: Attach 4th fin with 1 sc.
3 sc in BLO. (24 sts total)
Tip: Pull starting and ending tails from head and fins outside between stitches to tack into place later.
Round 10: [2 sc, 1 dec] × 6. (18 sts)
Stuff body and shell firmly with fiberfill.
Round 11: [1 sc, 1 dec] × 6. (12 sts)
Fasten off leaving a long tail. Weave through front loops of all 12 stitches, pull tight to cinch closed, knot, and hide tail inside body.
6. Devil Tail
Part 1: Tail Tip (Spade Shape)
Use Black DK Yarn and 2.5 mm hook.
Start with a slip knot and ch 8.
Work into 2nd chain from hook: 1 sc.
In next chains across, work: 1 hdc, 1 dc, 1 tr, 1 dc, 1 hdc.
In last chain, work: 1 sc.
ch 2 and turn to work on opposite side of foundation chain.
Mirror stitches on other side: 1 sc, 1 hdc, 1 dc, 1 tr, 1 dc, 1 hdc, 1 sc.
Sl st into very first sc to close leaf shape. Do not fasten off.
Part 2: Tail Stem
Switch to Black plush yarn or thin black yarn.
Join yarn to bottom tip of spade shape and ch 8 to form tail stem. Fasten off, leaving a tail to attach to back of shell.
7. Felt Wings & Fangs
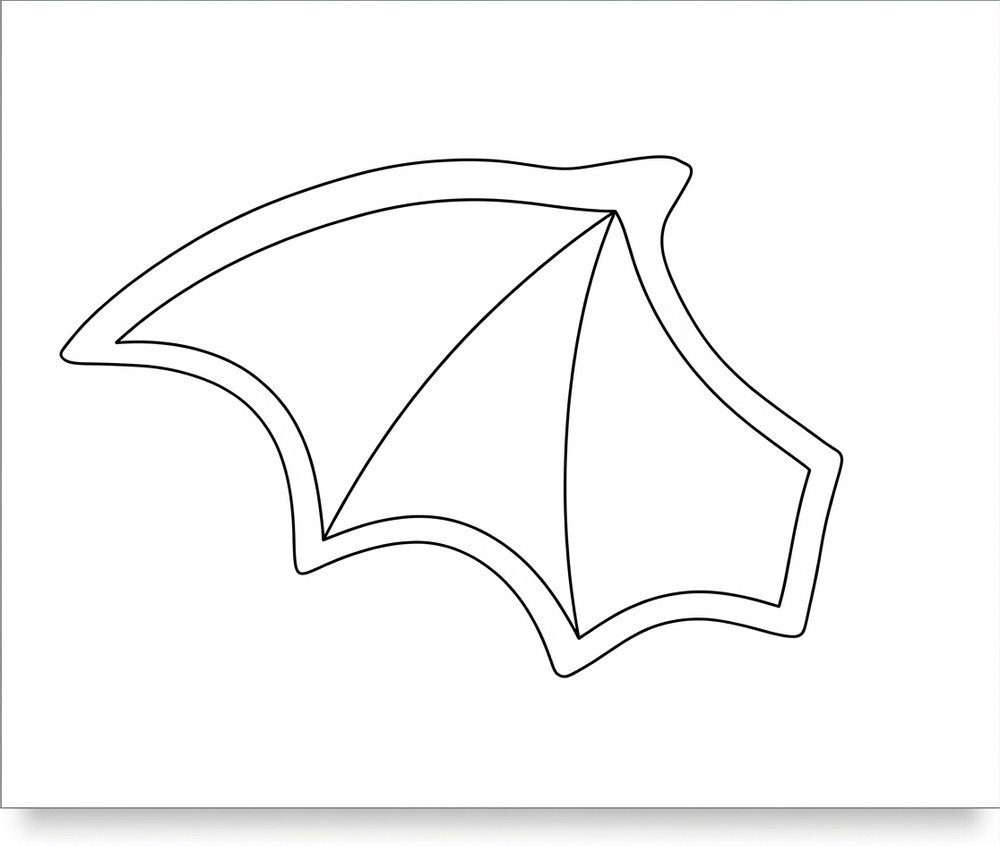
Wings: Download the wing template, trace onto black stiff felt, and cut out 2 wings. Also, sew the pattern accrodingly!
- Fangs: Cut 2 tiny triangles out of white stiff felt.
8. Assembly & Detailing
Attach Horns: Sew the two black horns to top of head between Rounds 2 and 4 using yarn needle.
Fix Head & Fins: Pull head yarn tail through shell to pull chin close, propping head up. Pull fin tails through side of shell rim to hold fins horizontal. Knot and weave tails inside.
Attach Fangs: Glue or stitch white felt fangs under front of head near bottom edge.
Embroider Details:
Using white yarn, embroider small scattered vertical/diagonal dashes across red shell.
Embroider short white cheek lines underneath each safety eye.
Attach Wings & Tail:
Sew or glue black felt wings to sides of red shell.
Sew tail stem base to center back of shell, positioning spade tip curving upward.
Share on Social Media!
See More:

Featuring: How to Crochet the Smallest Pumpkin Fall Turtle Plushie with Orange & Parrot
Tester Pattern: How to Crochet Yellow, White and Orange Turtle Plushie
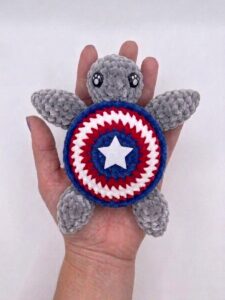
Tester Pattern: How to Crochet Red, Blue and White Turtle Plushie
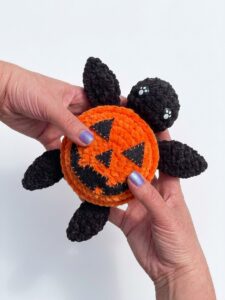
Tester Call: How to Crochet Spooky Shell Black-&-Orange Turtle Plushie for Halloween
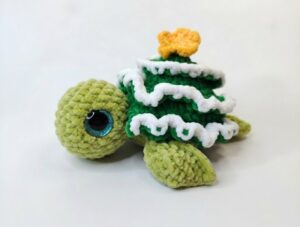
Featuring: How to Crochet A Christmas Tree Turtle Plushie for Gifting
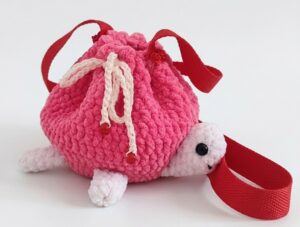
How to Crochet Turtle Drawstring Pouch with Ribbon Handle for Fall & Summer
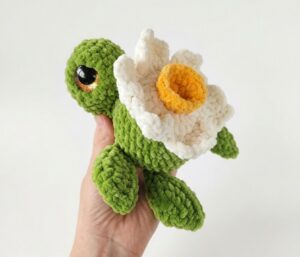
Featuring: How to Crochet 100% No-Sew Daffodil Turtle Plushie for Gifting
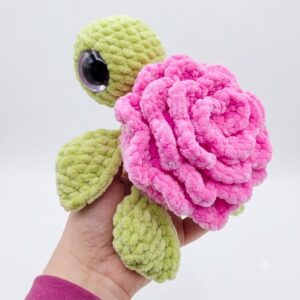
Featuring: How to Crochet No-Sew Rose Turtle Plushie (Pastel & Red Variations)