Author: Talha
I am a crochet designer, macramé maker and a crafter who also loves doing MATH.
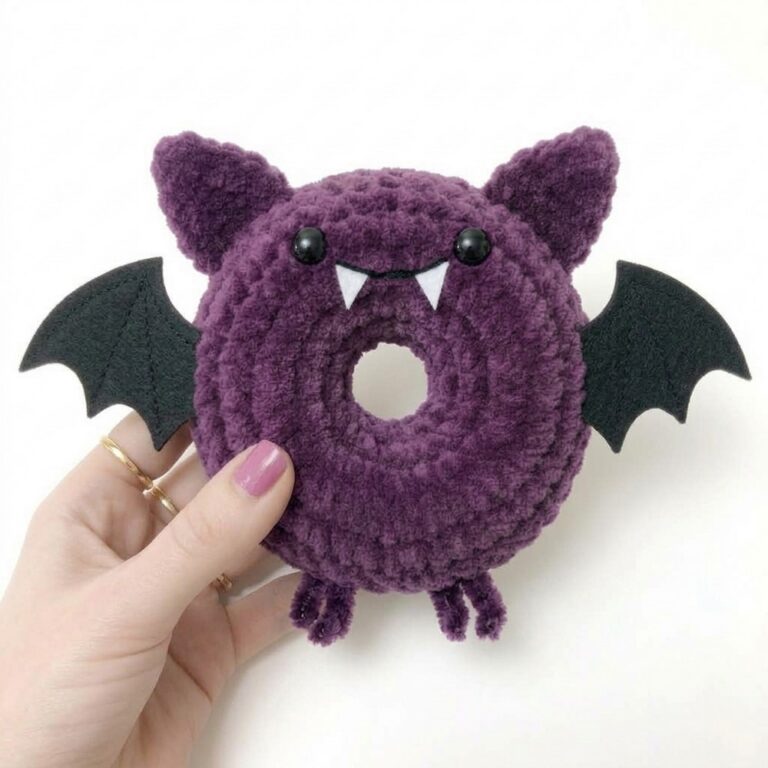
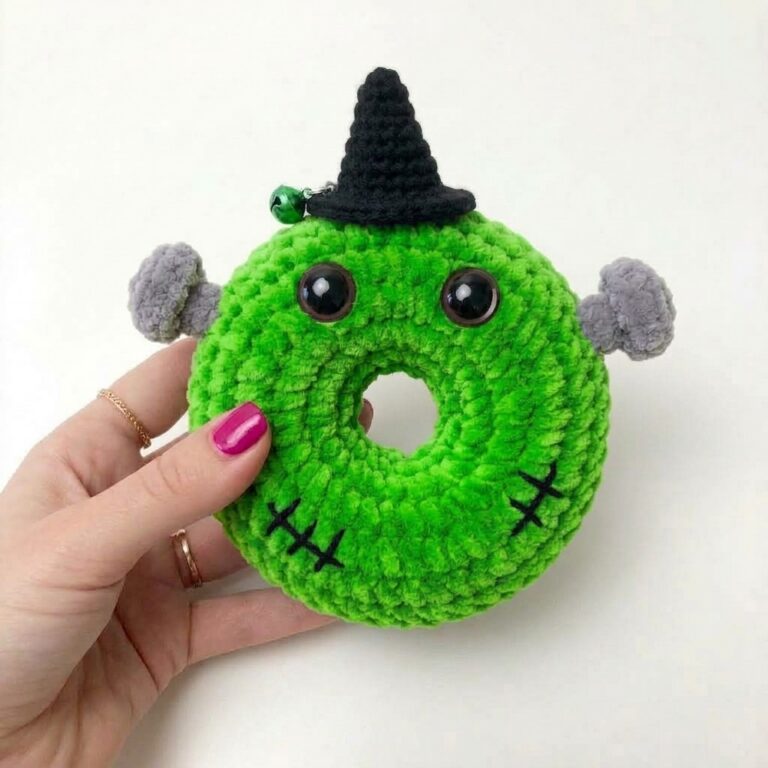
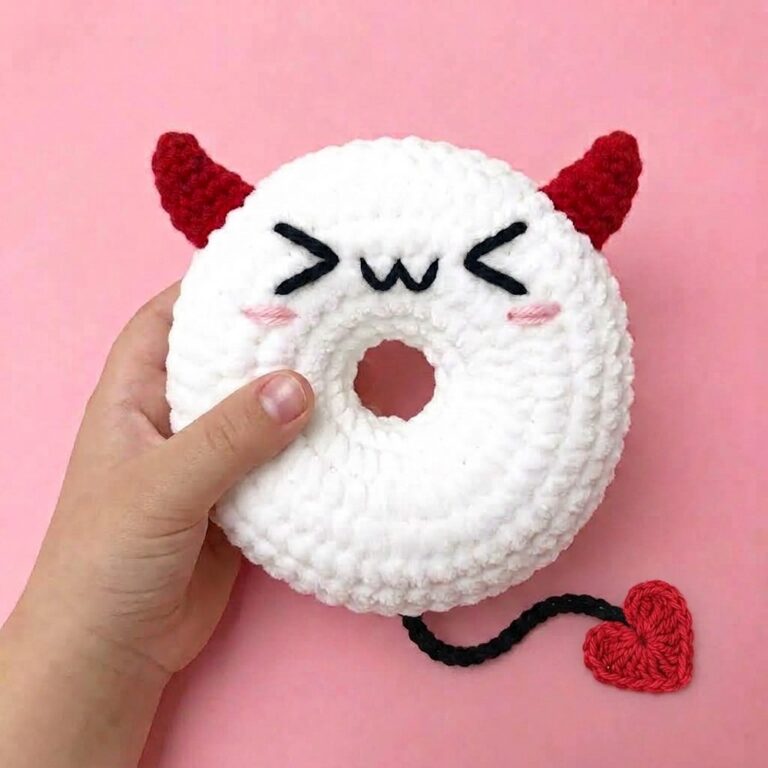
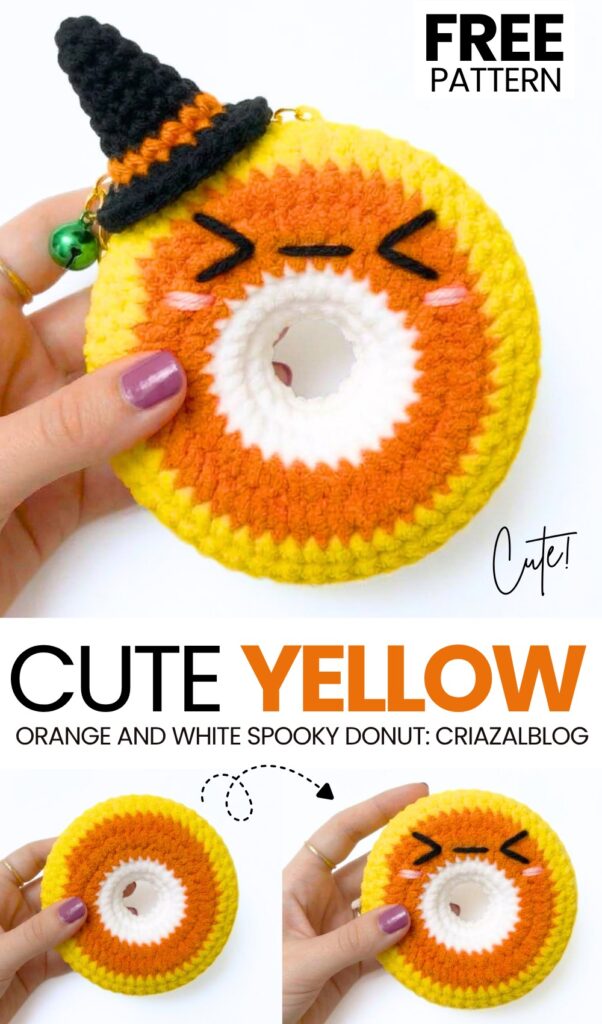
This is part 2 of my very own “crochet spooky donut rings” plushie series. Today, learn how to crochet this super CUTE plush yellow, orange, and white donut ring plush – a Halloween ornament and a stress toy equally. Its “><” kawaii eyes, blush, and small crochet witch hat make it look so ADORABLE that this is so far my favorite variation of food plushies, even among dumpling plushies.
The crochet hat also has an orange stripe and is crocheted in orange that makes the hat feel like a part of our candy corn donut ring.
You can use other color combos as well, such as swapping the red and orange. You can also turn your crochet candy corn plush into a buddy by making small legs and arms for it. Anyway, continue reading to learn more about this crochet plush yarn donut!
Similar Project(s)
Pattern to Crochet the Spooky-Cute Candy Corn Ring Plush
Skill Level: Easy / Beginner
Terminology: US Crochet Terms
Pattern Details & Materials
Recommended Yarn: Super Bulky Chenille / Plush Yarn (e.g., Hobbii Baby Snuggle or Premier Parfait Chunky)
Color A: White
Color B: Orange
Color C: Yellow
Hat Colors: Purple or Black (Cone) and Orange (Brim)
Details: Black embroidery yarn (eyes & mouth), Pink yarn (blush cheeks)
Hook Size: 4.25 mm (US G/6)
Tools & Notions: Yarn needle (tapestry needle), Polyester fiberfill stuffing, Stitch markers, Scissors, Optional bell or keychain hardware
Stitch Abbreviations
| Abbreviation | Meaning |
| Ch | Chain |
| SC | Single Crochet |
| HDC | Half Double Crochet |
| Inc | Increase (2 single crochet stitches in the same stitch) |
| Sl st | Slip Stitch |
| St(s) | Stitch(es) |
| (…) x n | Repeat instructions within parentheses n times |
| [Count] | Total stitch count at the end of the round |
Pattern Instructions
Front Panel (Candy Corn Colors)
Leave an initial 12-inch tail before making your slip knot.
Initial Chain (White): Slip knot, Ch 20. Form a ring by making 1 SC directly into the 1st chain made. (Ensure chain is not twisted; this SC counts as the 1st st of Round 1).
Round 1 (White): (4 SC, Inc) × 4 [24 sts]
Round 2 (White): (3 SC, Inc) × 6 [30 sts]
Round 3 (White): (4 SC, Inc) × 6 [36 sts] (Switch to Orange on the last stitch)
Round 4 (Orange): (5 SC, Inc) × 6 [42 sts]
Round 5 (Orange): (6 SC, Inc) × 6 [48 sts]
Round 6 (Orange): SC in each stitch around [48 sts] (Switch to Yellow on the last stitch)
Round 7 (Yellow): SC in each stitch around [48 sts]
Round 8 (Yellow): SC in each stitch around [48 sts]
Fasten off with a Sl st to the next stitch. Cut yarn.
Note on Round Distribution: The 8 rounds are split as 3 White (R1–R3), 3 Orange (R4–R6), and 2 Yellow (R7–R8) to give White the maximum center coverage while maintaining the candy corn gradient.
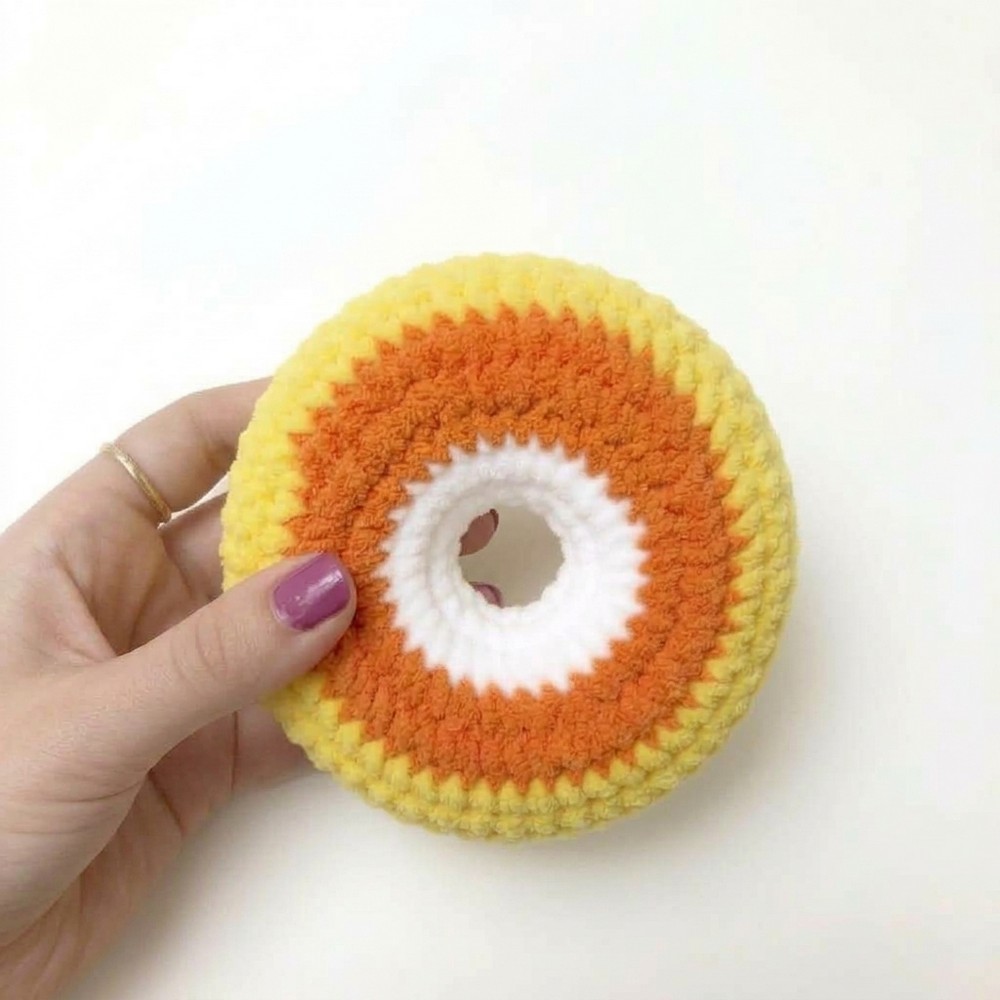
Back Panel Options
Option 1 (Solid White): Repeat Rounds 1–8 entirely in White yarn.
Option 2 (Matching Candy Corn): Repeat the exact color changes used for the Front Panel.
For your second panel (whether White or Candy Corn), leave an 18–24 inch tail at the end for outer perimeter seaming.
Mini Witch Hat
Round 1 (Purple or Black): Magic ring, 4 SC, sl st to join [4]
Round 2: Ch 1, (1 SC, Inc) × 2, sl st [6]
Round 3: Ch 1, (2 SC, Inc) × 2, sl st [8]
Round 4: Ch 1, (3 SC, Inc) × 2, sl st [10]
Round 5: Ch 1, (4 SC, Inc) × 2, sl st [12]
Round 6: Ch 1, (5 SC, Inc) × 2, sl st [14]
Round 7: Ch 1, 14 SC around, sl st [14]
Round 8 (Switch to Orange): Ch 1, Inc with HDC in every stitch (2 HDC in each st), sl st around the rim [28]
Fasten Off: Cut yarn, leaving a tail for sewing onto the donut.
Facial Details & Assembly
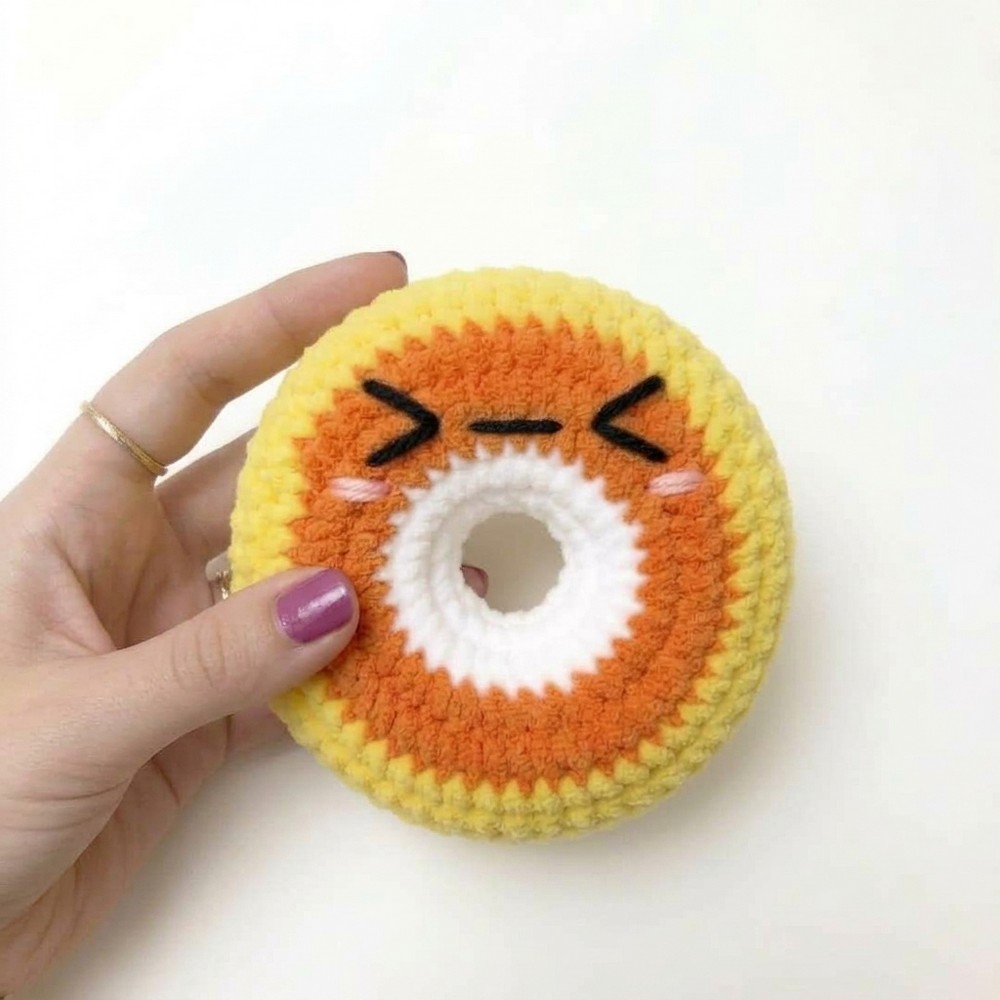
1. Embroider the Face
Using black yarn/embroidery floss, embroider closed/winking eyes (
>and<) across Rounds 4–5 on the Orange section of the front panel.Add a small straight line (
-) or curved mouth between the eyes.Using pink yarn, stitch two small horizontal blush lines directly beneath each eye.
2. Sew Inner Ring
Place the Front and Back panels together with wrong sides facing each other (right sides facing out).
Thread the 12-inch White yarn tail from the starting chain into a tapestry needle.
Whipstitch or mattress stitch the inner chain edges together stitch-by-stitch around the inner hole. Knot and hide the thread inside.
3. Attach Witch Hat
Position the mini witch hat on the upper-left curve of the donut.
Sew the hat securely onto the outer edge using the yarn tail.
4. Sew Outer Edge & Stuff
Thread the long outer yarn tail. Align the 48 stitches of the outer edge of both panels.
Begin seaming the perimeter together through both loops of both panels.
When about ¾ of the way around, stuff firmly with polyester fiberfill, making sure to spread the stuffing evenly around the ring.
Finish sewing the remaining gap closed, tie off, weave in all ends, and trim excess yarn.
Optional: Attach a key ring or small decorative bell next to the hat.
[tipsu key=”donut, candy corn, orange, yellow, dumpling”