Author: Talha
I am a crochet designer, macramé maker and a crafter who also loves doing MATH.
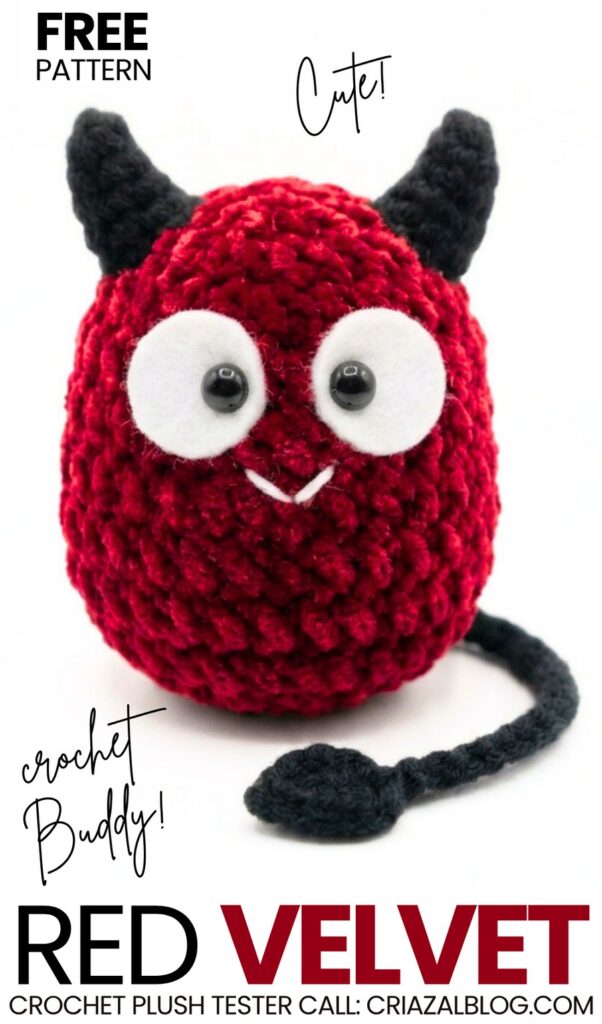
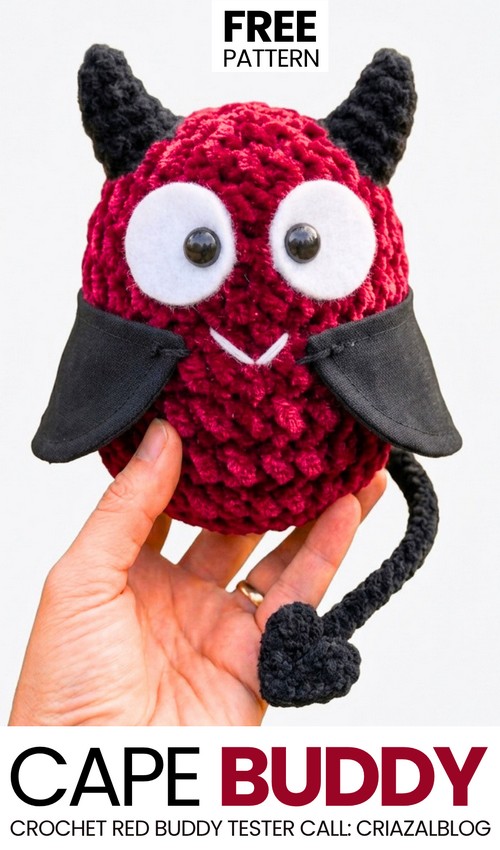
I am continuing our “crochet red buddies with black horns” plushie series once more. Today, learn how to crochet this UNIQUE no-sew red buddy wearing a fabric cape plushie by following a FREE written pattern for absolute beginners. Use this as a table mate, guest-welcome decoration, and even a treat bag charm. It wears a small crochet cape! This time, the crochet tail has a CUTE black heart attached, and the tail is also crocheted using the I-cord and the thin plush yarn.
It might be the last tester pattern in my crochet red buddies plushie series. Next, I will probably share some crochet monster plush patterns.
You can also crochet your plush red buddy with the embroidered white fangs for a spooky look. Luckily, you will also learn how to add an arch to the plushie horns. There is also an optional crochet wand for your plush that you can decorate with a heart plushie or origami heart. Now, continue reading to learn more about this crochet plush red buddy pattern!
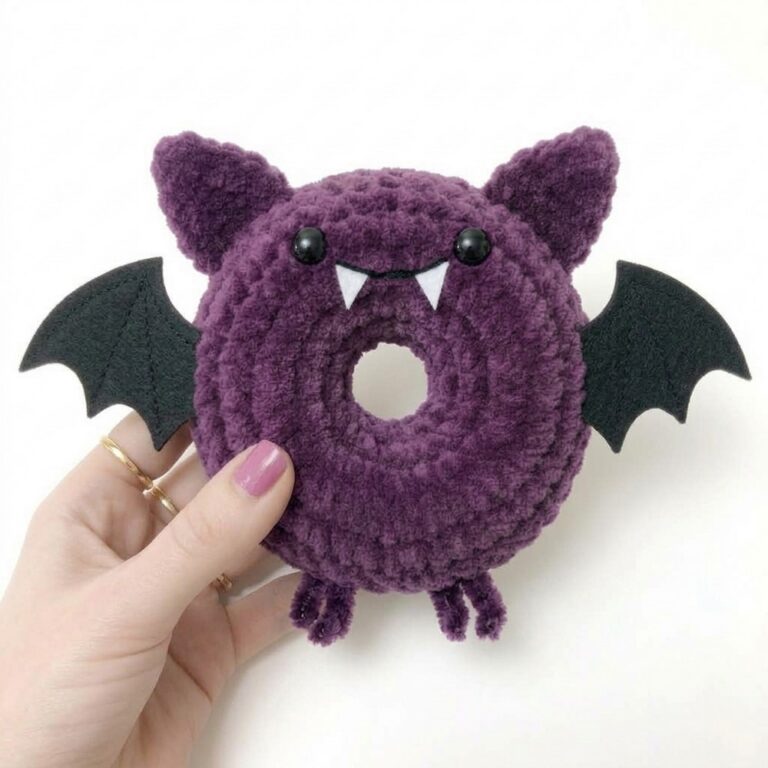
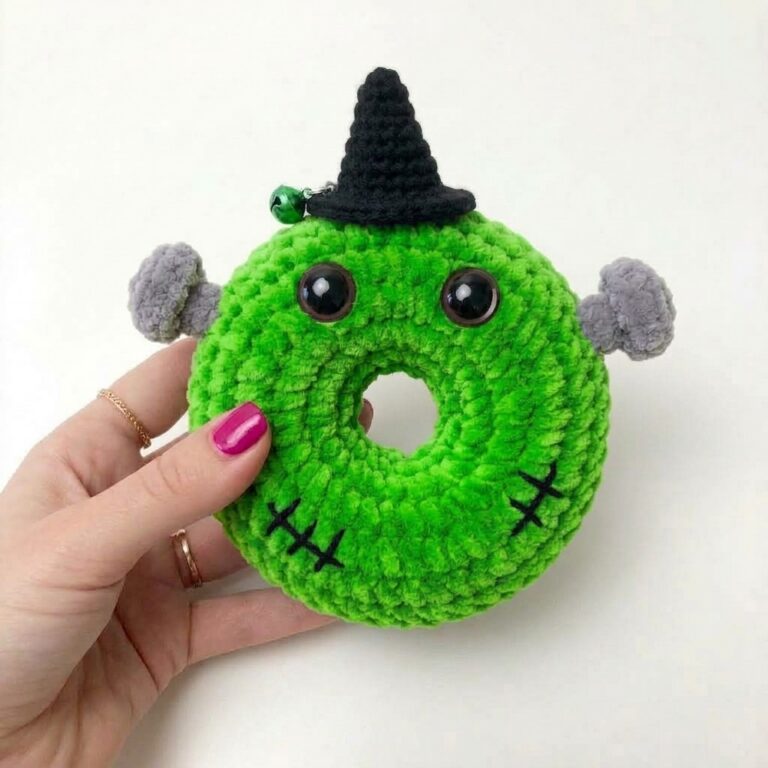
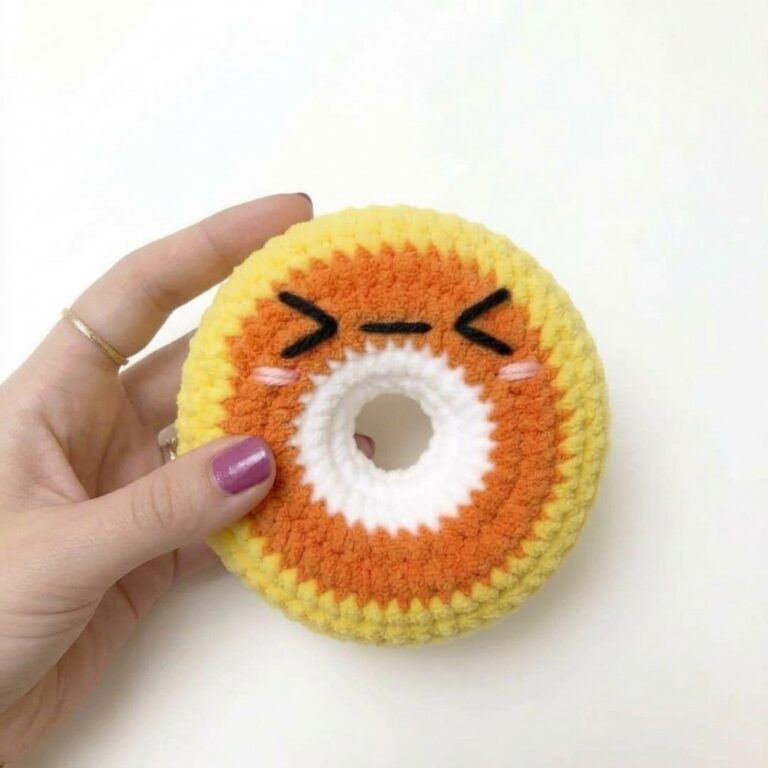
Similar Project(s)
Pattern to Crochet the Plush Devil in A Cape Buddy Plushie
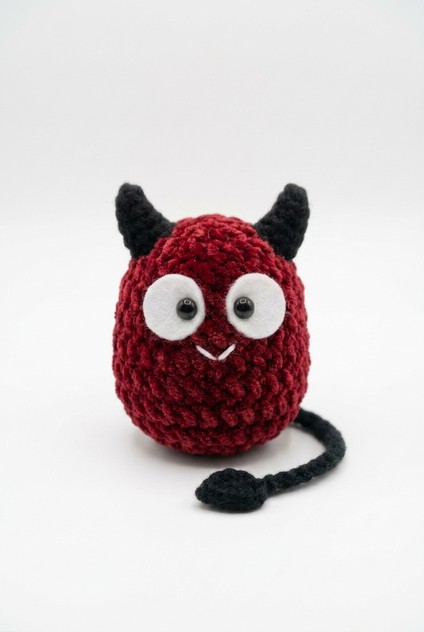
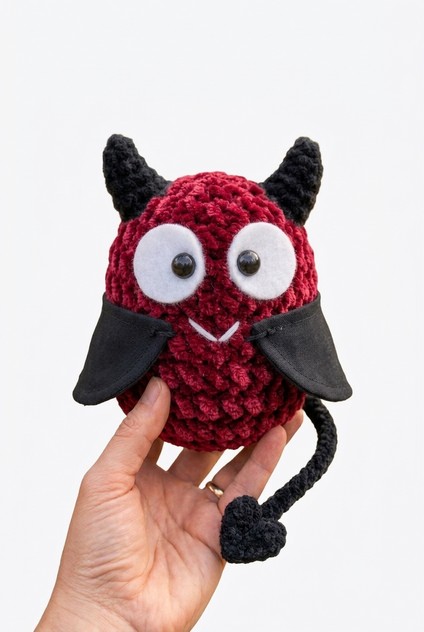
This plush devil buddy is made using two weights of super bulky chenille yarn for a round, squishy base. It features dark pointed horns, an embroidered smiling mouth, white felt eye backings with safety pupil centers, a fabric cape, and a flexible tail with a spade-heart tip.
Materials & Tools
Yarn:
Super Bulky Plush Yarn (Deep Red) for Body
DK Weight Yarn (Black) for Horns
Skinny Plush or Fine Yarn (Black) for Tail & Heart Tip
Hooks: 6.0 mm – 7.0 mm (for Body) and 3.0 mm – 3.5 mm (for Horns and Tail)
Safety Eyes: 10 mm – 12 mm black safety eyes
Felt & Fabric: White felt sheet (for eye backings), Black woven fabric or felt (for cape/wings)
Notions: Fiberfill stuffing, white embroidery floss, sewing needle, black sewing thread, yarn needle, stitch marker, scissors
Body Pattern
Worked in JOINED ROUNDS using Super Bulky Yarn in Deep Red. Join with a slip stitch to the first stitch of each round, then chain 1.
Rnd 1: 6 sc in MR (6)
Rnd 2: inc in each st around (12)
Rnd 3: [1 sc, inc] × 6 (18)
Rnd 4: [2 sc, inc] × 6 (24)
Rnd 5: [3 sc, inc] × 6 (30)
Rnd 6: [4 sc, inc] × 6 (36)
Rnds 7–13: sc in each st around (36) (7 total rounds)
Rnd 14: [4 sc, dec] × 6 (30)
Rnd 15: [3 sc, dec] × 6 (24)
Rnd 16: [2 sc, dec] × 6 (18)
Stuff firmly with fiberfill.
Rnd 17: [1 sc, dec] × 6 (12)
Rnd 18: dec × 6 (6)
Fasten off, weave tail through front loops of remaining 6 stitches, pull tight to close, and weave in ends.
Horns Pattern
Make 2 using Black DK Yarn. Worked in CONTINUOUS ROUNDS (do not join).
Rnd 1: 3 sc in MR [3]
Rnd 2: inc, 2 sc [4]
Rnd 3: inc, 3 sc [5]
Rnd 4: inc, 4 sc [6]
Rnd 5: inc, 5 sc [7]
Rnd 6: inc, 6 sc [8]
Rnd 7: inc, 7 sc [9]
Fasten off, leaving a long yarn tail for shaping and sewing. Lightly stuff if desired.
How to Arch the Horns: To pull the horn into a curved arch, follow these optional steps:
Thread your yarn needle with the long tail left on the horn.
Start sewing a loop of running stitches from the horn base up to the tip along the side you want to be concave (the inner curve).
Once you reach the tip, turn and sew back down along the exact same path to the base.
Gently pull the yarn tails from the base. This will cinch the side and make the horn arch more dramatically.
Tie the yarn securely at the base to lock in the arched shape.
Tail & Heart Tip
Worked using Skinny Plush / Black Fine Yarn.
Chain 3.
Insert hook into 2nd ch from hook, YO, pull up a loop. Insert hook into 3rd ch, YO, pull up a loop (3 loops on hook).
Drop the last 2 loops off your hook (hold them securely between your fingers).
YO, pull through the 1st loop on hook.
Re-insert hook into 2nd dropped loop, YO, pull through.
Re-insert hook into 3rd dropped loop, YO, pull through (3 loops back on hook).
Repeat steps 3–6 until the cord reaches ~4 to 5 inches in length.
YO and pull through all 3 loops to fasten off.
1-Round Heart Tip
Into a Magic Ring: ch 2, 2 dc, 2 hdc, ch 1, 1 dc, ch 1, 2 hdc, 2 dc, ch 2.
Sl st into the center of the ring.
Pull the ring tight to close and fasten off, leaving a tail. Stitch the base of the heart onto the tip of the I-cord tail.
Cape Sewing Guide
Pattern Cutting: Cut two oval-shaped panels from black fabric or stiff black felt. First, you have to cut a rectangle and measure the side against the plushie, then cut the oval curved parts. Sew twice.
Edges: If using woven cotton/linen fabric, fold over the top hem and press/stitch it to prevent fraying. If using felt, raw edges can be left unhemmed.
Placement: Position the wings on the back of the plush, placing the upper edge near round 8–9 (just under where the horns sit on top).
Attachment: Secure each wing section using small backstitches or whipstitches with black sewing thread along the upper border.
Assembly & Facial Features
Eyes: Cut two circular backings out of white felt (~1 inch wide). Make a tiny slit in the center of each, insert safety eyes, and press them into place between rounds 8 and 10 of the body (spaced ~2 stitches apart). Secure backs inside before final stuffing/closing.
Mouth: Using white embroidery floss, stitch a simple “V” shape directly below and between the eyes.
Horns: Angle the two horns slightly outward on rounds 3–5 of the top head area and sew firmly into place using saved tails.
Tail: Sew the non-heart end of the Tunisian i-cord tail centered near the lower back (round 14–15).
Share on Social Media!