Thanks the Monua DIY for providing the base pattern to crochet this plush!
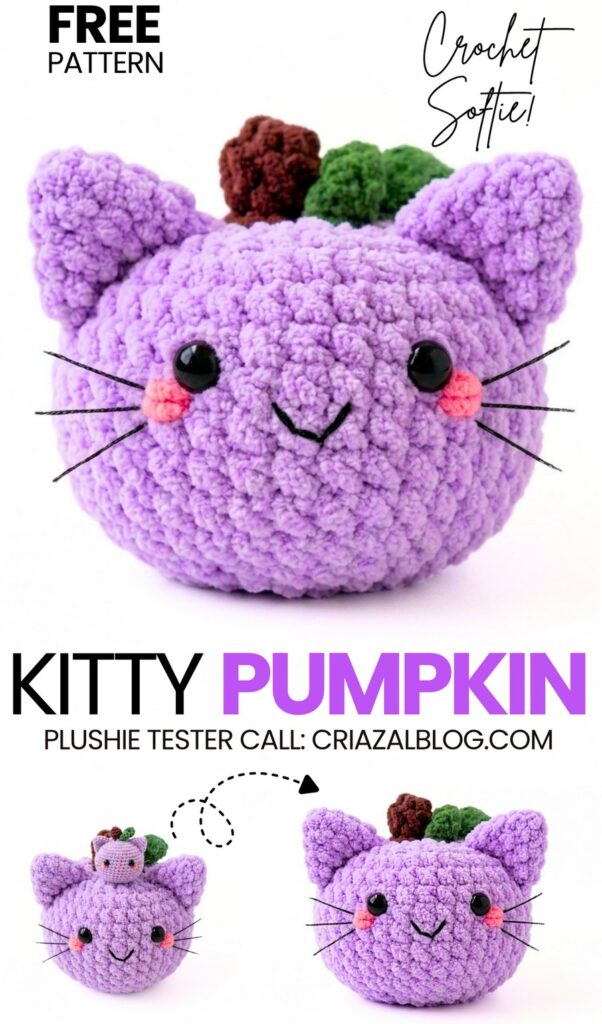
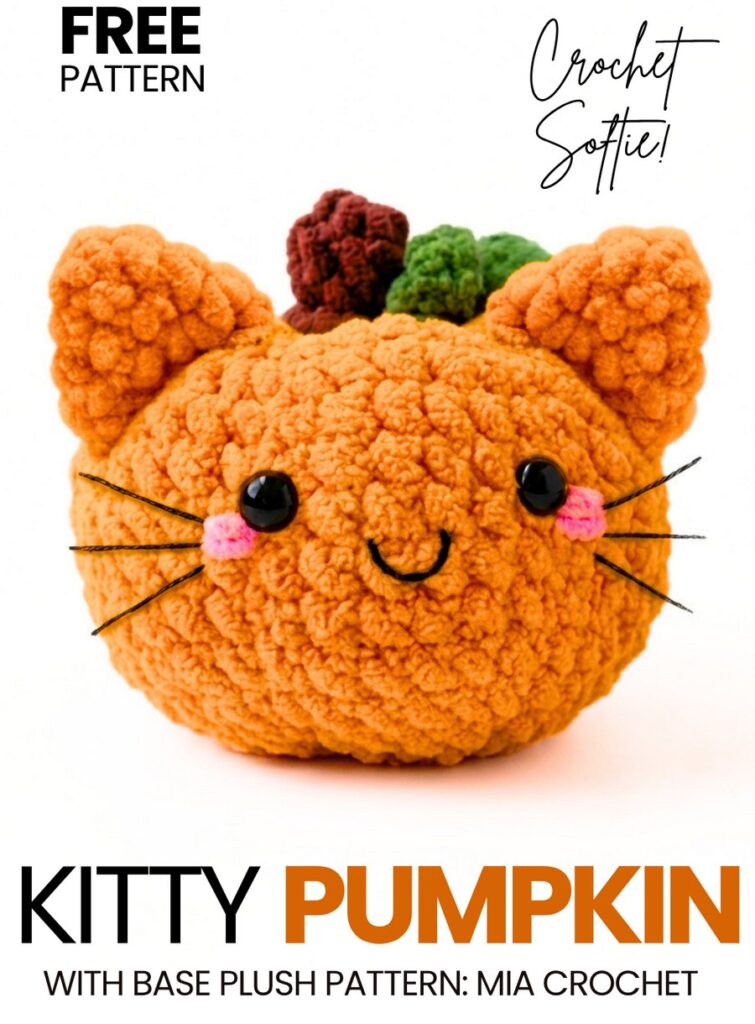
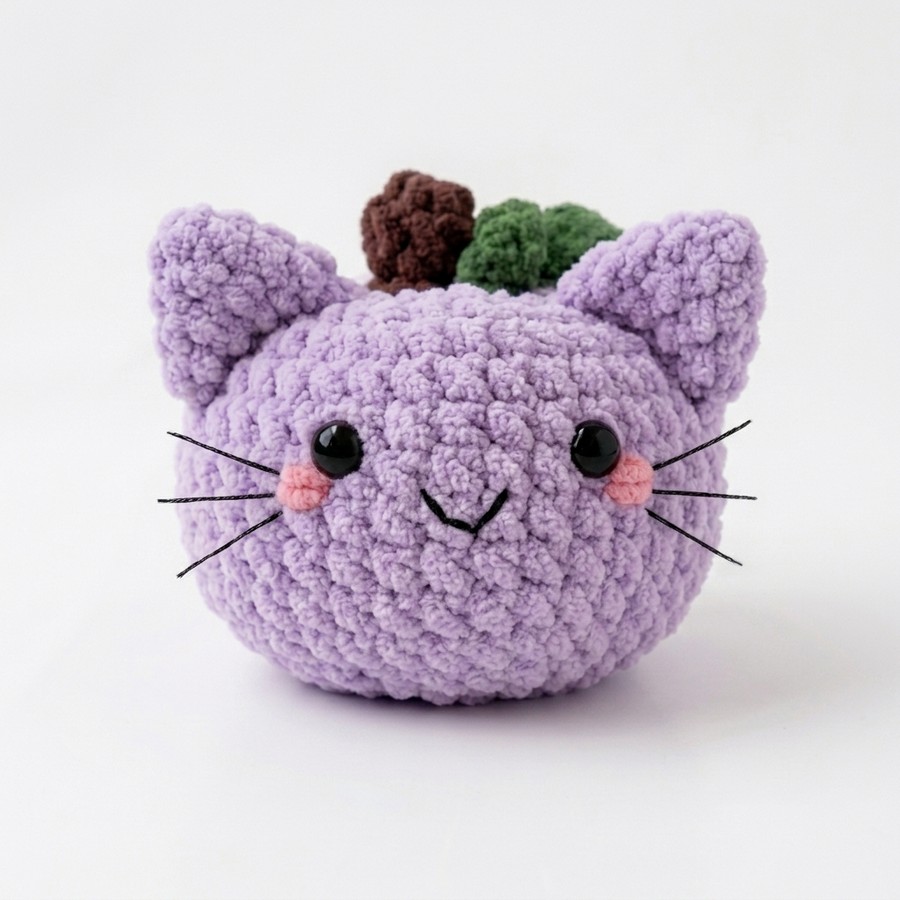
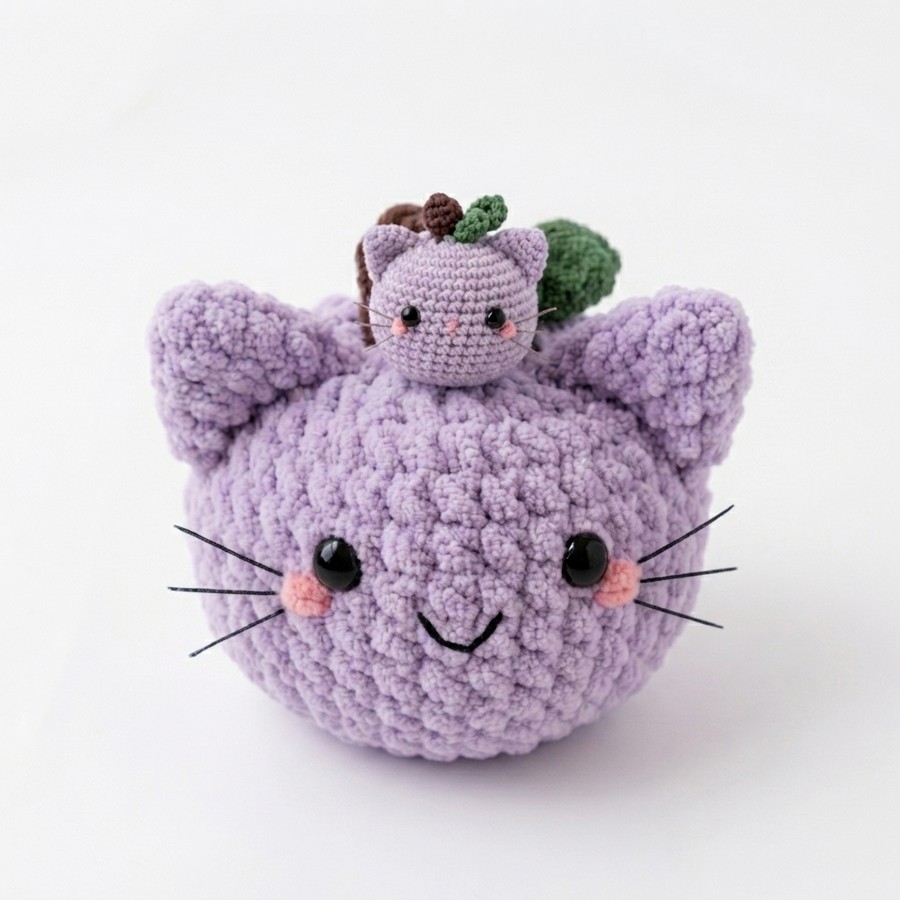
Here is another crochet UNIQUE pumpkin plush pattern for this week. Today, learn how to crochet a cat version of the Jellycat smiling pumpkin plushie you learned last week! I have added the crochet plush cat ears on either side of the crochet stem and faux whiskers to turn it into a smiling cat plush pumpkin.
Unlike the crochet cat amigurumi pumpkin in different unique colors, this will be crocheted using the thin plush yarn.
The crochet base plush pattern will remain the same for both these crochet plushies. The only new pattern I have added is the crochet ears. Also, I have removed the crochet legs, which makes it even quicker!
[ez-toc]
Pattern to Crochet the Plush Pumpkin with Cat Ears
This is a small pumpkin with cat ears. You will make it with yarn. You will make a round body. You will fill it. You will sew lines on it. You will make a small brown top. You will make a green piece. You will sew all the parts to the round body. It is simple to make.
Materials
Yarn: Yellow (for the main pumpkin) and Green (for the curly vine/leaf).
- Yellow for the Ears, too.
Crochet Hook: Use 4mm crochet hook.
Safety Eyes: Small black safety eyes.
Stuffing: Fiberfill.
Tools: Stitch markers, a yarn needle, scissors, and sewing pins.
Learn the Base!
Step-by-Step Pattern
The Pumpkin Body (Use Yellow Yarn)
Round 1: Make a magic ring. Work 8 single crochets (sc) into the magic ring. Pull the yarn tail to close the ring. (8 stitches)
Round 2: Work 2 sc in every stitch around (this means make 8 increases). (16 stitches)
Round 3: [1 sc in the first stitch, 1 increase in the next stitch]. Repeat this pattern 8 times in total. (24 stitches)
Round 4: [1 sc in the next 3 stitches, 1 increase in the 4th stitch]. Repeat this pattern 6 times in total. (30 stitches)
Round 5: [1 sc in the next 3 stitches, 1 increase in the 4th stitch, 1 sc in the 5th stitch]. Repeat this pattern 6 times in total. (36 stitches)
Rounds 6 to 10: 1 sc in every stitch around. (36 stitches for 5 rounds)
Round 11: [1 sc in the next 3 stitches, 1 invisible decrease in the 4th stitch, 1 sc in the 5th stitch]. Repeat this pattern 6 times in total. (30 stitches)
Round 12: [1 sc in the next 3 stitches, 1 invisible decrease in the next stitch]. Repeat this pattern 6 times in total. (24 stitches)
Action: Insert the safety eyes between Round 7 and Round 8.
Action: Add the stuffing firmly into the pumpkin body.
Round 13: [1 sc in the first stitch, 1 invisible decrease in the next stitch]. Repeat this pattern 8 times in total. (16 stitches)
Round 14: Make 8 invisible decreases. (8 stitches)
Finish: Cut the yarn but leave a very long tail. Weave the tail through the front loops of the last 8 stitches and pull tightly to close the hole.
Shape the pumpkin: Place a sewing pin every 6 stitches around the outside edge. Thread your very long yarn tail onto your needle. Wrap the yarn around the outside of the pumpkin at the first pin mark, push the needle up through the center bottom to the top, and pull the yarn tight to create a ridge. Repeat this at every pin to make the round sections of the pumpkin. Tie the yarn securely to lock the shape in place.
The Stem (Use Brown Yarn)
Round 1: Make a magic ring. Work 6 sc into the magic ring. (6 stitches)
Rounds 2 to 3: 1 sc in every stitch around. (6 stitches for 2 rounds)
Round 4: Working in the Front Loops Only (FLO), make 6 increases. (12 stitches)
Finish: Cut the yarn, leave a long tail for sewing, and fasten off.
The Curly Leaf / Vine (Use Green Yarn)
Row 1: Chain 8.
Row 2: Starting in the second chain from the hook, work 1 increase (2 sc) in every single chain space all the way down. (14 stitches). Doing this will force the yarn to curl up into a spiral shape.
Finish: Cut the yarn, leave a long tail for sewing, and fasten off.
Ears (Make 2)
Use orange yarn again
Cat or Animal Ear Pattern
Rounds:
Rnd 1: Single crochet (sc) 4 into a magic circle. [4 stitches]
Rnd 2: Sc 1, increase in the next stitch; repeat from * to * 2 times total. [6 stitches]
Rnd 3: Sc in each of the next 2 stitches, increase in the next stitch; repeat from * to * 2 times total. [8 stitches]
Rnd 4: Sc in each of the next 3 stitches, increase in the next stitch; repeat from * to * 2 times total. [10 stitches]
Finishing:
Slip stitch (sl st) into the next stitch to fasten off.
Cut the yarn, leaving a long tail for sewing.
Pinch the cone flat to form the ear shape.
Sew the bottom of the ear onto your main piece, placing it across Rounds 3 to 8.
Assembly
Sew the base of the brown stem to the top center of the shaped pumpkin body.
Sew the green curly vine directly beside the base of the stem.
- Sew the ears!
Share on Social Media!