Author: Talha
I am a crochet designer, macramé maker and a crafter who also loves doing MATH.
This post may contain affiliate links!
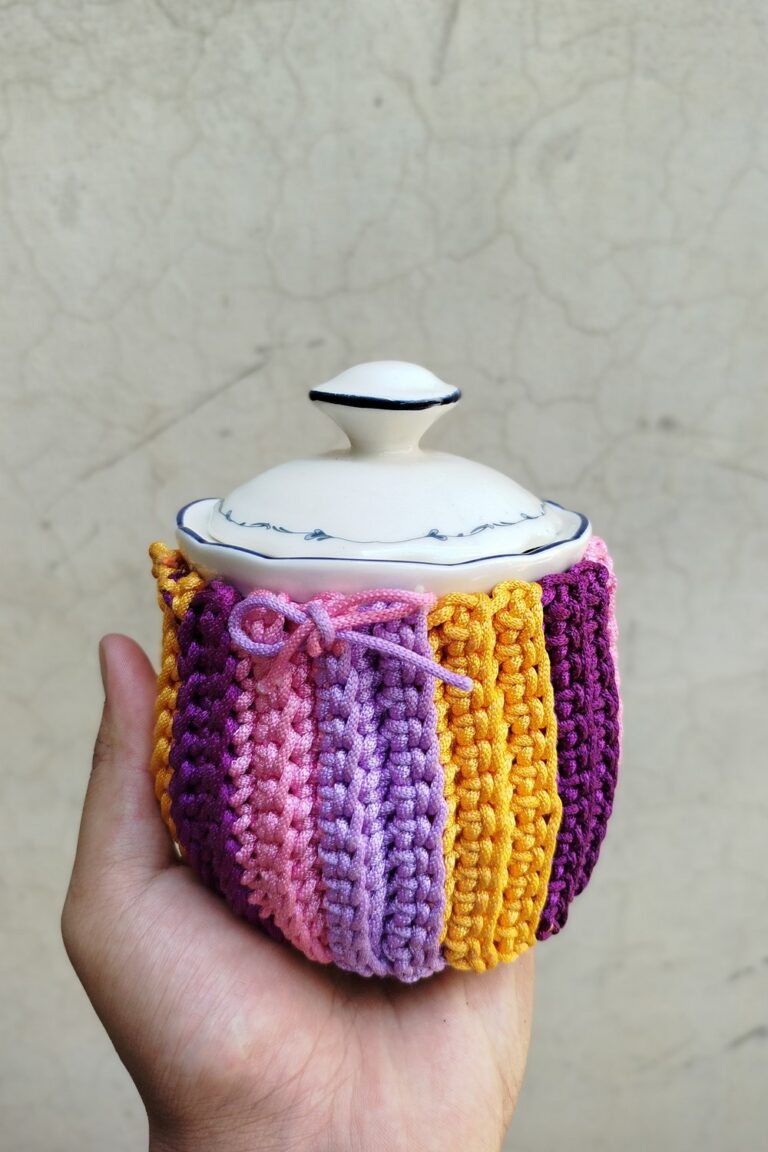
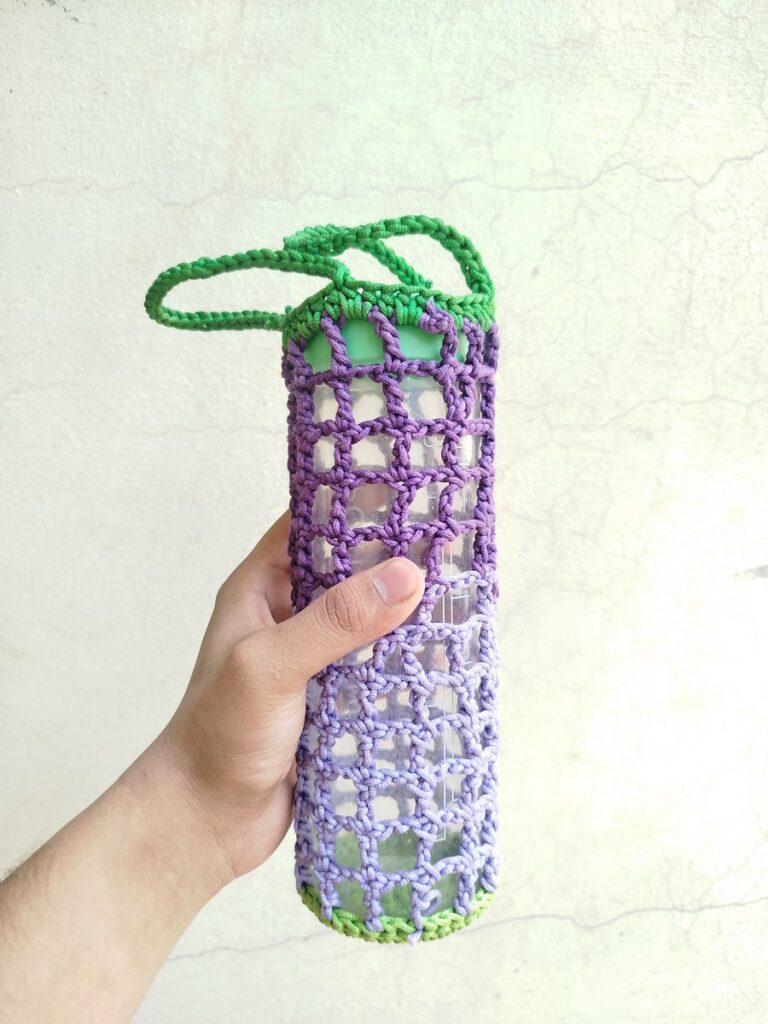
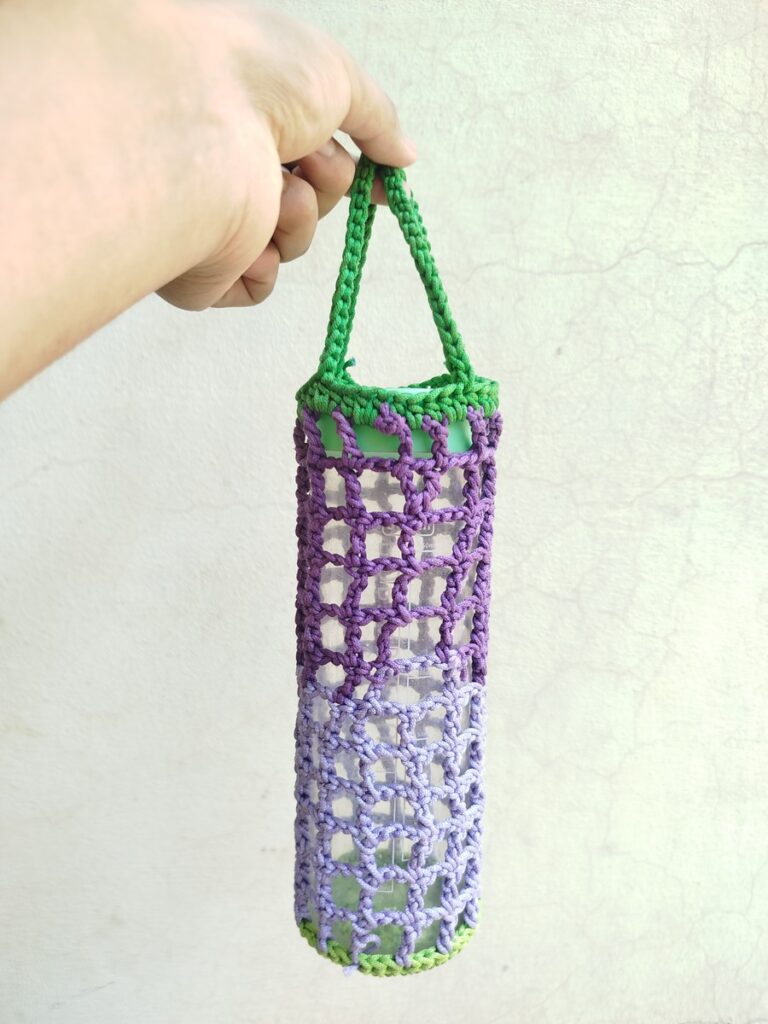
I designed & crocheted this easy crochet colorwork mesh water bottle holder to carry-on while visiting our relatives. I crocheted it for my MOM just like candy mug cozy like a month ago, as unlike the US, we start feeling the summer quite early on. Now, you can learn how to crochet this beautiful holder in purple and green following this FREE pattern.
I crocheted it for my 23 cm high plastic juice bottle (similar to those that are used for making sensory bottles. However, since this has a repetitive square mesh pattern and a solid circle base, you can crochet it in any size.
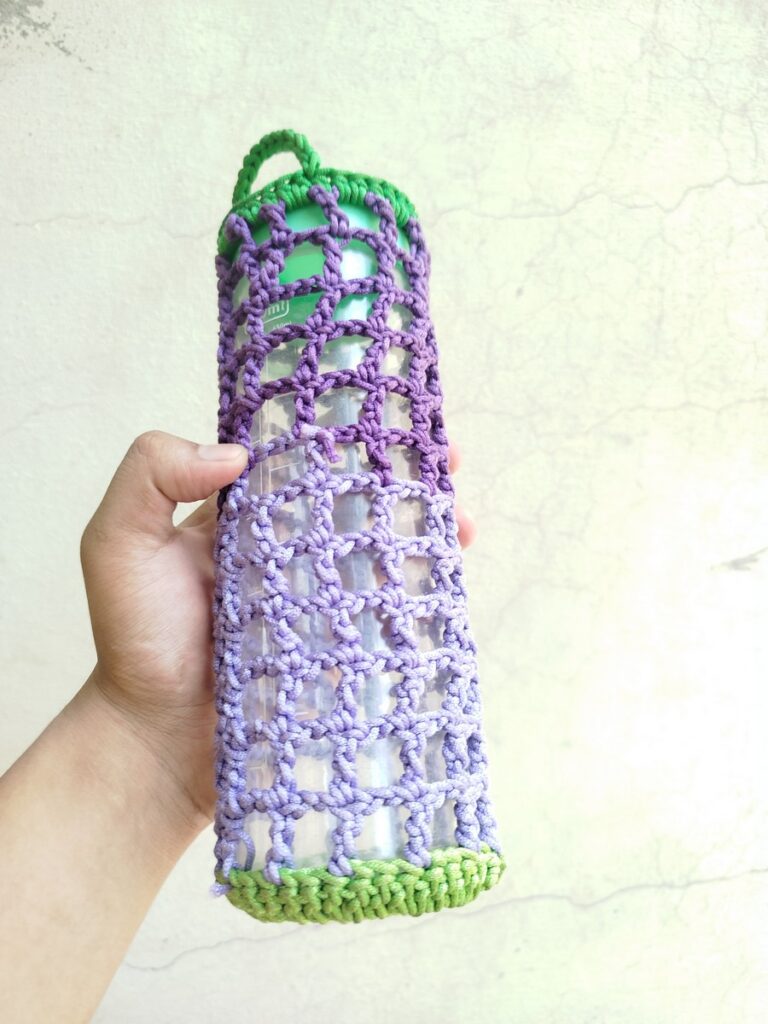
This mesh cup and tumbler holder is a modified version of the traditional mesh water bottle holder and has 3 NEW features: I have crocheted the half I-cord handles, made the mesh pattern versatile and it is crocheted using macramé cord.
So, the pattern will stay the same, whatever the diameter of your bottle is, and so will the number of stitches in the last round. You can also crochet it using the double crochet or single crochet handle. Anyway, the customization is up to you. I will try to provide you with a detailed pattern to crochet this water bottle holder for summer.
How to Crochet this Mesh Water Bottle Holder
Following are the steps I used to crochet this mesh water bottle holder:
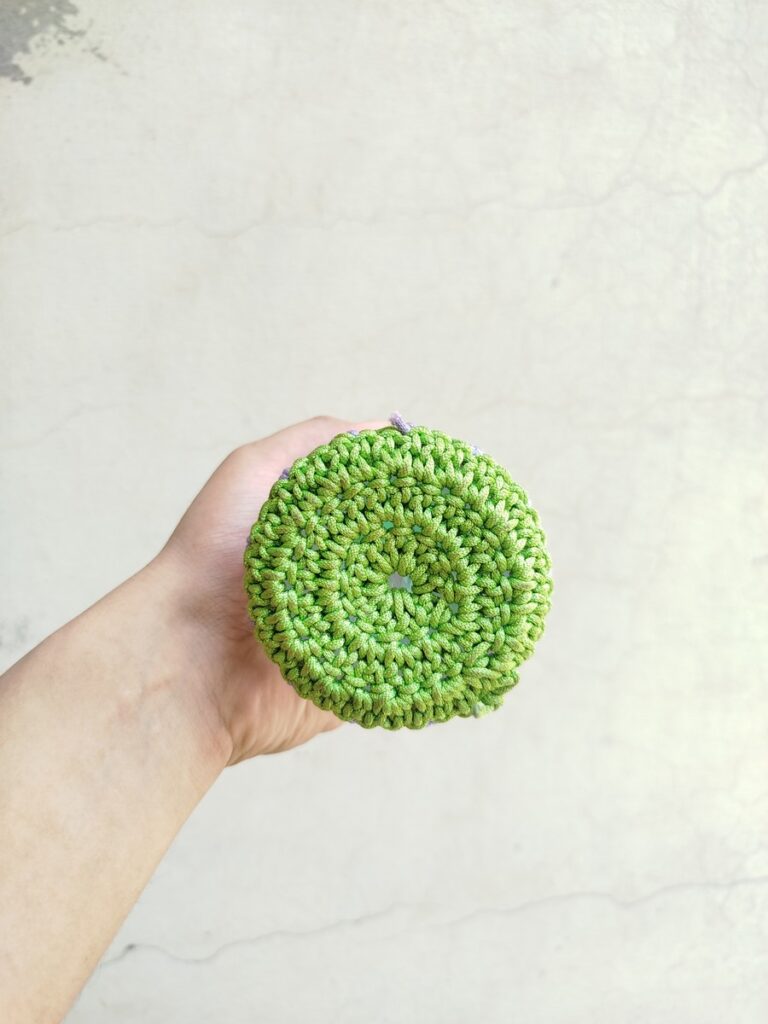
- Step #1: I measured the diameter of the base of my water bottle and estimated that 3 double-crochet rounds would be enough to cover. You can also measure bases by crocheting a sample coaster and gauging the bottle base against it!
- Step #2: Made a magic ring and crocheted three rounds of double crochet using the magic increase formula. You can learn it in detail through my dedicated guide.
- Step #3: Secured the green color and closed the round after removing the crochet hook. Then, I attached the light purple cord.
- Step #4: Chained 6 which counted as 1 treble crochet and two chains for chain spaces. (This is an improvement as most designers don’t get the right amount of chains at the initial round and get a different area of mesh for the first mesh grid!).
- Step #5: Leaving the next two stitches, I worked a treble crochet in the 3rd stitch. This make this first mesh grid.
- Step #6: Then I repeated: chain 2, skip 2 and 1 treble crochet in the next stitch till the end.
- Step #7: I would chain 2 and make a slip stitch in the first mesh grid and that’s the repeat pattern. Just repeat the step #4 to #7.
- Step #8: I changed the color midway to dark purple and followed the same pattern for a total of 12 rounds.
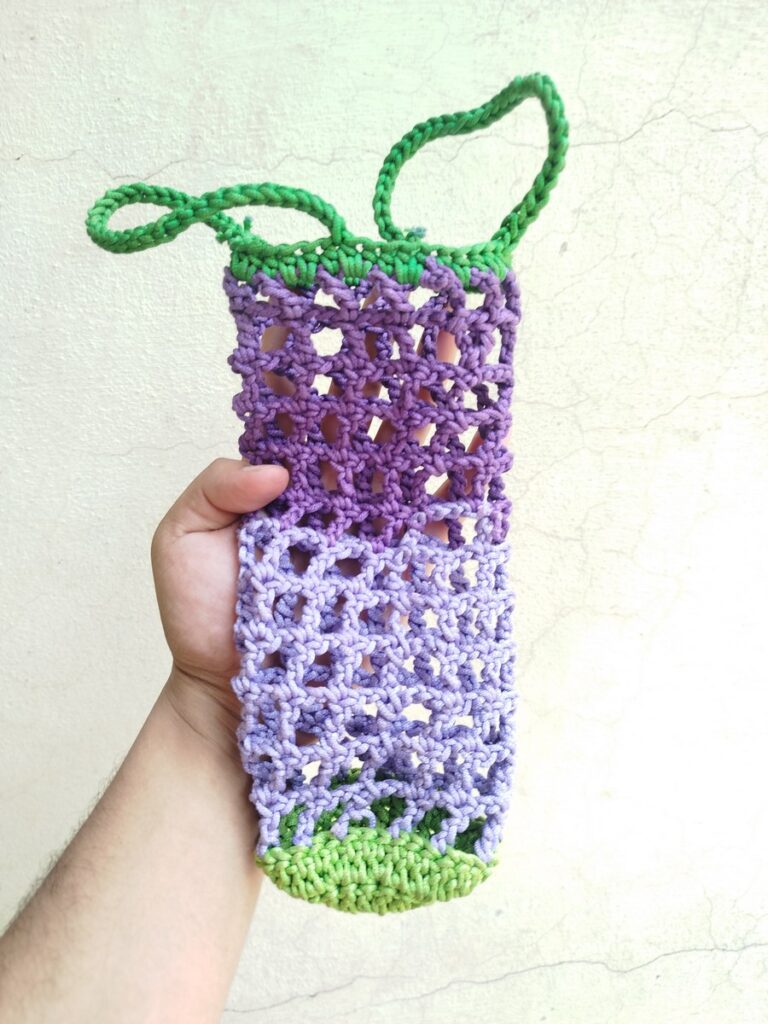
- Step #9: In the 13 round, I switched to green, made two turning chains and worked half double crochet in each of the next stitches. This reinforces the rim of the cover. Be sure to work a 2 hdc stitch in the chain spaces. Folded in half.
- Step #10: Secured and attached the green yarn again such that I have a long length at the tail end. Inserted the hook into the first stitch and made a double chain instead of single chain to secure the yarn. Then made 33 more double chains, skipped 8 stitches and slip stitched in the 9 stitch to the left. This created a handle. I made another handle on the far side. Finally, just weaved the ends and color-change tails.
Crochet Mesh Water Bottle Holder: My Pattern
Skill Level: Beginner – Level 2
What I Used for Making my Water Bottle Holder
- Yarn: As I revealed in “when use macramé cord guide,” I used metallic macramé cord. This gave my crochet water bottle holder an elegant finish.
- Color A: 1/3 standard skein of Light Green cord.
- Color B: 1/2 skein of Light Purple cord.
- Color C: 1/2 skein of Dark Purple cord.
- Color D: 1/2 skein of Dark Green cord.
- 2.5mm of ergonomic crochet hook
- Scissors
- Stitch marker
Techniques
- Making a Magic Ring
- Chain Stitch
- Double crochet
- Treble crochet
- Slip Stitch
- Changing colors at the end of round
- Half Double Crochet
- Double Chain
Finished Size
- 23 cm high
- 6.5cm diameter
- Grids: 2cm by 2cm each
Abbreviations
- MR – magic ring
- ch – chain
- dc – double crochet
- hdc – half double crochet
- tr – treble crochet
- sl st – slip stitch
- st(s) – stitch(es)
- sp – space
- sk – skip
- rnd(s) – round(s)
- rep – repeat
- CC – contrasting color
- FO – fasten off
- Double ch (for handle construction)
Pattern
Base
Rnd 1: With CC A, MR, ch 3 (counts as dc), 11 dc in MR, sl st to top of beg ch-3. (12 dc)
Rnd 2: Ch 3, dc in same st, 2 dc in each st around, sl st to top of beg ch-3. (24 dc)
Rnd 3: Ch 3, *2 dc in next st, dc in next st; rep from * around, sl st to top of beg ch-3. (36 dc)
FO CC A and join CC B.
Body
Rnd 4: Ch 6 (counts as tr, ch 2), sk next 2 sts, tr in next st, *ch 2, sk next 2 sts, tr in next st; rep from * around, ch 2, sl st into first ch-2 sp.
Rnd 5–12: Sl st into next ch-2 sp, ch 6 (counts as tr, ch 2), tr in same sp, *ch 2, tr in next ch-2 sp; rep from * around, ch 2, sl st into first ch-2 sp. Change to CC C midway as desired.
Rim (Rnd 13)
Join CC D, ch 2, hdc in each tr and 2 hdc in each ch-2 sp around, sl st to first hdc. FO.
Handles
Join CC D leaving a long tail. Double ch 34, sk 8 sts, sl st in 9th st to the left to form handle. Rep on opposite side for second handle. FO and weave in all ends.
My Final Message Before You Leave!
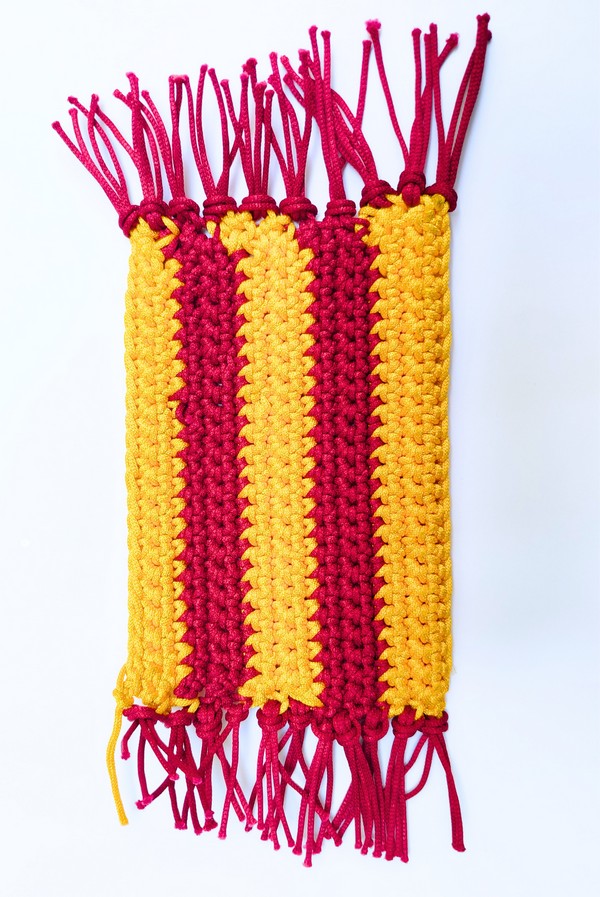
Did you like my macramé cord Harry Potter Mug Rug and wanna try one this summer? You can tell me everything in the comment and ask the question, in case you have any. Also, follow me on the relevant social media!