Author: Talha
I am a crochet designer, macramé maker and a crafter who also loves doing MATH.
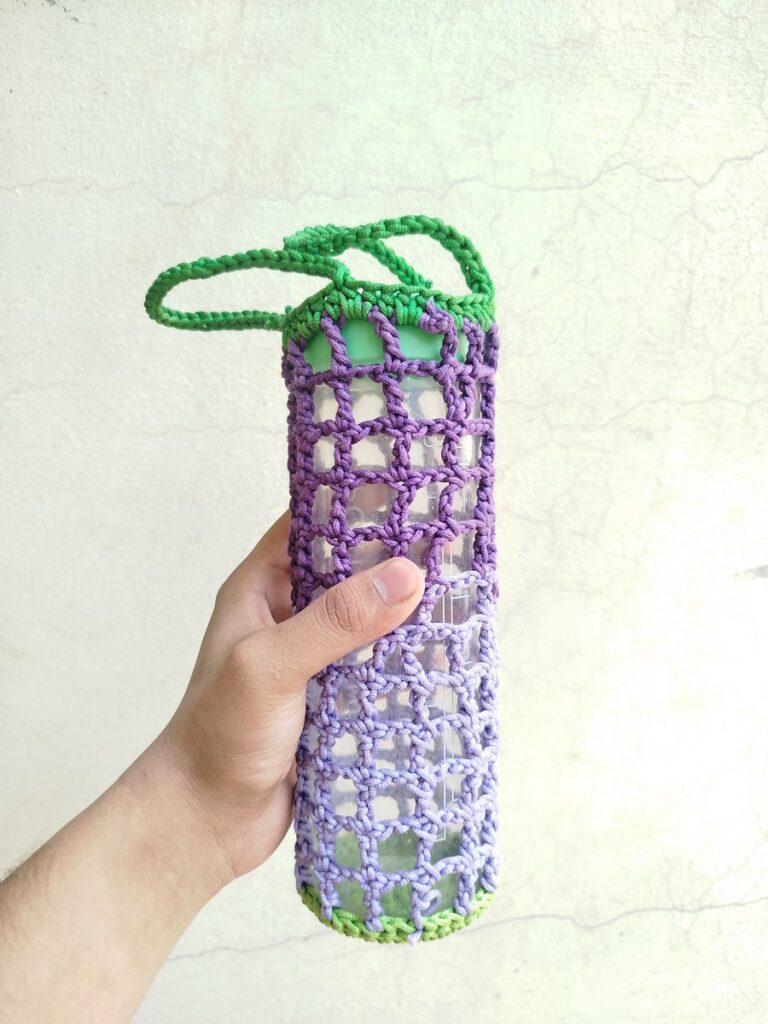
A Granny square, including its variations, is probably the most popular crochet project ever. As a beginner, you should start with a classic granny square that I will teach in this tutorial, using an increase formula to expand it to any number of rounds. This looks oh-so elegant with striped work and is perfect for summer tops and cardigans, AirPod pouches, and tote bags.
Crocheting this square will help you understand how to make “corners,” “chain-spaces,” and “sides” by working in crochet rounds. With this, you can also crochet other popular motifs, such as the hexagon and its other lovely granny variations.
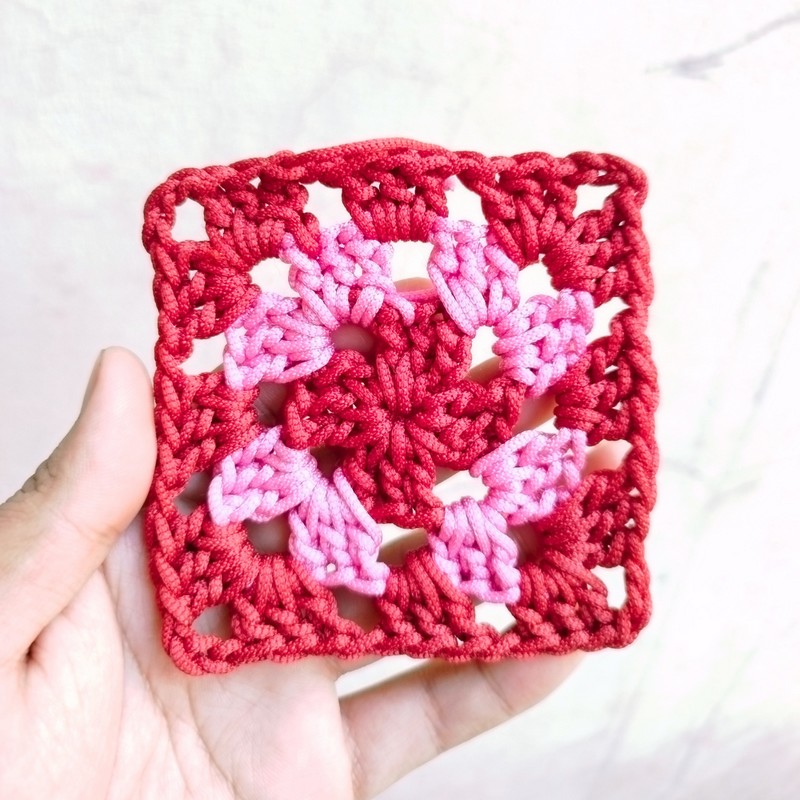
For example, the solid granny square (the classic granny square has a mesh pattern), sunburst, and African flower squares.
The method I will show does not require making a magic ring and is much easier. You will just need double crochet, chain stitch, and slip stitch to crochet this.
How is a granny square worked?
Crocheters don’t agree on a single method to crochet a classic granny square. For example, one may prefer a reversible and no-skew granny square for crocheting scarves and blankets. For this, you will want to turn the sides after every round. However, a more common method does not require turning.
You can also make it easy to add stitches in the ring by crocheting a 6-chain ring instead of a 4-chain ring, even though the latter is more common.
However, I think you can start with the most basic method to make learning and practice easier, and then improve it. I will share some tips in the end, for example, how you can make a less sharp corner by chaining two corners. So, for now, here is the basic idea for crocheting a granny square:
- Work 4 clusters of 3-double crochet in the ring, each separated by 3 chains, and join the first and the last stitch.
- In the 2nd round, we will first want to reach the corner as we are in the middle. For this, we slip stitch the two stitches, as this does not add height.
- After that, we work 8 double crochet clusters in the corner spaces, separated by corners and chain-1. Then 12 double crochet and so on, following a repetitive pattern for other rounds.
Crochet Granny Square: Step-by-Step Instructions
Let me provide you with the pattern for all rows to crochet the granny square pattern below:
Difficulty: Beginner – Level 3
Stitches Needed: Chain and double crochet.
Supplies
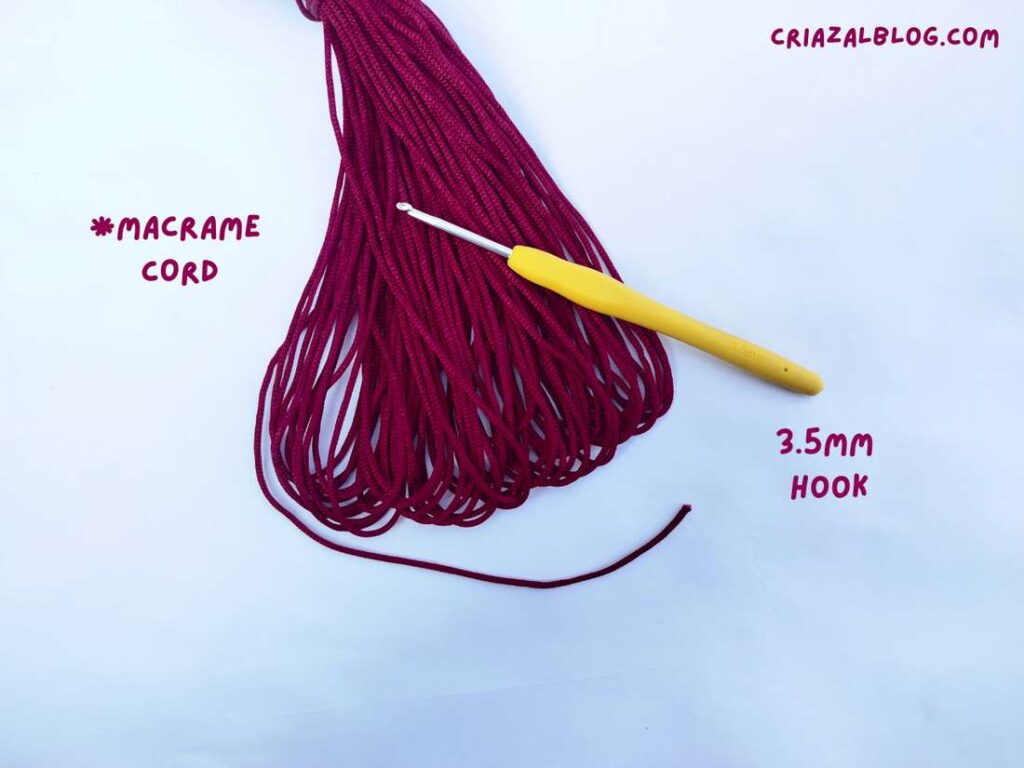
- I am using macrame cord for aesthetic and better visibility of the stitches. However, for your crochet projects, I recommend using the standard cotton or acrylic yarn.
- 3.5mm crochet hook. You can use the recommended one on your yarn label.
Abbreviations
- ch: chain
- dc: double crochet = tr: treble crochet in UK terms
- sl st: slip stitch
- sp: space
Granny Square Pattern
Round 1
- Attach a slip knot to your crochet hook and crochet 6 chains. You can also crochet 4 chains for a smaller ring, and if you think the centre might be way bigger due to thicker yarn.
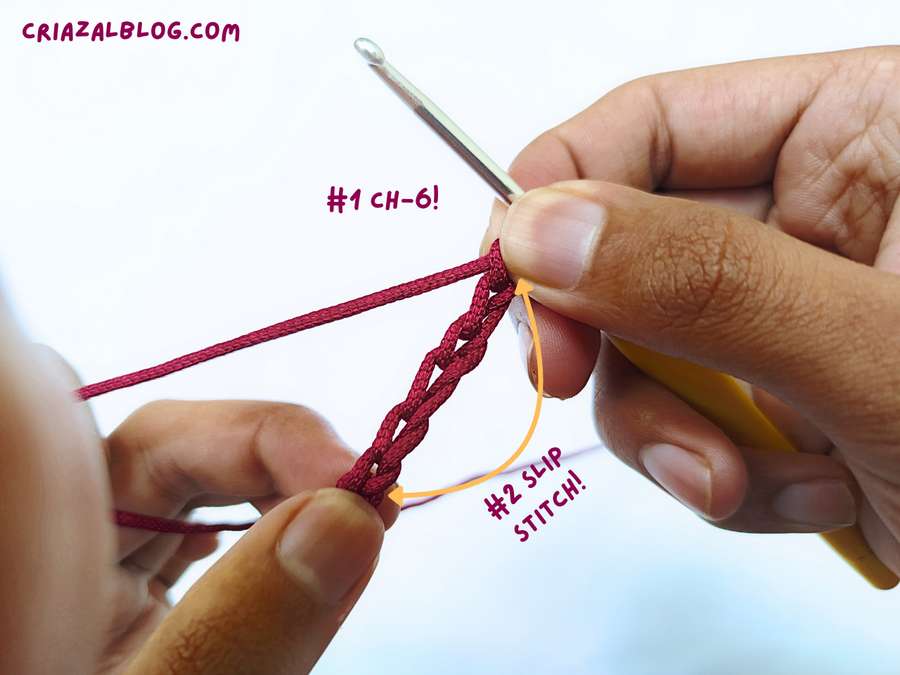
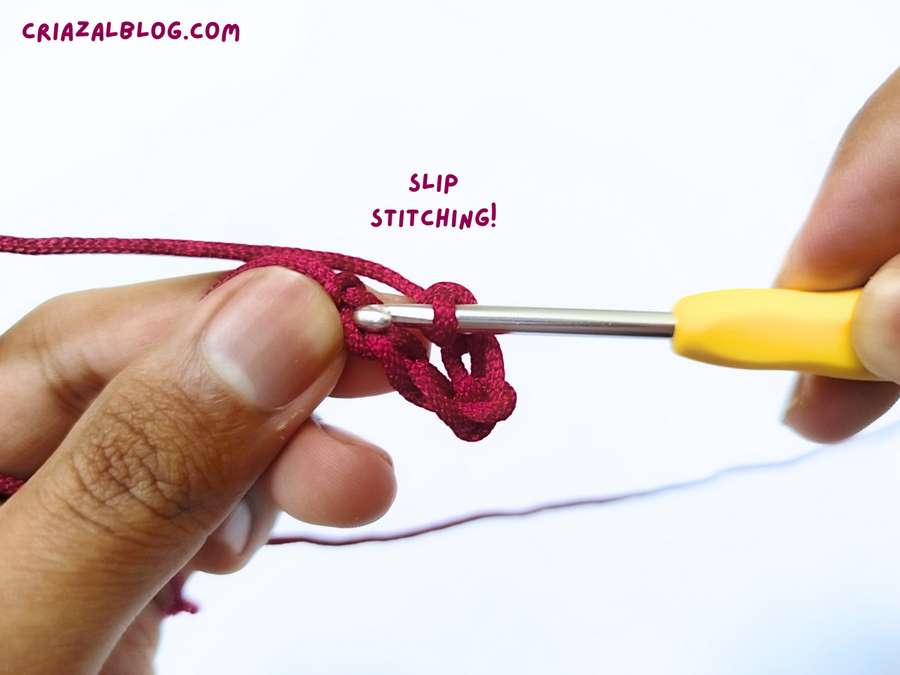
- Insert the crochet hook into the first chain in the row and crochet a slip stitch to close the row into a ring.
- Chain 3 (this counts as your first dc).
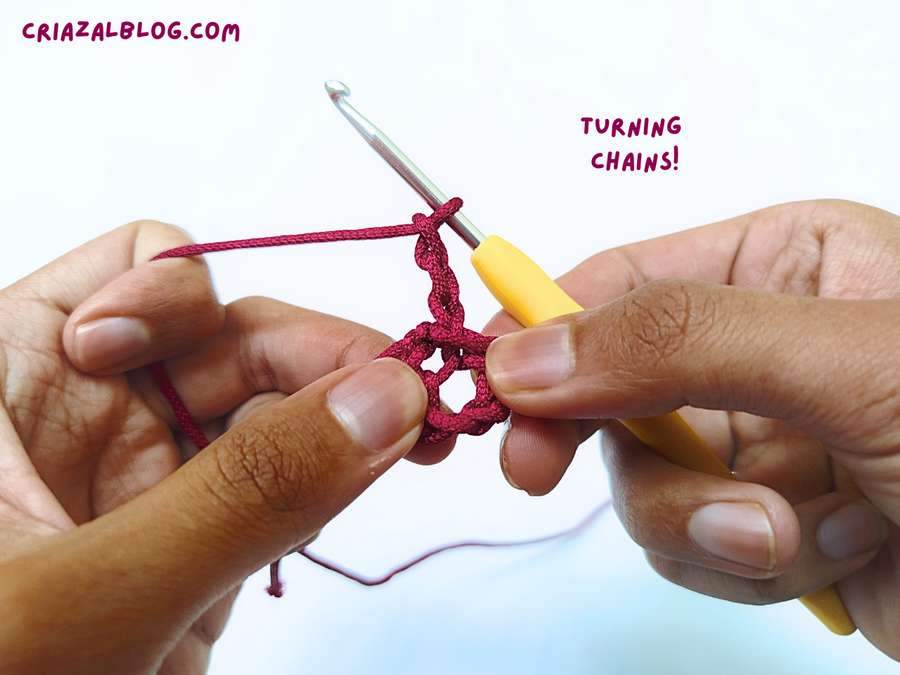
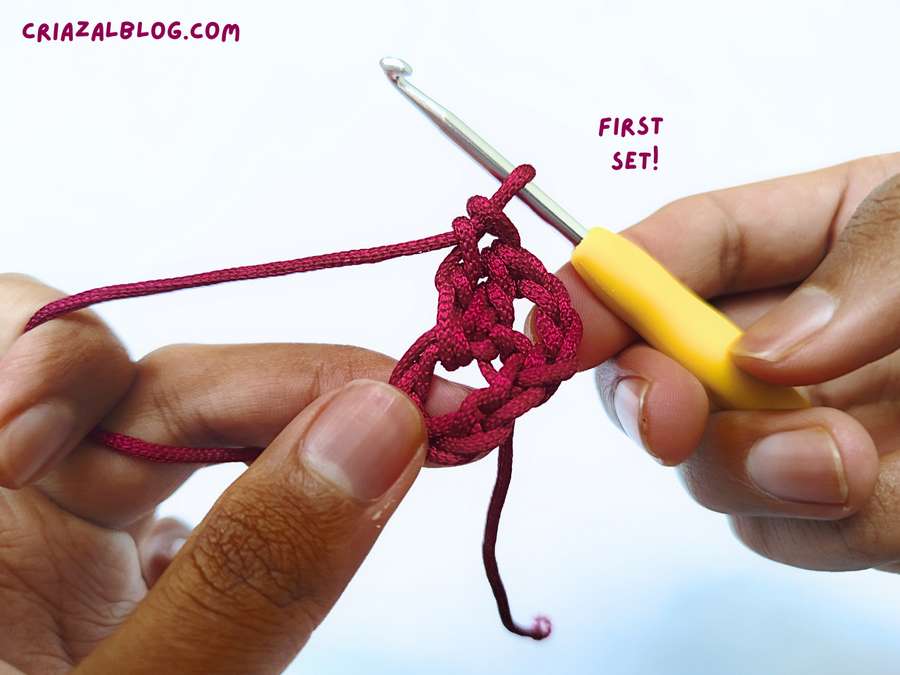
- First Cluster: Into the ring, work 2 dc. (This makes a total of 3 dc). I will tightly pull the ring to open it up so that I don’t work inside chain stitches.
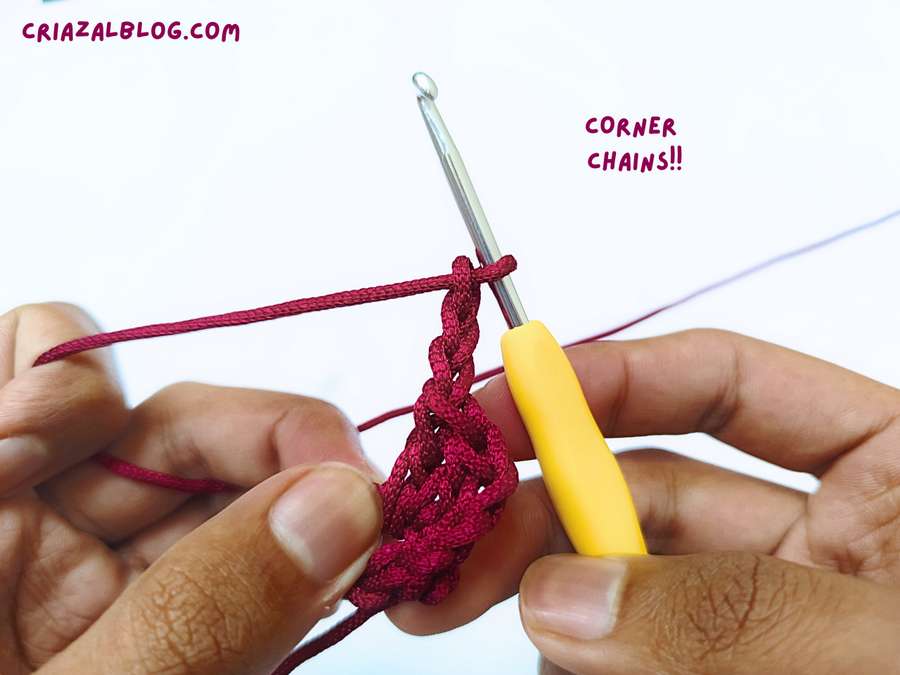
- Corner: Chain 3.
- Repeat: Into the ring, work [3 dc, ch 3] three more times.
- Finish Round: Slip stitch. You should have 4 clusters of 3-dc and 4 corner spaces.
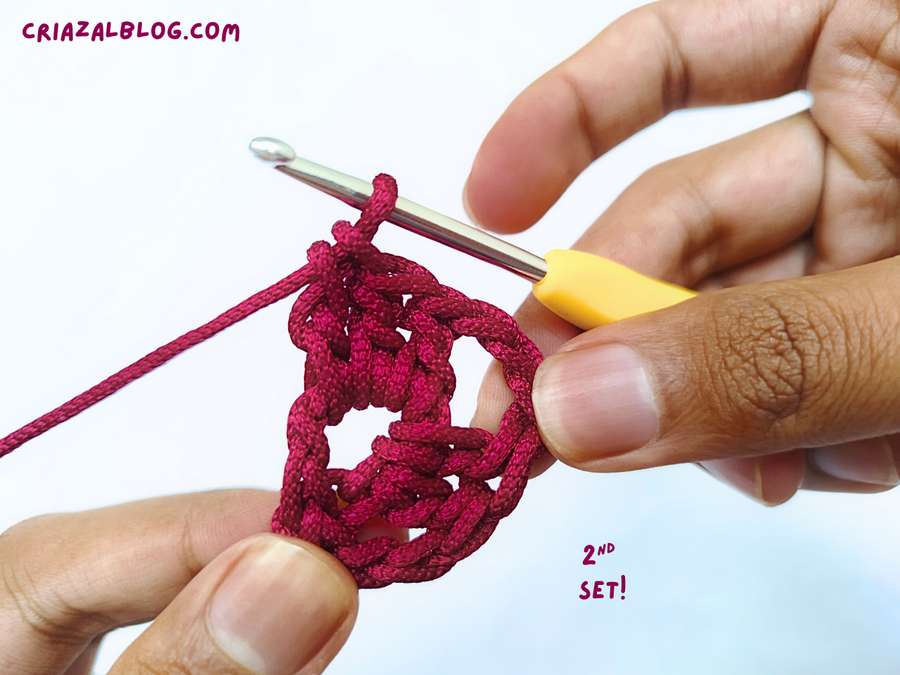
Round 2
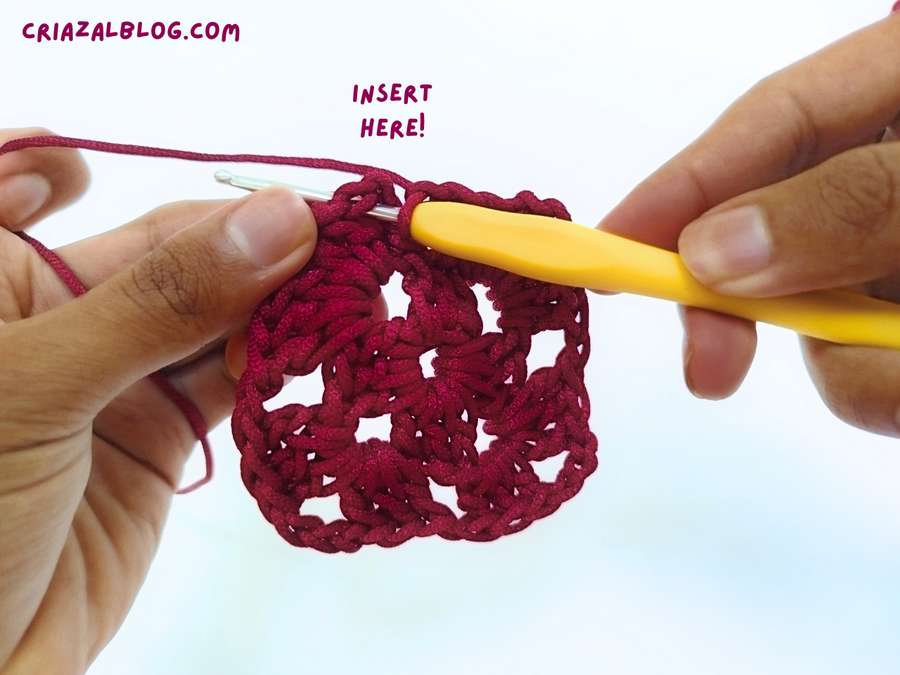
Now, we will be starting our 2nd round of granny squares.
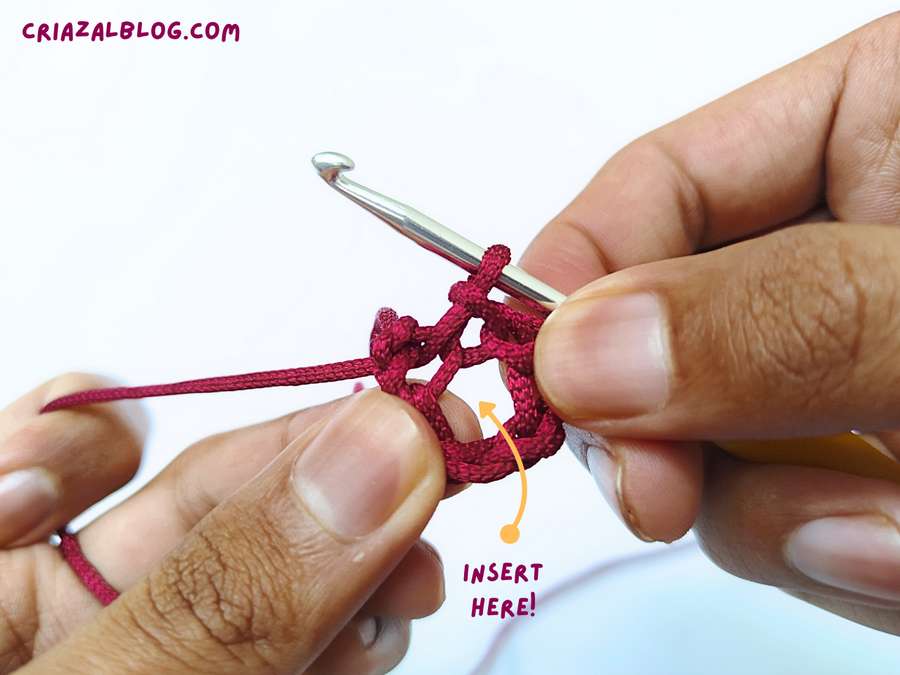
If you want to crochet a solid-colored granny square, slip stitch across the next two stitches. For this, you will want to insert the hook through both of the top V loops.
- Chain 3 (counts as first dc) and work 2 more dc in the corner-space.
- Chain 3.
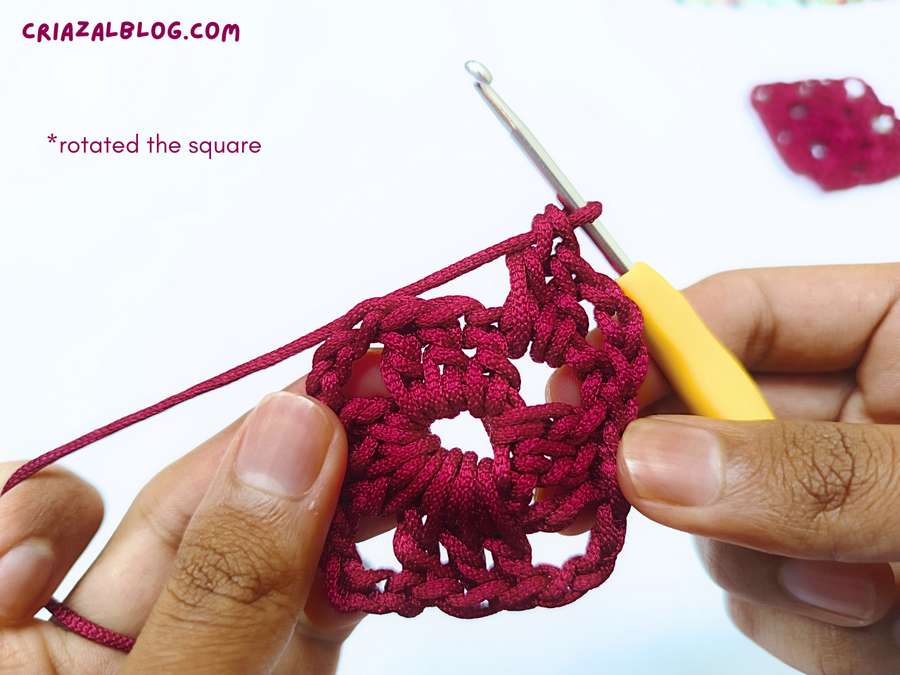
- Complete Corner: Work 3 dc into that corner space. Be sure to move the stitches to the right to easily insert more stitches.
- Move to Next Corner: Chain 1.
- Repeat Corners: In each of the remaining three corner spaces, work [3 dc, ch 3, 3 dc, ch 1].
- Slip stitch to the top of the starting chain-3 to close.
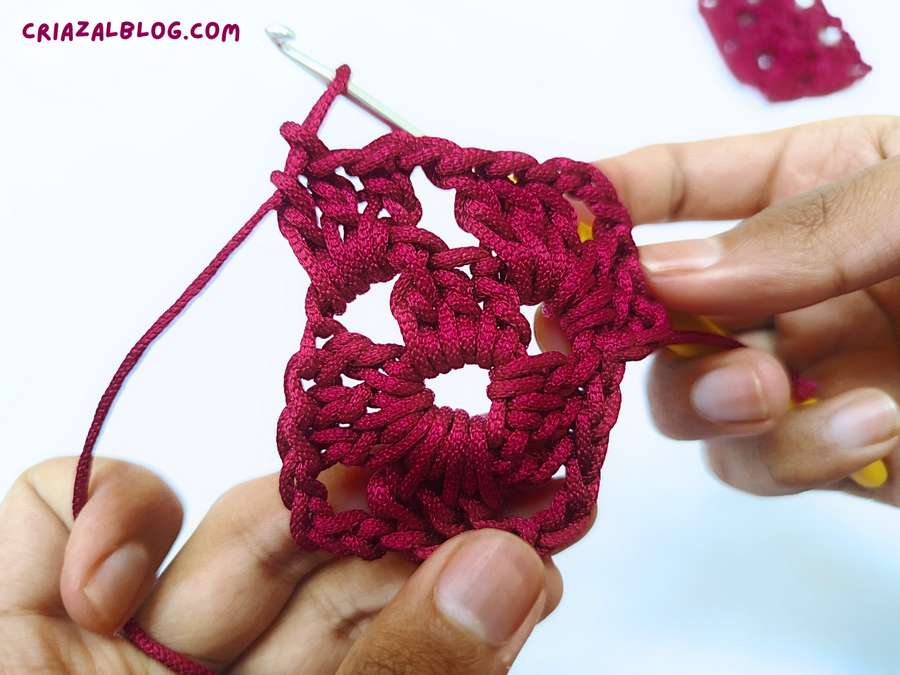
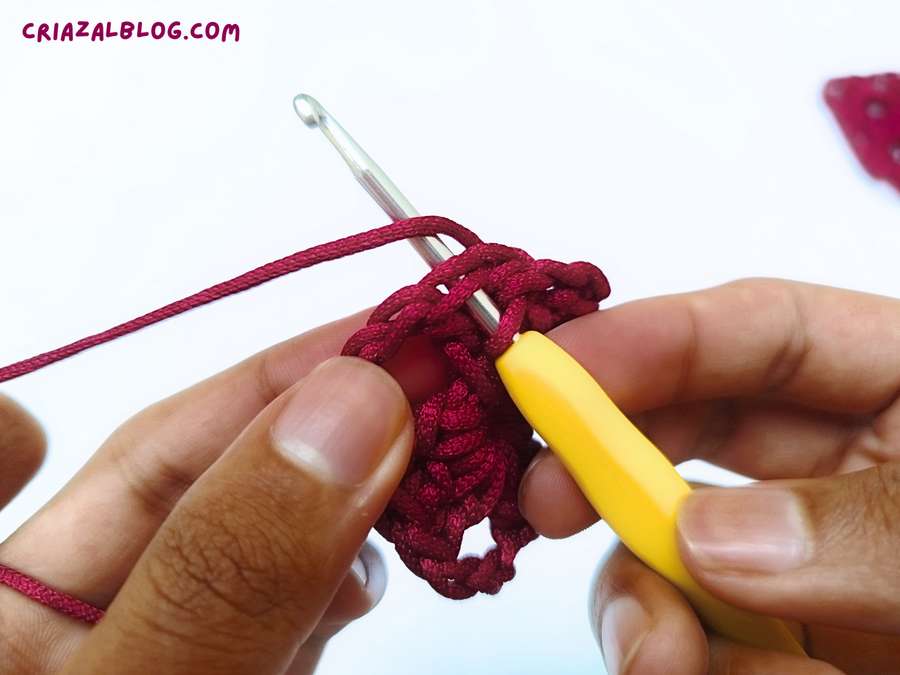
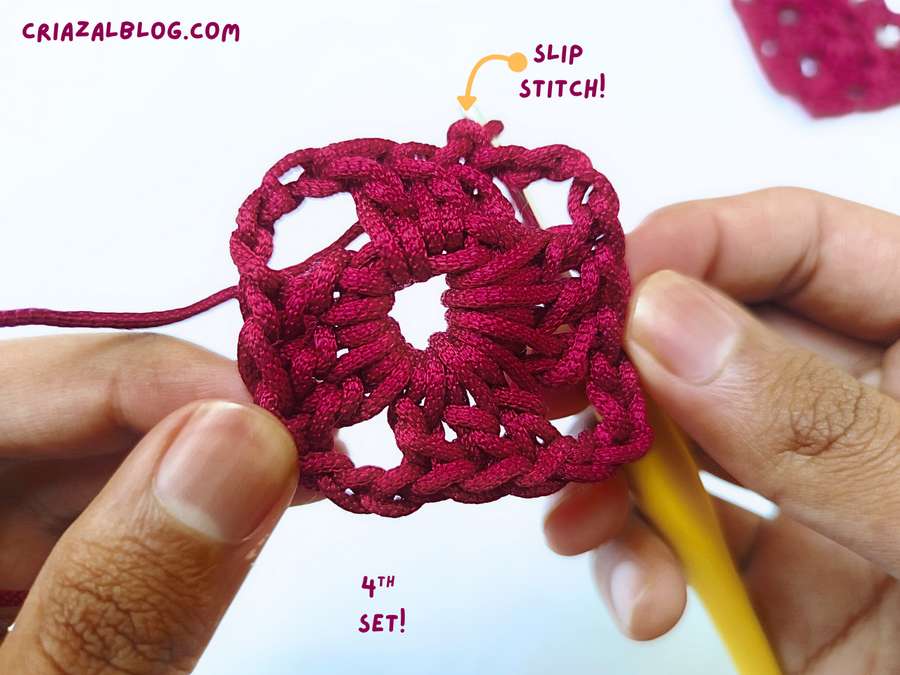
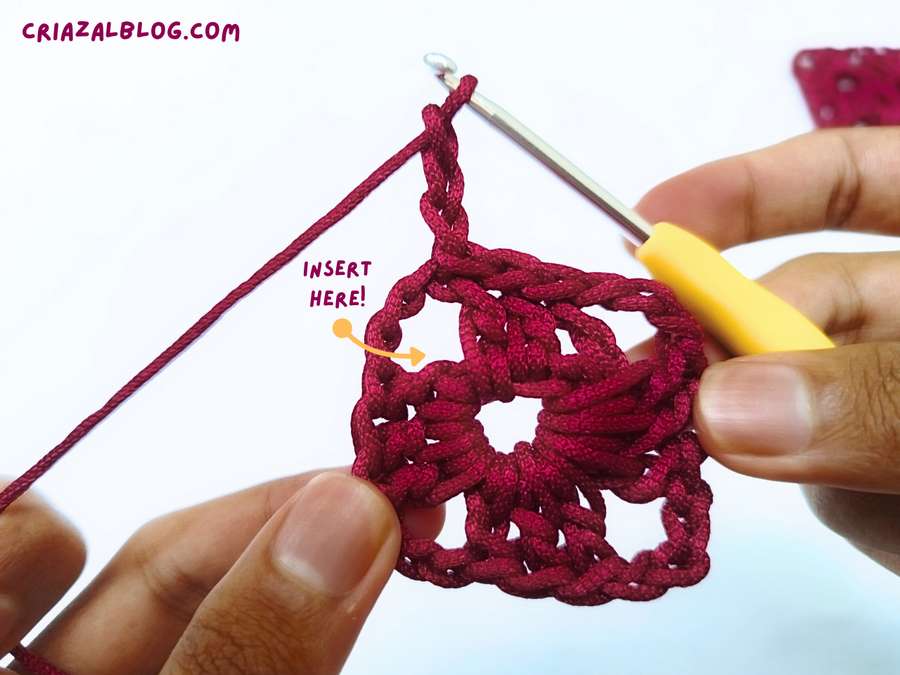
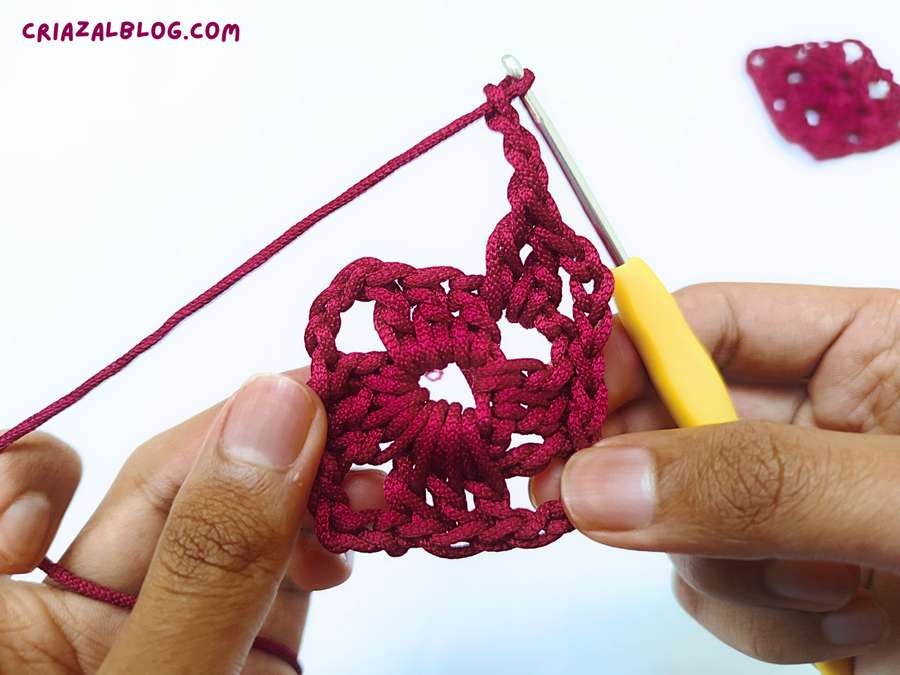
Round 3 and Beyond:
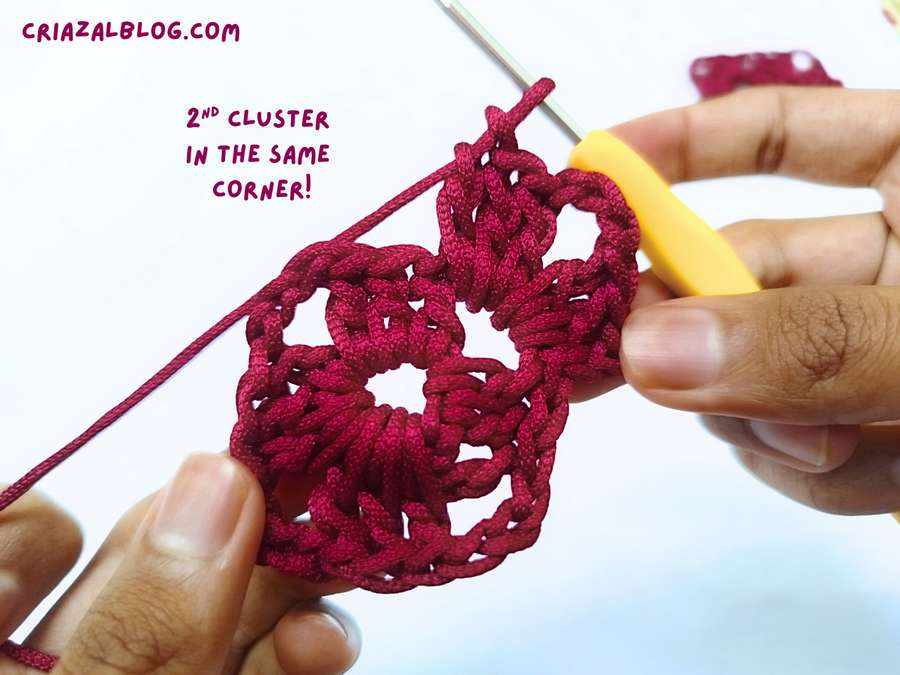
- Corner: In the corner space, work [3 dc, ch 3, 3 dc].
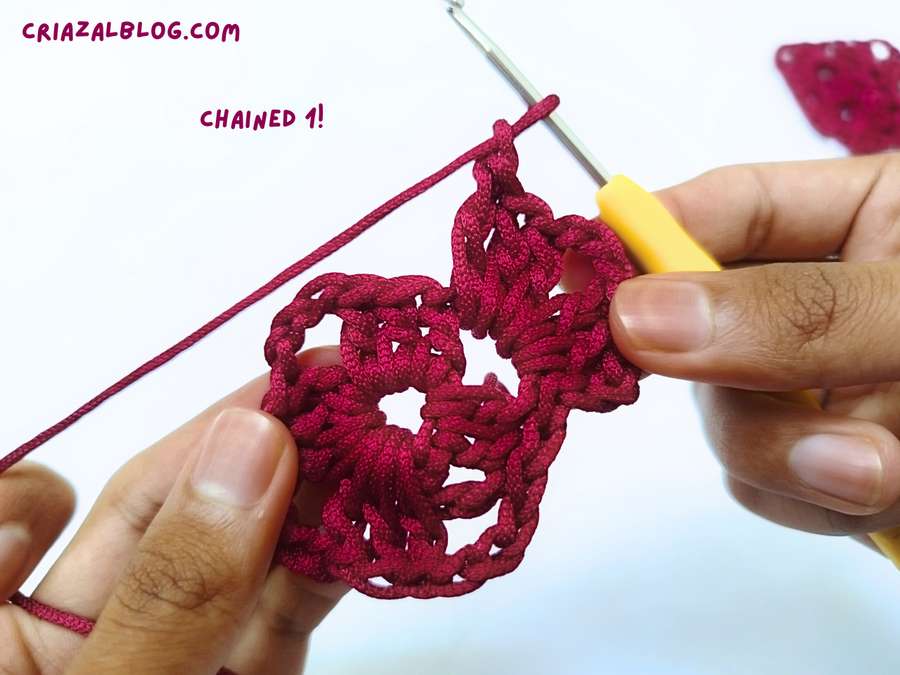
- Side: Chain 1. In the next ch-1 space (the “side” hole), work 3 dc.
- Next Corner: Chain 1, then work the corner formula [3 dc, ch 3, 3 dc] in the corner space.
- Repeat: Continue around the square: corners get the full formula, and side spaces get a simple 3-dc cluster. Always put a ch 1 between every cluster.
- Slip stitch.
Was this tutorial helpful? Tell me in the comments
Your feedback is a great way for us to improve my crochet tutorials. So, share your thoughts on whether you tried this one or not, and highlight the weak points.
See More:

Featuring: How to Crochet Bowl of Eyeballs Amigurumi for Halloween Tutorial

Free Crochet Fall Décor Pumpkin Amigurumi Pattern: Crochet the Pumpkin Ridges

Free Crochet Spider-Man Spider & Batman Spider Amigurumi Plushie for Halloween
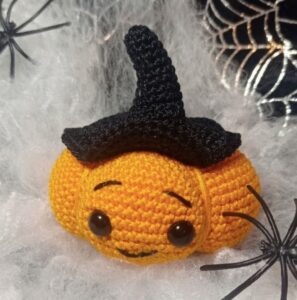
Free Crochet Kawaiiest Pumpkin Amigurumi in a Witch Hat Pattern for Halloween
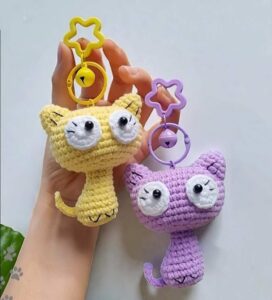
Crochet Googly-Eyed Cat Amigurumi Plush Pattern for Kids
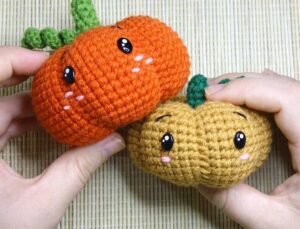
Crochet Kawaii Eyed Pumpkin Amigurumi Pattern for Fall & Halloween
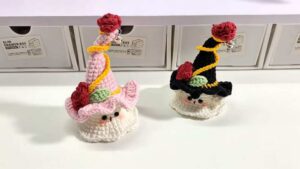
How to Crochet Baby Ghost In Flower-Decorated Witch Hat Amigurumi for Halloween
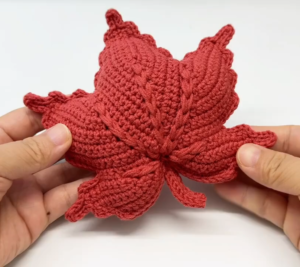
How to Crochet Maple Leaf Amigurumi Pillow Pattern for Fall
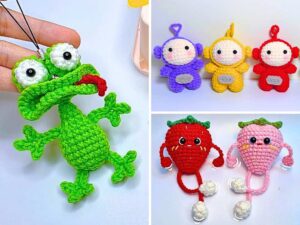
How to Crochet Crochet Long-Limbed Amigurumi Keychains with Free Patterns
How to Crochet Fidget Toy Amigurumi