Show support for Otakulandia!
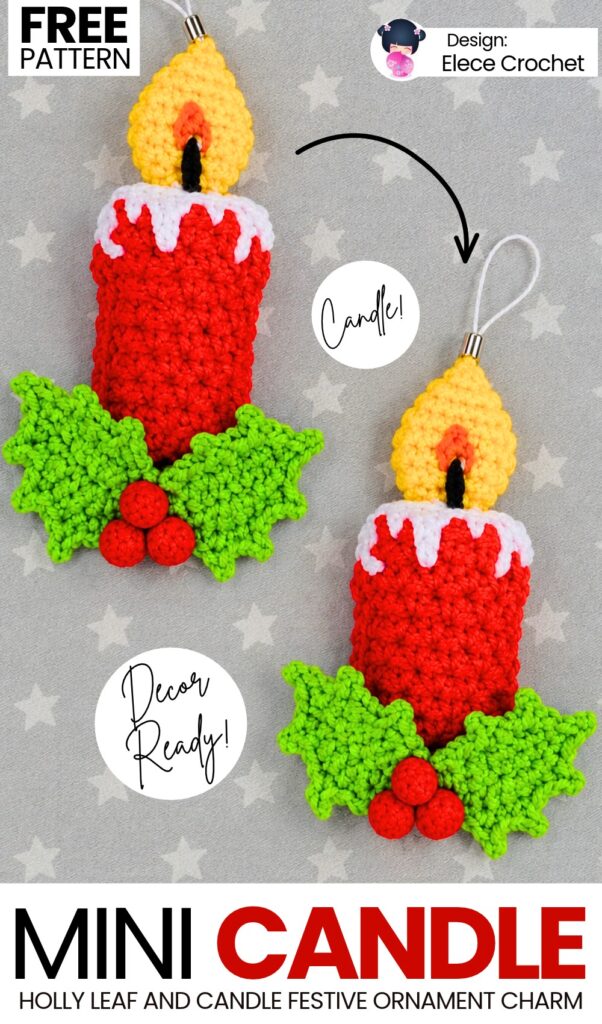
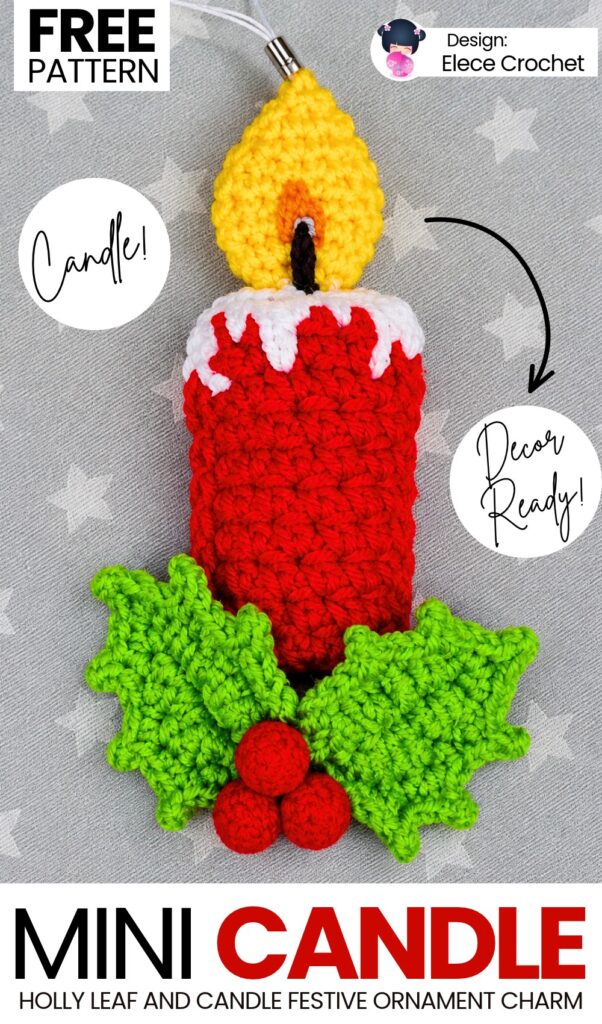
In today’s traditional crochet amigurumi Ornament decoration pattern series, learn how to crochet this Christmas candle ornament that is finished with a pair of Holly leaves and berries. It is a quick and beginner-friendly holiday project, perfect for hanging on your Christmas tree, adding to holiday wreaths, or decorating doors and gift packages.
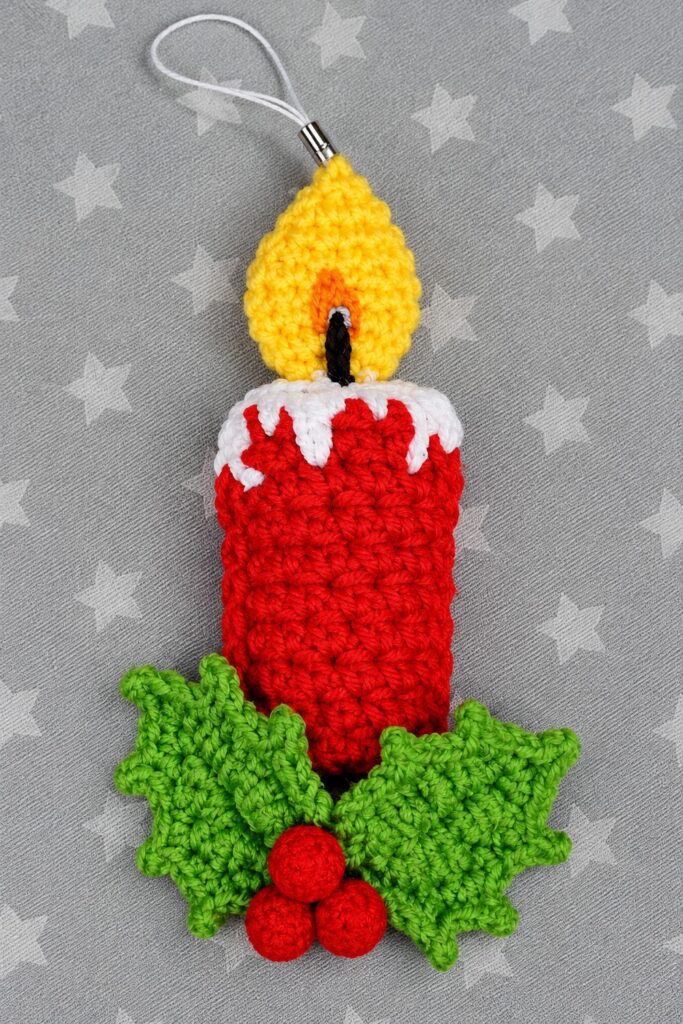
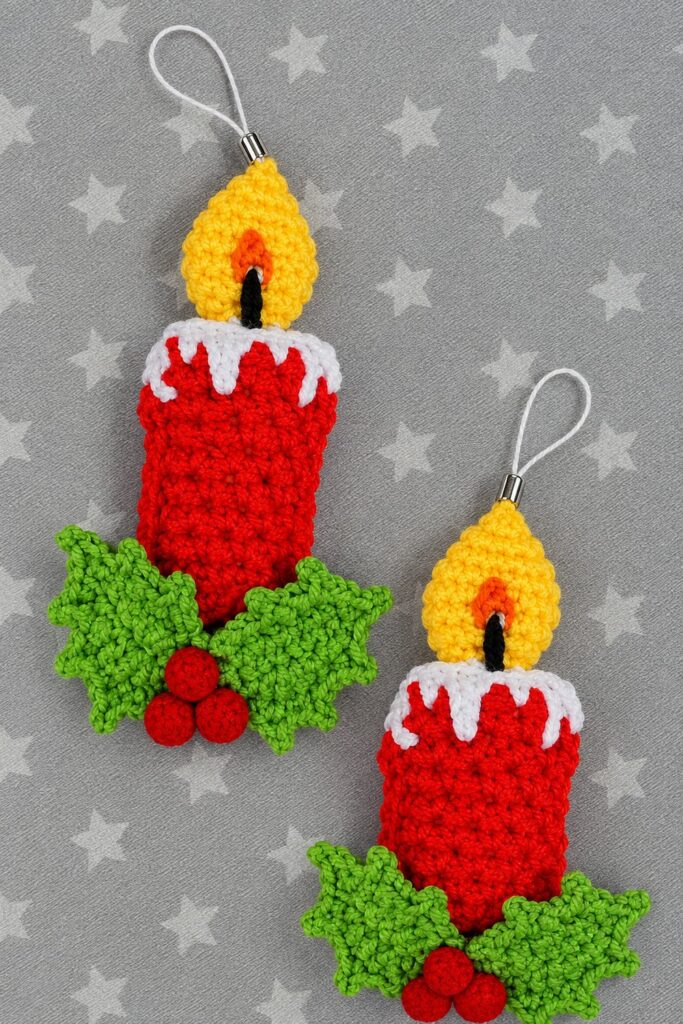
The candle features classic melting wax drips along the rim, a bright teardrop flame with embroidered glowing details, and festive holly leaves with berry pom-poms at the base.
It is worked using a 2D “ragdoll” amigurumi style, where flat crochet panels are joined together and lightly stuffed to create a soft, plump shape without becoming overly bulky. Continue reading to learn more about this UNIQUE crochet leafy candle made with DK yarn.
Pattern to Crochet the Decoration Candle
Skill Level: Beginner – Level 7
Materials & Tools
Yarn (Acrylic):
Red: Medium/worsted weight (Candle body)
White: Medium/worsted weight (Melting wax drips)
Yellow: Sport or lightweight / DK (Flame)
Green: Medium/worsted weight (Holly leaves)
Scraps: Black, Grey, and Orange (Flame embroidery details)
Crochet Hook: 1.75 mm (or 1.50 mm – 2.00 mm depending on tension; use a hook small enough to keep stitches tight and prevent stuffing from showing)
Stuffing: A small amount of polyester fiberfill
Embellishments & Hardware:
3 mini red craft pom-poms (for holly berries)
Hot glue gun or fabric glue
Hanging cord or ornament ribbon
Notions: Tapestry / yarn needle, sharp scissors
Stitch Key & Abbreviations (US Terms)
ch: chain
st(s): stitch(es)
sc: single crochet
sl st: slip stitch
inc: increase (work 2 sc into the same st)
dec: invisible decrease (single crochet 2 stitches together through the front loops)
spike st: long/extended single crochet worked into stitches 1 to 3 rows below the working edge to create melting wax drips
hdc: half double crochet
dc: double crochet
picot: ch 2, sl st in the 2nd ch from hook
MR: magic ring
[ ]: total stitch count at the end of the row/round
Are you a Beginner? Learn Crocheting Easily!
You can learn to crochet better with this crochet set of bell tutorial. Or continue to the written pattern below!
Step-by-Step Pattern Instructions
1. Candle Body Panels (Make 2 identical panels)
Worked in flat rows of single crochet.
Foundation: Using Red yarn, ch 8.
Row 1: Starting in the 2nd chain from hook, work 7 sc across. Turn. [7]
Rows 2 – 15 (14 rows): Ch 1, turn. Work 7 sc across. [7]
Note on Row 15: Complete the first 6 stitches normally. On the 7th (last) stitch, insert your hook, yarn over, and pull up a loop with red. Drop the red yarn, place the White yarn on your hook, and pull through both loops to complete the stitch with white.
Turn your work and ch 1. You will now work across the 7 stitches, creating dripping wax by varying regular sc stitches and long spike stitches into the red rows below:
Stitch 1: 1 sc.
Stitch 2: Spike stitch — insert hook 2 rows down into the red body, pull up a long loop to current row height, yarn over and pull through both loops.
Stitch 3: 1 sc.
Stitch 4: Long spike stitch — insert hook 3 to 4 rows down into the red body, pull up a long, relaxed loop, yarn over and pull through both loops.
Stitch 5: 1 sc.
Stitch 6: Medium spike stitch — insert hook 2 rows down into the red body, pull up a loop, yarn over and complete stitch.
Stitch 7: 1 sc. [7 sts across]
Fasten off, leaving yarn tails to tuck into the interior.
2. Joining & Stuffing the Candle Body
Place the two panels together with their right sides facing outwards, perfectly aligning the stitches and rows.
Join Red yarn with a slip stitch at the upper right side seam right below the white wax section.
Work sc stitches down the side through both thicknesses (approx. 1 sc per row end, ~15 sc down).
At the bottom corner: Work 3 sc into the corner to turn smoothly.
Work sc across the bottom foundation edge (7 sc).
At the second bottom corner: Work 3 sc into the corner.
Work sc up the second side seam through both thicknesses until reaching the white wax row. Fasten off red yarn and weave/hide the tail inside.
Stuffing: Lightly fill the candle body through the open top with polyester fiberfill. Do not overstuff; keep the candle gently rounded yet relatively flat in ragdoll style.
Closing the Top: Thread a needle with White yarn. Whip-stitch the opposing inner loops of the top white row together to seal the candle closed, forming a flat, neat shelf on which to mount the flame.
3. The Flame
Worked in a continuous spiral in Yellow yarn. Do not stuff the flame.
Round 1: In a MR, ch 1, work 7 sc. Do not join. [7]
Round 2: Inc in each st around to reach 13 sts (work 2 sc in 6 sts, 1 sc in last st). [13]
Rounds 3 – 6 (4 rounds): 1 sc in each st around. [13]
Round 7: 1 dec, 5 sc, 1 dec, 4 sc. [11]
Round 8: 1 dec, 4 sc, 1 dec, 3 sc. [9]
Round 9: 4 consecutive dec, 1 sc. [5]
Round 10: 2 consecutive dec. [3]
Fasten off, leaving a long tail (approx. 30 cm / 12 in).
Shaping the Flame Tip:
Thread the yarn tail onto your tapestry needle.
Pass the needle through the tip to pull it into a sharp point.
Run the needle straight down through the hollow interior of the flame and bring it out through the center of the base.
Make a small securing knot at the bottom opening.
Flatten the flame with your fingers into a 2D teardrop shape.
4. Flame Embroidery (Wick & Glow)
Embroider these details on both the front and back of the flattened flame:
Black Wick:
Using black yarn, make 2–3 straight vertical stitches starting from the bottom base extending roughly 2–3 rounds upward into the center of the flame.
Grey Glow Base:
Using a scrap of grey yarn, make a small horizontal or short vertical stitch across the top of the black wick (simulating the glowing, hot base of the flame).
Orange Inner Flame:
Using orange yarn, embroider 3–4 radiating vertical stitches framing the black and grey core, extending slightly higher up into the yellow flame to create a warm color gradient.
Secure and tuck all yarn tails inside the bottom opening of the flame.
5. Holly Leaves (Make 2)
Worked in Green yarn.
Foundation: Ch 9.
Row 1: Starting in 2nd ch from hook: 1 sc, 1 hdc, 2 dc, 1 hdc, 1 sc, sl st into the last chain. Work 1 picot (ch 2, sl st into 2nd ch) at the tip.
Rotate to work down the opposite side of the chain: 1 sc, 1 hdc, 2 dc, 1 hdc, 1 sc.
Leaf Edging: Work along both sides: (sl st, ch 2, sl st in same spot) spaced evenly to create 2–3 sharp holly leaf points on each side.
Fasten off, leaving a tail for sewing.
Assembly & Finishing
Attach the Flame:
Center the base of the flame over the top white seam of the candle.
Using the yellow tail from the flame, sew the base of the flame securely onto the white wax rim. Keep stitches tight so the flame stands upright and rigid like a real candle.
Attach the Holly Leaves:
Position the two green holly leaves across the bottom front of the candle, angled outward in an inverted “V” / winged shape near the bottom edge.
Sew along the center seam of each leaf to secure them to the candle body, letting the spiked tips fan out freely.
Add the Berries:
Using hot glue or craft glue, adhere the 3 mini red craft pom-poms in a tight cluster at the junction where the two holly leaves meet.
Hanging Cord:
Attach a hanging cord or ribbon loop to the top point of the flame. Your festive Christmas candle ornament is complete!
Share on Social Media!
See More:
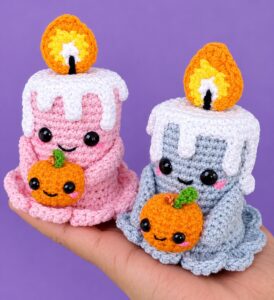
To Welcome the Guests Crochet these Little Candle Buddies Holding Pumpkins

How to Crochet Holly Leaf, Berry & Stuffed Bell Ornament for Christmas
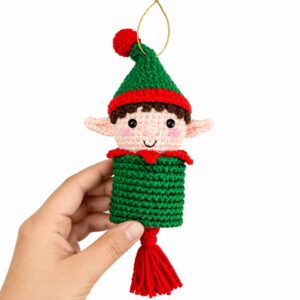
Featuring: How to Crochet 5-in-1 Elf Wind Spinner Ornament Decoration Tutorial
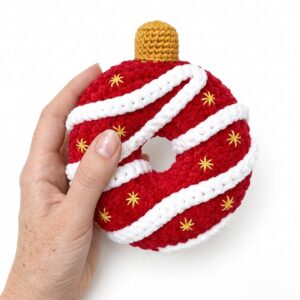
Crochet Bell Christmas Ornament Ring Plushie for Decoration & Playing with

Tester Pattern: How to Crochet Green Christams Character Ornament Ring Pluhsie
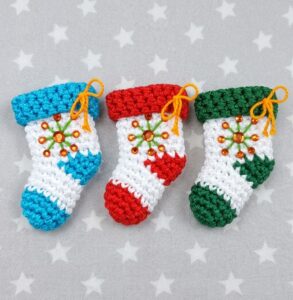
How to Crochet White & Blue Bead Decorated Mini Boot Ornament for Christmas