Show support for hello amigurumi!
Last year, you all loved our crochet Christmas decoration ghost hanging more than even the spooky decor hangings! So, this year too, I wanted to share a pattern to add a ghost theme to your crochet Christmas gifts and decorations. This year, I have discovered treat baskets and welcome decoration buddies as my favorite crochet projects.
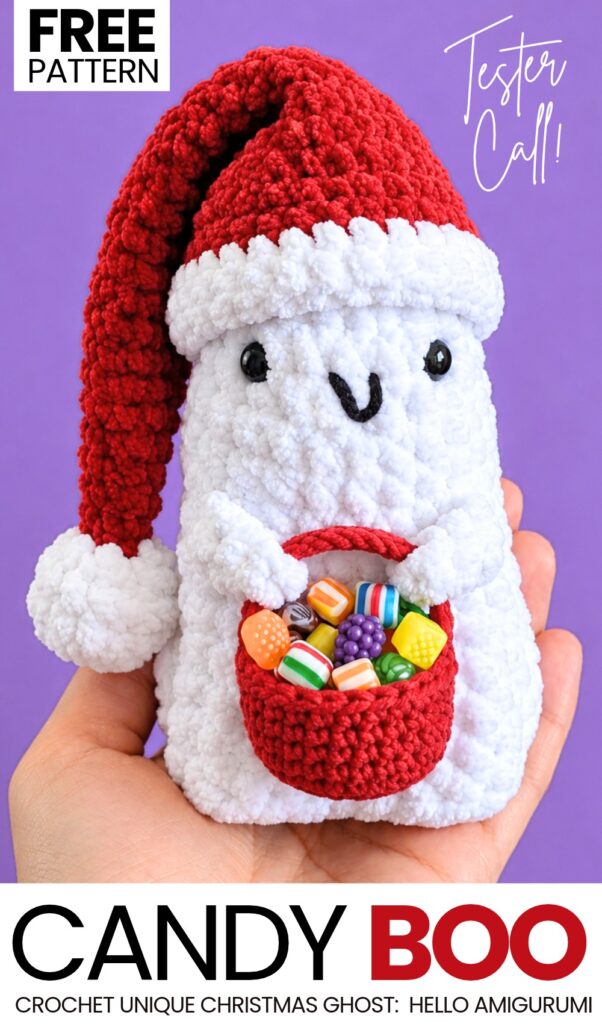
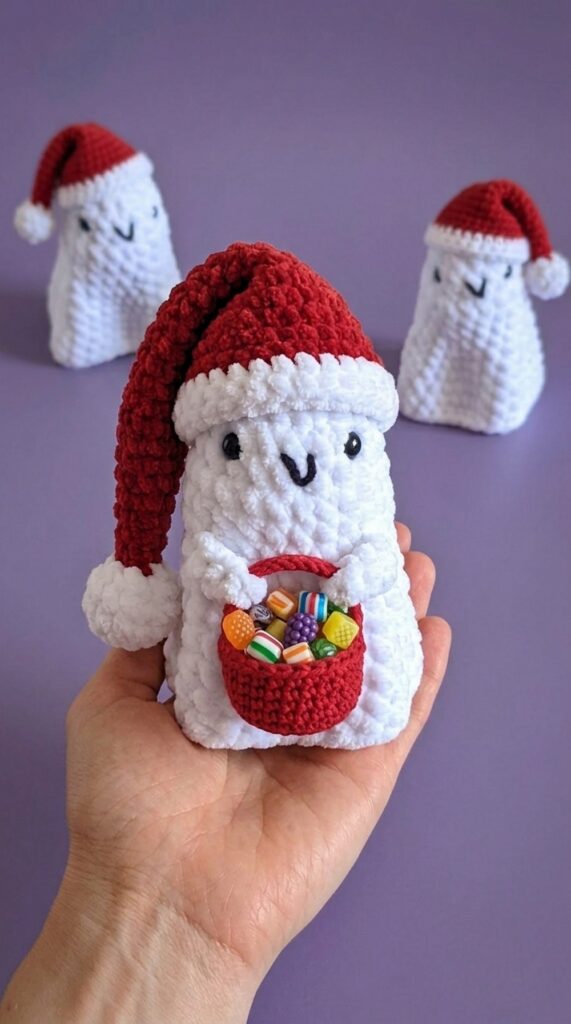
Today, I have designed this crochet guest-welcoming ghost holding a treat basket plushie!
You can fill it with your nostalgic candies for kids and place it on the dining table. It has a long, slouchy hat that makes it the CUTEST crochet Christmas buddy. So, continue reading for learning more about this UNIQUE crochet plush project for all skill levels!
Pattern to Crochet the Santa Ghost Buddy Plush
Here is the complete, step-by-step crochet pattern and detailed assembly guide for your Santa Ghost Plushie, featuring the ghost body, the slouchy Santa hat with a plush trim and pom-pom, the cute little arms, and the miniature candy basket.
Materials & Tools Needed
Yarn:
Super Bulky / Chunky (Size 6) White Chenille/Plush Yarn (for the ghost body, pom-pom, and hat brim trim).
Red Plush Yarn (for the main body of the Santa hat and the basket).
Skinny / Light Plush Yarn or White/Light Pink Plush Yarn (for the tapering tip of the Santa hat cone).
DK Weight Red Yarn (for the miniature basket base).
Black Embroidery Floss or Thin Black Yarn (for the mouth).
Crochet Hooks:
4.0 mm – 4.5 mm hook (for the plush yarn ghost and hat body).
4.0 mm hook (for the super bulky white pom-pom for density).
2.0 mm hook (for the DK weight miniature basket).
Safety Eyes: 1 pair of 6 mm – 8 mm black plastic safety eyes with back washers.
Notions:
Polyester fiberfill (stuffing)
Locking stitch markers
Large-eye yarn/tapestry needle
Scissors
Colorful miniature candies, polymer clay candy beads, or colorful beads (to fill the basket)
Craft glue (optional, to secure the candies inside the basket)
Stitch Abbreviations & Terms (US Terminology)
ch: chain
sc: single crochet
inc: increase (2 sc in the same stitch)
dec: decrease (invisible decrease recommended)
sl st: slip stitch
BLO: back loops only
FLO: front loops only
st(s): stitch(es)
rnd(s): round(s)
( … ) × N: repeat instructions inside parentheses N times
Part 1: The Ghost Plush
Worked in continuous spiral rounds without joining, unless instructed.
Section A: The Head
Rnd 1: Ch 2, work 8 sc into the first chain (or work 8 sc into a magic ring) [8 sts].
Rnd 2: (1 sc, inc) × 4 [12 sts]. (Place a stitch marker in the first stitch).
Tip: Thread the beginning tail onto a tapestry needle and weave it securely into the center on the wrong side to close the ring tightly, then trim excess.
Rnd 3: (2 sc, inc) × 4 [16 sts].
Rnds 4–5 (2 rounds): Sc in each of the 16 sts around [16 sts].
Rnd 6 (BLO): Working in Back Loops Only, sc in each of the 16 sts around [16 sts].
(Note: The unworked front loops left on the outside will form the foundation for the ghost’s skirt later).
Attaching the Eyes & Embroidering the Face
Safety Eyes: Insert the safety eyes between Rounds 4 and 5, leaving approximately 4 stitches between them. Secure the plastic washers firmly on the inside.
Embroidering the Mouth: Using black embroidery floss or thin black yarn, embroider a cute V-shaped smile centered right between and slightly below the eyes (spanning 1 round high and ~1 stitch wide). Knot securely on the inside.
Stuffing & Closing the Head
Rnd 7: (2 sc, dec) × 4 [12 sts].
Cut the working yarn, leaving an 8-inch (20 cm) tail.
Stuffing: Firmly pack the head with polyester fiberfill, smoothing it into a rounded shape.
Closing: Thread the yarn tail through a tapestry needle, weave through the front loop of each of the 12 stitches around the neck opening, and pull firmly to cinch closed. Knot and hide the tail inside the head.
Section B: The Skirt / Body
Turn the head so the bottom is facing you. You will work into the exposed front loops from Round 6 of the head.
Join Yarn: Insert your hook into any of the exposed half-loops along Round 6, yarn over, and pull up a loop of white plush yarn. Ch 1 to secure.
Rnd 1: (3 sc, inc) × 4 [20 sts]. (Place your stitch marker in the first stitch).
Rnd 2: Sc in each of the 20 sts around [20 sts].
Rnd 3: (4 sc, inc) × 4 [24 sts].
Rnd 4: Sc in each of the 24 sts around [24 sts].
Rnd 5: (5 sc, inc) × 4 [28 sts].
Rnd 6: Sc in each of the 28 sts around [28 sts].
Rnd 7: (6 sc, inc) × 4 [32 sts].
Rnds 8–10 (3 rounds): Sc in each of the 32 sts around [32 sts].
Finishing: Sl st into the next stitch, ch 1, cut the yarn leaving a 6-inch (15 cm) tail. Weave the tail along the bottom rim and upward through the inside stitches to secure. Flare out the bottom skirt with your fingers so it stands upright.
Part 2: The Santa Hat
Section A: Super Bulky White Pom-Pom
Using a 4.0 mm hook and super bulky white yarn:
Rnd 1: 6 sc in a Magic Ring [6 sts].
Rnd 2: Inc in each st around [12 sts].
Rnd 3: Sc in each st around [12 sts].
Rnd 4: Dec 6 times around [6 sts].
Lightly stuff the pom-pom with fiberfill before closing. Fasten off, leaving a long tail to attach it to the tip of the hat.
Section B: The Hat Body (Cone)
Using skinny plush yarn and a 4.0 mm – 4.5 mm hook:
Rnd 5: Sc in each st around [6 sts].
Rnd 6: Sc in each st around [6 sts].
Rnd 7: [Sc 5, inc] [7 sts].
Rnd 8: Sc in each st around [7 sts].
Rnd 9: [Sc 6, inc] [8 sts].
Rnd 10: Sc in each st around [8 sts].
Rnd 11: [Sc 7, inc] [9 sts].
Rnd 12: Sc in each st around [9 sts].
Rnd 13: [Sc 8, inc] [10 sts].
Rnd 14: Sc in each st around [10 sts].
Rnd 15: [Sc 9, inc] [11 sts].
Rnd 16: Sc in each st around [11 sts].
Rnd 17: [Sc 10, inc] [12 sts].
Rnd 18: Sc in each st around [12 sts].
Rnd 19: [Sc 11, inc] [13 sts].
Rnd 20: [Sc 12, inc] [14 sts].
Rnd 21: [Sc 13, inc] [15 sts].
Rnd 22: [Sc 14, inc] [16 sts].
Rnd 23: [Sc 15, inc] [17 sts].
Rnd 24: [Sc 16, inc] [18 sts].
Rnd 25: [Sc 17, inc] [19 sts].
Rnd 26: [Sc 18, inc] [20 sts].
Rnd 27: [Sc 19, inc] [21 sts].
Rnd 28: [Sc 20, inc] [22 sts].
Rnd 29: [Sc 10, inc] × 2 [24 sts].
Rnd 30: [Sc 23, inc] [25 sts].
Rnd 31: [Sc 24, inc] [26 sts].
Section C: Main Red Hat Body & Brim Base
Switch to Red Plush Yarn on the last stitch of Round 31:
Rnd 32: Sc in each st around [26 sts].
Rnd 33: Sc in each st around [26 sts].
Rnd 34: [Sc 11, dec] × 2 [24 sts]. Fasten off, leaving a long tail for sewing the hat to the head.
(Note: To create the fluffy white brim around the base of the red hat, surface crochet or attach a ring of super bulky white plush yarn around the bottom edge of the red hat body).
Part 3: The Arms (Make 2)
Using white plush yarn and a 4.0 mm hook:
Chain 5.
Starting in the 2nd stitch from the hook, work 1 sc in each stitch across (4 sc total).
Fasten off, leaving a 6-inch tail for sewing.
Part 4: The Candy Basket & Handle
Using DK weight red yarn and a 2.0 mm crochet hook:
Rnd 1: 6 sc in a Magic Ring [6 sts].
Rnd 2: Inc in every stitch around [12 sts].
Rnd 3: [Sc 1, inc] repeat 6 times around [18 sts].
Rnd 4: [Sc 2, inc] repeat 6 times around [24 sts].
Rnd 5 (BLO): In Back Loop Only, sc in each stitch around [24 sts]. (This creates a sharp 90-degree fold/edge for a flat base).
Rnds 6–11 (6 rounds total): Sc in each stitch around working through both loops [24 sts].
Fasten off and weave in ends.
Basket Handle & Fillings:
Handle: Take a small piece of twisted red rope or crochet a chain/sl st cord (approx. 15–20 chains). Sew or glue each end securely to opposite sides of the basket rim.
Fillings: Fill the inside of the basket with colorful miniature candies, polymer clay candy beads, or small colorful buttons, securing them with a dab of craft glue if needed.
Part 5: Assembly & Finishing Instructions
Slouching and Attaching the Santa Hat:
Lightly stuff the upper cone of the red hat (leave the very tip lighter so it flops easily).
Position the hat on top of the ghost’s head.
Curve/fold the long upper cone downward toward the left side to create the characteristic “slouchy” Santa curve. Secure the white pom-pom to the side of the ghost’s body with a few discreet stitches so it holds its shape.
Stitch the white plush brim snugly around the base of the red hat where it meets the ghost’s head.
Attaching the Arms:
Take the two small white arms and pin them to opposite sides of the lower ghost body, angling them slightly upward toward the front center. Securely sew them in place.
Attaching the Basket:
Position the red candy basket right in front of the ghost, cradled perfectly between the two outstretched hands.
Sew the hands directly onto the sides of the basket handle so it looks like the ghost is happily carrying its treats.
See More:
Tester Pattern: How to Crochet Santa Hat Grinch Turtle Plushie for Christmas Gifting
Tester Call: Crochet Santa Mr. No-Sew Dino Grinch Plushie for Gifting
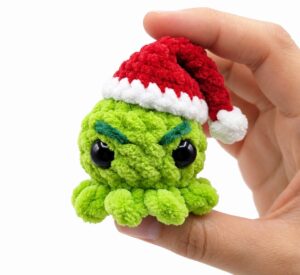
Tester Call: How to Crochet Mini No-Sew Grinch Santa Octopus Plushie for Kids
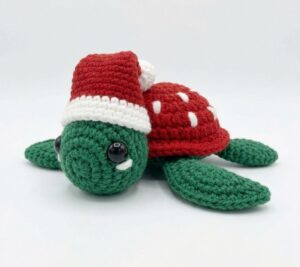
Tester Call: How to Crochet Amigurumi Buddy Slouchy Santa Hat Turtle Gift
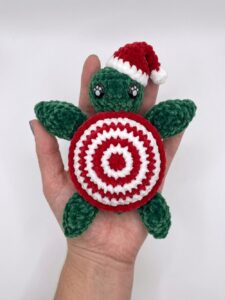
Tester Call: How to Crochet Kawaii-Eyed Red & Green Santa Hat Turtle Plushie for Gifting
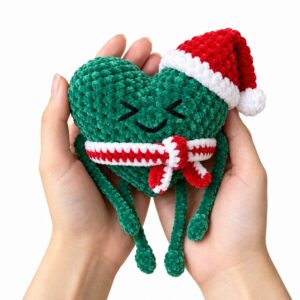
Tester Pattern: How to Crochet Slouchy Santa Hat Heart Plushie Gift with Scarf
Featuring: How to Crochet Santa Costume Miniature Gnome Plushie with No-Sew Slouchy Hat

Tester Call: How to Crochet Mr. Santa Anti-Stress Donut Ring Plushie for Christmas
How to Crochet Christmas Gift Smiling Santa Mobile Phone Pouch and Gift Bag