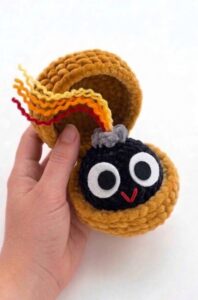
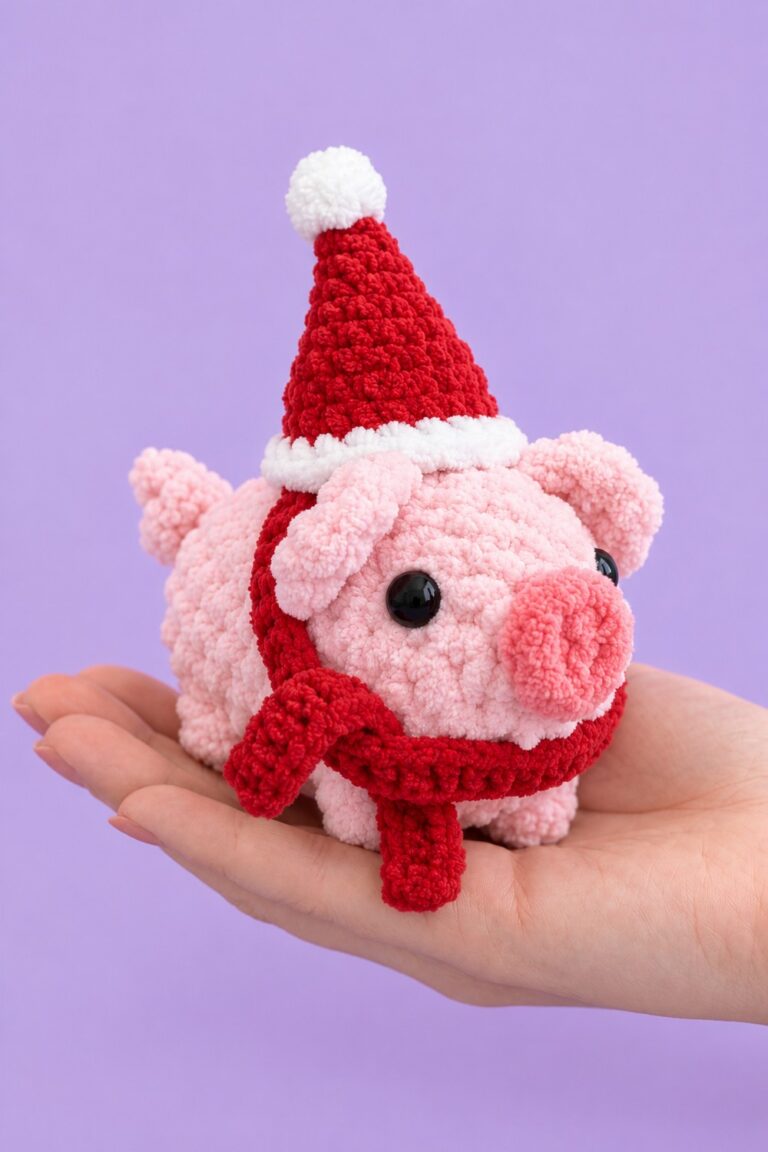
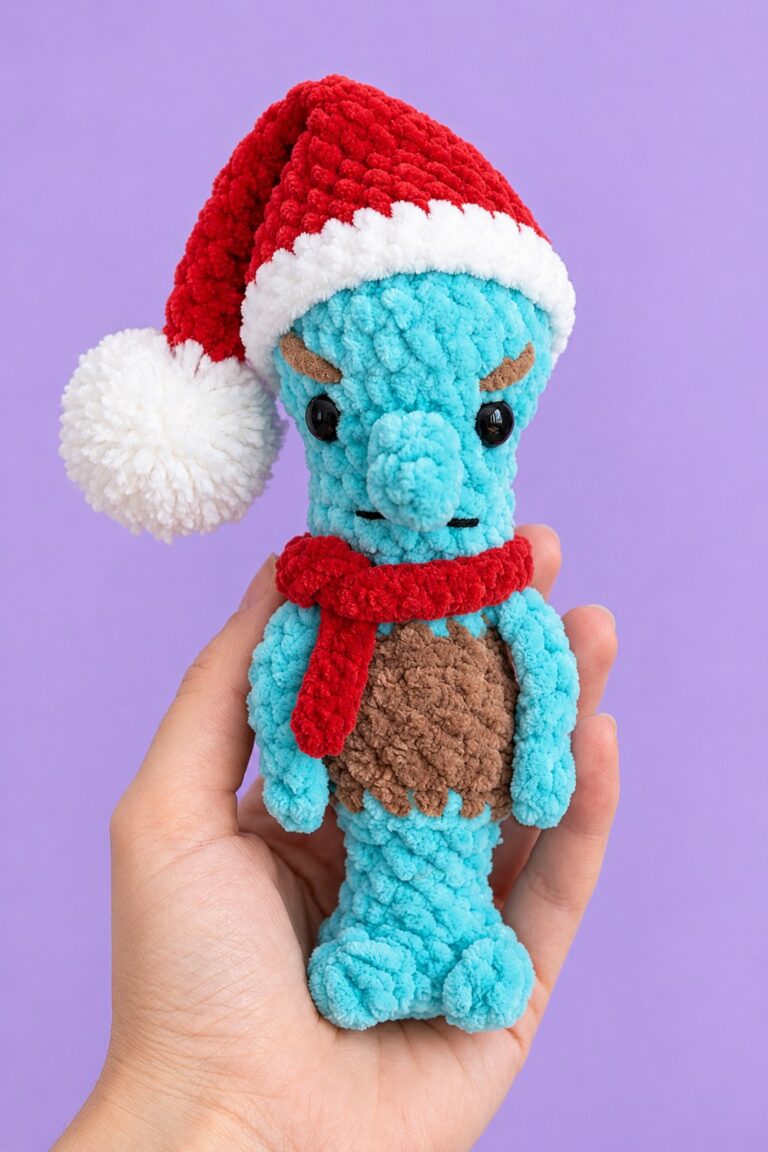
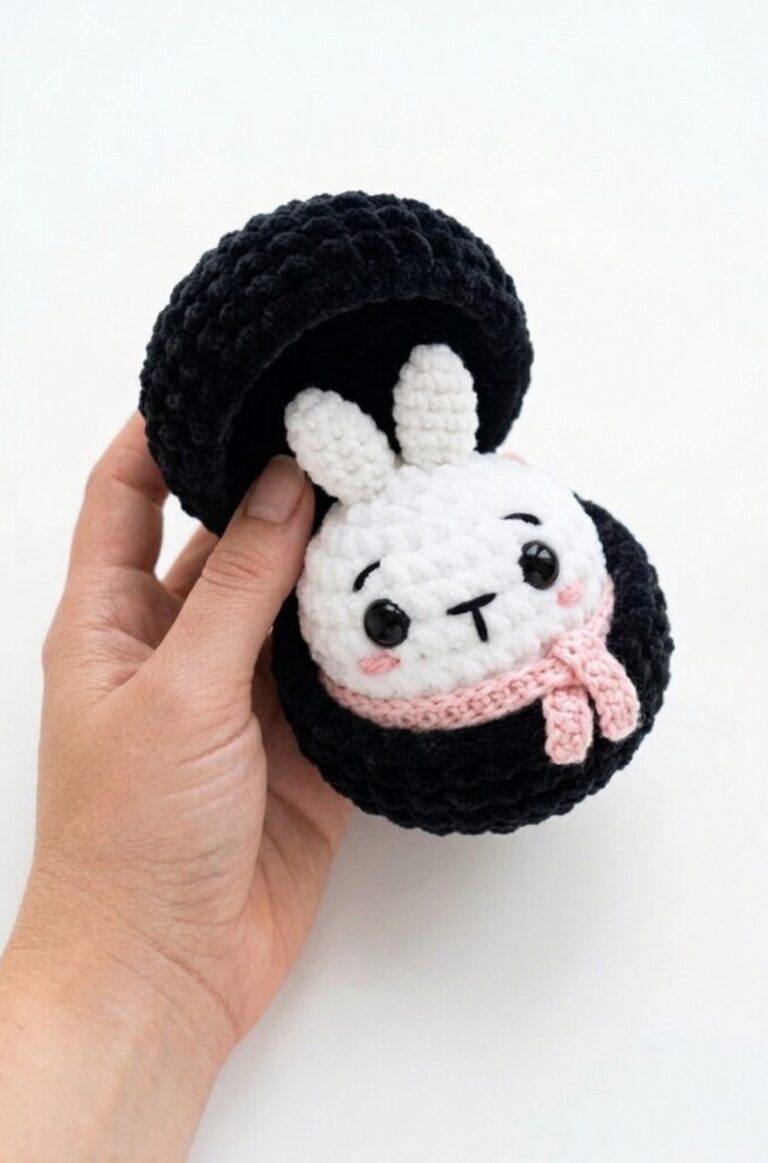
Today’s crochet tutorial is the 4th part of the “crochet winter and Christmas bao bun” plushies series! All of them are irresistible surprise gifts!
Today, we will be crocheting this SUPER CUTE crochet Mr. Olaf dumpling plushie with a FREE written pattern. Features a cute felt face, googly eyes, and loopy hair.
Will make an irresistible winter, New Year, and Christmas present as well. Now, continue reading to learn more about this SUPER cute crochet plush bao bun for all skill levels!
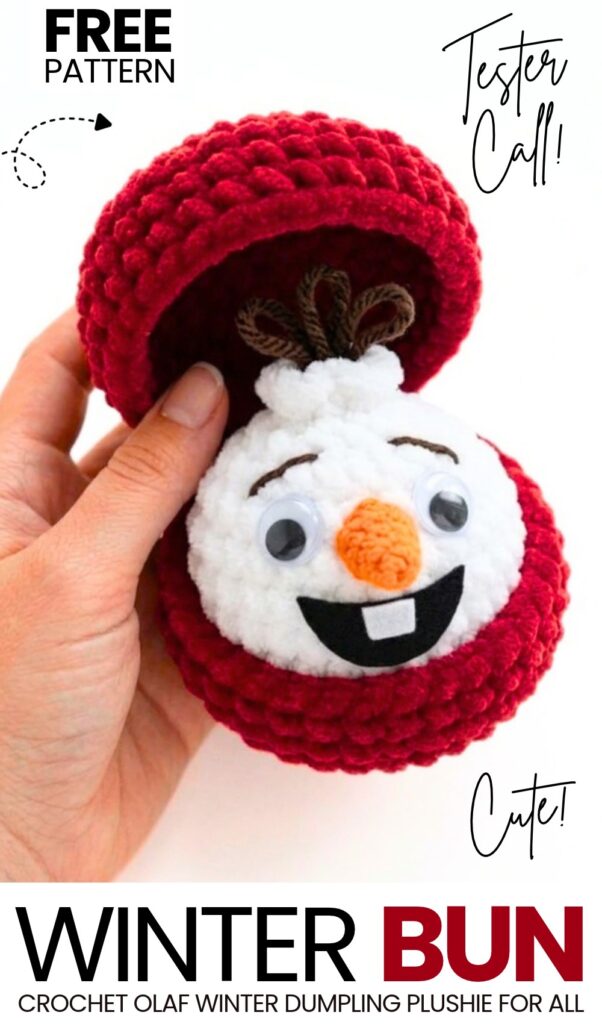
Pattern to Crochet the Winter Bun Plushie
Skill Level: Advanced Beginner
Finished Size: Dumpling is approximately 7 cm (2.8 in) tall/wide; container fits it snugly.
Terminology: US Crochet Terms
Materials & Tools
Super Bulky / Category 6 Plush / Chenille Yarn (~100 g / 120 m):
Color A: White (for the Olaf dumpling)
Color B: Dark Red / Burgundy (for the container box)
DK / Sport Weight Yarn:
Orange: For the carrot nose
Dark Brown: For the twig hair loops on top of the head
Fine Black Yarn: For embroidering eyebrows
Crochet Hooks:
4.0 mm (for plush yarn: body & container)
2.5 mm (for DK yarn: carrot nose)
Notions & Crafts:
Googly Eyes: 2 large plastic googly eyes (or 12 mm black safety eyes)
Felt Pieces: Black felt (for open mouth) and White felt (for front tooth)
Craft Glue / Fabric Glue (for attaching eyes, mouth, and tooth)
Fiberfill Stuffing
Tapestry / Yarn Needle
Stitch Marker
Scissors
Abbreviations (US Terms)
MR: Magic Ring (Magic Circle)
ch: Chain
sc: Single crochet
inc: Increase (2 sc in the same stitch)
dec: Decrease (single crochet 2 stitches together)
sl st: Slip stitch
BLO: Back loop only
FLO: Front loop only
st(s): Stitch(es)
[ ]: Stitch count at the end of the round
( … ) * X: Repeat the instructions in brackets X times
Part 1: The Olaf Dumpling Body
Work in continuous spirals using Color A (White plush yarn) and a 4.0 mm hook. Use a stitch marker in the first stitch of each round.
Round 1: In a MR, work 8 sc. [8]
Round 2: 8 inc. [16]
Round 3: (1 sc, inc) * 8. [24]
Round 4: (2 sc, inc) * 8. [32]
Rounds 5–8 (4 rounds): 32 sc around. [32]
Round 9: (2 sc, dec) * 8. [24]
Round 10: (1 sc, dec) * 8. [16]
Stuffing: Add fiberfill stuffing now. Stuff softly and evenly so the dumpling stays squishy and rounded.
Round 11: 8 dec. [8]
Dumpling Top Ruffle (Round 12):
Do not close the hole yet! You will first create the fluted top opening of the dumpling.
Round 12: Work into the Front Loops Only (FLO):
(inc, 1 sc) * 4 [12]
Cut the plush yarn leaving a small tail (~10 cm), make a slip stitch into the next stitch to finish the edge neatly, and tuck the tail inside the body.
Cinching the Top Hole:
Thread a length of strong white yarn/thread onto a needle.
Pass through the unworked Back Loops of Round 11 (inside base of the top ruffle) all the way around.
Pull firmly to cinch the hole completely shut beneath the ruffle.
Tie 2–3 tight knots and hide the ends inside the body.
Part 2: The Carrot Nose (Worked in Continuous Rounds)
Using Orange DK yarn and a 2.5 mm hook, work in continuous spirals without turning:
Round 1: Work 4 Sc in the 2nd ch from the hook. Do not join or turn; continue working in spirals. [4 sts]
Round 2: [1 Sc in the next st, 1 inc in the next st] 2 times around. [6 sts]
Round 3: [1 Sc in each of the next 2 sts, 1 inc in the next st] 2 times around. [8 sts]
Round 4: 1 Sc in the first st, 1 inc in the next st, 1 Sc in each of the next 4 sts, 1 inc in the next st, 1 Sc in the last st. [10 sts]
Round 5: [1 Sc in each of the next 4 sts, 1 inc in the next st] 2 times around. [12 sts]
Fasten off, leaving a long tail to sew the hollow 3D carrot cone directly onto the face.
Part 3: Twig Hair Loops
Using Dark Brown DK yarn and a 2.5 mm hook:
Attach brown yarn directly into the center top of the dumpling (inside the top pleated ruffle).
First Branch: Ch 6, sl st back into the same starting stitch.
Middle Branch: Ch 8, sl st back into the same starting stitch.
Third Branch: Ch 6, sl st back into the same starting stitch.
Fasten off, tie a knot at the base, and pull the yarn ends inside the body.
Part 4: The Red Container Box
The container consists of two identical halves (base and lid) crocheted in Color B (Dark Red) with a 4.0 mm hook and hinged together.
Halves (Make 2):
Round 1: In a MR, work 8 sc. [8]
Round 2: 8 inc. [16]
Round 3: (1 sc, inc) * 8. [24]
Round 4: (2 sc, inc) * 8. [32]
Round 5: (7 sc, inc) * 4. [36]
Round 6: In Back Loops Only (BLO): 36 sc around. [36]
(Creates the sharp flat bottom crease of the container).
Rounds 7–8 (2 rounds): Through both loops: 36 sc around. [36]
For the 1st Half (Base): Fasten off and weave in the tail.
For the 2nd Half (Lid): Do NOT cut the working yarn.
Joining the Two Halves (The Hinge):
Align the two open halves edge-to-edge with right sides facing out.
Using the working loop from the 2nd half, join them across 4 to 5 stitches along the back rim:
Insert hook through the BLO of the top half and the corresponding FLO of the bottom half.
Work 1 sc across each of the 4–5 pairs of loops to create a flexible hinge.
Test-fit your Olaf dumpling inside to ensure the box opens and closes cleanly.
Sl st, fasten off, and weave all remaining ends inside.
Part 5: Assembly & Facial Details
Attaching the Nose:
Lightly stuff the 3D carrot cone with a tiny bit of fiberfill or yarn scraps if desired.
Center the open base of the carrot nose over Rounds 7–8 of the face and sew it securely using the orange yarn tail.
Attaching the Eyes:
Glue the two googly eyes on either side of the carrot nose using fabric/craft glue.
Embroidering Eyebrows:
Thread fine dark brown/black yarn onto a needle.
Embroider two expressive, angled eyebrows 1–2 rounds above the eyes.
Mouth & Tooth:
Cut a semi-circular wide smile out of black felt.
Cut a small square tooth out of white felt and glue it to the top edge of the black felt mouth.
Glue the completed felt mouth directly below the carrot nose onto the face.
Final Step:
Place your finished Olaf plush dumpling inside its red container box, flip the lid shut, and your adorable amigurumi dumpling is complete!
See More:
How to Crochet Baymax Dumpling Plushie for Gifting At Christmas
Tester Call: How to Crochet Reindeer Dumpling Plushie for Christmas Gifting
Tester Pattern: How to Crochet Peppermint Dumpling Plushie for Christams Gifting
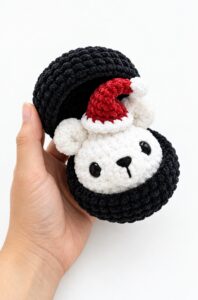
Tester Call: How to Crochet Polar Bear Christmas Dumpling in A Steamer Box Plushie
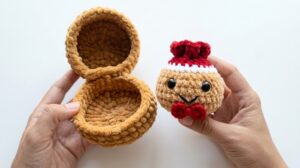
Tester Call: How to Crochet Gingerbread Bao Bun Dumpling Plushie for Christmas
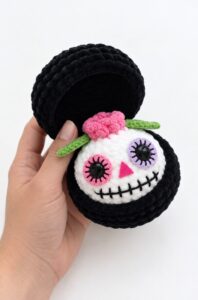
Pattern Tester: Flower on the Top Tribute Spooky Dumpling Plushie Pattern
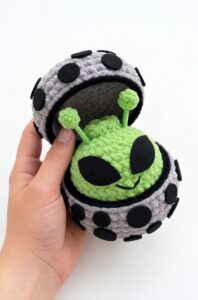
Pattern Tester: How to Crochet An Alien Dumpling in A Pod Box Plushie
Tester Pattern: How to Crochet Hello Kitty Dumpling Plushie for Playing With
Tester Call: How to Crochet Mr. Pirate Dumpling Plushie in A Treasure Box