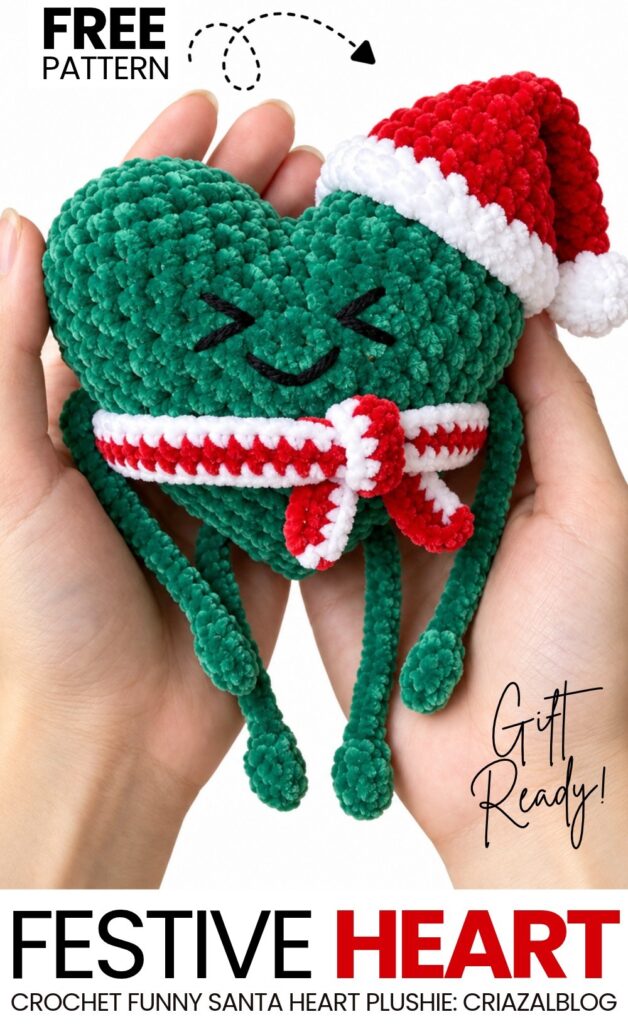
Since a crochet heart is always an irresistible gift, why not include a variation in this year’s crochet Christmas gifting? Introducing the crochet plush green heart in a Christmas hat and a peppermint scarf plushie gift that you can learn to crochet with a FREE written pattern.
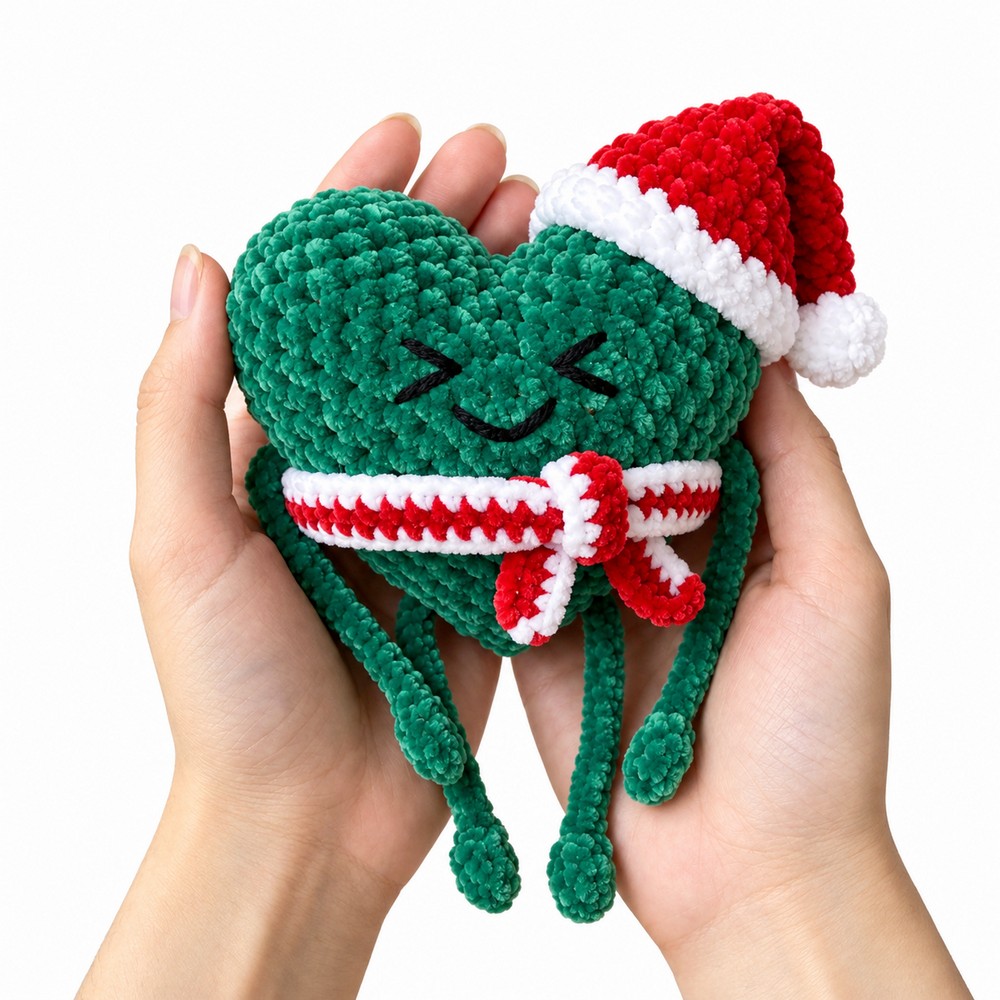
This is also designed as a funny, leggy Christmas heart buddy. It is wearing the crochet scarf in a funny way (below the arms) that makes it a perfect Christmas cuddle plushie!
This is also a crochet slouchy Christmas hat. Now, continue reading to learn more about this easy Christmas heart project! You will especially like the kawaii “><” and the smile.
Pattern to Crochet a Festive Heart Plushie in Green
Skill Level: Beginner – Level 4
Materials & Tools
Yarn: Super bulky chenille/velvet plush yarn (Weight 6) in Green (for the heart body, arms, and legs), Red, and White (for the Santa hat and scarf). Thin plush yarn in white for the hat trim and pom.
Embroidery Thread/Yarn: Small amount of black yarn or embroidery floss (for embroidering the face).
Crochet Hook: 5.5 mm and 3mm hook for the thin plush yarn
Stuffing: Polyester fiberfill
Notions: Yarn needle, stitch markers (at least 4–5), scissors, tweezers (optional, for stuffing small spaces)
Abbreviations (US Terms)
MR: Magic Ring (or chain-2 method)
ch: Chain
sc: Single crochet
inc: Increase (2 sc in the same stitch)
dec: Decrease (invisible decrease recommended)
sl st: Slip stitch
st(s): Stitch(es)
[#]: Total stitch count at the end of the round
(…) x #: Repeat instructions in parentheses the indicated number of times
1.Heart Body & Arms
A. First Top Lobe
R1: Ch 2, work 8 sc into the 2nd chain from hook (or 8 sc in a MR) [8]
R2: 8 inc [16]
R3: (1 sc, 1 inc) x 8 [24]
R4–R6 (3 rounds): sc around [24]
End: 1 sl st into the next st. Fasten off and cut the yarn.
B. Second Top Lobe
R1–R6: Repeat R1 through R6 exactly as above [24].
End: 1 sl st into the next st. DO NOT cut the yarn! You will continue directly into joining the two lobes.
C. Joining the Lobes & Upper Body
R7 (Joining Round):
Continue from the 2nd lobe. Insert hook into the slip stitch of the 1st lobe and make 1 sc (place your round marker here — this is stitch #1 of the body).
Crochet 22 sc across the 1st lobe.
To prevent a gap between the lobes on the 24th stitch: Insert hook into the 24th st of the 1st lobe and pull up a loop, insert hook into the 1st st of the 1st lobe and pull up a loop, yarn over and pull through all 3 loops on the hook. (24 sts worked on the 1st lobe)
Move to the 2nd lobe: crochet 23 sc.
Close the gap on the final stitch: Insert hook into the 24th st of the 2nd lobe and pull up a loop, insert hook into the 1st st of the 2nd lobe and pull up a loop, yarn over and pull through all 3 loops. [48]
R8: sc around [48]
R9: (4 sc, 1 dec) x 8 [40]
D. Attaching the Arms
R10:
The arms will be attached on this round through both the arm (3 sts) and the body.
Spacing: 16 sts between the arms across the front; 18 sts between the arms across the back.
Method:
Single crochet to the first arm position.
Hold the first arm against the body and work 3 sc through both the arm’s 3 stitches and the body stitches. (Leave the arm’s yarn tail hanging out for the final securing step).
Work 16 sc across the front.
Work 3 sc through the second arm and the body.
Work remaining sc across the back to complete the round [40].
E. Mid-Body & Face Embroidery
R11: (3 sc, 1 dec) x 8 [32]
R12: sc around [32]
R13: (2 sc, 1 dec) x 8 [24]
Face Placement: Embroider cute closed happy eyes (
><style curved lines) and a small smile centered between the arms on the front of the heart body.R14: sc around [24]
Firmly stuff the heart now, using plenty of fiberfill in the two top lobes to give them a rounded shape.
R15: (1 sc, 1 dec) x 8 [16]
F. Attaching the Legs & Closing the Tip
R16:
The legs will be attached on this round through both the leg (3 sts) and the body.
Spacing: 4 sts between the legs across the front; 6 sts between the legs across the back.
Method:
Single crochet to the first leg position.
Work 3 sc through both the first leg and the body.
Work 4 sc across the front.
Work 3 sc through both the second leg and the body.
Work remaining sc across the back to finish the round [16].
Add more stuffing firmly into the body.
R17: (2 sc, 1 dec) x 4 [12]
R18: (1 sc, 1 dec) x 4 [8]
Top off with stuffing into the bottom point if needed.
R19: 4 dec [4]
Cut the yarn, leaving a tail of about 6–8 inches (15–20 cm).
2. Blob of the Legs (Feet)
R1: 4 sc in a ring [4]
R2: [sc, inc] * 2 [6]
R3–R4: Work up to 4 sc rounds total to form the rounded foot shape [6]. Fasten off and leave a tail to attach to the leg.
3. Legs (Double Chain Technique)
To create the legs, leave a long yarn tail. Create a double chain (Romanian cord technique) by yarn-over with the ball end and yarn-under with the tail end, alternating back and forth until the desired leg length is reached.
Attach the double-chain legs between the blob feet and the body attachment point on Round 16. 10 would be enough. I recommend using glue to attach the feet.
Santa Hat (19-Round Cone Pattern)
Yarn: Thin/skinny plush yarn in White and Red
Hook: 2.5 mm
Pattern Instructions:
R1 (White): 6 sc in a Magic Ring [6]
R2 (White): (1 sc, 1 inc) x 4 [10]
R3 (White): sc around [10]
R4 (Switch to Red): (1 sc, 1 dec) x 3, 1 sc [6]
R5 (Red): sc around [6]
R6 (Red): (2 sc, 1 inc) x 2 [8]
R7 (Red): (3 sc, 1 inc) x 2 [10]
R8 (Red): (4 sc, 1 inc) x 2 [12]
R9 (Red): (5 sc, 1 inc) x 2 [14]
R10 (Red): (6 sc, 1 inc) x 2 [16]
R11 (Red): (7 sc, 1 inc) x 2 [18]
R12 (Red): (8 sc, 1 inc) x 2 [20]
R13 (Red): (9 sc, 1 inc) x 2 [22]
R14 (Red): (10 sc, 1 inc) x 2 [24]
R15 (Red): (11 sc, 1 inc) x 2 [26]
R16 (Red): (12 sc, 1 inc) x 2 [28]
R17 (Switch to White): (13 sc, 1 inc) x 2 [30]
R18 (White): (14 sc, 1 inc) x 2 [32]
R19 (White): sc around [32]
5. Scarf
Starting with the white, 40–50 chain stitches.
R1: Change to red yarn and Chain 1. sc in each stitch across.
- R2: Change to white yarn. sc in each stitch across.
Wrap the scarf around the heart plush just below the arms, crossing it over and tying it into a neat festive bow on the front.
Finishing & Details
Close the Tip: Thread the body yarn tail onto a tapestry needle, pick up the front loop of each of the 4 remaining stitches, pull tightly to cinch closed, tie a secure knot, and hide the tail inside the heart.
Secure Arm & Leg Tails: Thread each loose yarn tail from the arms and legs through to the same spot on the back of the heart, tie corresponding pairs together in a secure double knot, and push the knots completely inside the body.
Final Assembly: Ensure your embroidered face is neat, attach the Santa hat securely to the top lobe, wrap and tie the scarf, and gently squish and mold your plush into its final festive heart shape.
See More:

Tester Call: How to Crochet Grinch Christmas Gift Plushie for Kids
Tester Call: How to Crochet Polar Bear Christmas Dumpling in A Steamer Box Plushie
How to Crochet Leggy Anti-Stress 4-in-1 Christmas Character Amigurumi for Gifting

How to Crochet Red Bell Topped Snowy Christmas Tree Table Decoration for All

How to Crochet Tiered Pink and Blue Christmas Tree with Amigurumi Star Decoration

Tester Call: How to Crochet Mr. Santa Anti-Stress Donut Ring Plushie for Christmas
Crochet Bell Christmas Ornament Ring Plushie for Decoration & Playing with

Featuring: How to Crochet Snow Buddy in A Beanie Treat Bag for Christmas
How to Crochet Christmas Gift Smiling Santa Mobile Phone Pouch and Gift Bag