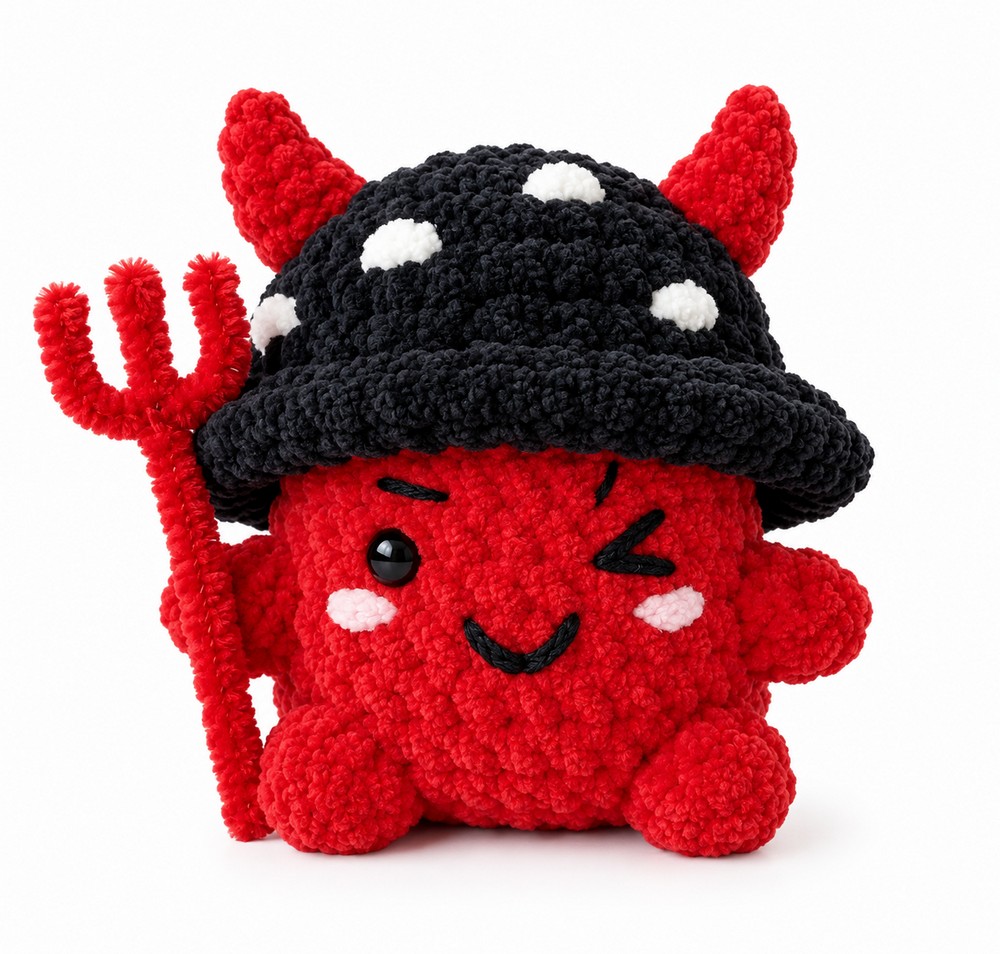
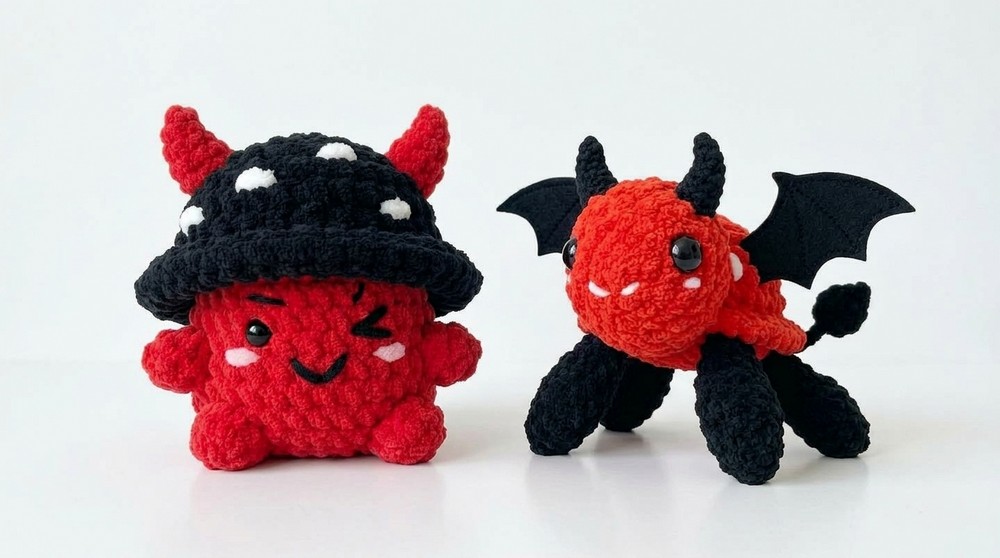
Today’s tester call is part 3 of crocheting spooky-cute baby mushroom plushie variations with FREE patterns. Introducing the crochet plush red & black spooky mushroom plushie with red horns and a cute pipe cleaner wand that you can learn to crochet with a FREE written pattern.
This crochet baby mushroom variation is actually a part of my “black and red character plushies series” as well as a NEW version of my previous crochet “red horns white mushroom plushie.”
This time, we will add a cuter, more detailed embroidered face and also make a small wand for it using red pipe cleaners. You can also crochet the red and black turtle variation as well as the red bee variation afterwards. This time, I have not added the black tail. Now, continue reading to learn more about this crochet plush baby mushroom in a spooky theme!
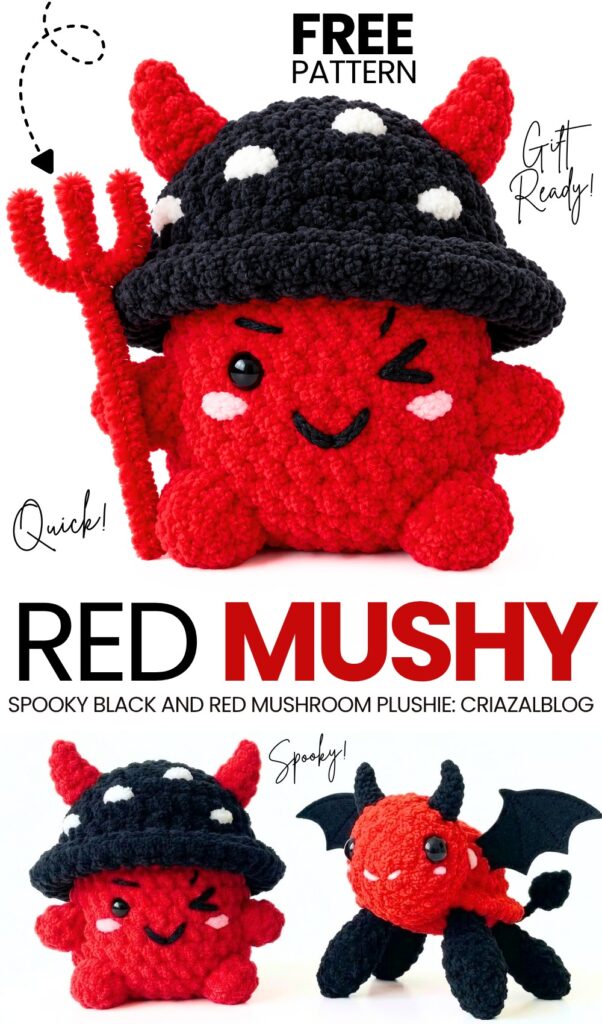
Pattern to Crochet the Baby Mushroom Devil Plushie for Gifting
Materials & Tools
Yarn & Supplies:
Bulky plush/chenille yarn (Weight 5) in Black (for the hat).
Bulky plush/chenille yarn (Weight 5) in Red (for the body).
Bulky plush/chenille yarn (Weight 5) in White (for the hat spots).
Thin plush yarn in Red (for the horns).
A small length of Pink yarn (for the rosy cheeks).
A small length of Black yarn (for the mouth, eyebrows, and winking eye).
Red pipe cleaners (for the trident wand).
Crochet Hooks:
4.0 mm crochet hook (main hook).
3.0 mm crochet hook (support hook used to make the slip stitch and chain 1 tight at the end of each round).
2.5 mm crochet hook (for the horns).
Safety Eyes:
One 6 mm black safety eye (for the left eye).
Notions:
Stitch markers, yarn/tapestry needle, scissors, polyester fiberfill stuffing, tweezers (optional).
Abbreviations (US Terms)
MR: Magic ring
ch: Chain
sc: Single crochet
inc: Increase (2 sc in the same stitch)
dec: Invisible decrease (sc 2 stitches together using the front loops)
sl st: Slip stitch
FLO: Front loop only
BLO: Back loop only
BO: Bobble stitch (4 incomplete double crochets in the same stitch)
st(s): Stitch(es)
Pattern Notes
This pattern is worked in joined rounds.
At the end of each round, join with 1 sl st into the first stitch of the round, then ch 1 to begin the next round.
To prevent the seam from being visible, use the smaller 3.0 mm support hook to make the slip stitch and chain 1 as tight as possible, then switch back to your 4.0 mm hook for the regular stitches.
Always work the first single crochet of each round into the same stitch where you just made the slip stitch.
Pattern Instructions
Mushroom Hat (Black Yarn) Use Black bulky yarn and your 4.0 mm hook:
Round 1: Make 6 sc into a MR. Join round with 1 sl st, ch 1. [6]
Round 2: 6 inc. Join round with 1 sl st, ch 1. [12]
Round 3: (1 sc, 1 inc) × 6 times. Join round with 1 sl st, ch 1. [18]
Round 4: (1 sc, 1 inc, 1 sc) × 6 times. Join round with 1 sl st, ch 1. [24]
Rounds 5 – 6: 1 sc in each st around. Join round with 1 sl st, ch 1. (2 rounds total) [24]
Round 7: In FLO: (3 sc, 1 inc) × 6 times. Join round with 1 sl st, ch 1. [30]
(Note: Place a stitch marker into the first unworked back loop of this round so you can easily find it later).
Round 8: (2 sc, 1 inc, 2 sc) × 6 times. [36]
Cut the black yarn, leaving a short tail. Finish the edge invisibly: thread the yarn tail onto your tapestry needle, insert under both loops of the first stitch from back to front, insert back down into the center of the last stitch made, and weave the tail inside the hat.
Mushroom Body (Red Yarn) Turn the mushroom hat upside down so the inside is facing up. Locate the remaining 24 back loops from Round 7. Insert your 4.0 mm hook into the last back loop of the round. Pull up a loop of Red yarn, make a slip knot on your hook, pull it tight, and knot the two red yarn tails together on the inside to secure.
Round 9: Work 1 sc into the marked first back loop. Continue working 1 sc into each BLO around. Join round with 1 sl st, ch 1. [24]
Rounds 10 – 11: 1 sc in each st around. Join round with 1 sl st, ch 1. (2 rounds total) [24]
Round 12 (Upper Arms): 7 sc, 1 BO, 8 sc, 1 BO, 7 sc. Join round with 1 sl st, ch 1. [24]
Rounds 13 – 14: 1 sc in each st around. Join round with 1 sl st, ch 1. (2 rounds total) [24]
Round 15 (Lower Feet): 8 sc, 1 BO, 6 sc, 1 BO, 8 sc. Join round with 1 sl st, ch 1. [24]
Use the back of your crochet hook to push all 4 bobbles outward.
Eye Placement & Facial Embroidery
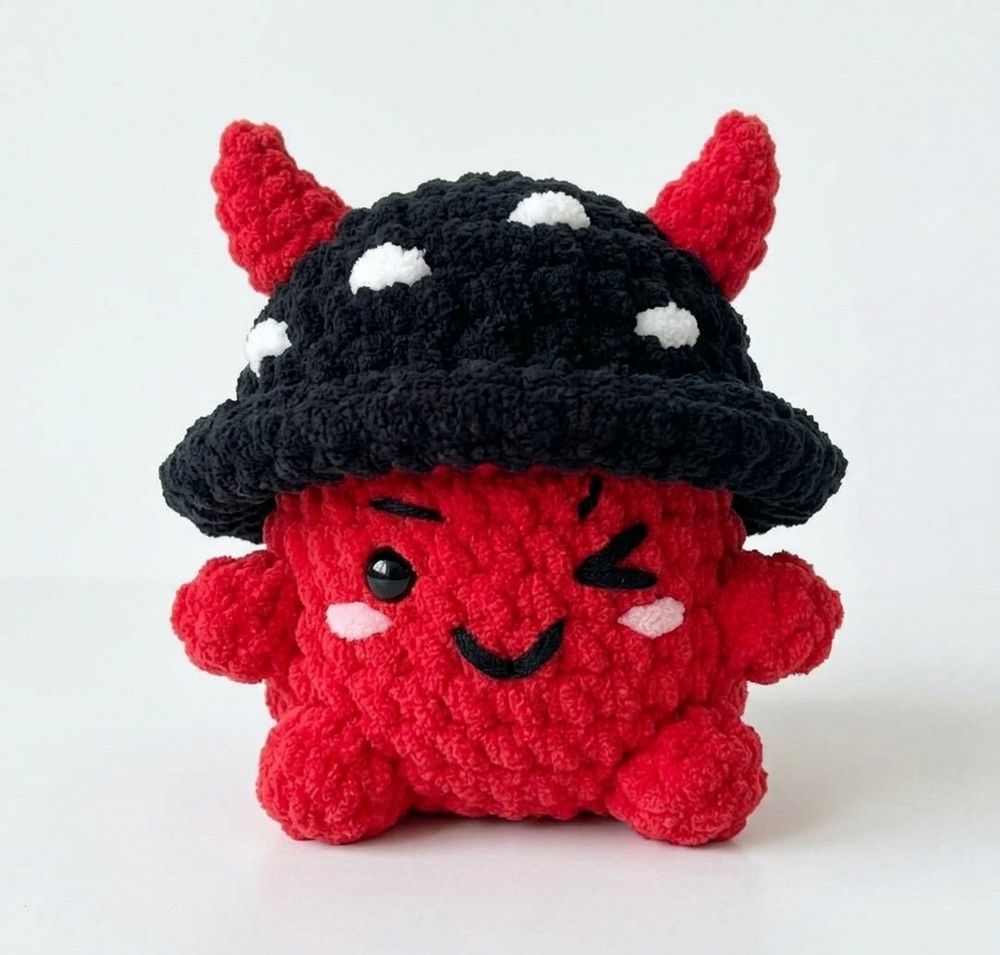
Insert one 6 mm safety eye between Rounds 10 and 11 on the left side of the face.
With black yarn, embroider a winking eye (a
>shape) on the right side, an angled line over each eye for mischievous eyebrows, and a small curvedvshape for a smiling mouth.Embroider small horizontal pink stitches just below the eyes for rosy cheeks.
Closing the Body
Round 16: (1 sc, 1 dec) × 8 times. Join round with 1 sl st, ch 1. [16]
Stuffing: Stuff the baby mushroom firmly with polyester fiberfill.
Round 17: 8 dec. Join round with 1 sl st. [8]
Cut the yarn, leaving an 8-inch tail. Thread the tail onto your tapestry needle, weave through the front loops only of all 8 stitches, pull firmly to cinch the hole closed, tie a knot, and hide the tail inside.
Devil Horns & Accessories
Devil Horns (Make 2) Use Red thin plush yarn and your 2.5 mm hook:
Round 1: 4 sc in MR. [4]
Round 2: (3 sc, inc). [5]
Round 3: (4 sc, inc). [6]
Round 4: (5 sc, inc). [7]
Round 5: (6 sc, inc). [8]
Fasten off, leaving a long tail for sewing.
How to Arch the Horns:
Thread your yarn needle with the long tail left on the horn.
Sew a line of running stitches from the horn base up to the tip along the side you want to be concave (the inner curve).
Once you reach the tip, turn and sew back down along the exact same path to the base.
Gently pull the yarn tail from the base. This cinches the inner side and pulls the horn into a curved arch.
Tie the yarn securely at the base to lock in the arched shape.
Sew the horns onto the top front of the black mushroom hat.
Hat Spots Thread your tapestry needle with a strand of white bulky yarn. Make small stitches randomly scattered around the black mushroom hat to create the white mushroom spots. Tie the yarn ends together, pull them inside the hat to hide them, and trim.
Pipe Cleaner Trident Wand
Take one red pipe cleaner and fold it in half, twisting the two halves tightly together to create a sturdy, straight handle that ends in a single center prong.
Cut a 3-inch piece from a second red pipe cleaner.
Center this smaller piece across the handle, about 1 inch below the top tip, and wrap it around the handle once to secure it.
Bend both ends of the smaller piece sharply upwards so they run parallel to the center prong, forming a U-shape.
Trim the top of all three prongs so they are even in length.
Tuck the completed wand against the right arm bobble so the plushie appears to be holding it.
See More:
Featuring: How to Crochet Cosplay Red, Blue and Yellow Parrot Buddy Plushie
Featuring: How to Crochet Yellow, Green, White and Red Parrot Bird Plushie & Keychain
Featuring: How to Crochet Black, Blue, Red and Green Mini Bird Plushie (Toucan Plush)
Tester Pattern: How to Crochet A No-Sew Mr. Red Horns Mushroom Plushie
Featuring: How to Crochet A Red-Nosed Animal Buddy Christmas Plushie
How to Crochet Red Mouth Spooky-Cute Grey and Black Bat Amigurumi
Featuring: How to Crochet No-Sew Red & Yellow Tricera Buddy Plushie
Tester Call: How to Crochet Spooky Red and Black Bee Plushie with Wing Template
Tester Call: How to Crochet A Spooky Flowers Red Horns Potted Buddy Plushie for Halloween