Show support for Otakulandia!
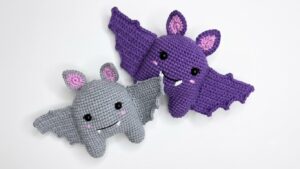
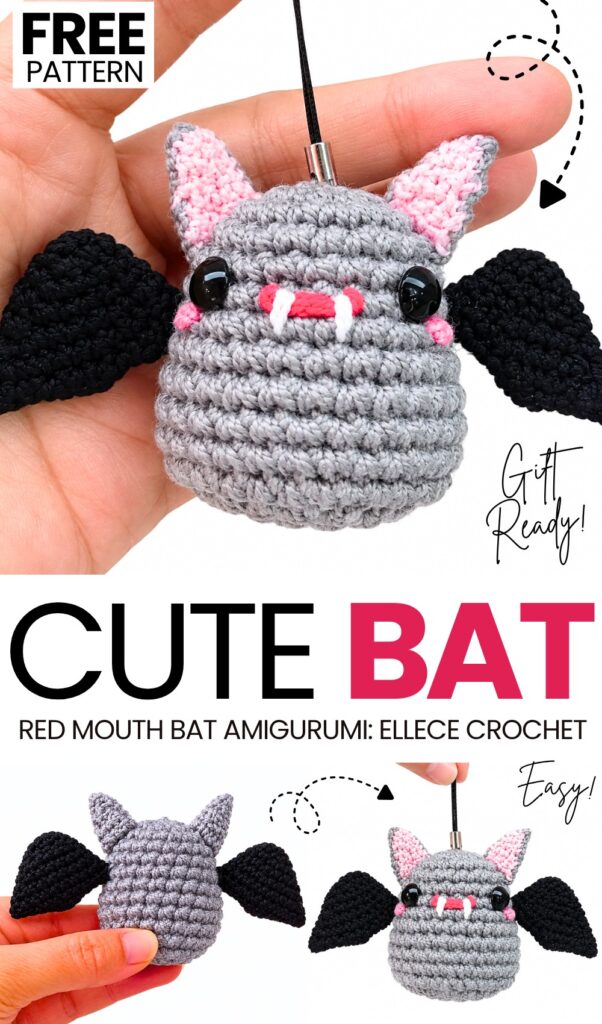
I am finally back with another crochet “crochet amigurumi kawaii bat” pattern! Introducing the crochet red-mouth spooky CUTE small bat amigurumi bag charm that you can learn to crochet with a FREE written pattern for beginners. Unlike the previous crochet bat patterns, this stuffed bat has small flat ears.
That’s why I also call this the amigurumi chonky baby bat amigurumi. I would also recommend crocheting your bat using the skinny plush yarn for an anti-stress Halloween softie.
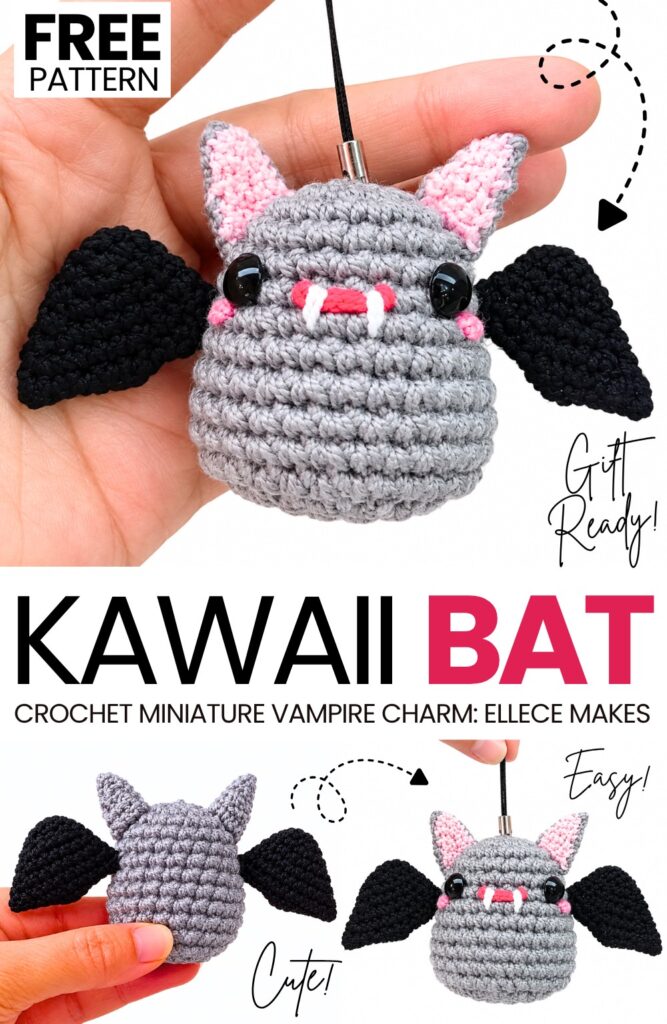
You can also crochet yours using the purple-bat color scheme, including the pink and even red! This little bat can be crocheted in less than 30 minutes using the quick and easy pattern. Now, continue reading for learning more about this crochet DK yarn bat amigurumi project!
Pattern to Crochet the Kawaii Bat Amigurumi
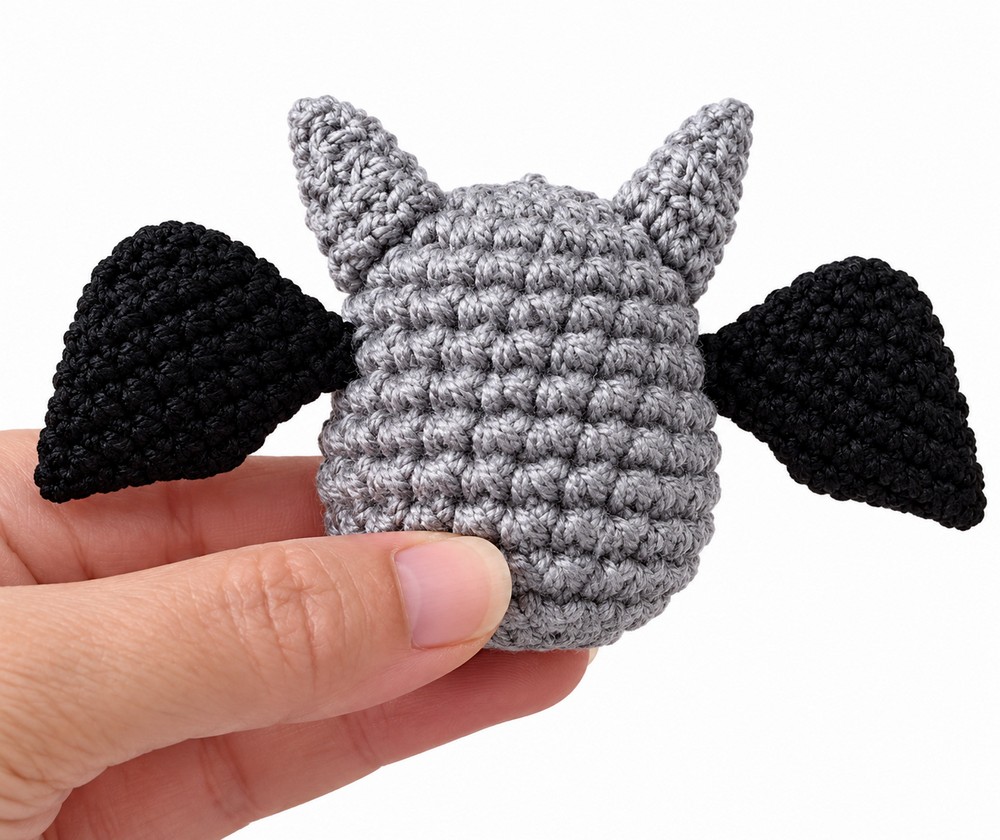
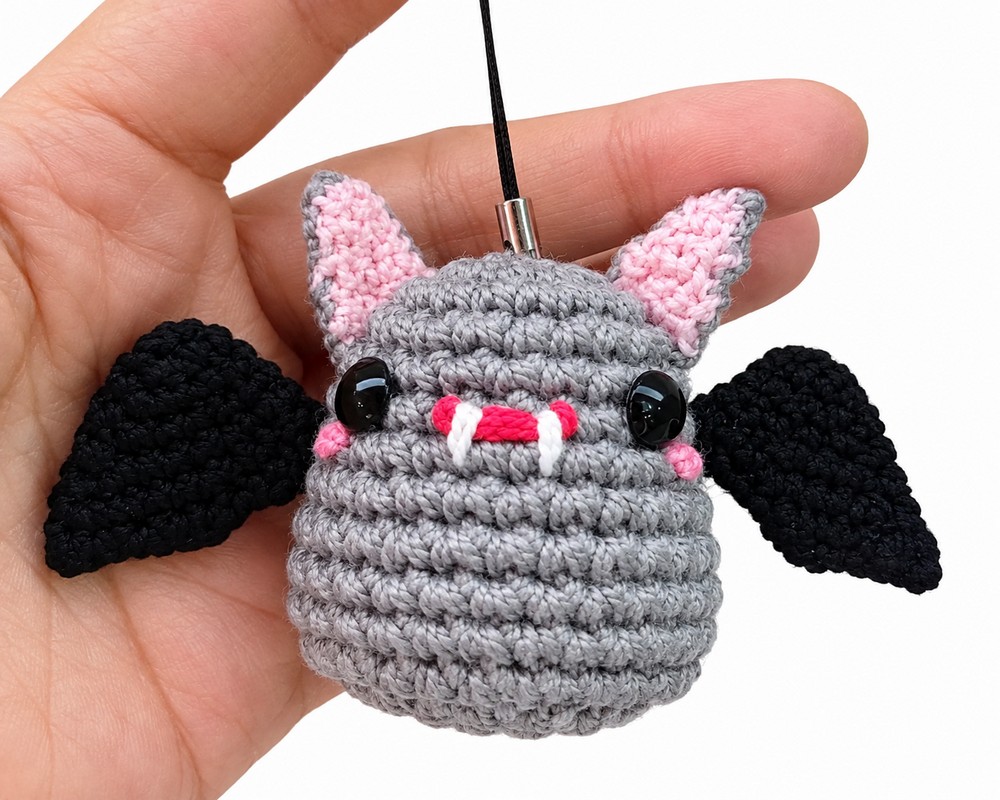
This project is a small vampire keychain made with crochet. You make it by working in simple rounds to form a single body and head piece, then making small flat pieces for the ears and shaped pieces for the wings.
You stuff the body with fiberfill stuffing to make it soft and round. Afterwards, you sew the pieces together and stitch on simple facial features like a small red smile, tiny white fangs, and pink cheeks. It is a quick and easy project for beginners who know how to work single crochet stitches, increases, and decreases.
Materials & Tools
Yarn / Thread: Number 5 cotton thread or fine yarn in four colors:
Grey: Main body/head (worked holding 2 strands together) and outer ears.
Pink: Inner ears and embroidered cheeks.
Purple: Bat wings (worked with 1 strand).
Red & White: Small scrap pieces for embroidering the mouth (red) and fangs (white).
Crochet Hook: 1.75 mm hook (or 1.50 mm if 1.75 mm is unavailable).
Eyes: Small black plastic half-beads or dome safety eyes.
Glue: Hot glue or liquid silicone (if using stick-on/flat-back eyes).
Stuffing: Acrylic fiberfill stuffing.
Notions: Tapestry/yarn needle, scissors, stitch marker, and a keychain ring attachment.
Crochet Stitch Abbreviations (US Terms)
ch: chain
sc: single crochet
inc: single crochet increase (2 single crochets in the same stitch)
dec: invisible decrease (single crochet 2 stitches together through front loops)
hdc: half double crochet
dc: double crochet
sl st: slip stitch
st(s): stitch(es)
Rnd(s): Round(s) worked continuously in a spiral
Row(s): Row(s) worked back and forth in flat pieces
Are you a Beginner? Learn Crocheting Easily!
You can learn to crochet better with this amigurumi bat buddy using the following video tutorial, or continue with the pattern:
Detailed Crochet Pattern
1. Head & Body
Note: Hold 2 strands of grey yarn together throughout this entire section using a 1.75 mm hook. Work continuously in a spiral without joining rounds.
Rnd 1: Start with a magic ring. Work 7 sc into the ring. Pull the ring tight. (7 sts)
Rnd 2: Work in continuous spiral. Work increases around until you reach 13 total stitches (work 2 sc in each st, with 1 sc in the final st). (13 sts)
Rnd 3: [1 sc, 1 inc] repeat around until reaching 20 total stitches. (20 sts)
Rnds 4–6: Work 1 sc in each stitch around for 3 full rounds. (20 sts per round)
Rnd 7: [5 sc, 1 inc] repeat 4 times total. (24 sts)
Rnds 8–11: Work 1 sc in each stitch around for 4 full rounds. (24 sts per round)
Rnd 12: [6 sc, 1 inc] repeat 5 times total. (29 sts)
Rnd 13: Work invisible decreases (dec) across all stitches until 15 stitches remain. (15 sts)
Pause here and begin stuffing the body firmly with fiberfill stuffing.
Rnd 14: Work invisible decreases (dec) across all stitches until 8 stitches remain. (8 sts)
Finishing Body: Fasten off leaving a long tail. Add any remaining stuffing needed. Thread your yarn tail onto a needle, weave through the front loops of the remaining 8 stitches, pull tight to close the opening completely, and hide the thread tail inside the body.
2. Ears (Make 2 Grey Outer Ears & 2 Pink Inner Ears)
Note: Work all ear pieces back and forth in flat rows using a single strand of yarn.
Row 1: Ch 5. Turn. Starting in the 2nd ch from hook, work 4 sc across. (4 sts)
Row 2: Ch 1, turn. Work 4 sc across. (4 sts)
Row 3: Turn (do not ch 1, skipping the first stitch to taper). Work 3 sc across. (3 sts)
Row 4: Ch 1, turn. Work 3 sc across. (3 sts)
Row 5: Turn (do not ch 1). Work 2 sc across. (2 sts)
Row 6: Turn (do not ch 1). Work 1 sc. (1 st)
Fasten off.
Leave a long grey tail on the grey outer ears for sewing.
Fasten off the pink tails short.
Ear Layer Assembly: Place one pink inner ear on top of one grey outer ear (facing opposite sides so they line up). Using small stitches with your needle, sew around the edges to join them into one double-layered ear. Pinch the bottom edge slightly to create a natural curved bat ear shape.
3. Bat Wings (Make 2 with Purple Yarn)
Note: Use 1 strand of purple yarn.
Rnd 1: Start with a magic ring. Work 7 sc into the ring. Pull tight. (7 sts)
Rnd 2: Work 1 inc in the first st, then [1 sc, 1 inc] around to reach 10 stitches total. (10 sts)
Rnd 3: Work 5 sc, 1 inc, 4 sc, 1 inc. (12 sts)
Rnd 4: Work 5 sc, 1 inc, 5 sc, 1 inc. (14 sts)
Rnd 5: Work 6 sc, 1 inc, 6 sc, 1 inc. (16 sts)
Rnd 6: Work 7 sc, 1 inc, 7 sc, 1 inc. (18 sts)
Rnd 7: Work 8 sc, work a triple increase (3 sc in the same st), then 9 sc. (20 sts)
Wing Shaping (Top Edge): Press the cone piece flat to align the top open edges. You will now crochet through both layers together across the top:
Work 1 sl st in the first stitch.
Work 2 sc across.
Work (1 sc + 1 hdc) into the next stitch.
Work 1 dc in the next stitch.
Work 1 hdc in the next stitch.
Work 1 sc in the next stitch.
Work sc through remaining stitches across to the end.
Fasten off, leaving a long tail for sewing.
4. Facial Details & Assembly
Eyes:
Count down approximately 5 rounds from the top of the head.
Position the black plastic eyes approximately 5 stitches apart. Glue securely into place using liquid silicone or hot glue.
Mouth:
Thread a needle with red yarn/thread.
Stitch a small, slightly curved smile centered between the eyes across 2 to 3 stitches.
Fangs:
Thread a needle with white thread.
Make two tiny downward vertical stitches at the corners of the red mouth to form small vampire fangs.
Cheeks:
Thread a needle with pink thread.
Embroider 2 to 3 horizontal lines directly underneath each eye for pink blush spots.
Attaching Ears:
Position the ears on top of the head near Round 3 down from the top.
Sew the base securely to the head, stitching slightly through the lower edge to ensure the ears stand upright.
Attaching Wings:
Place the wings onto the sides/back of the body, starting about 1 round below the ear level.
Sew down along the inner side edge of each wing so they stay attached to the back body.
Keychain Ring:
Attach a metal jump ring and keychain chain through the top center ring of the head.
Share on Social Media!
See More:

How to Crochet Bunny Bat White Foldable Wings Amigurumi with Bow for Halloween
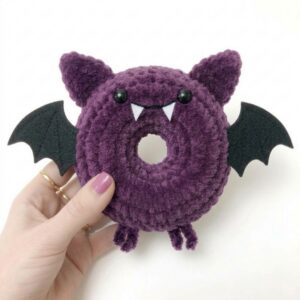
Pattern Tester: How to Crochet A Spooky-Cute Bat Food Ring Plush for Gifting
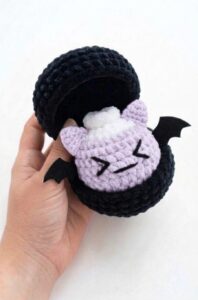
Tester Pattern: To Crochet A Plush Spooky Bat Bao Bun Plushie
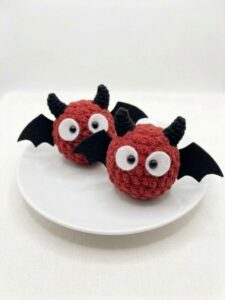
Tester Pattern: To Crochet A Red Soot Bat Amigurumi Plushie Pattern
How to Crochet Low-Sew Mr. Bat Superhero Plushie for Kids
How to Crochet Glitter-Eyed Kawaiiest Bat Softie for Halloween
Featuring: Crochet Black Kitty Amigurumi But it is A Bat for Halloween (2-in-1 Tutorial)
How to Crochet the Watermelon Bat No-Sew Plushie Pattern
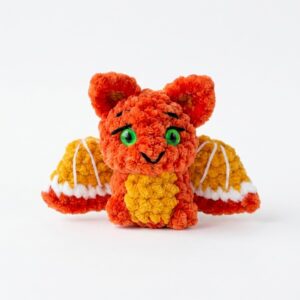
How to Crochet An Orange, Watermelon & Strawberry Fruit Bat Plushie