Show support for Linh!
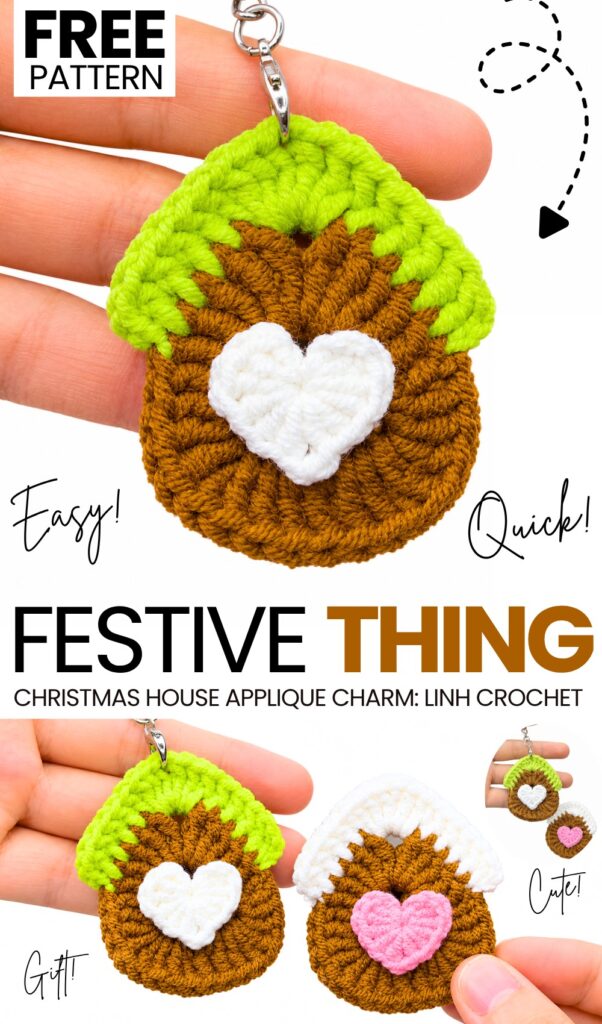
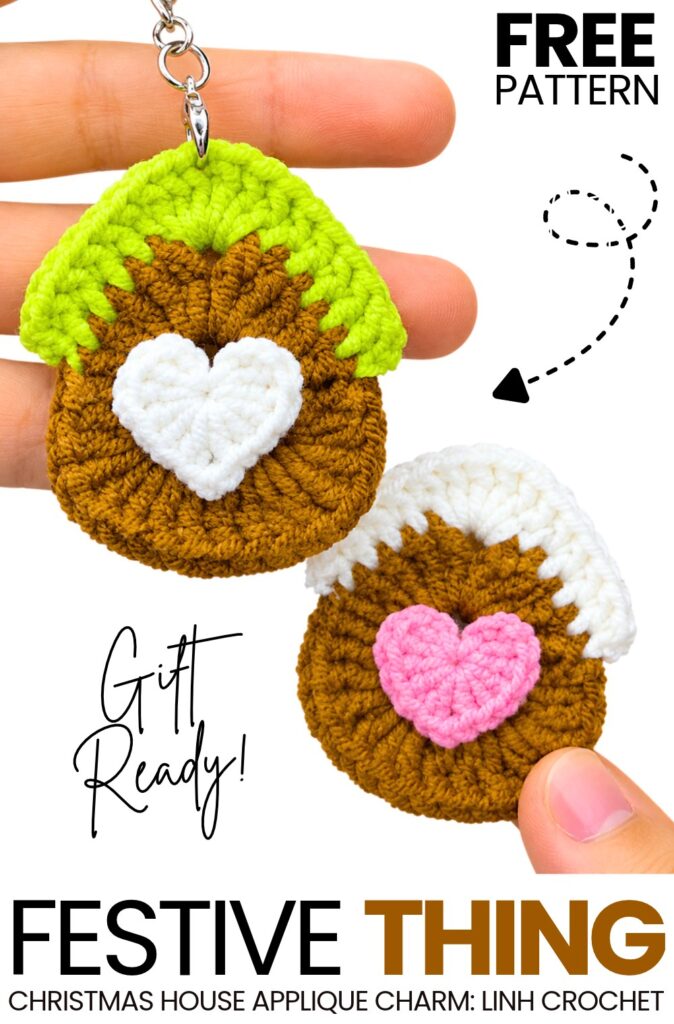
This year, I will be sharing more quick and easy crochet Christmas gift patterns, and today’s tutorial is one of them! Introducing the cutest crochet Christmas mini house appliqué that you can crochet in under 16 minutes by following both a step-by-step tutorial and a written pattern as well. This small appliqué is surprisingly crocheted by working in the round, making it super easy.
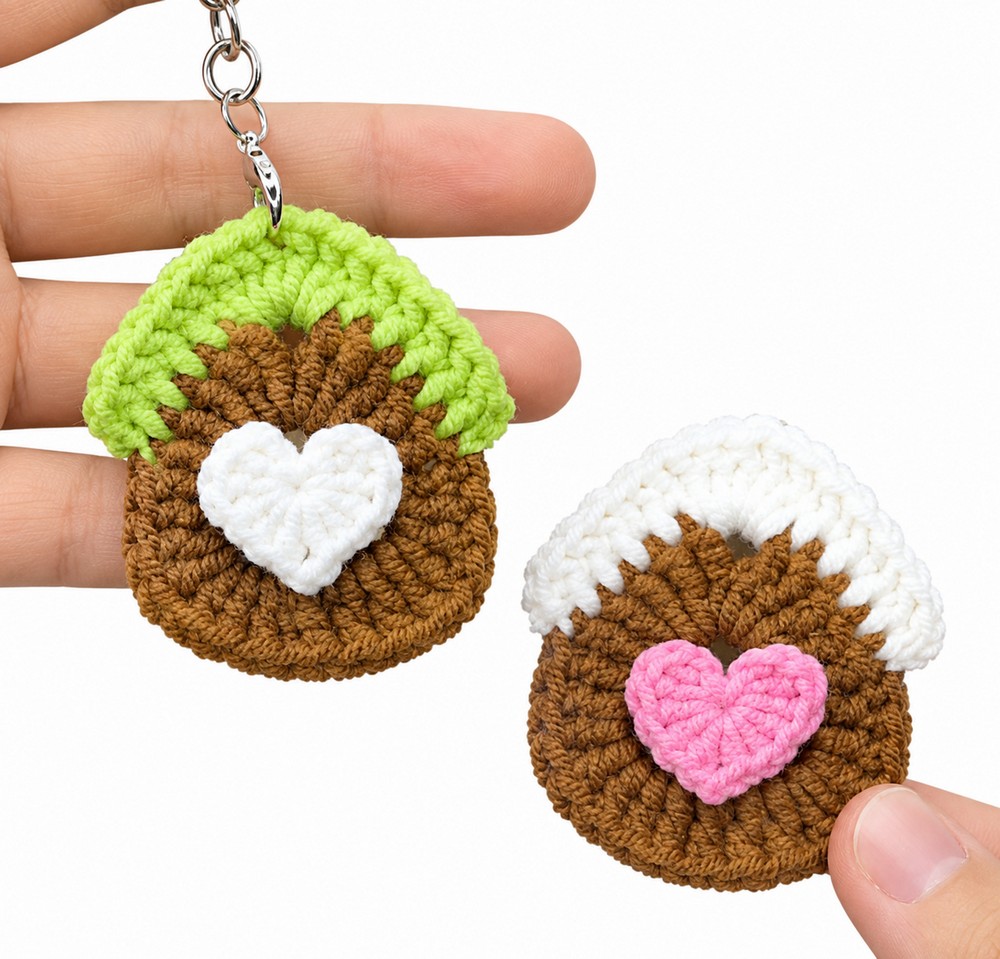
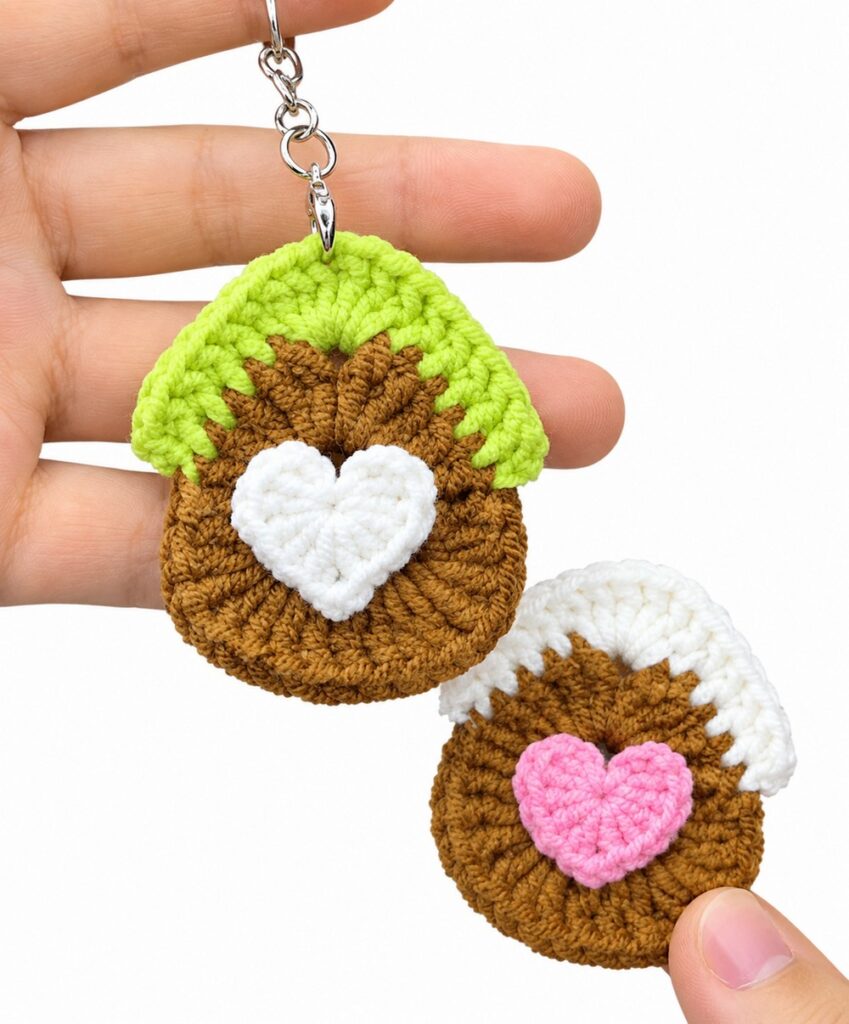
You can choose from the brown, white, and pink color combo or the brown, green, and white one. This crochet house keychain will also make a perfect charm for your Gingerbread-themed Christmas decoration.
There is a small 1-round crochet heart in the middle that makes it quick and super easy. Now, continue reading to learn more about this crochet little brown house LOVE present with a FREE pattern!
Pattern to Crochet the Christmas Applique House Applique
Skill Level: Beginner – Level 4
Materials Needed
Yarn: 5-ply yarn (about 2 mm thick) in Brown (house body), Red or Pink (roof), and Red (heart)
Crochet Hook: 2.5 mm hook
Tapestry Needle / Yarn Needle
Scissors
Craft Glue (or hot glue)
Keychain Strap or Jump Ring
Abbreviations & Terms
MR: Magic Ring
ch: Chain stitch
sl st: Slip stitch
hdc: Half double crochet
dc: Double crochet
tr: Treble (double treble) crochet
Are you a Beginner? Learn Crocheting Easily!
You can learn to crochet better with this miniature house, or continue with the pattern below:
Detailed Crochet Pattern Instructions
Part 1: House Base (Main Body)
Use Brown Yarn.
Round 1:
Start with a Magic Ring.
Chain 3 (counts as 1 dc). Work 2 dc into the ring.
Chain 2. Work 3 dc into the ring.
Chain 2. Work 3 dc into the ring.
Chain 2. Pull the ring tight.
Slip stitch into the 3rd chain of the starting chain-3 to join.
Round 2:
Chain 3 (counts as 1 dc). Work 1 dc in each of the next 2 stitches across the edge.
In the first corner space (ch-2 space): Work
[1 dc, 1 tr, ch 1, 2 tr, 1 dc].Along the next side: Work 1 dc in each of the next 3 stitches.
In the second corner space: Work
[3 dc, ch 1, 3 dc].Along the next side: Work 1 dc in each of the next 3 stitches.
In the third corner space: Work
[3 dc, ch 1, 3 dc].Slip stitch into the 3rd chain of the starting chain-3 to join.
Fasten off yarn and weave in ends.
Part 2: Roof
Switch to Red Yarn.
Round 3:
Attach red yarn at the top left corner of the house base structure.
Chain 3 (counts as 1 dc). Work 1 dc in each of the next 4 stitches along the roof slope (total 5 dc).
In the top roof peak corner space: Work
[3 dc, ch 1, 3 dc].Along the opposite roof slope: Work 1 dc in each of the next 5 stitches.
Chain 3 and slip stitch into the corner base to finish the edge.
Fasten off yarn and weave in all yarn ends neatly.
Part 3: Mini Heart Decoration
Use Red Yarn.
Round 1:
Start with a Magic Ring.
Chain 2.
Work 2 dc into the ring.
Work 3 hdc into the ring.
Chain 2 (forms the bottom pointed tip of the heart).
Work 3 hdc into the ring.
Work 2 dc into the ring.
Chain 2, then slip stitch into the center of the ring.
Pull the center yarn tail tightly to close the ring into a heart shape.
Fasten off and cut the yarn.
Assembly & Finishing
Attach Heart: Apply a small drop of craft glue or hot glue to the back of the small red heart and press it firmly onto the center front of the house body.
Attach Keychain: Thread a keychain loop or strap through the top point of the red roof. Secure the loop with glue or by sewing it in place with matching yarn.
Share on Social Media!
See More:
Featuring: How to Crochet Snow Buddy in A Beanie Treat Bag for Christmas
How to Crochet Christmas Gift Smiling Santa Mobile Phone Pouch and Gift Bag
How to Crochet White & Blue Bead Decorated Mini Boot Ornament for Christmas
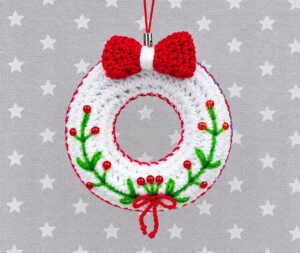
How to Bow and Bead Decorated Christmas Wreath Rings for Beautiful Garlands
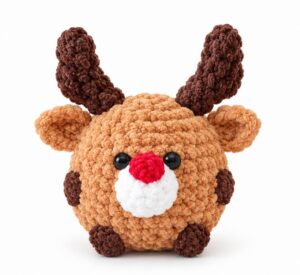
Featuring: How to Crochet A Red-Nosed Animal Buddy Christmas Plushie
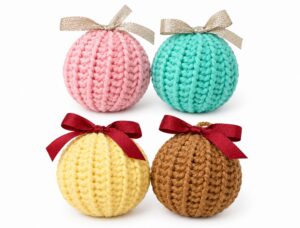
How to Crochet 4 Set Ribbed Decoration Christmas Festive Ball Ornaments
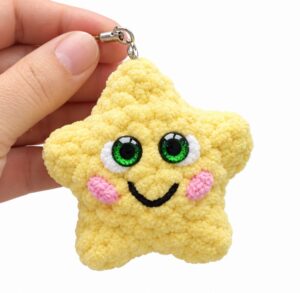
How to Crocet Holdiday Mr. Smiling Star Plushie for Christmas Gifting
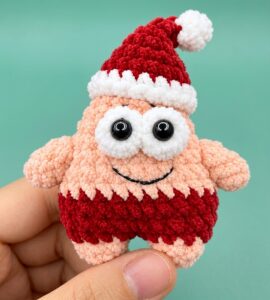
How to Crochet Mr. Patrik Celebrating Christmas Miniature Plushie for Holidays
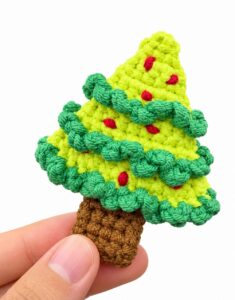
How to Crochet Mini is the Christmas Tree Holiday No-Sew Bag Charm Pattern