Author: Talha
I am a crochet designer, macramé maker and a crafter who also loves doing MATH.
Today’s crochet “spooky boa bun” plushie series is from my very dear crochet “red horned buddy plushies” series. So, learn how to crochet this UNIQUE spooky-cute grey-horned red bao bun plushie with a FREE written pattern for absolute beginners.
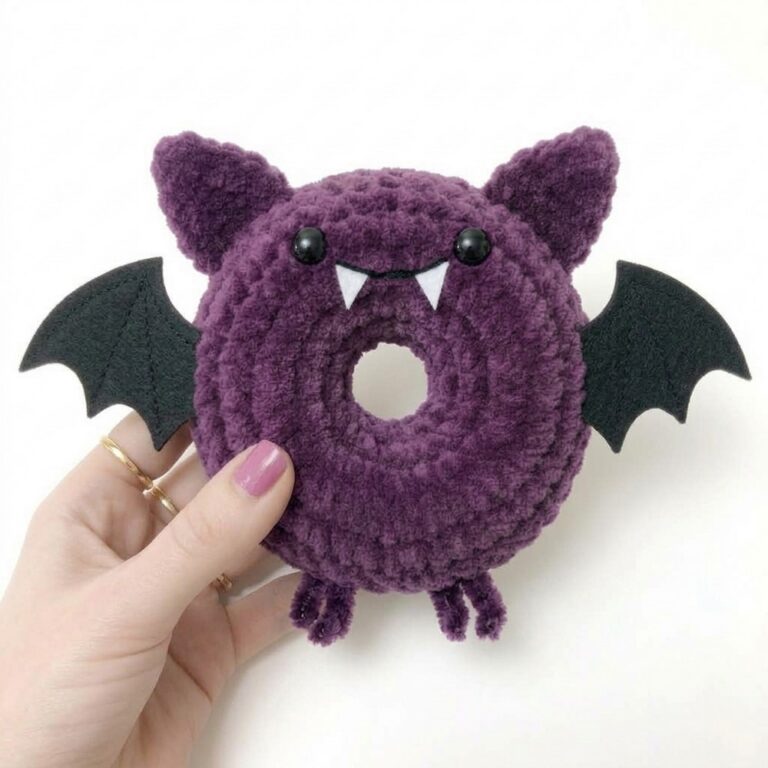
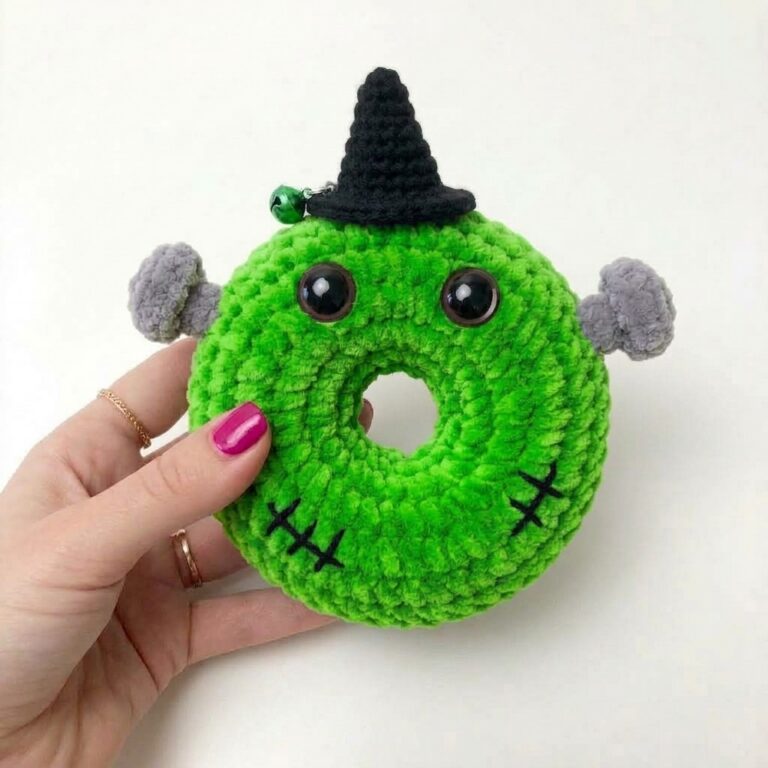
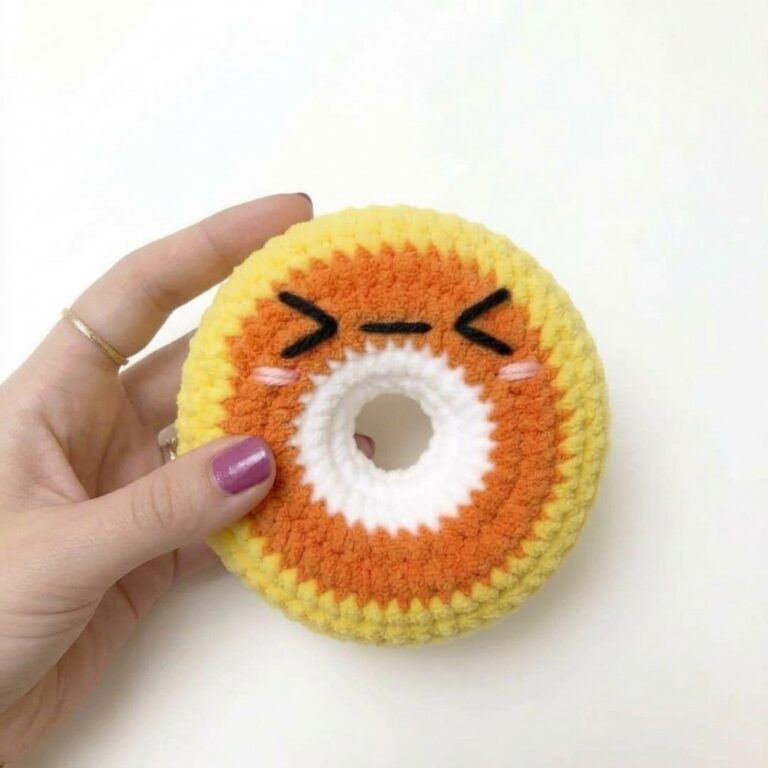
Like the previous crochet spooky dumpling plushies, this crochet red plush won’t take more than 45 minutes, including the lid steamer basket. This time again, I have found it cuter in black.
We also added a little white part to the eye, making this crochet plush the BEST crochet plush gift for spooky festivals ever. I’ve described the method for crocheting the curved horns again, using the same arching method. Anyway, continue reading to learn more about this crochet plush spooky dumpling project!

Similar Project(s)
Pattern to Crochet the Red Plush Dumpling for Beginners
Skill Level: Beginner – Level 4
Pattern Overview & Abbreviations
MR: Magic Ring
ch: Chain
sc: Single Crochet
inc: Increase (2 sc in the same stitch)
dec: Invisible Decrease
sl st: Slip Stitch
BLO / FLO: Back Loops Only / Front Loops Only
st/sts: Stitch / Stitches
Rnd/Rnds: Round / Rounds
FO: Fasten Off
Materials Needed
Super Bulky Plush Yarn (Size 6): Red (for the dumpling body) and Black (for the basket).
DK Weight Yarn (Size 3): Grey (for the horns) and Red (for the tail).
Crochet Hooks: 4.0 mm hook (for plush yarn) and 3.0 mm hook (for DK yarn).
Hardware & Notions: Safety eyes, small scraps of white craft felt, black cotton embroidery floss, thin semi-cotton yarn (for cinching), fiberfill stuffing, tapestry needle, stitch marker, and scissors.
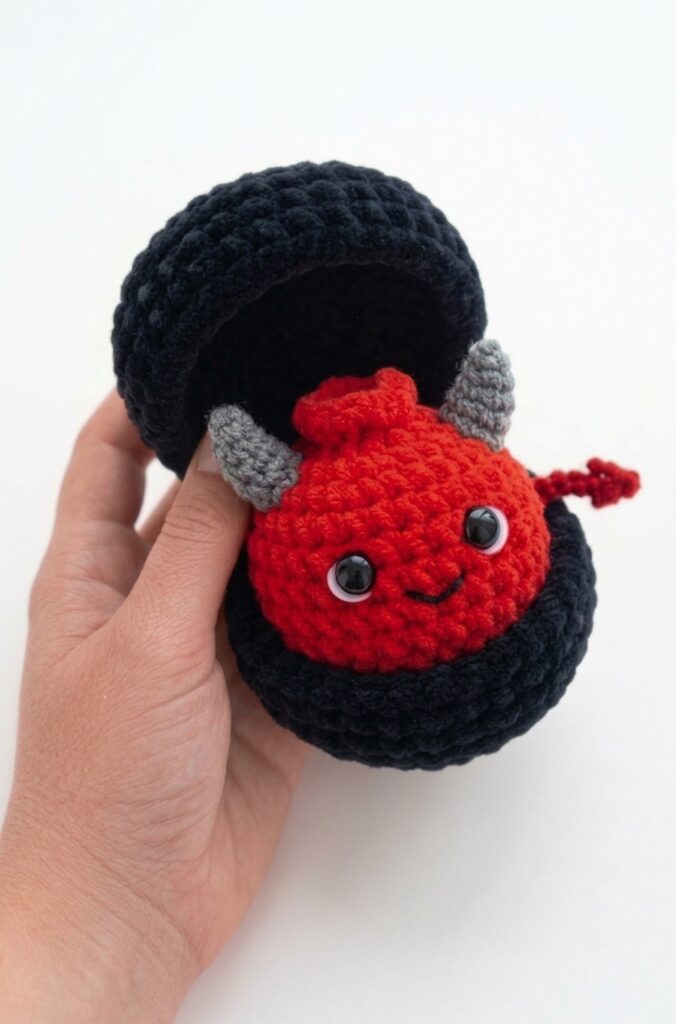
Part 1: Red Devil Dumpling Body
Use your Red Plush Yarn and the 4.0 mm hook.
Rnd 1: Work 8 sc into a Magic Ring. Pull the tail tight to close the circle. (8 sts)
Rnd 2: Work 1 inc in every stitch around. (16 sts)
Rnd 3: Work [1 sc, 1 inc] and repeat this sequence 8 times around. (24 sts)
Rnd 4: Work [2 sc, 1 inc] and repeat this sequence 8 times around. (32 sts)
Rnd 5 to Rnd 8: Work 1 sc in each stitch around for 4 total rounds. (32 sts per round)
Pause for Facial Details:
Cut two small circles of white craft felt slightly larger than your safety eyes.
Pierce the safety eye posts through the center of the felt circles.
Insert the safety eyes between Rnd 6 and Rnd 7 of the body, spacing them about 4 stitches apart. Secure the backings.
Using a tapestry needle and black embroidery floss, stitch a small, horizontal smile centered directly between the eyes on Rnd 6.
Continue Body:
Rnd 9: Work [2 sc, 1 dec] and repeat this sequence 8 times around. (24 sts)
Rnd 10: Work [1 sc, 1 dec] and repeat this sequence 8 times around. (16 sts)
Stuffing Step: Firmly pack the bottom and middle of the dumpling body with fiberfill stuffing.
Rnd 11: Work 1 dec in every stitch around. (8 sts)
Rnd 12 (Ruffle Top): Working in the Front Loops Only (FLO) for this entire round, work [1 inc, 1 sc] and repeat this sequence 4 times. (12 sts)
Finishing the Body: Fasten off. Thread a thin piece of semi-cotton yarn onto a needle and weave it through the unworked Back Loops Only (BLO) remaining from Rnd 11. Pull tightly to cinch the top completely flat inside the ruffle. Tie off tightly and hide the knot inside the body.
Part 2: Arching Horns
Make 2. Use your Grey DK Yarn and the 3.0 mm hook. Work in continuous, unjoined rounds.
Rnd 1: Work 3 sc into a Magic Ring. (3 sts)
Rnd 2: Work 1 inc, then work 2 sc in the remaining stitches. (4 sts)
Rnd 3: Work 1 inc, then work 3 sc in the remaining stitches. (5 sts)
Rnd 4: Work 1 inc, then work 4 sc in the remaining stitches. (6 sts)
Rnd 5: Work 1 inc, then work 5 sc in the remaining stitches. (7 sts)
Rnd 6: Work 1 sl st in each stitch around. (7 sts)
Finishing: Fasten off, leaving an extra-long yarn tail (about 10 inches) for shaping and sewing.
How to Arch and Attach:
Thread your tapestry needle with the long grey tail.
Sew a loop of running stitches starting from the open base of the horn straight up to the tip, strictly staying along the side you want to curve inwards.
Turn and sew back down along that exact same path to the base.
Gently pull the yarn tail to cinch the side. This will cause the horn to arch dramatically.
Tie a secure knot at the base to lock in the curve.
Use the remaining tail to sew the horns securely to the upper sides of the dumpling head, just below the top ruffle.
Part 3: The Devil Tail
Use your Red DK Yarn and the 3.0 mm hook.
Row 1: Chain 12.
Row 2 (The Arrow Tip): Slip stitch in the top bump of the first chain, sc in the top bump of the next chain. Rotate your work, and sc in the first stitch and slip stitch in the next. Fasten off.
Method 2 (better):
Work 1 sl st in each of the chain stitches, leaving the last three. Work a half double crochet in the top bump of the next chain, sc in the next, and slip stitch in the last. ch1. Rotate, sl st, sc, and hdc in the next chains through the other bump. It is just like a crochet leaf pattern to shape the tail. Use thin yarn to make the tip smaller.
Finishing: Fasten off, leaving a long tail. Pin the tail to the lower back of the body (around Rnd 3 or Rnd 4) and sew it securely in place.
Part 4: Black Basket Container
The Base: Use your Black Plush Yarn and the 4.0 mm hook.
Rnd 1: Work 6 sc into a Magic Ring. (6 sts)
Rnd 2: Work 1 inc in every stitch around. (12 sts)
Rnd 3: Work [1 sc, 1 inc] and repeat 6 times around. (18 sts)
Rnd 4: Work [2 sc, 1 inc] and repeat 6 times around. (24 sts)
Rnd 5: Work [3 sc, 1 inc] and repeat 6 times around. (36 sts)
Rnd 6: Working in the Back Loops Only (BLO), work 1 sc in each stitch around. (36 sts)
Rnd 7 to Rnd 8: Work 1 sc in each stitch around for 2 total rounds. (36 sts per round)
Finishing the Base: Fasten off and weave the tail securely into the inside of the basket.
The Lid: Use your Black Plush Yarn and the 4.0 mm hook.
Rnd 1 to Rnd 5: Repeat exactly as written for Rnd 1 through Rnd 5 of the Base. (36 sts)
Rnd 6: Working in the Back Loops Only (BLO), work 1 sc in each stitch around. (36 sts)
Rnd 7 to Rnd 8: Work 1 sc in each stitch around for 2 total rounds. (36 sts per round)
Finishing the Lid: Do NOT cut your yarn after Rnd 8. Leave your loop on the hook.
Hinge Assembly:
Place the Lid directly over the Base so the right sides (pretty sides) of the stitches are facing outwards. Align the top edges.
Insert your hook through the next stitch on the Lid, and push it directly through the corresponding stitch on the rim of the Base.
Yarn over and work 1 sc through both thicknesses.
Repeat this step for the next 5 stitches (6 sc total) to create a sturdy, seamless hinge connecting the top and bottom.
Fasten off, pull the tail through, and weave it into the inside of the black basket to hide it.