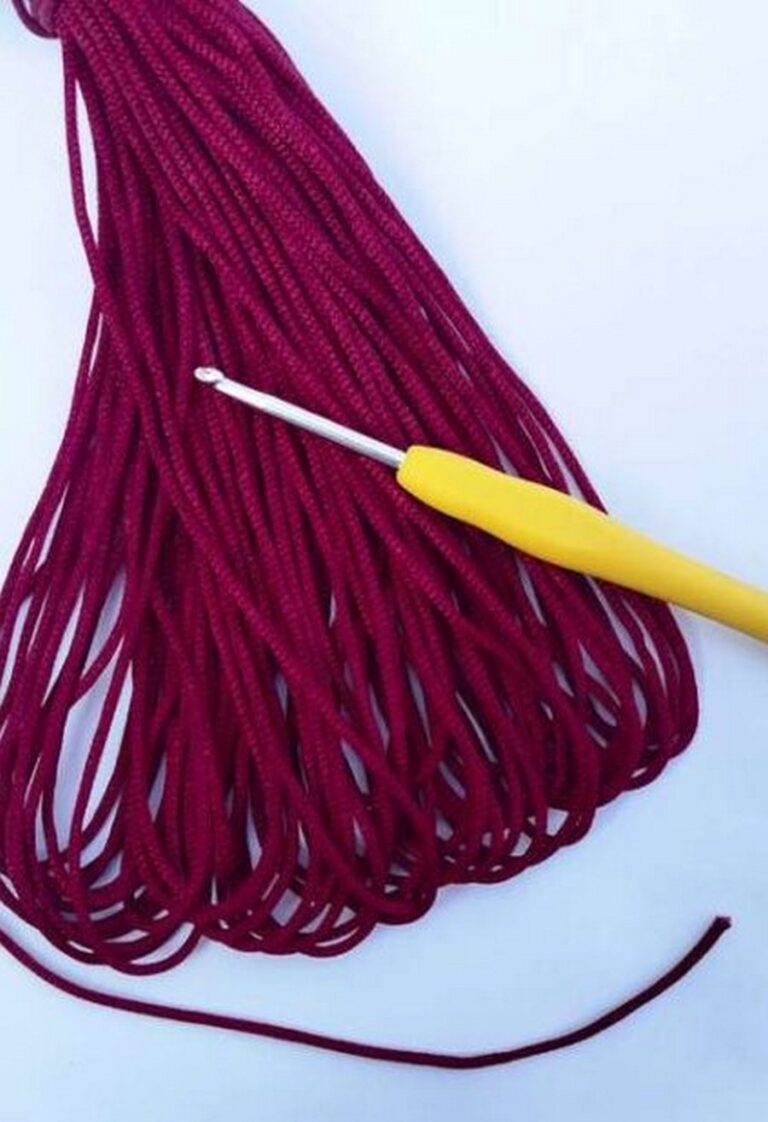
What You’ll Need
Yarn: Medium weight (Size 4) acrylic or cotton yarn in Orange (for the pumpkin body), Green (for the stem), and optionally Brown/Black if you want to sew on a little face or vine.
Crochet Hook: 5.0 mm (H-8) or 5.5 mm (I-9) hook (depending on your tension; you want it slightly snug so it doesn’t slip off the cup).
Tools: Yarn needle (for weaving in ends and assembly) and scissors.
Abbreviations (US Terms)
Ch: Chain
Sl St: Slip stitch
Sc: Single crochet
Hdc: Half double crochet
Dc: Double crochet
St(s): Stitch(es)
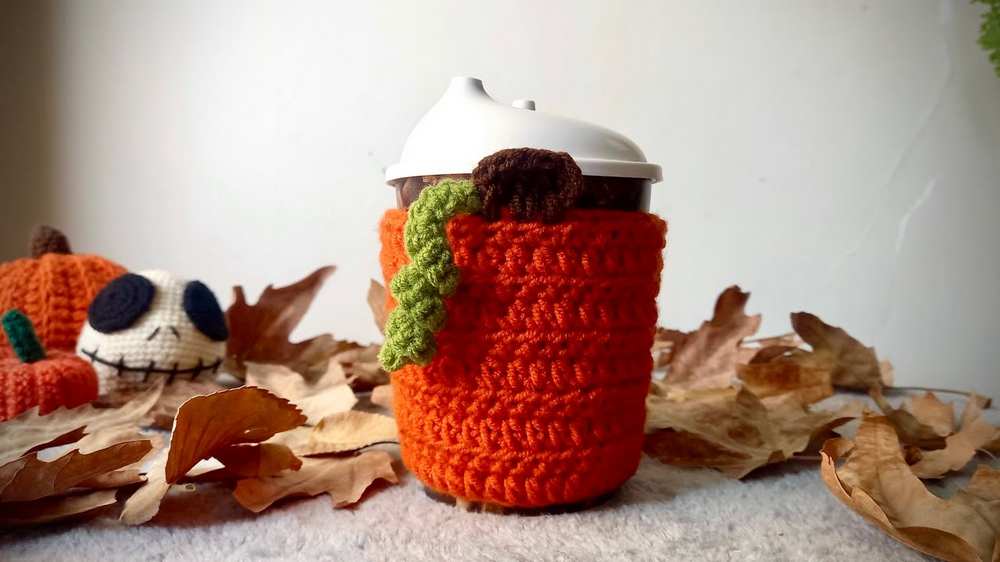
Step-by-Step Cozy Pattern
This pattern is worked in a flat rectangle and then seamed together at the ends to make a sleeve.
Part 1: The Pumpkin Body (Orange Yarn)
Start by leaving a long tail of yarn (about 8-10 inches) for seaming later. Chain 14 (or enough chains to match the height you want your cup sleeve to be—usually about 3.5 to 4 inches).
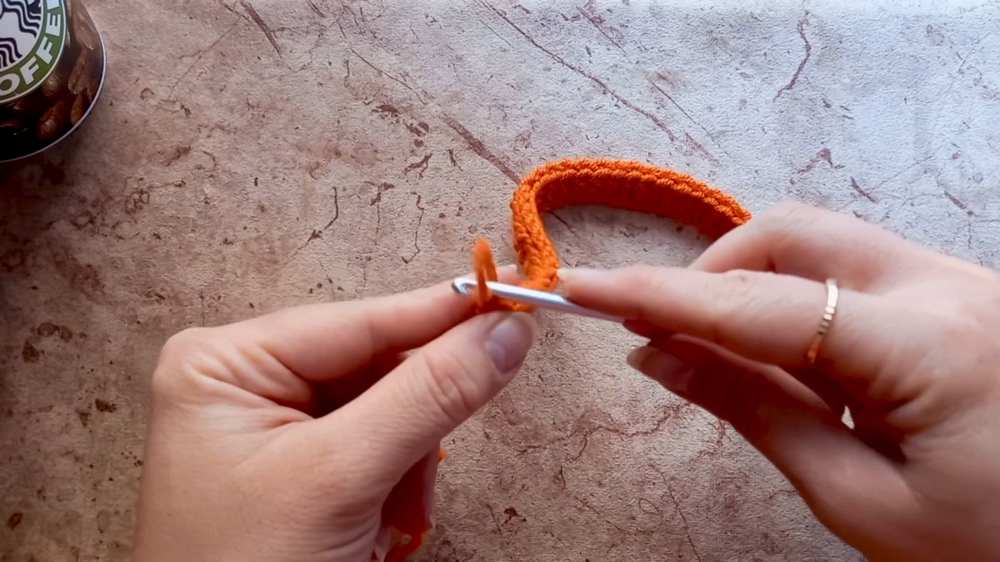
In the 2nd chain from your hook, work a Half Double Crochet (Hdc). Work 1 Hdc into each remaining chain across. (You will have 13 stitches). Chain 1 and turn.
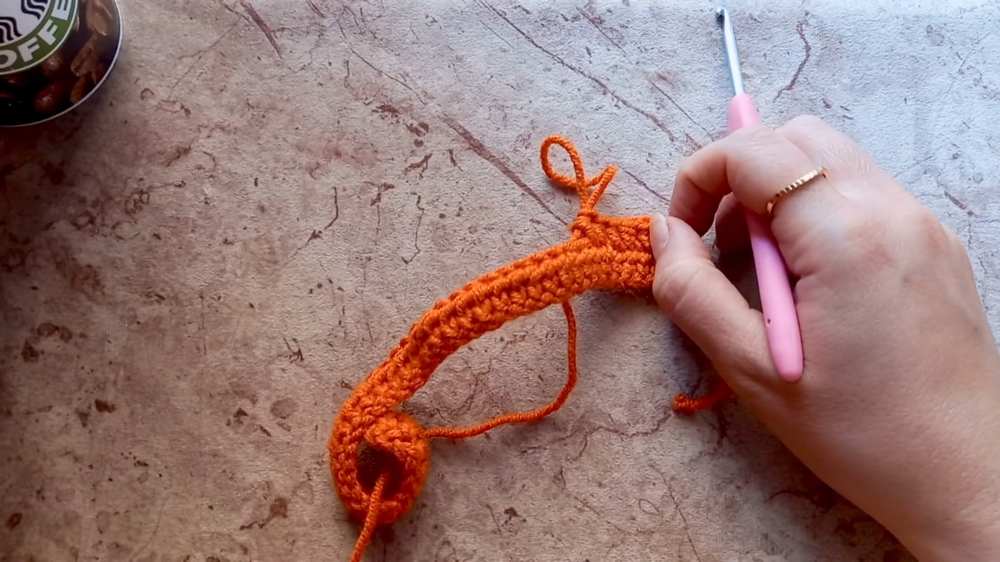
Row 2 to Row 26 (The Ribbed Pumpkin Texture):Approx. 15-20 mins.
To get that classic ribbed “pumpkin ridge” texture, we work in the back loops only:
Work 1 Hdc in the Back Loop Only (BLO) of each stitch across.
At the end of the row, Chain 1 and turn.
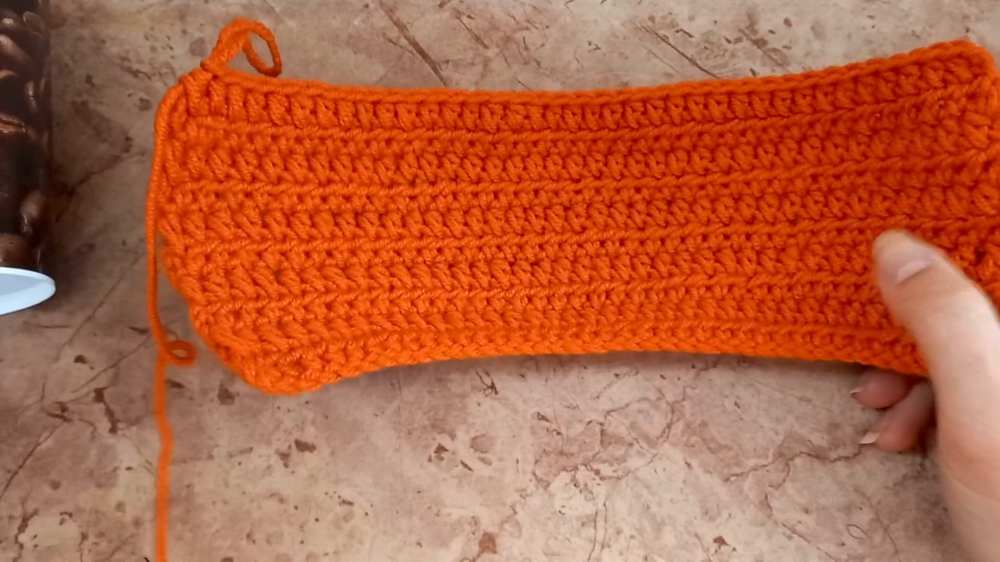
Repeat this row until your piece is long enough to wrap snugly around your favorite travel mug or coffee cup (usually around 24 to 28 rows, depending on your tension).
Fold your ribbed rectangle in half so the short ends meet. Use your yarn needle and the long tail you left at the start to stitch the two short ends together using a whip stitch or slip stitch them together using your hook. Fasten off and weave in your ends. Flip it inside out so the seam is hidden on the inside.
Part 2: The Pumpkin Stem (Green Yarn)
To make the cute little stem sticking out of the top band of the cozy:
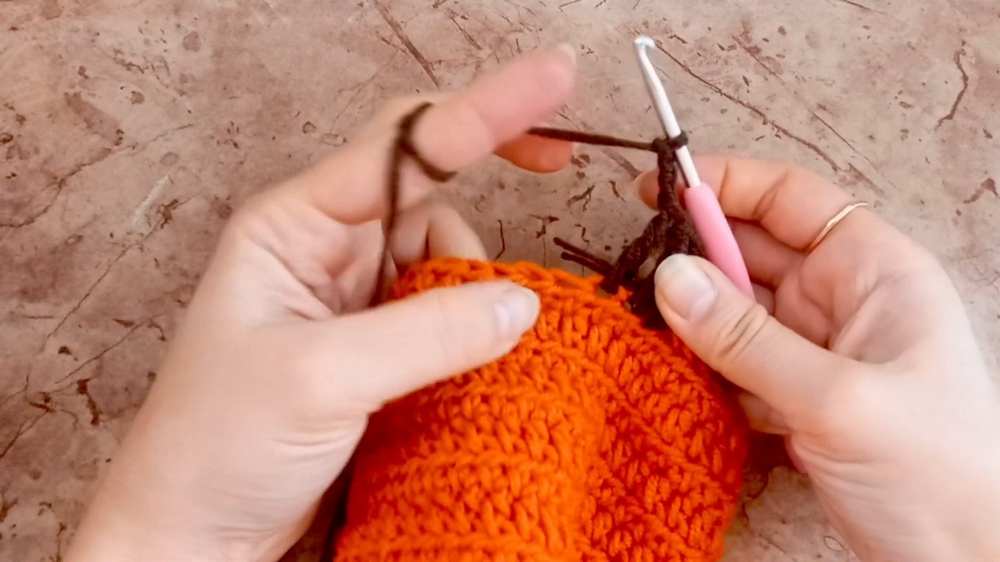
Join Yarn: Attach your green yarn with a slip stitch to the top edge of your sleeve (ideally near the back seam).
Chain up: Chain 5.
Work back down the chain: Slip stitch in the 2nd chain from hook, then work 1 Single Crochet (Sc) in each of the remaining 3 chains.
Attach: Slip stitch back into the edge of the cozy right next to where you started to secure the stem.
Fasten off: Cut yarn, pull through, and weave in your loose green tails securely inside the cozy.
Customizing Your Cozy
Adjusting Size: Standard togo cups taper. If your cozy feels a bit loose at the bottom, you can do a row of single crochet around the bottom edge, occasionally skipping a stitch (a decrease) to make the bottom opening slightly smaller than the top.
Add a Face: Use black yarn or felt to add a spooky Jack-o’-lantern face if you want to transition it from autumn-themed to Halloween-ready!