Author: Talha
I am a crochet designer, macramé maker and a crafter who also loves doing MATH.
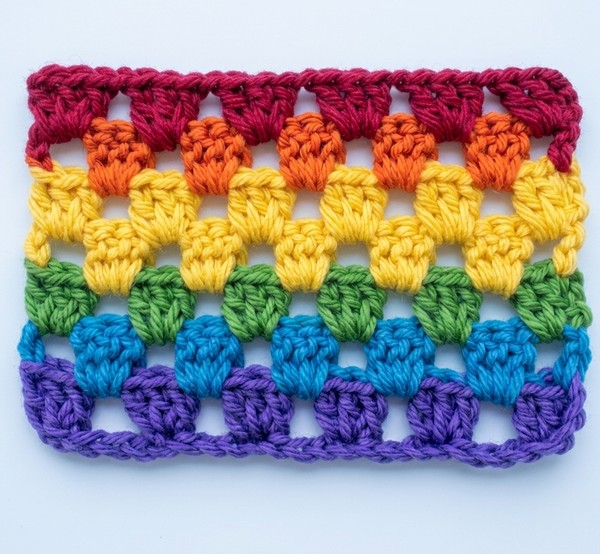
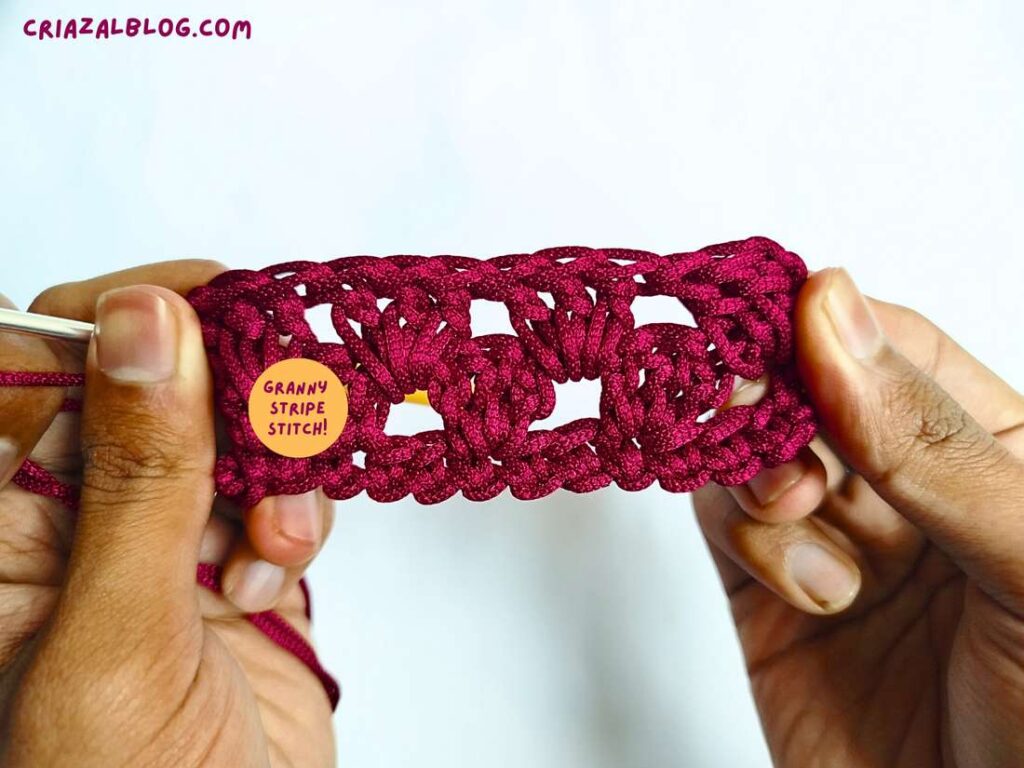
Granny stripe stitch is probably the most popular crochet stitch for blankets and tops. This stitch brings the classic granny square pattern to flat rows using a pretty basic and simple pattern.
In this tutorial, I will show you how to crochet the granny stripe stitch from the foundation row to any number of rows.
You will love this stitch with striped work. I have discussed many of Granny Stripe’s projects in this blog, and they are definitely the most elegant. Learn with a pictorial tutorial with a 5-minute read in this post!
How Granny Stripe Stitch is Worked
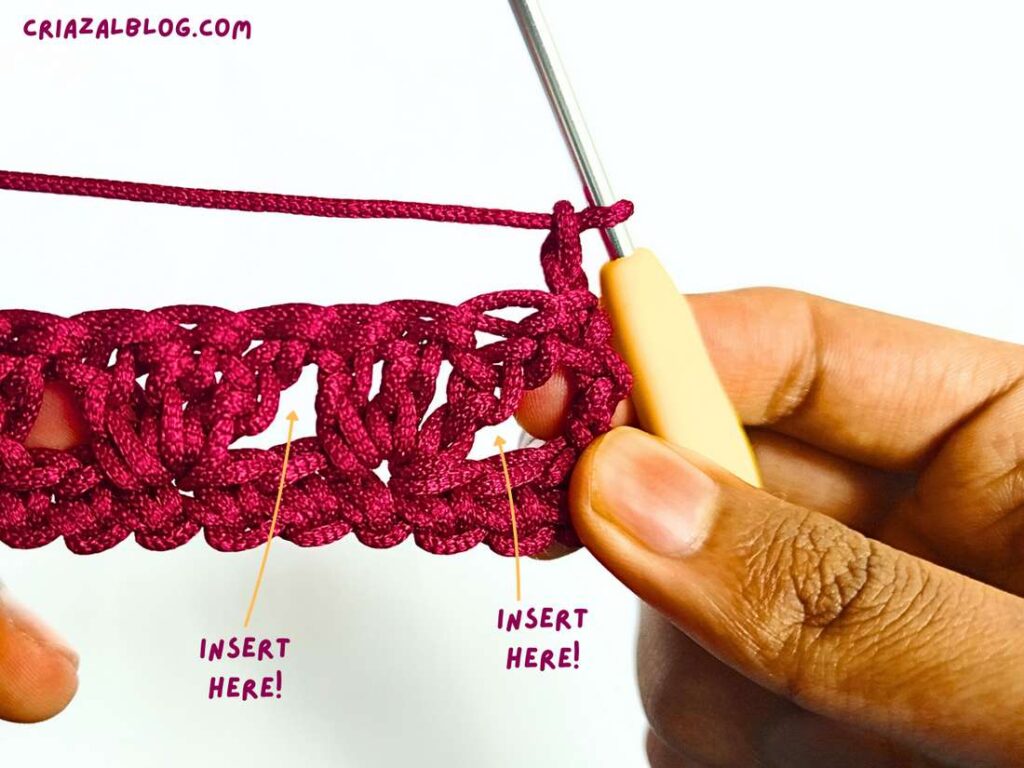
The granny stripe stitch is crocheted by making clusters of 3 double crochet stitches separated by 2 skipped stitches. Once you have worked the first row of the granny stitch, the rest of the stitches are worked by inserting the hook in the space created by skipping the stitches instead of on the top loops of the previous stitches.

It is a two-row repeat that looks neater and even elegant with the foundation single crochet start. You can easily crochet it between the rows of any other stitch, for example, single crochet for blankets.
My experience
To be honest, I have recently crocheted the crochet granny stripe stitch on my own, and I definitely got a bit confused with the pattern for the 4th row. However, since we have to skip stitches after each cluster, and we start with the single crochet foundation, it is a non-messy and one of the easiest stitches to crochet.
Just remember that, unlike the granny square cluster stitch, we work chain-2 space as we are not making the corners.
Crochet Stripe Stitch: Step-by-Step Instructions
Let me provide you with the pattern for all rows to crochet the granny stripe stitch below:
Difficulty: Beginner – Level 3
Stitches Needed: Chain, single crochet, and double crochet.
Stitch Abbreviations
- ch: chain
- sc: single crochet = dc: double crochet in UK terms
- dc: double crochet = tr: treble crochet in UK terms
- sk: skip
- sp: space
Supplies
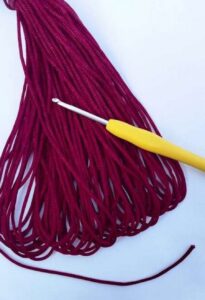
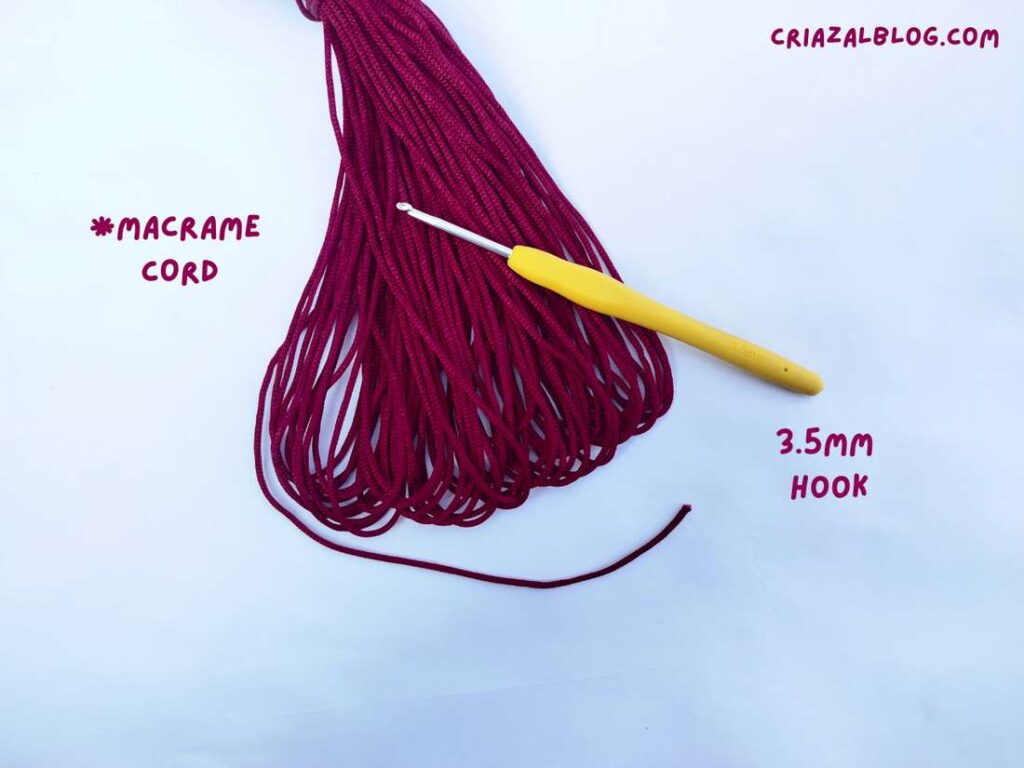
- I am using macrame cord for aesthetic and clearer visibility of the stitches. However, for your crochet projects, I recommend using the standard cotton or acrylic yarn.
- 3.5mm crochet hook. You can use the recommended one on your yarn label.
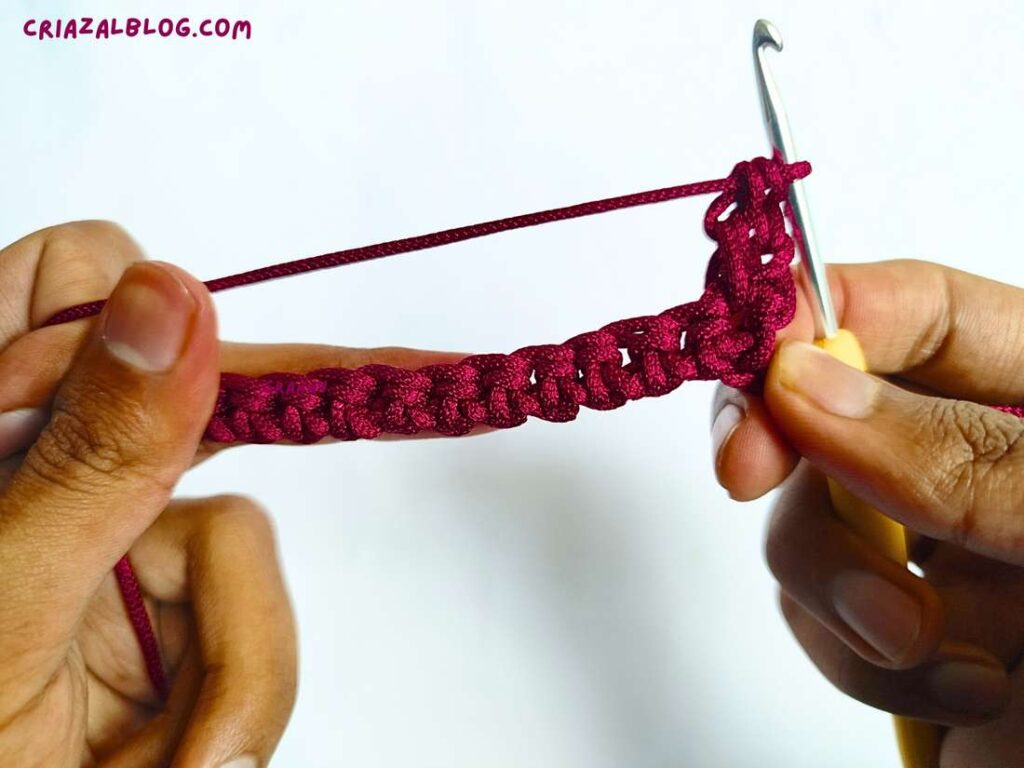
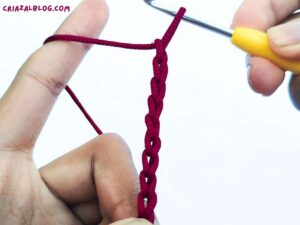
Foundation Row:
Crochet chains in a multiple of 3 + 2. (I started with 14 chains for three granny stitch clusters). You can also use foundation single crochet to begin with.

Row 1
Note: This is also a foundation row if you did not crochet chainless single crochet. The stripe stitch starts from row 2.
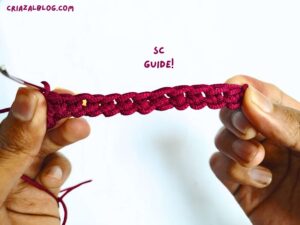
- Make 1 sc in the 2nd chain from the hook.
- Make 1 sc in each chain across. You should end with an even number of stitches.

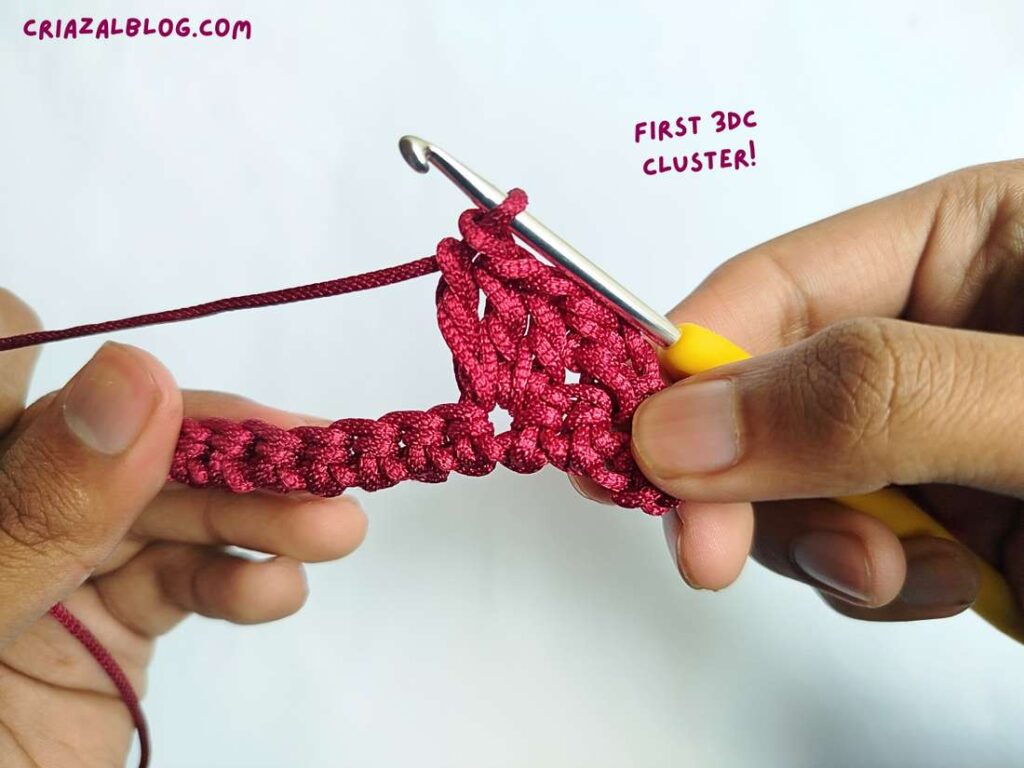
Row 2:
- Ch 2 and turn your work.
- Make 1 dc in the very first stitch. This counts as a double crochet increase.
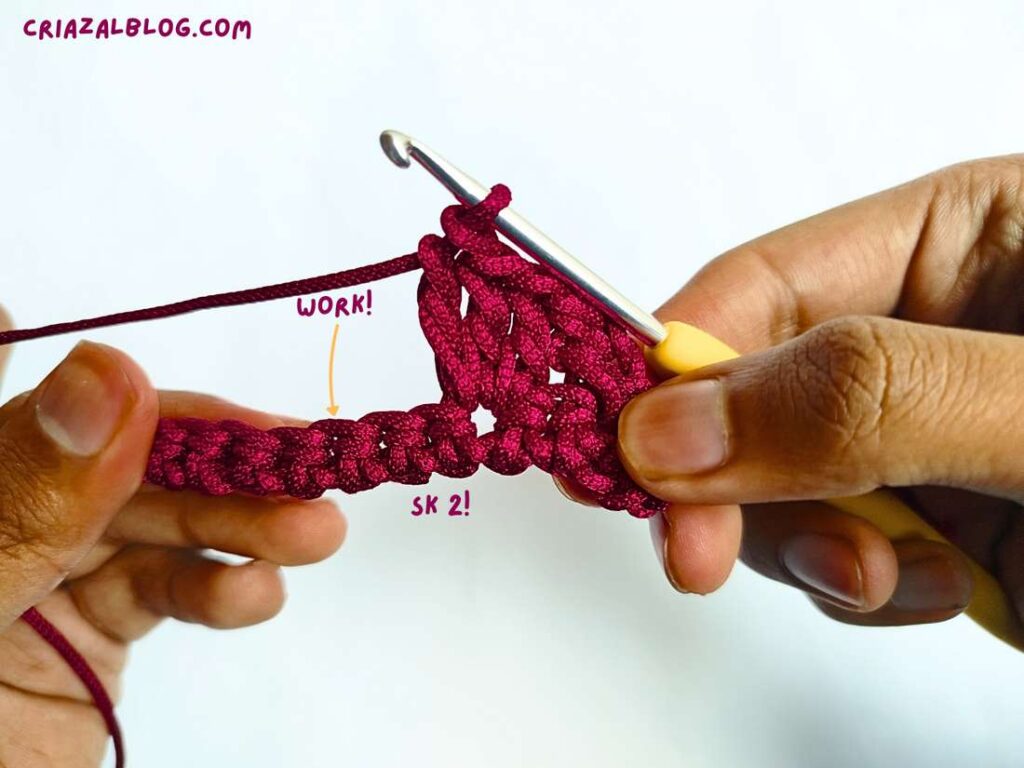
- Skip the next 2 stitches. Make 3 dc into the next stitch. This cluster is called the granny cluster.
- Repeat this pattern: [sk 2, 3 dc in next stitch] across until only 3 stitches remain.
- Sk 2, and make 2 dc in the very last stitch instead of making another granny cluster. This mirrors our pattern on both ends.
Note: You can also make three turning chains!
Row 3:
- Ch 2 and turn.
- Make 3 dc into the first space (that is, the gap between the last 2-dc cluster and the first 3-dc cluster of the previous row).
- Make 3 dc into each space between the clusters all the way across.
- Finish the row by making 1 dc on the top of the turning chain from the row below.
Row 4:
- Ch 2 and turn.
- Make 1 dc in the very first stitch (this will help us bridge the gap so the edge doesn’t lean, as you will notice that there is much distance between the first stitch and the cluster).
- Make 3 dc into each space across until you reach the end.
- Make 2 dc into the last space/turning chain.
How to Continue
For the rest of your project, you will want to repeat Row 3 and Row 4.
- Row 3 starts with a Ch 2 and goes straight into a 3-dc cluster in the first gap. It ends with a single dc.
- Row 4 starts with a Ch 2 and a dc in the same stitch. It ends with 2 dc in the last space.
Tips
- Color Changes: If you want to have the traditional “striped” look, change colors at the end of every row or every two rows. To change color, after the final pull-through of the last double crochet with the new color.
- Gap Placement: Always insert the crochet hook in the large space between clusters rather than into the top of the stitches. This makes the stitch much faster to work.
- Straight Edges: If your sides look wavy, double-check whether you are on a Row 3 or Row 4 repeat. Row 4 requires that extra double crochet at the start.
Was this tutorial helpful? Tell me in the comments
Your feedback is a great way for us to improve my crochet tutorials. So, share your thoughts on whether you tried this one or not, and highlight the weak points.
See More:
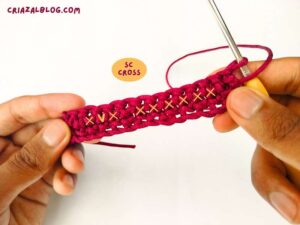
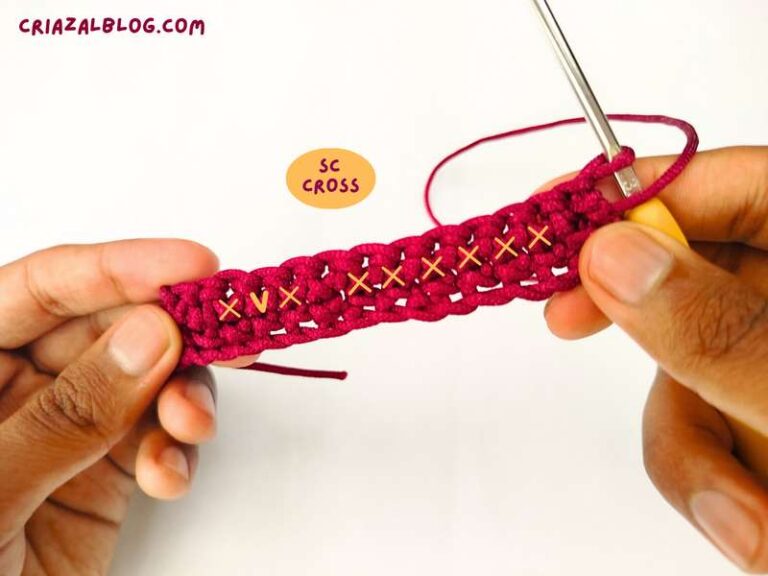
Let’s Make Single Crochet Cross Stitch
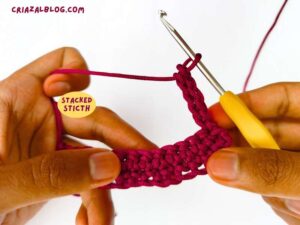
How to Do Stackable SC for Stitch in Crochet (Tutorial for Beginners)
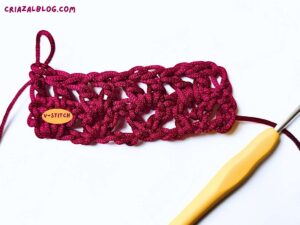
How to Crochet Classic V-Stitch (IDEAL STITCH for Beginners)
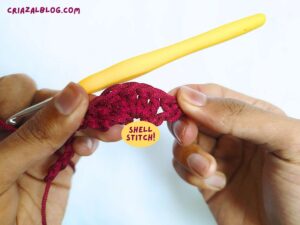
How to Crochet First Variation of Shell Stitch – with Pictures + Written Pattern
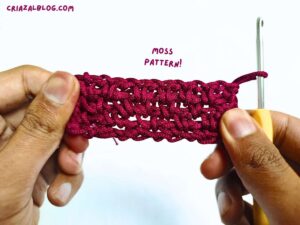
How to Crochet Solid Moss Stitch with Pictures
How to Crochet Yarn Over Single Crochet Stitch (SC)
Guide on The First Crochet Stitch (Masterclass for Beginners)
Wanna Crochet Something Else?