Author: Talha
I am a crochet designer, macramé maker and a crafter who also loves doing MATH.
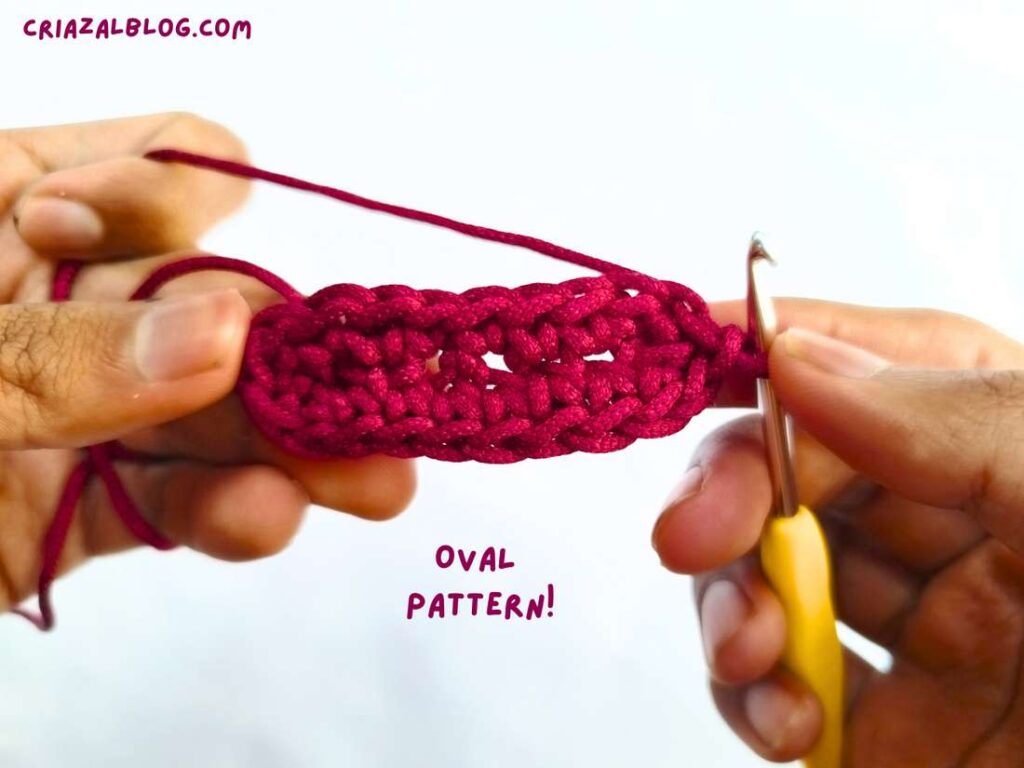
These instructions will show you how to crochet in any number of rounds with the help of an increase formula. After the crochet flat circle, the basic crochet oval is probably the most widely used crochet base. From amigurumi dolls to bags and baskets, you will be required to crochet them in tons of patterns on your way. It is pretty easy to crochet once you understand the structure of the crochet chain stitch.
The pretty awesome thing about this base is that if you start with fewer chains, the oval will be thick and vice versa.
I will also show you the difference between different styles of crocheting the oval base, and highlight the mistakes by making that mistake for you. So, you don’t have to. Let’s learn how to work around crochet chains.
How is the Crochet oval worked?
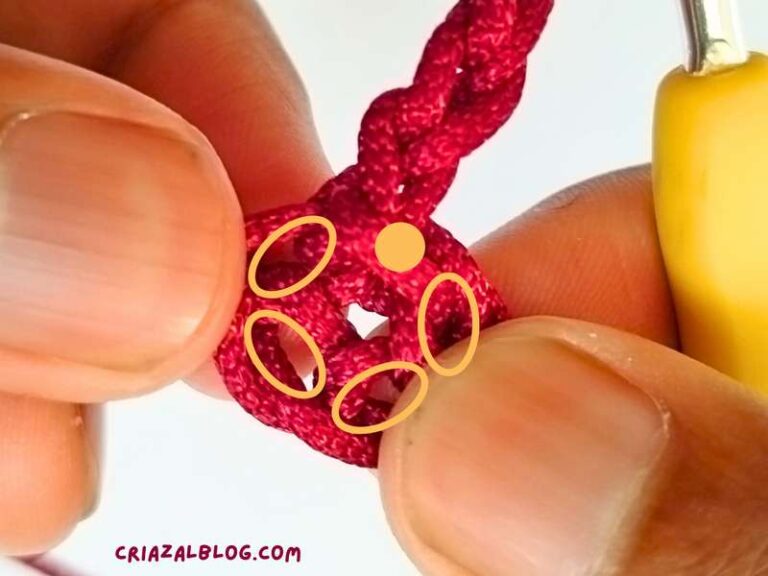
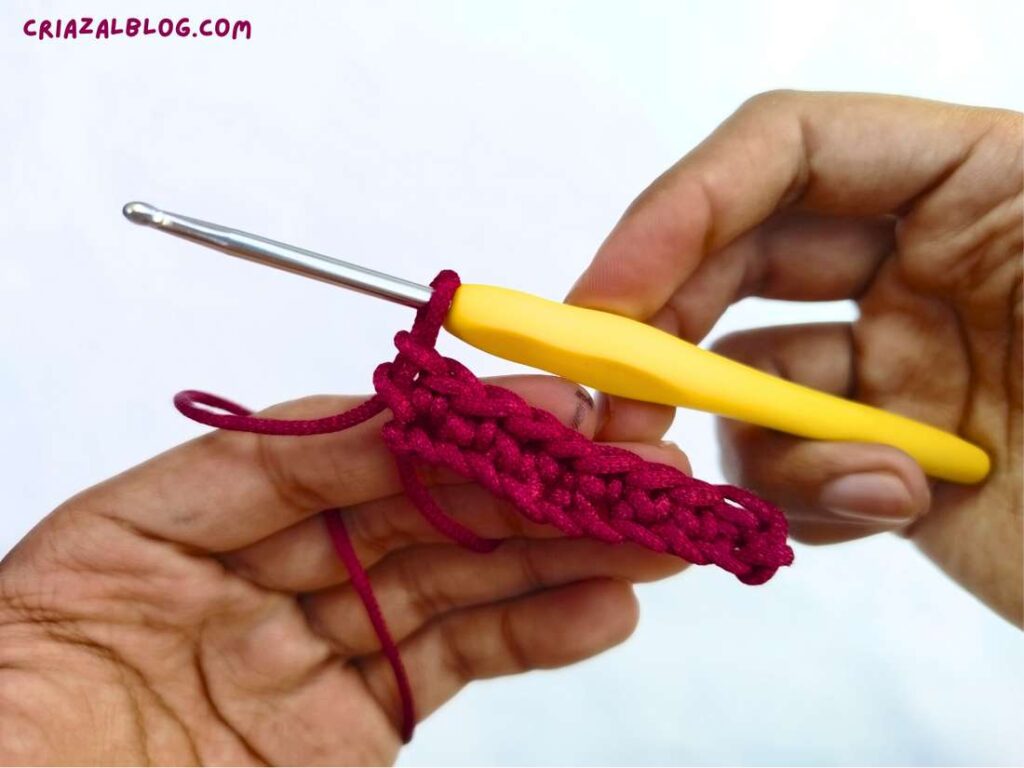
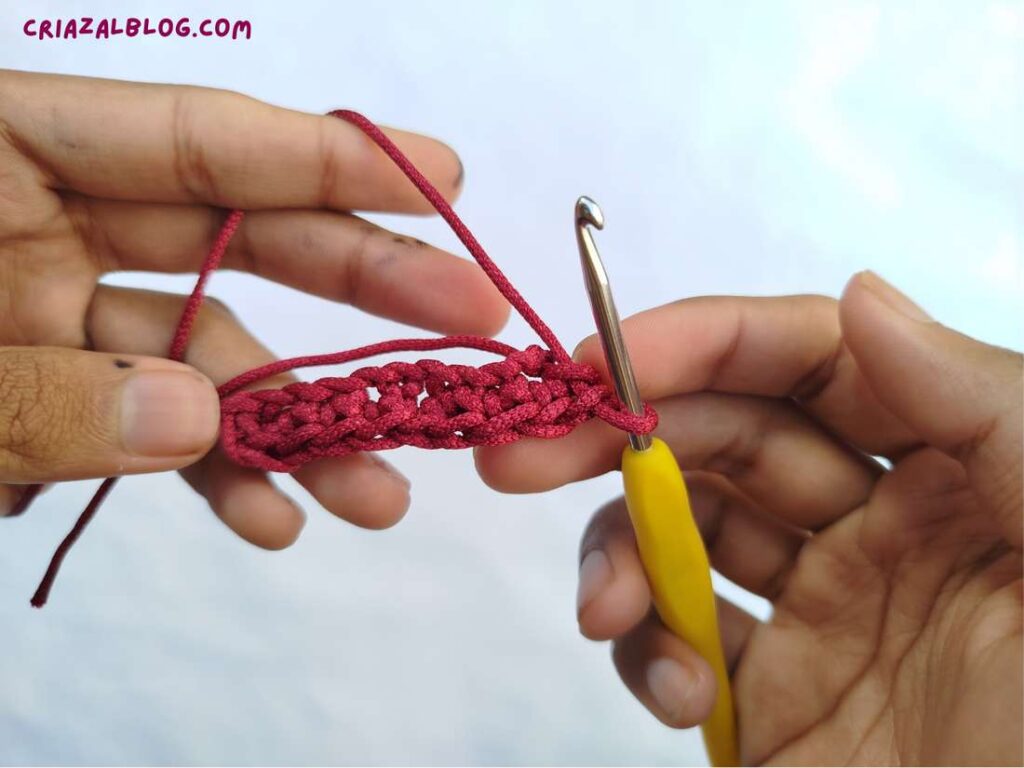
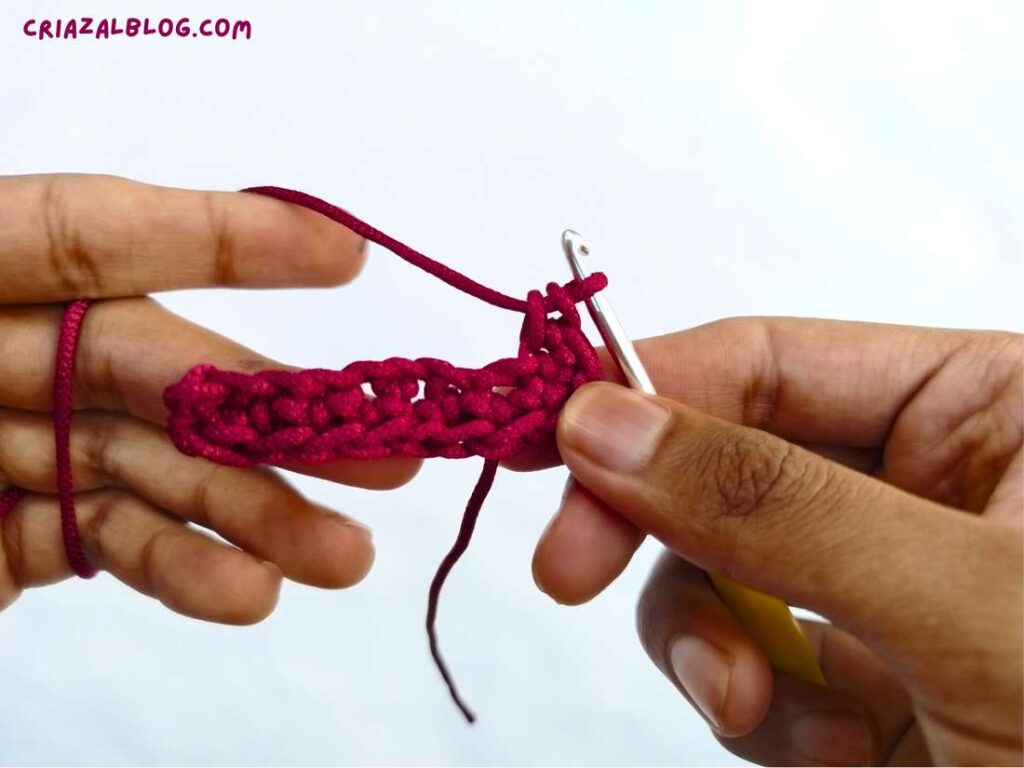
The basic crochet oval is worked around a row of foundation chains by working in top and bottom loops. We work on the sides using single crochet increases just like we are crocheting semi-circles, but the middle top and bottom stitches are worked normally.
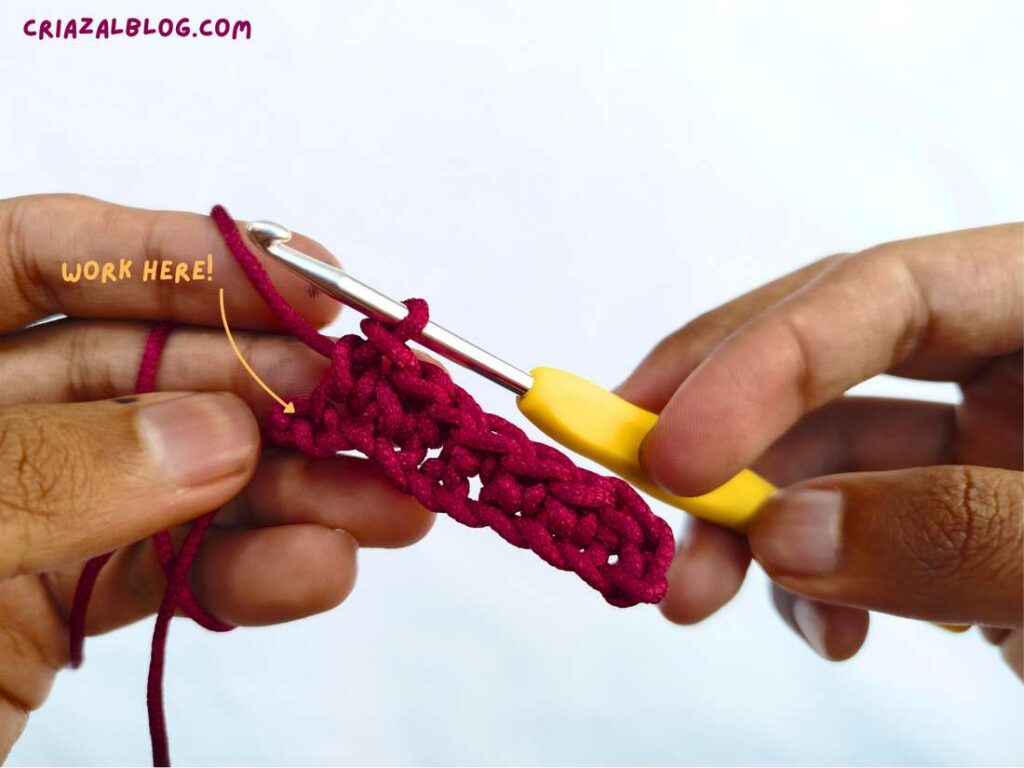
We will also want to not only turn but also rotate the work. There are two styles you can work on this crochet base: the above bottom loop and the back bump, and then through the bottom loops, or work on top loops and then bottom loops.
However, the recommended method is to work using the first style, as it does not cause spaces. Just to show you the opposite, I worked this round using style #2.
When using Crochet Oval
A rule of thumb is to use an oval base whenever you need a solid base that is longer than it is wide. With this general requirement, uses of the oval base in crochet projects are endless:
- Bottom of bags, totes, and pouches, like a popular drawstring pouch.
- Snouts and Muzzles in Amigurumi, such as dog and bear dolls.
- Base for Sliced Fruit Amigurumi, such as watermelon
- Soles of Shoes: If you are making baby booties, slippers, or doll shoes, start with an oval base.
- Pet beds
- Rugs/mats
- Table mat
- Key holders
Crochet Oval: Step-by-Step Instructions
Now, let me share the complete pattern for crocheting a basic oval using US terms:
Abbreviations
- ch = chain
- sc = single crochet = double crochet in UK terms
- inc = increase (2 sc in the same stitch)
- sl st = slip stitch
- st = stitch
Supplies
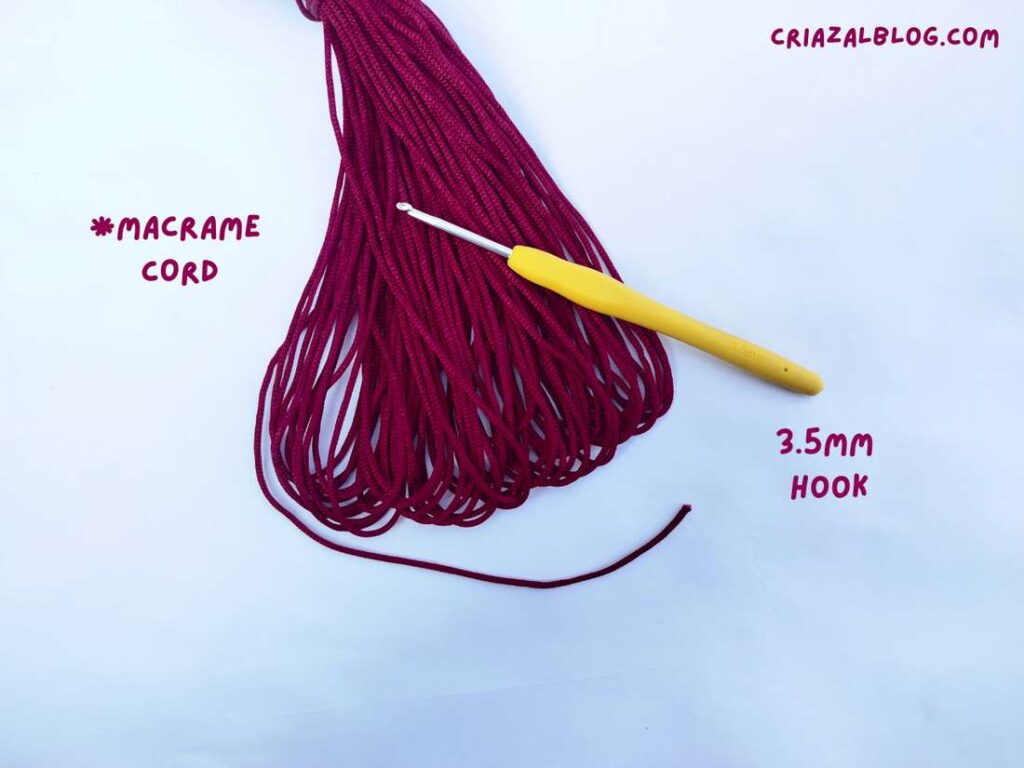
- I am using a 2.3mm macrame cord with a 3.5mm crochet hook for this tutorial. However, if you are a beginner, I recommend starting with a worsted acrylic yarn along with a 4mm crochet hook.
Round 1:
- Attach the slip knot to your crochet hook and make foundation chains in any number. It does not have to be an even or odd multiple. I chained 9.
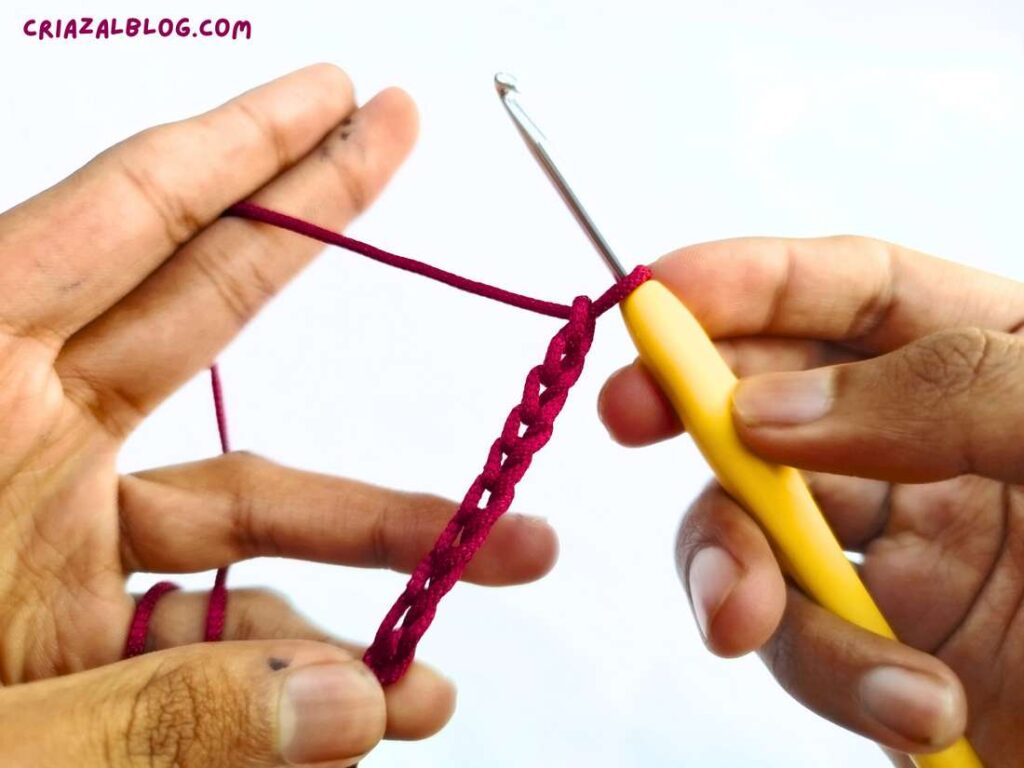
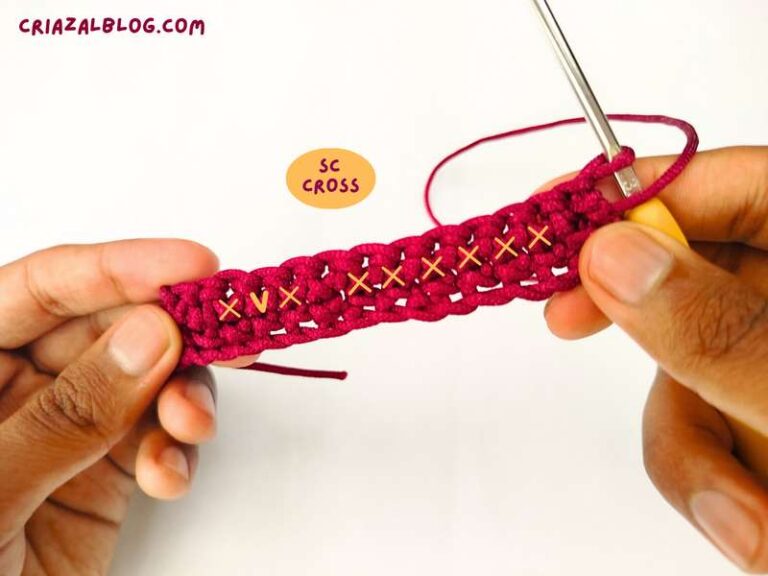
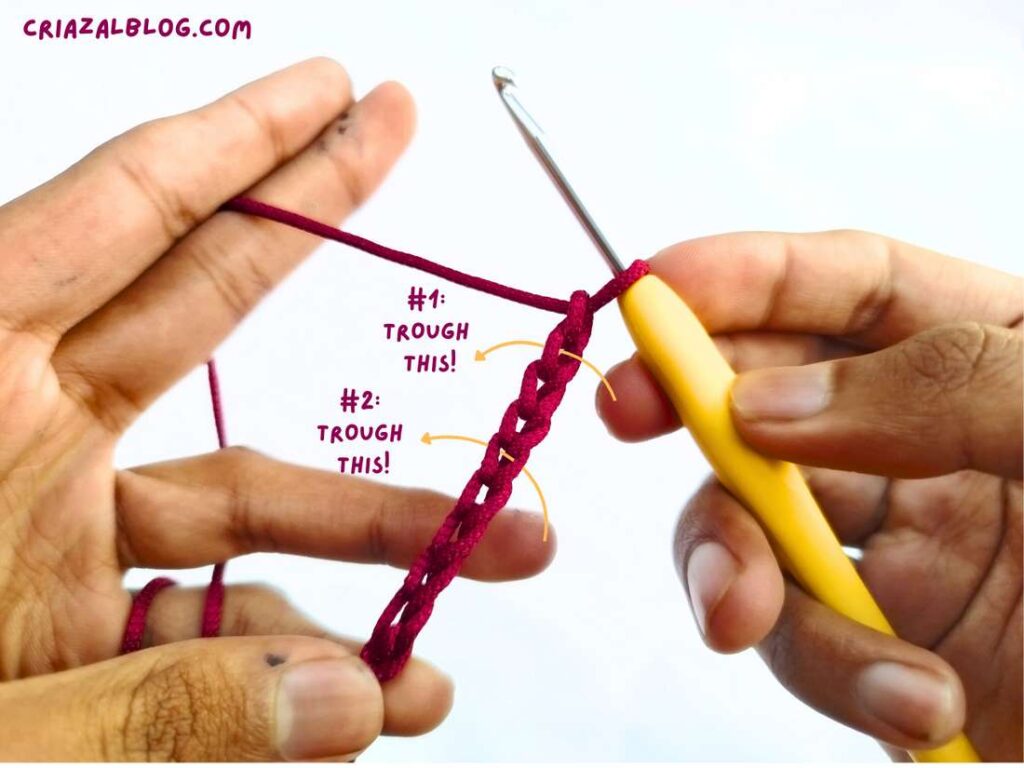
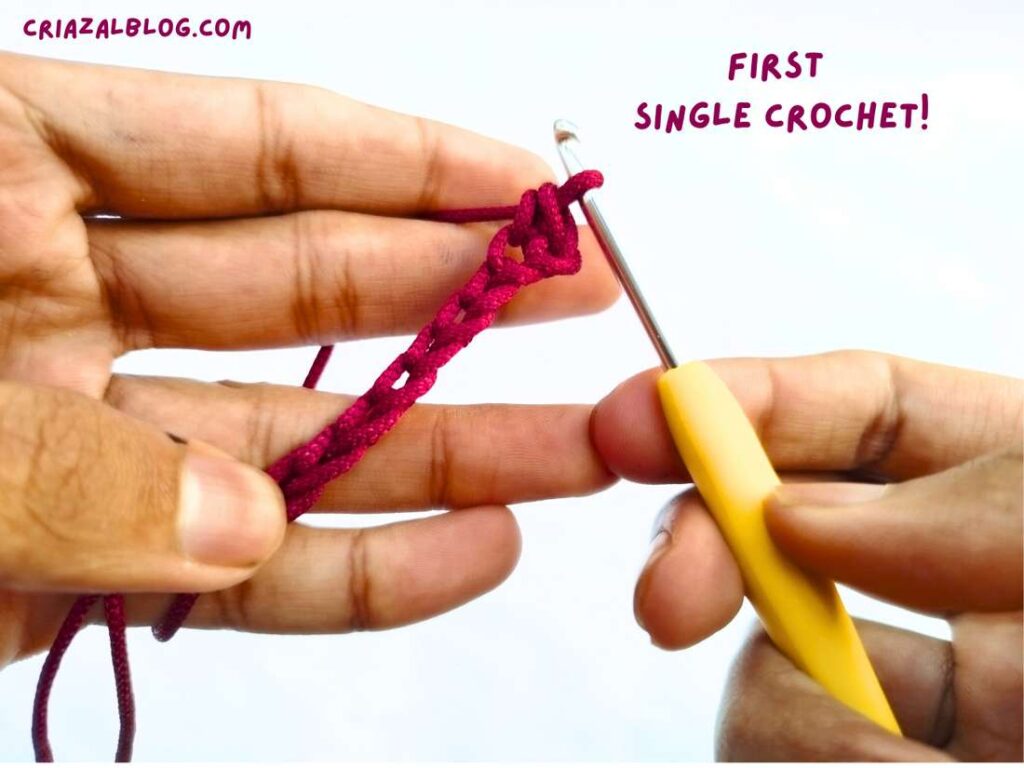
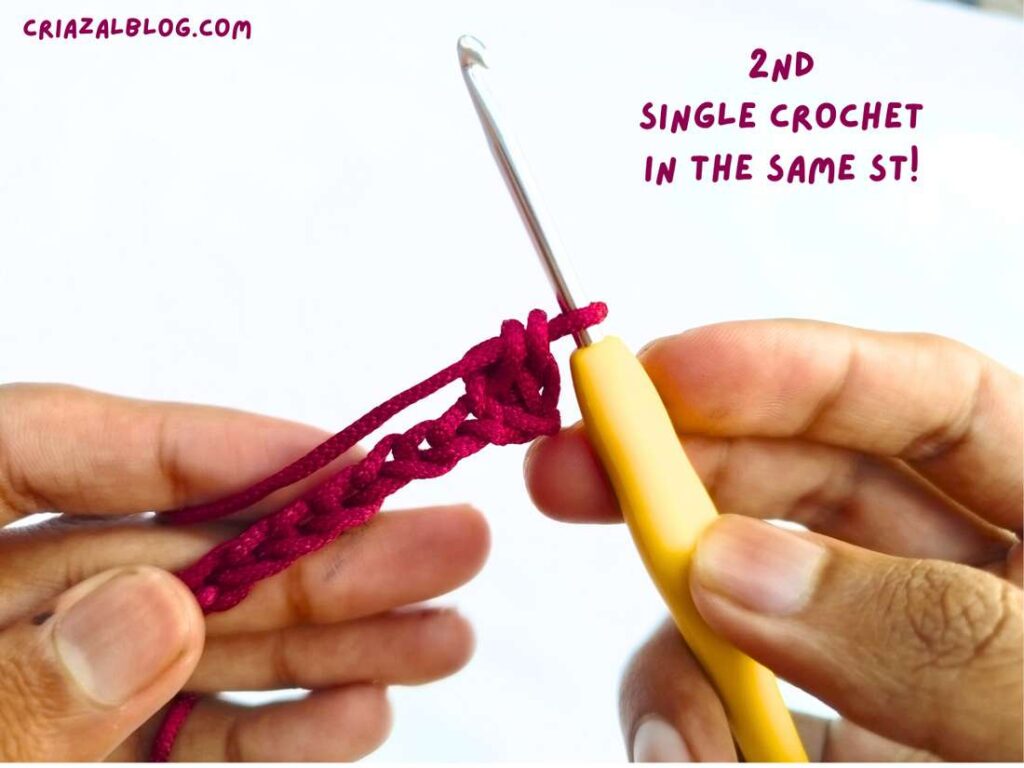
- Side: In the second chain from the crochet hook, work an Increase (2 sc). To avoid having gaps in your crochet oval like mine, especially for amiguurmi, insert the hook under both the top loop and the back bump of the chain.
- Bottom: Work 1 sc in each of the next 6 chains. Be sure to insert the hook under both the top loop and back bump of the chain stitch.
- Side: In the very last chain, Increase (2 sc). This stitch may be a little difficult to insert the hook inside.
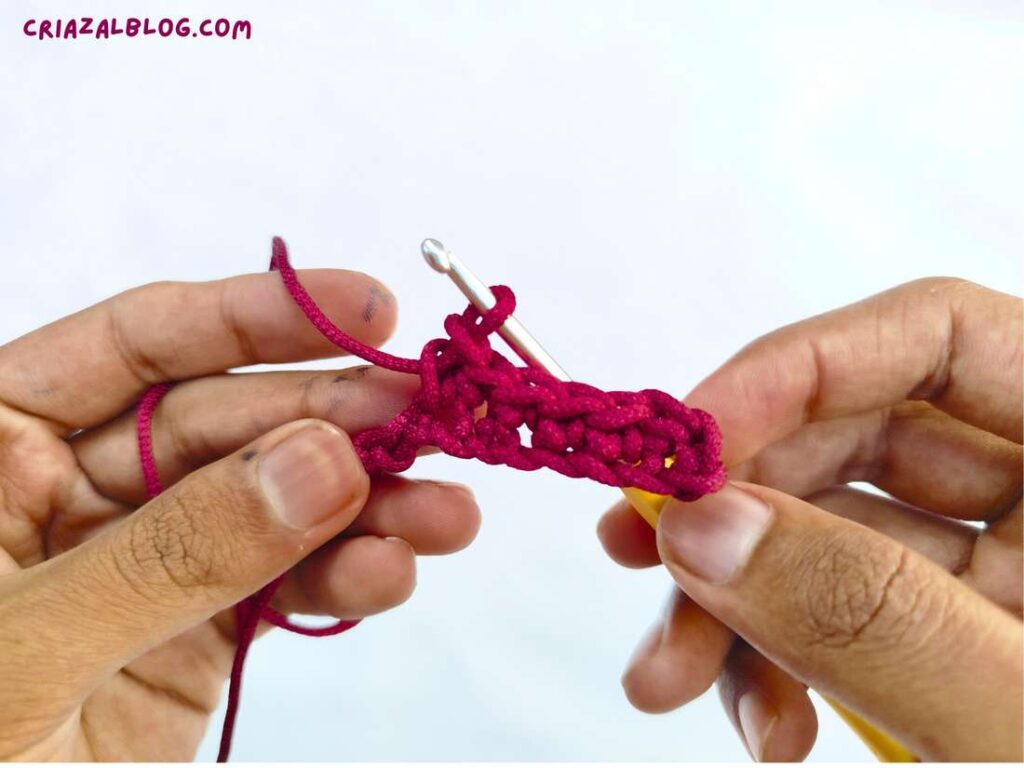
- Round: Turn your work upside down to crochet along the bottom loops of the foundation chain. Work another Increase (2 sc) into the bottom of that same last chain. (This makes a total of 4 stitches on that side).
- Top: Work 1 sc in each of the next 6 spaces along the bottom of the chain.
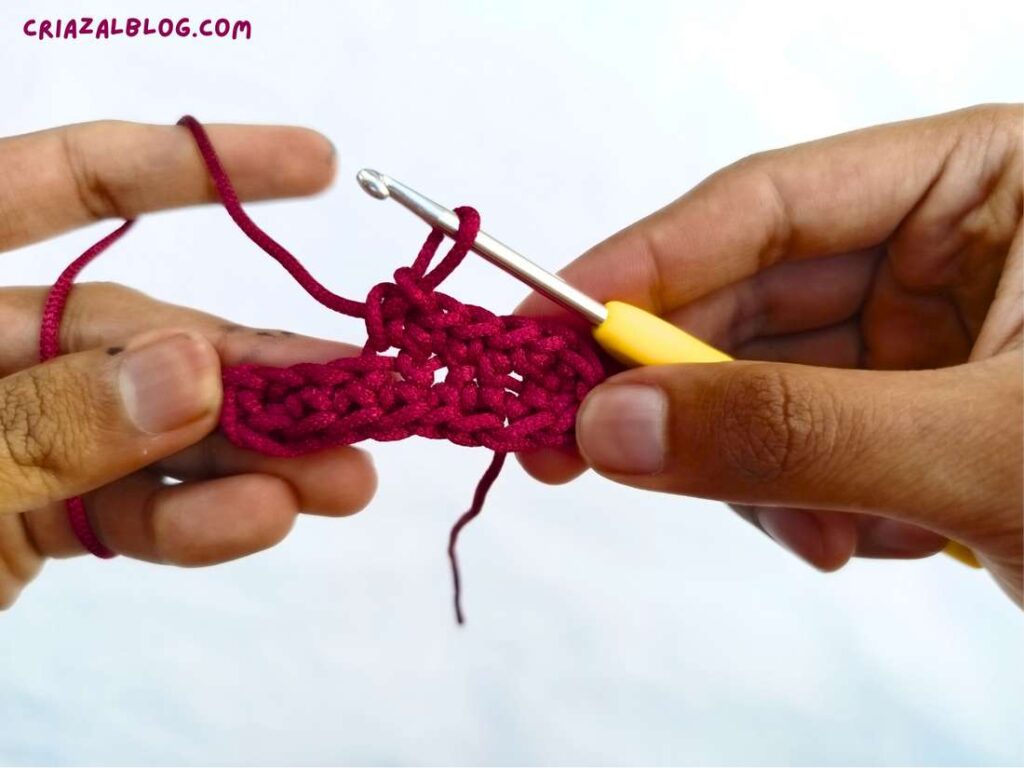
- Finish Round: Work an Increase (2 sc) in the final stitch.
Total Stitch: 20
Round 2:
- Start: Work 2 Increases in the first two stitches.
- First Side: Work 6 sc across.
- The Side: Work 4 Increases (one in each of the 4 stitches that formed the previous curve).
- Second Side: Work 6 sc across.
- Finish Round: Work 2 Increases in the last two stitches.
Total Stitch Count: 28
Round Formula
If you want to continue the oval rounds while keeping it flat, follow the standard increase formula for crochet rounds, but only apply use for the sides. That is, you will work the top and bottom sides with one single crochet in each stitch. Here are example patterns:
- Round 3: (1 sc, 1 inc) repeated twice, 6 sc across, (1 sc, 1 inc) repeated four times around the sides, 6 sc across, (1 sc, 1 inc) repeated twice to finish.
- Round 4: (2 sc, 1 inc) repeated twice, 6 sc across, (2 sc, 1 inc) repeated four times around the sides, 6 sc across, (2 sc, 1 inc) repeated twice to finish.
Was this tutorial helpful? Tell me in the comments
Your feedback is a great way for us to improve my crochet tutorials. So, share your thoughts on whether you tried this one or not, and highlight the weak points.