Show support for Marifairyland!
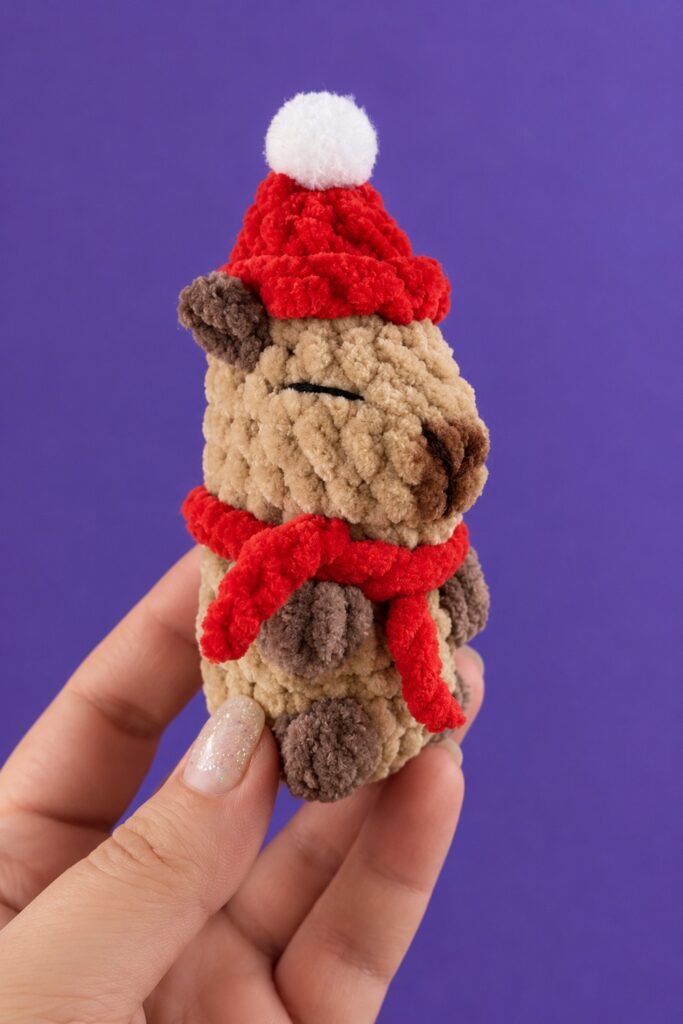
This is part 2 of crocheting your favorite crochet animal plushies dressed in Christmas accessories! Introducing the 25-minute, no-sew crochet winter capybara in a Santa hat and scarf plushie that you can learn to crochet with both a tutorial and a pattern! This adorable amigurumi is crocheted with super-soft plush chenille yarn and stands about 10 cm (4 inches) tall, including its festive hat and pompom.
Designed almost entirely seamlessly (no-sew), all four paws and tiny ears are crocheted directly into the body as you work, while the Santa hat continues straight from the top of the head.
Finished with sleepy embroidered eyes, a shaded snout, and a mini plush scarf, it makes a charming Christmas tree ornament, backpack charm, or festive gift. Now, continue reading for learning more about this UNIQUE crochet plush Santa capybara buddy!
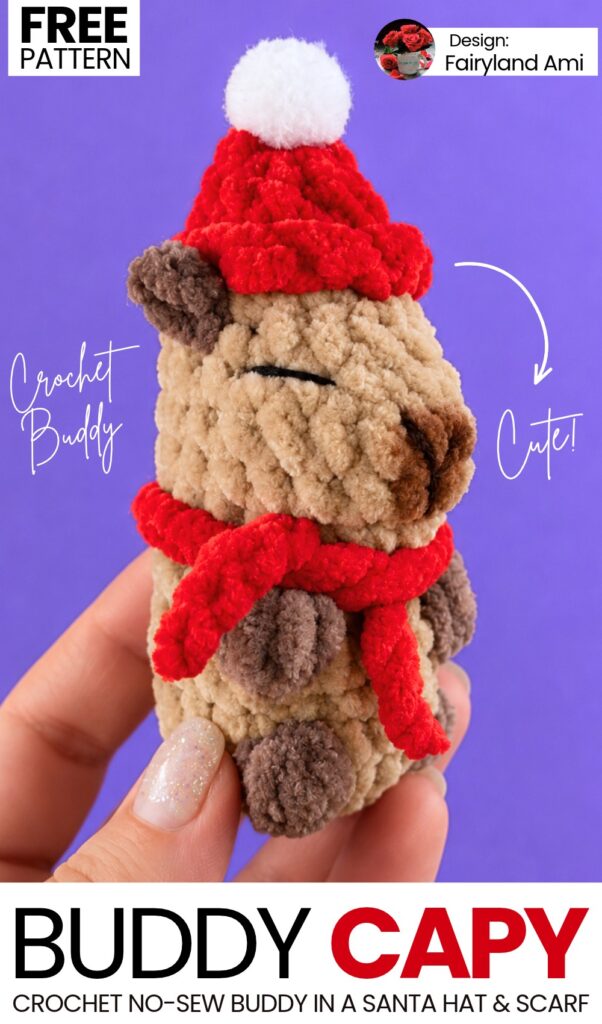
Pattern to Crochet the Plush Miniature Buddy Capybara in a Scarf
Skill Level: Beginner – Level 4
Materials & Tools
Plush / Chenille Super Bulky Yarn (e.g., YarnArt Dolce or Himalaya Dolphin Baby, 100g / 120m):
Main Body: Beige / Camel
Paws & Ears: Medium Brown
Hat & Scarf: Red (or Teal/Mint)
Hat Brim & Pompom: White
Crochet Hook: 4.5 mm
Embroidery Thread / Yarn: Black (for eyes and nose)
Stuffing: Polyester fiberfill (hollofiber)
Notions: Tapestry needle, scissors, stitch marker, tweezers (for stuffing), lighter (to singe plush yarn ends of the scarf)
Cosmetics: Dark brown eyeshadow or dry pastel chalk with a small makeup/blending brush (for tinting the snout)
Optional: Keychain ring with jump ring
Stitch Abbreviations (US Terms)
MR: Magic Ring (or Ch 2 method)
ch: Chain stitch
sl st: Slip stitch
sc: Single crochet
inc: Increase (2 sc in the same stitch)
dec: Decrease (sc 2 stitches together)
BLO: Back loop only
FLO: Front loop only
st(s): Stitch(es)
Are you a Beginner? Learn Crocheting Easily!
You can learn to crochet better with this crochet miniature buddy no-sew capybara plushie tutorial for beginners:
Special Stitches
Paw Bobble (4-dc Cluster):
[Yarn over, insert hook into stitch, yarn over, pull up a loop, yarn over, draw through 2 loops] 4 times in the same stitch (5 loops on hook). Yarn over and draw through all 5 loops. Work a ch 1 to close the bobble.Pompom Bobble (3-dc Cluster):
[Yarn over, insert hook into stitch, yarn over, pull up a loop, yarn over, draw through 2 loops] 3 times in the same stitch (4 loops on hook). Yarn over and draw through all 4 loops, then ch 1 to close.Color Change: When switching colors on a single crochet, work the stitch until 2 loops remain on your hook, then yarn over with the new color and pull through to finish the stitch.
Capybara Body & Head
Start with Beige yarn and 4.5 mm hook. Work in continuous spiral rounds; use a stitch marker.
Round 1: Ch 2, work 8 sc into the 2nd chain from hook. [8]
Round 2: 8 inc (2 sc in each st around). [16]
Round 3 (Hind Legs):
4 sc in Beige (change to Brown on the 4th st).
In the 5th st, work 1 Paw Bobble in Brown (4-dc cluster, change to Beige with ch 1).
4 sc in Beige (change to Brown on the 4th st).
In the next st, work 1 Paw Bobble in Brown (4-dc cluster, change to Beige with ch 1).
5 sc in Beige to end of round. [16]
(Push paws out toward the right side).
Rounds 4–5 (2 rounds): 1 sc in each of the 16 sts around (working into the sc sts and the ch-1 tops of the paw clusters). [16 sts per round]
Round 6 (Front Paws):
5 sc in Beige (change to Brown on the 5th st).
In the 6th st, work 1 Paw Bobble in Brown (4-dc cluster, change to Beige with ch 1).
3 sc in Beige (change to Brown on the 3rd st).
In the next st, work 1 Paw Bobble in Brown (4-dc cluster, change to Beige with ch 1).
4 sc in Beige to end of round. [16]
Round 7 (Body Decreases):
6 sc, 3 dec consecutively across the chest, 4 sc. [13]
Round 8 (Head Increases):
6 sc, 3 inc consecutively, 4 sc. [16]
Round 9 (Muzzle Shaping):
9 sc, 2 inc consecutively, 5 sc. [18]
Rounds 10–11 (2 rounds): 1 sc in each of the 18 sts around. [18 sts per round]
Lightly stuff the bottom of the body with fiberfill.Round 12: 10 sc, 2 dec, 4 sc. [16]
Round 13 (Ears):
5 sc in Beige (change to Brown on the 5th st).
In the 6th st, work: 1 sc in Brown, ch 4, sl st in the 4th ch from hook, sl st back into the base of the stitch (change back to Beige on the sl st).
7 sc in Beige (change to Brown on the 7th st).
In the next st, work: 1 sc in Brown, ch 4, sl st in the 4th ch from hook, sl st back into the base of the stitch (change back to Beige on the sl st).
Cut Brown yarn. Work 1 sc in Beige in the last st. [16]
Round 14: 1 sc, 2 dec, 3 sc, 4 dec. [10]
Firmly stuff the body and head with fiberfill using tweezers. Cut Beige yarn.
Santa Hat
Attach Red yarn into the last loop of Round 14.
Round 15: In BLO (Back Loop Only), work 10 sc around in Red. [10]
(Keep the front loops exposed; they will form the base for the white brim).Round 16: In both loops, work 10 sc around in Red. [10]
Round 17: 5 dec around. [5]
Fasten off Red yarn, leaving an 8 cm tail. Lightly pad the red hat cone with a tiny bit of fiberfill. Using a tapestry needle, weave the tail through the front loops of all 5 stitches, pull tightly to cinch the top closed, secure with a small knot, and bury the yarn inside the head.
White Hat Brim
Turn the capybara upside down so the top of the hat faces you.
Join White plush yarn to the first exposed front loop of Round 14 at the back of the head.
Ch 1, 1 sc in the same loop.
Work (1 sc, inc) × 5 times loosely around the 10 front loops. [15 sc]
Sl st to the first sc to join. Fasten off and weave both white ends securely into the head.
Crocheted Pompom
Insert your 4.5 mm hook directly into the top center tip of the red Santa hat.
Pull up a loop of White plush yarn and ch 1.
Into the same top spot, work 1 Pompom Bobble (3-dc cluster + ch 1).
Sl st back into the exact same center spot of the hat to anchor the pompom.
Fasten off, pull the tail inside the hat with a needle, knot, and trim excess.
Face Details & Tinting
Nose & Mouth:
Thread black thread double onto a needle.
Between rounds 8 and 10 in the front center of the face, embroider a vertical line about 2 stitches tall. Repeat twice to make it prominent.
Add a small horizontal stitch at the very top of the vertical line to form a “T” shape.
Sleepy Eyes:
Count 1 stitch outward from the nose on each side.
Embroider a sleepy, slightly downward-angled horizontal line across 2 stitches. Go over it twice for definition.
Tie off both thread tails together at the base or back, trim, and poke the knot into the head.
Shading (Snout Tinting):
Dip a small makeup or blending brush into dark brown eyeshadow or powdered pastel.
Tap off excess on the back of your hand.
Gently brush the color along the center of the snout and around the nose line to create the characteristic capybara facial shading.
Plush Scarf
Use 4.5 mm hook and Red plush yarn.
Leave a short tail and chain 30.
Fasten off and pull the loop tightly.
Trim both tails to about 1 cm (0.4 in).
Gently strip the plush fluff off the exposed core thread, then briefly touch the thread with a lighter flame to melt and seal the ends so they won’t unravel.
Wrap the scarf neatly around the capybara’s neck (right under the chin) and tie a single side knot.
(Optional) Attach a jump ring and keychain clasp between the ears or at the base of the hat to turn your capybara into a cute bag charm!
See More:
How to Crochet Plush No-Sew Buddy Slouchy Hat White Bear Plushie for Gifting
Featuring: How to Crochet No-Sew Buddy Scarf-Wearing Buddy Reindeer Plush
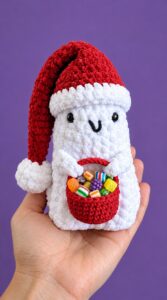
How to Crochet Christmas Ghost Buddy Holding A Treat Basket Plushie
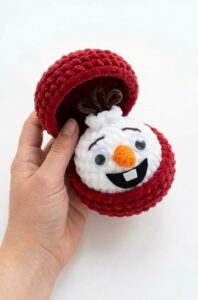
Tester Call: To Crochet Winter Olaf Buddy Round Food in A Box Plushie
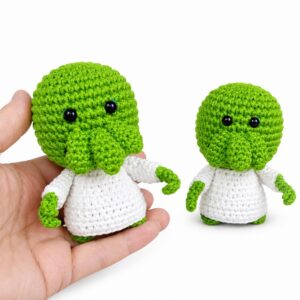
How to Crochet Green & Out-of-This-World Monster Amigurumi Character Buddy for Gifting
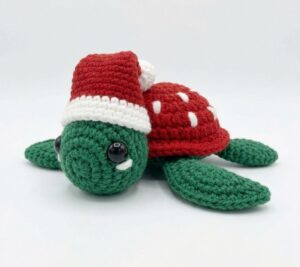
Tester Call: How to Crochet Amigurumi Buddy Slouchy Santa Hat Turtle Gift
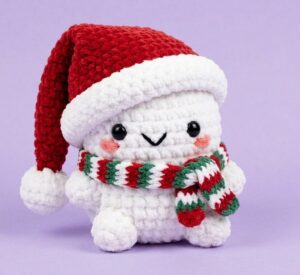
Tester Pattern: How to Crochet Custom White Dressed Winter Buddy Plushie Gift
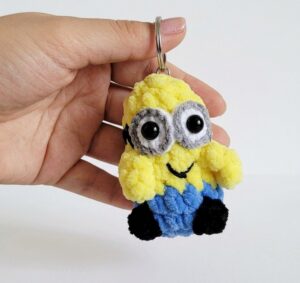
Featuring: Crochet Goggle-Wearing Yellow, Blue and Black Buddy Character Plushie for Gifting
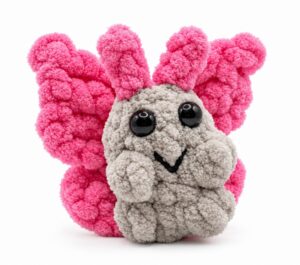
Featuring: How to Crochet the FASTEST No-Sew Butterfly BUDDY Plushie for Gifting