Show support for Gulnara!
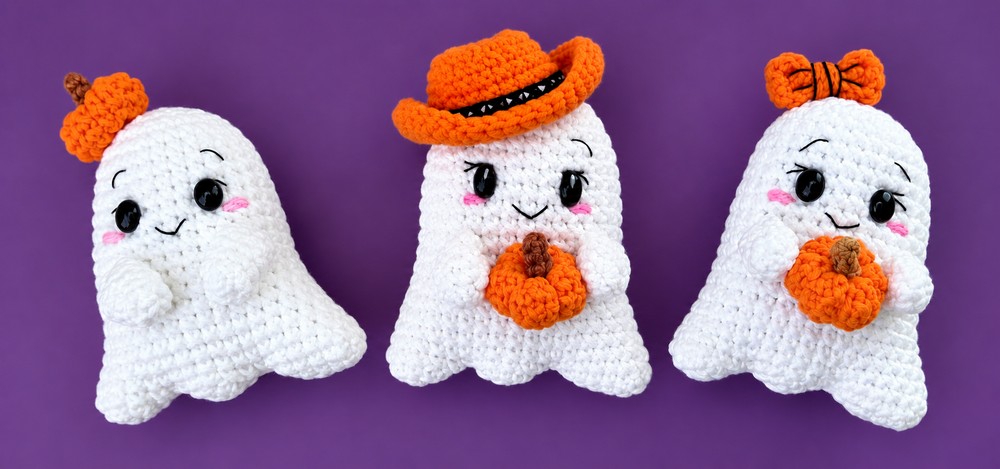
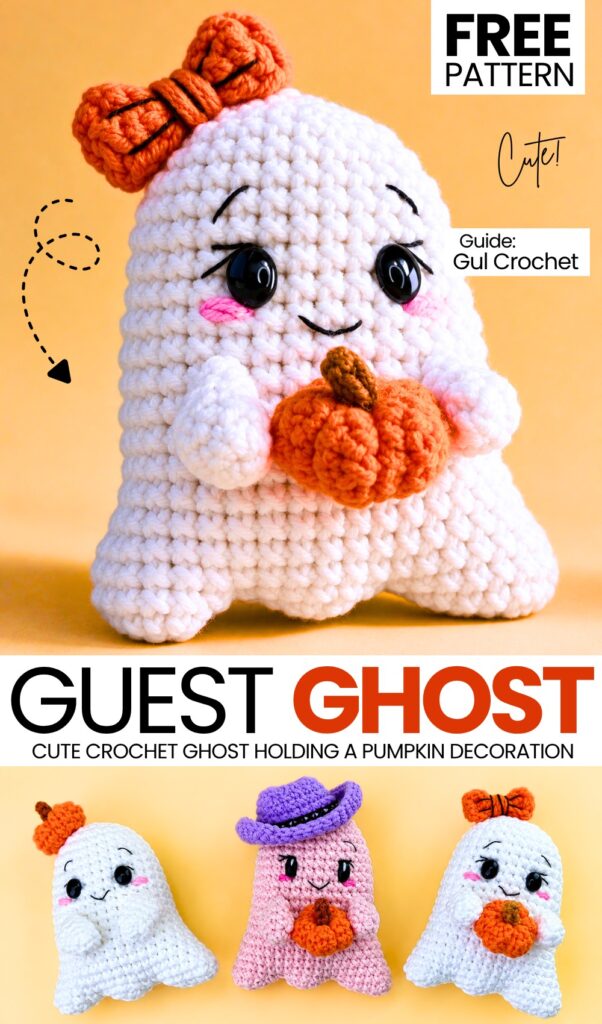
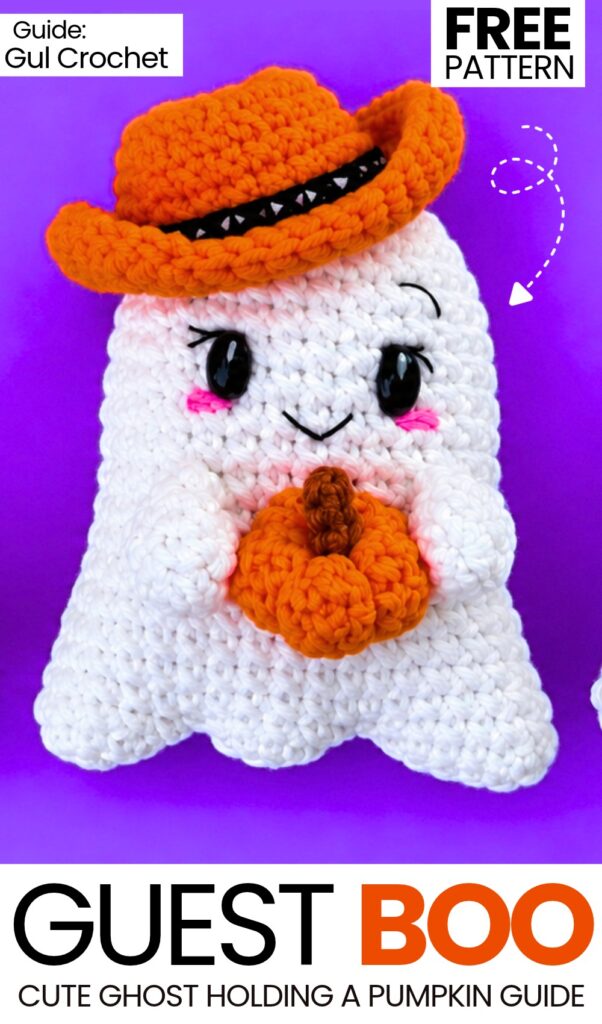
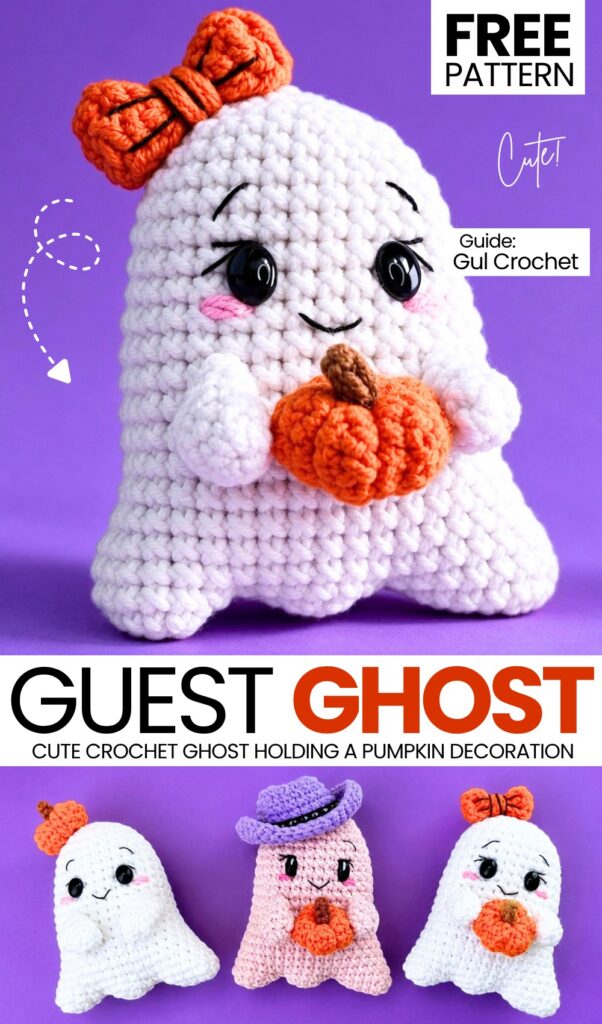
While the crochet bow-wearing ghost BUDDY with a bow and pumpkin basket was SIMPLY adorable, today’s crochet amigurumi GHOST is the CUTEST! Introducing the crochet guest-welcoming, smiling BOO ghost holding a pumpkin amigurumi, with two accessory options. It makes a spooky-cute decoration and can also be crocheted as a LOVE present for Valentine’s Day, just like the heart-holding buddy ghost.
This time, we’ll use oval eyes and embroider the cute girl’s eyelashes, eyebrows, and blush.
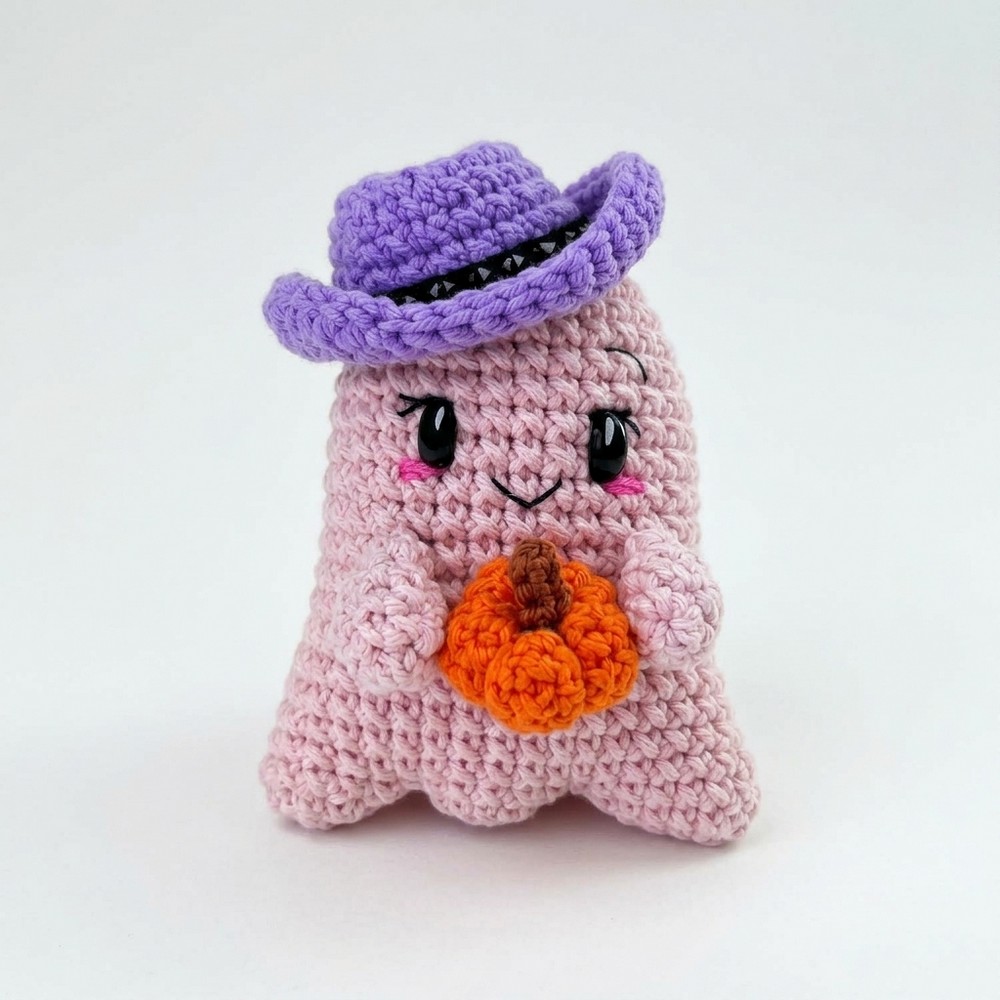
You can also learn how to crochet a CUTE little bucket hat if you are looking to crochet a boy ghost version. Can be crocheted in less than 30 minutes. Now, continue reading for learning more about this crochet pumpkin-holding ghost project for all skill levels. Now, continue reading for learning more about this little crochet stuffed ghost pattern!
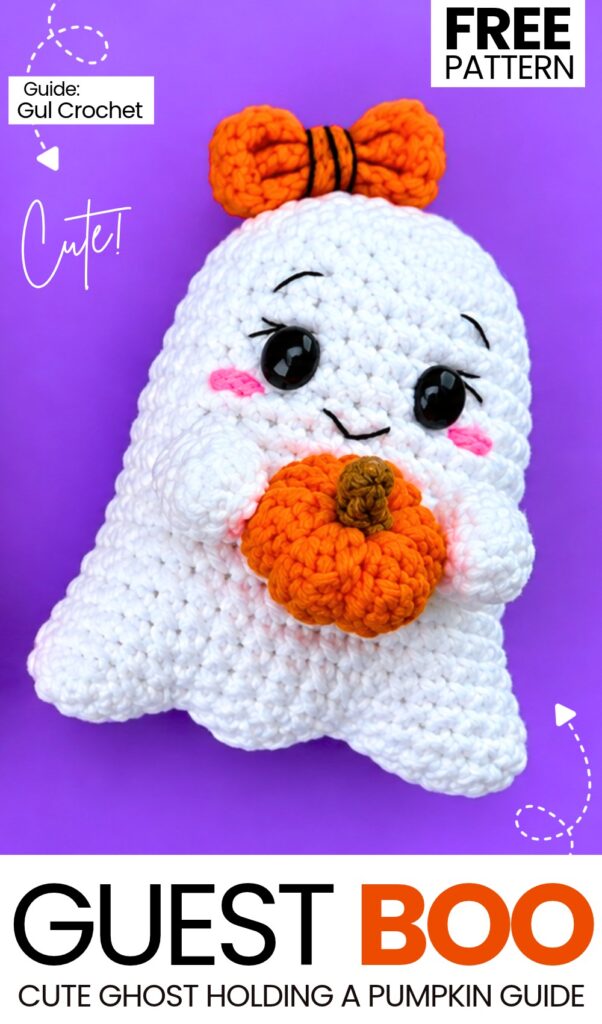
Pattern to Crochet the CUTEST BOO Ghost Amigurumi for Halloween Decorations
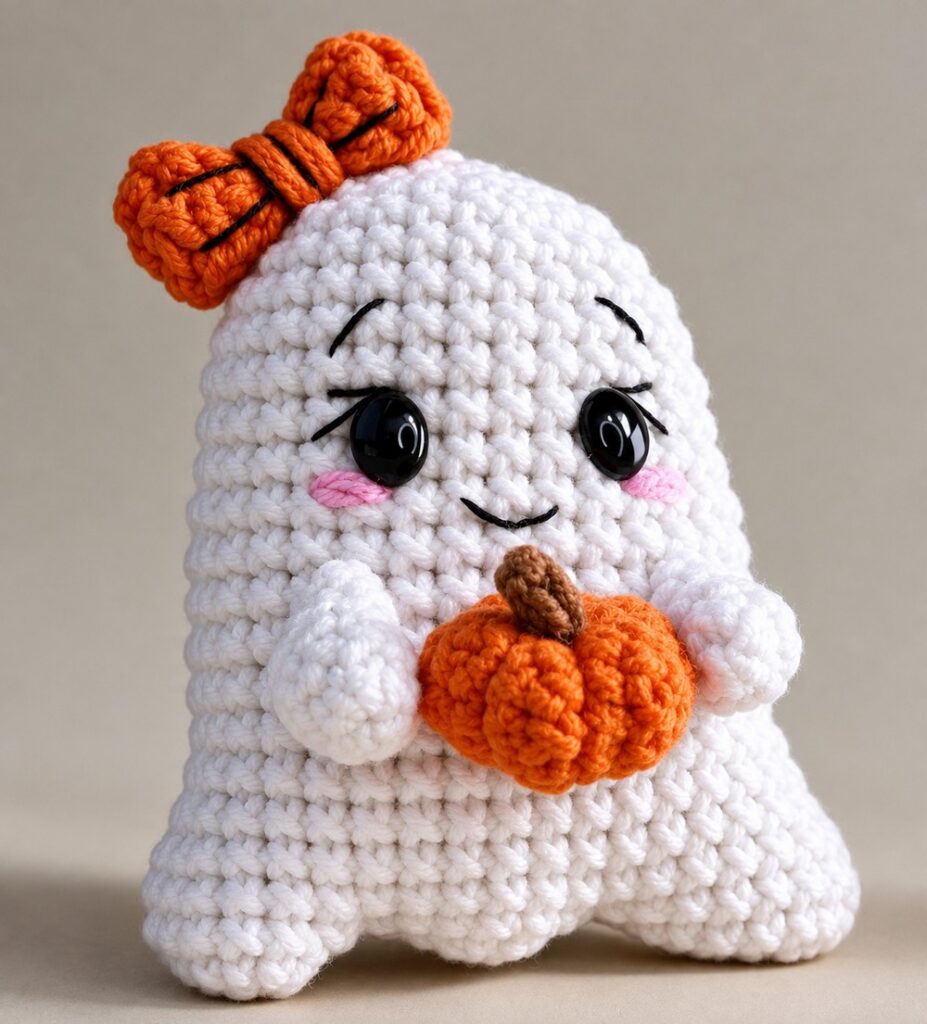
This project is a small crochet ghost for fall and Halloween. You make the ghost from the bottom to the top. The bottom starts with three flat pieces that you join together in one round to make the wavy ghost shape.
Then you crochet up the body in rounds, place safety eyes, add stuffing, and close the head. Next, you make two small arms and sew them to the sides. You also make a tiny pumpkin with indented sections and a small stem, plus a small bow. You can sew or glue the pumpkin in the ghost’s hands or on its head.
Materials
Yarn: Cotton blend yarn (50 g / 160 m) in:
White (ghost body and arms)
Orange (pumpkin and bow)
Brown (pumpkin stem)
Black (facial embroidery)
Pink (cheeks)
Crochet Hook: 2.0 mm – 2.5 mm
Safety Eyes: 9 mm oval safety eyes (round eyes or embroidered eyes can also be used)
Stuffing: Fiberfill
Notions:
Yarn needle
Scissors
Stitch marker
Abbreviations (US Terms)
MR: Magic ring
ch: Chain
st / sts: Stitch / stitches
sc: Single crochet
inc: Increase (work 2 single crochets into the same stitch)
dec: Invisible decrease (insert hook into front loops only of next 2 stitches, yarn over, pull through 2 loops, yarn over, pull through remaining 2 loops)
dc: Double crochet
sl st: Slip stitch
R: Round
Are you a Beginner? Learn Crocheting Easily!
You can learn to crochet better with this cute amigurumi ghost using the following video tutorial, or continue with the pattern:
Ghost Pattern
Bottom Pieces (Make 3 pieces)
R1: 6 sc into a MR [6]
Pull ring tight. Place stitch marker in the last stitch.
R2: inc in each st around [12]
Sl st into the next stitch, fasten off, and cut yarn.
Start with a slip knot and ch 5.
R1: Skip the first chain from hook. Starting in the 2nd ch from hook:
2 sc in the next ch, 1 sc in each of the next 2 ch, 3 sc in the last ch.
Turn to work along the opposite side of the foundation chain:
1 sc in each of the next 3 ch [10]. Mark the last stitch.
R2: 2 inc, 2 sc, 3 inc, 2 sc, inc [16]
Do not cut the yarn. Continue directly to joining the pieces.
Ghost Body
R3:
On Piece #3: work 9 sc.
Pick up Piece #2: work 6 sc across Piece #2.
Pick up Piece #1: work 12 sc all the way around Piece #1.
Back to Piece #2: work 6 sc across the remaining unworked stitches of Piece #2.
Back to Piece #3: work 7 sc to complete the round [40].
Note: Small gaps between the joined pieces are normal. Thread a yarn needle onto the yarn tails from Pieces #1 and #2, sew the small gaps closed neatly, and weave in the ends inside.
R4: 2 dec, 15 sc, 2 dec, 15 sc, 1 dec [35]
R5: sc in each st around [35]
R6: 1 dec, 15 sc, 1 dec, 9 sc.
Important: Leave the remaining 7 stitches of this round unworked. Move your stitch marker to this new position. This shifts the start of the round to the side [33].
R7: sc in each st around [33]
R8: 5 sc, 2 dec, 13 sc, 1 dec, 9 sc [30]
R9–R13 (5 rounds): sc in each st around [30]
R14: 5 sc, 1 dec, 13 sc, 1 dec, 8 sc [28]
R15–R16 (2 rounds): sc in each st around [28]
R17: 4 sc, 1 dec, 12 sc, 1 dec, 8 sc [26]
R18: sc in each st around [26]
Insert the 9 mm safety eyes between R14 and R15, leaving about 4 to 5 stitches between them. Secure the backings firmly.
Add fiberfill stuffing into the ghost. Do not overstuff so the base keeps its shape.
R19: 4 sc, 1 dec, 11 sc, 1 dec, 7 sc [24]
R20: (2 sc, 1 dec) × 6 [18]
R21: (1 sc, 1 dec) × 6 [12]
Add a little more fiberfill if needed.
R22: 6 dec [6]
Sl st into the next stitch, fasten off, and cut the yarn leaving a tail.
Thread the yarn tail onto a needle, weave through the front loops of the remaining 6 stitches, pull tight to close the hole, and hide the yarn tail inside the body.
Face Embroidery
Mouth & Details: Thread black yarn onto a needle. Embroider a small smiling mouth centered between and below the eyes. Embroider small curved eyebrows above each eye and optional eyelashes at the outer corners.
Cheeks: Thread pink yarn and embroider small horizontal stitches directly beneath each eye.
Arms (Make 2)
Use white yarn.
R1: 7 sc into a MR [7]
Pull ring tight. Place marker in the last stitch.
R2–R4 (3 rounds): sc in each st around [7]
R5: Flatten the opening in half and crochet through both layers together: 3 sc across [3].
Cut yarn leaving a long tail for sewing, and fasten off.
Pin the arms to the sides of the ghost body at the desired angle and sew them securely in place.
Mini Pumpkin
Pumpkin Body
Use orange yarn.
R1: 7 sc into a MR [7]
R2: inc in each st around [14]
R3–R5 (3 rounds): sc in each st around [14]
R6: 7 dec [7]
Sl st into next stitch. Cut yarn leaving a long tail (around 30–40 cm) for shaping segments and closing.
Add a small amount of fiberfill stuffing into the pumpkin.
Thread the yarn tail onto a needle and weave through the opening stitches to pull the hole closed.
Forming Pumpkin Sections: Bring the needle down through the center of the pumpkin from top to bottom, pull tight, and bring the yarn back around the outside to the top. Repeat this around the pumpkin 5 to 6 times to indent rounded sections. Fasten off and secure the yarn.
Pumpkin Stem
Use brown yarn.
Start with a slip knot and ch 3.
Skip the 1st ch from hook, work 1 sl st in each of the remaining 2 ch.
Fasten off leaving a tail for sewing.
Sew the stem to the top center of the pumpkin.
Sew or hot-glue the finished pumpkin between the ghost’s hands (or sew it on top of the ghost’s head).
Bonus Bow
Use orange yarn.
Start with a slip knot and ch 14.
Skip the first chain from hook. Starting in the 2nd ch from hook:
1 sc, 5 dc, 1 sc, 5 dc, 1 sc.
Cut yarn leaving a long tail and fasten off.
Bring both short ends together to form a flat loop and sew the ends together.
Wrap the long tail tightly around the center several times to cinch the middle into a bow shape. Tie securely at the back.
Optional detail: Using black yarn, add a few small vertical stitches around the center band.
Sew the bow near the top corner of the ghost’s head.
Share on Social Media!
See More:

Featuring: How to Crochet A Plush Blushing Flying Mr. Soul Ghost Plushie for Halloween
How to Crochet REALLY BOO No-Sew Pocket and Palm Buddy Ghost Gurumi
Pattern Tester: To Crochet Red-Horned Meow Ghost Treat Cone Plushie for Gifting
Pattern Tester: How to Crochet Red Horn Ghost Ring Donut Pluhsie for Gifting

Tester Pattern: How to Crochet Mask Ghost Spooky Food Ball in Box Plush

Free Crochet Flying Ghost Wind Spinner Plushie for Kids
Featuring: Crochet SPOOKY-CUTE Black & White Ghost Plushie for Halloween
Tester Pattern: How to Crochet Miniature UNIQUE Ghost with Ears and a Carrot Plush