Pattern Type: Video Tutorial & Pattern by Kumo. Kumo is one of our dearest friends, so be sure to support her!
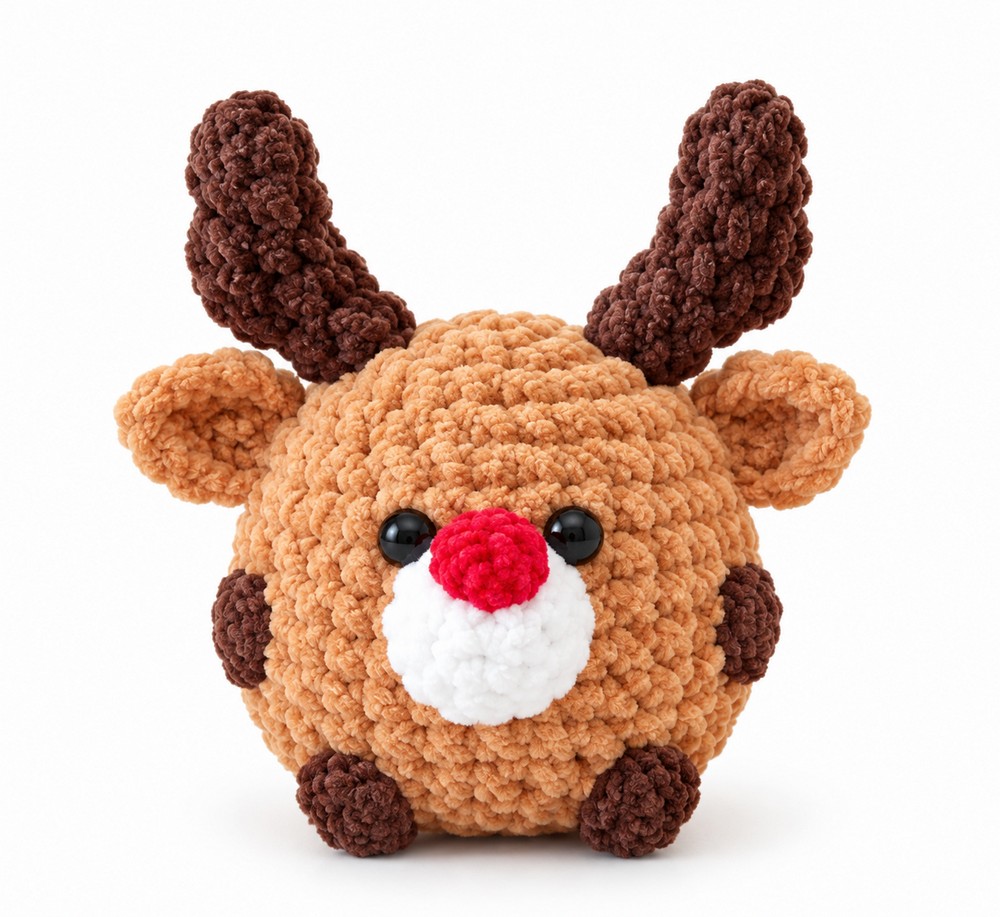
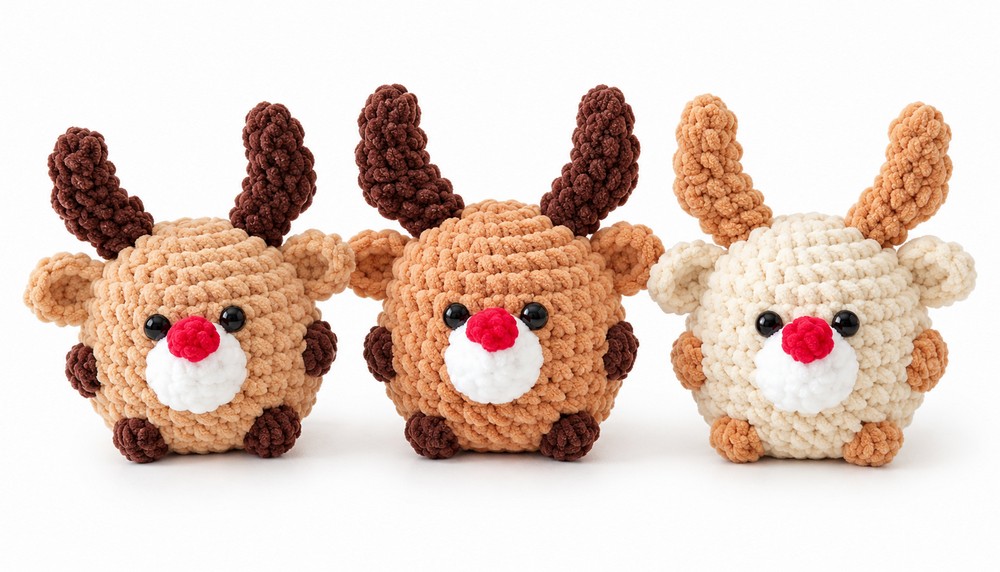
This year’s crochet Christmas no-sew buddy plushies are for sure the CUTEST. Just take a look at these tiny crochet chonky red-nosed Christmas animal plushies! Learn how to crochet this miniature reindeer buddy plushie using the skinny plush yarn with a step-by-step tutorial for beginners. You can choose from the 5 reindeer variations, including three brown yarn color variations and 2 yarn weights.
You can also crochet your buddy reindeer plushie using the super bulky chenille yarn. The best part is the horn pattern and the use of the bobble stitch for the legs.
It makes an irresistible Christmas table buddy, and you can crochet all 5 in less than 3 hours. Now, continue reading to learn more about this crochet UNIQUE baby reindeer plushie project for absolute beginners using the sphere pattern.
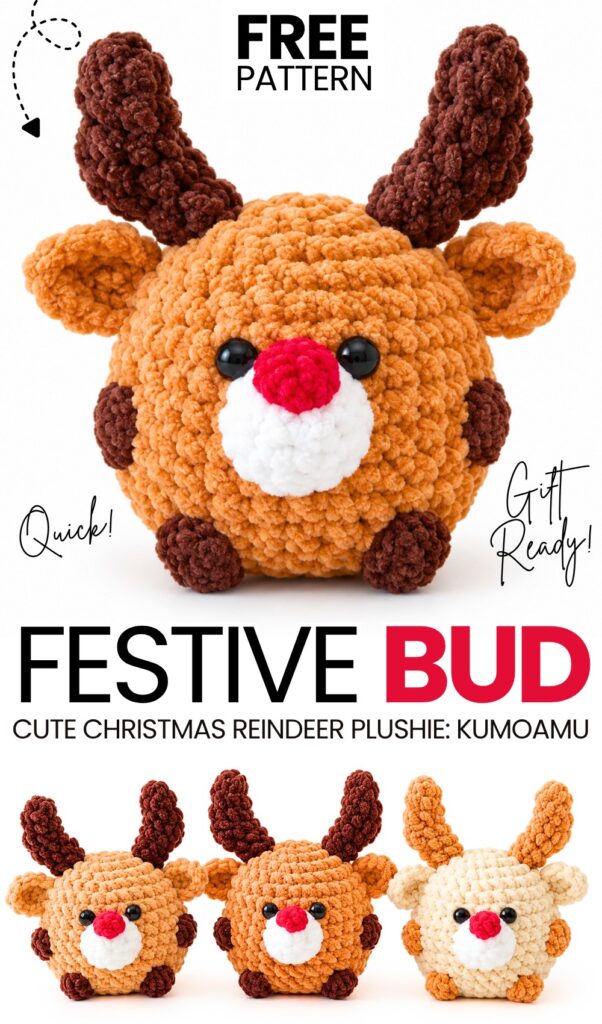
Pattern to Crochet the Red-Nose Reindeer Plushie
This tutorial shows how to crochet a small Christmas reindeer toy. You start by making the body with beige yarn in a magic ring. You change yarn color to brown to make small feet using bobble stitches.
Next, you place safety eyes, fill the body with stuffing, and sew it closed. Then, you crochet two beige ears, two brown horns, a white snout with a red nose, and a small tail. Finally, you sew the snout, horns, ears, and tail to the body to complete the reindeer. (90 words)
Difficulty Level
Level: Intermediate (or Advanced Beginner)
Why:
The project is small, which makes handling the stitches tight and delicate. It requires multiple yarn color changes in the middle of rounds, working into the back loops only (BLO), making 3D shaping with decreases and increases, and working special textured stitches like bobbles and double crochet decreases (dc3tog). It also requires neat sewing and alignment of very small parts.
Required Materials
Yarn: Beige, brown, red, and white (50 g / 160 m)
Crochet Hook: 2 mm
Safety Eyes: 5 mm plastic eyes
Fiberfill Stuffing
Yarn Needle
Stitch Marker
Scissors
Pattern Abbreviations (US Terminology)
R: Row / Round
ch: Chain
sc: Single crochet
sl st: Slip stitch
inc: Increase (2 sc in the same stitch)
dec: Decrease (2 sc together)
dc: Double crochet
BO: Bobble stitch (5 incomplete double crochet stitches closed together)
3dc bobble: Bobble stitch with 3 double crochet stitches
dc3tog: Decrease with 3 double crochet stitches across 3 stitches
BLO: Back loop only
Detailed Guide to Difficult Stitches
1. Bobble Stitch (BO)
Used to make the feet:
Yarn over, insert your hook into the stitch, yarn over, and pull up a loop (3 loops on hook).
Yarn over and pull through the first 2 loops (2 loops remain on hook). This is 1 incomplete double crochet.
Repeat steps 1–2 into the exact same stitch 4 more times until you have 6 loops on your hook (5 incomplete double crochets).
Yarn over with the main color and pull through all 6 loops on the hook to close the bobble.
Learn Crocheting Now!
Better learn the whole method of crocheting these sitting reindeer in this tutorial:
Written Pattern?
The tutorial has all the instructions to learn to crochet this cute reindeer plushie! You can also use the “ask” feature of the tutorial to retrieve the quick pattern. This pattern-getting method is designer-compliant!
See More:
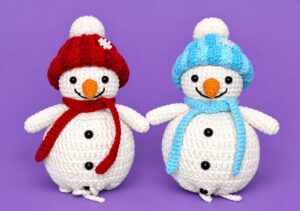
Featuring: How to Crochet Snow Buddy in A Beanie Treat Bag for Christmas
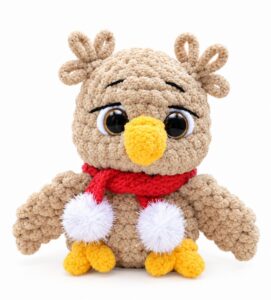
Featuring: How to Crochet A Glitter-Eyed Loopy-Ear Owl in Scarf Plushie Buddy
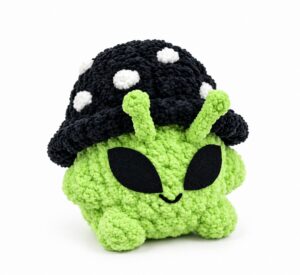
Tester Call: How to Crochet Green Alien Mushroom Plushie Buddy for Gifting
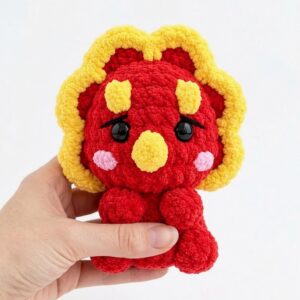
Featuring: How to Crochet No-Sew Red & Yellow Tricera Buddy Plushie
Featuring: How to Crohcet Mr. Cookie Sitting No-Sew Buddy Plushie for Gifting
How to Crochet REALLY BOO No-Sew Pocket and Palm Buddy Ghost Gurumi
Tester Call: How to Crochet A Spooky Flowers Red Horns Potted Buddy Plushie for Halloween

Tester Call: How to Crochet A Candy Corn, Pumpkin & Kawii Buddy Potted Plant Plushie
Tester Pattern: How to Crochet A Spooky Face Potted Heart Buddy Plushie