These instructions will show you how to tie a slip knot to a crochet hook in 5 simple steps. This will be the easiest and my preferred method for tying the slip knot. Since the slip knot provides a foundation for the chain stitch, you can confidently do the rest of your crochet. That’s why I consider this tutorial mandatory for all beginner crocheters.
By using the chain-6 start and slip stitch, you can also use the slip knot as an alternative to the magic ring and start working in the rounds. However, I am personally not a fan of this method and recommend using a slip knot for working in back-and-forth rows and learning the magic ring for working in rounds.
Why Slip Knot?
If you look closely at this method later on, you will find that the slip knot is made in a way pretty similar to the overhand knot. However, unlike our familiar overhand knot (unknotted trefoil), the slip knot has an adjustable loop that can be loosened or tightened as you work the stitches.
Also, you can unknot it simply by removing the hook and pulling the shorter tail down. This is pretty similar to untangling a crochet fabric.
That’s why I like to call slip knot the preliminary chain stitch. I am not sure if knot theorists will agree upon this, but the tangle structure of this knot seems to me the same as a chain. With these properties, this is a perfect standard start for most of the crochet projects.
Slip Knot Method: Step-by-Step Instructions
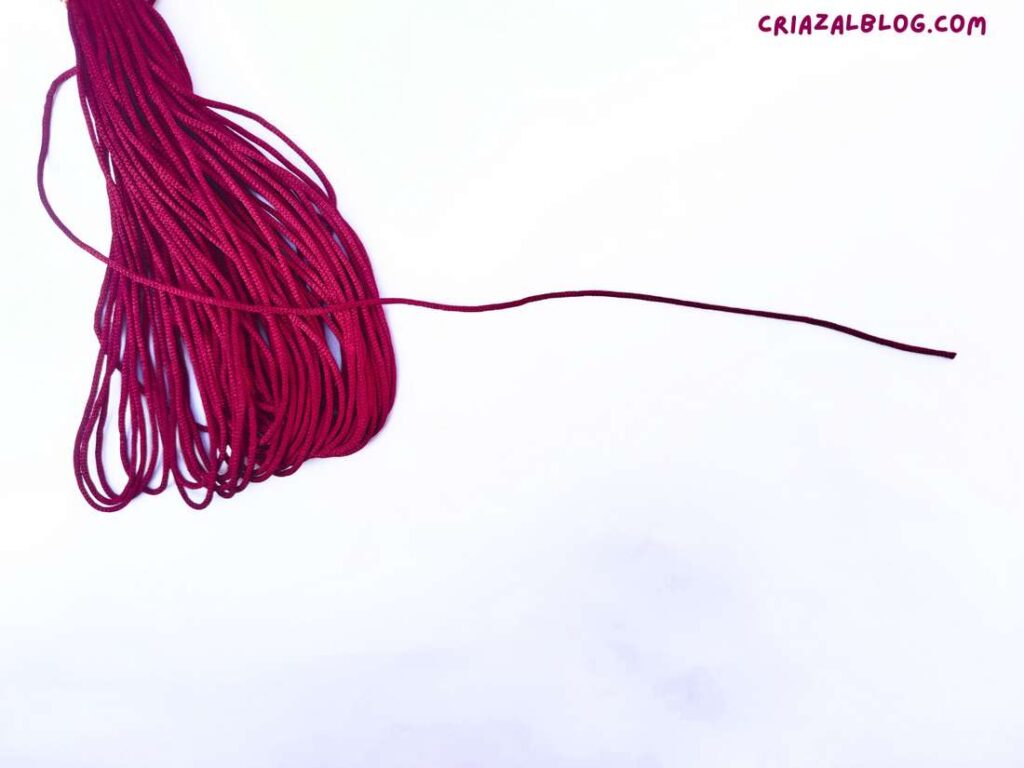
- Step #1: Pull about 20cm of yarn from the ball and lay it flat. It depends on your choice if you pull the strand from the centre end or from the outside. Pulling from the centre is preferred because it lets the new yarn unravel from the skein smoothly and prevents the stitches from becoming tighter.
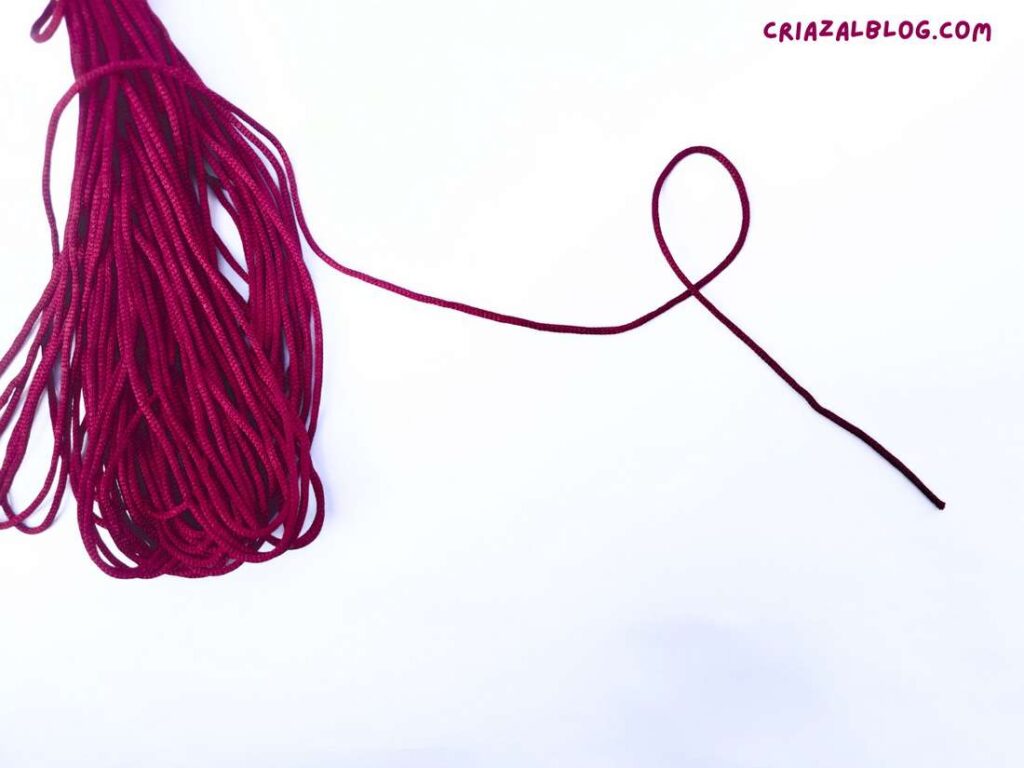
- Step #2: Cross the tail end of the yarn over the ball yarn and try to have a wide loop.
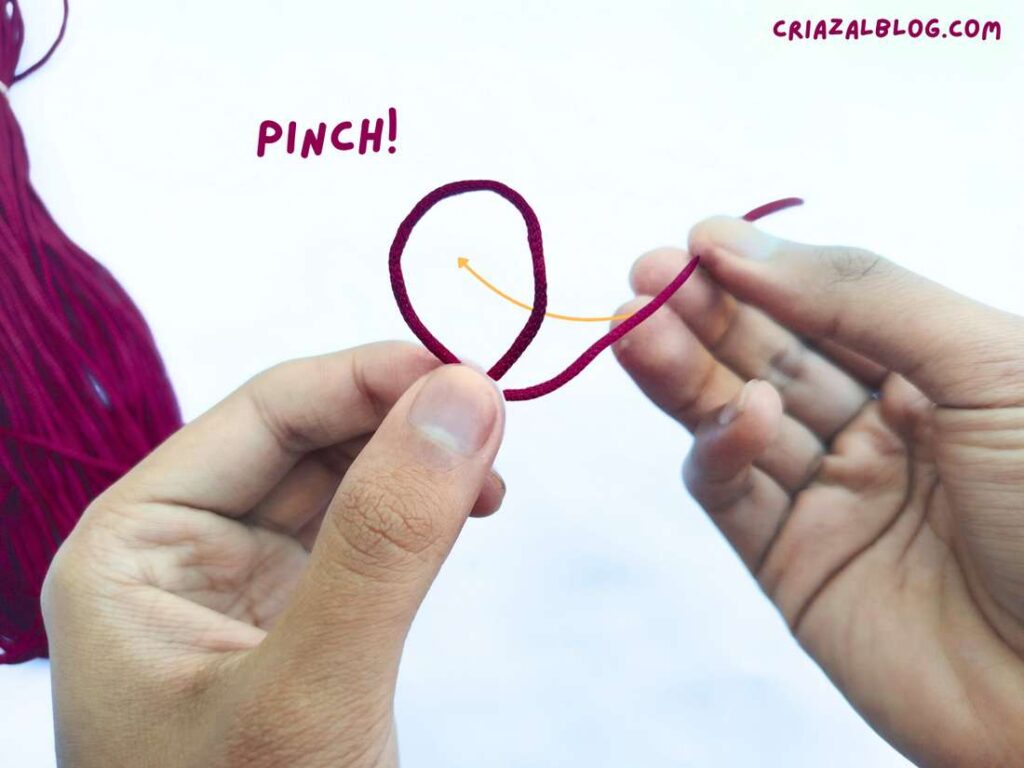
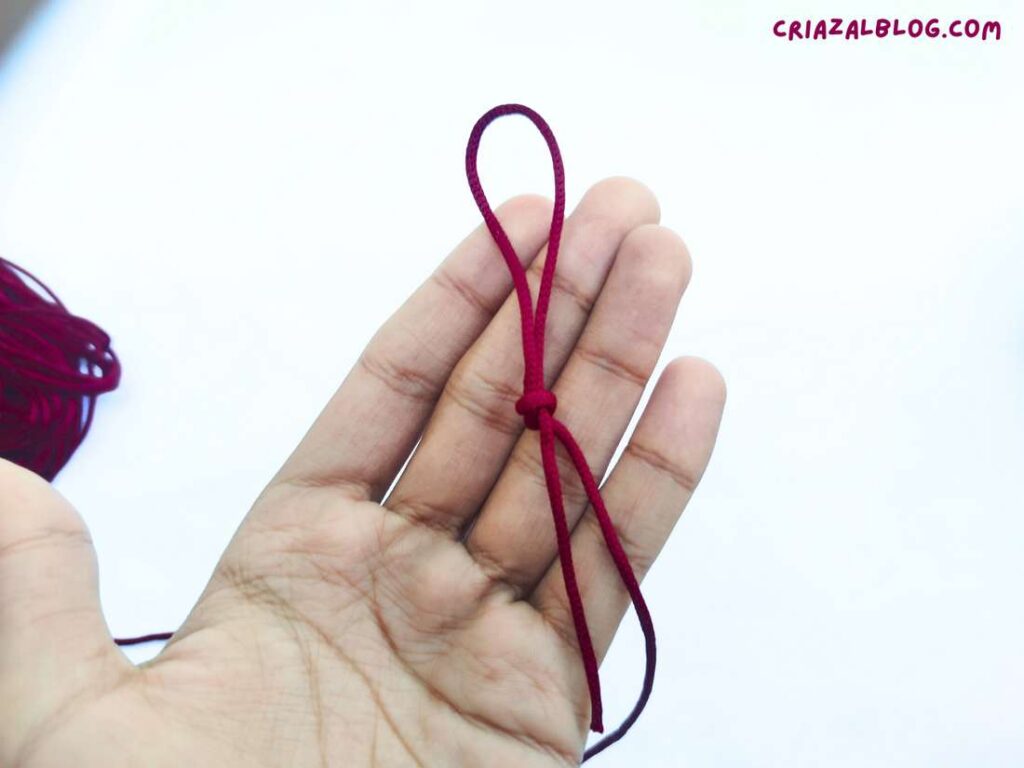
- Step #3: Lift the loop in your hands and pinch the crossing of the loop with your left hand, and pick up the tail end.
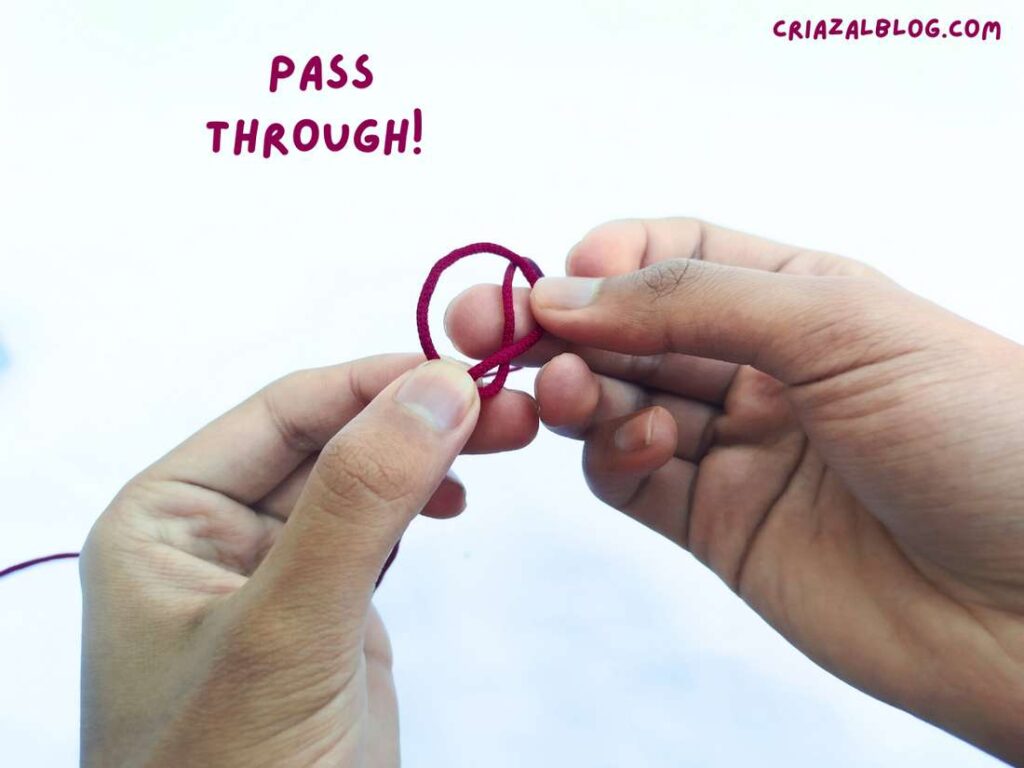
- Step #4: Grab the tail end near the loop and pull it through the loop such that you have another loop and the end of the yarn doesn’t pass through. Be sure you have enough length reserved for this step.
Caution: If you also pass thr end through, you may end up with an overhand knot.

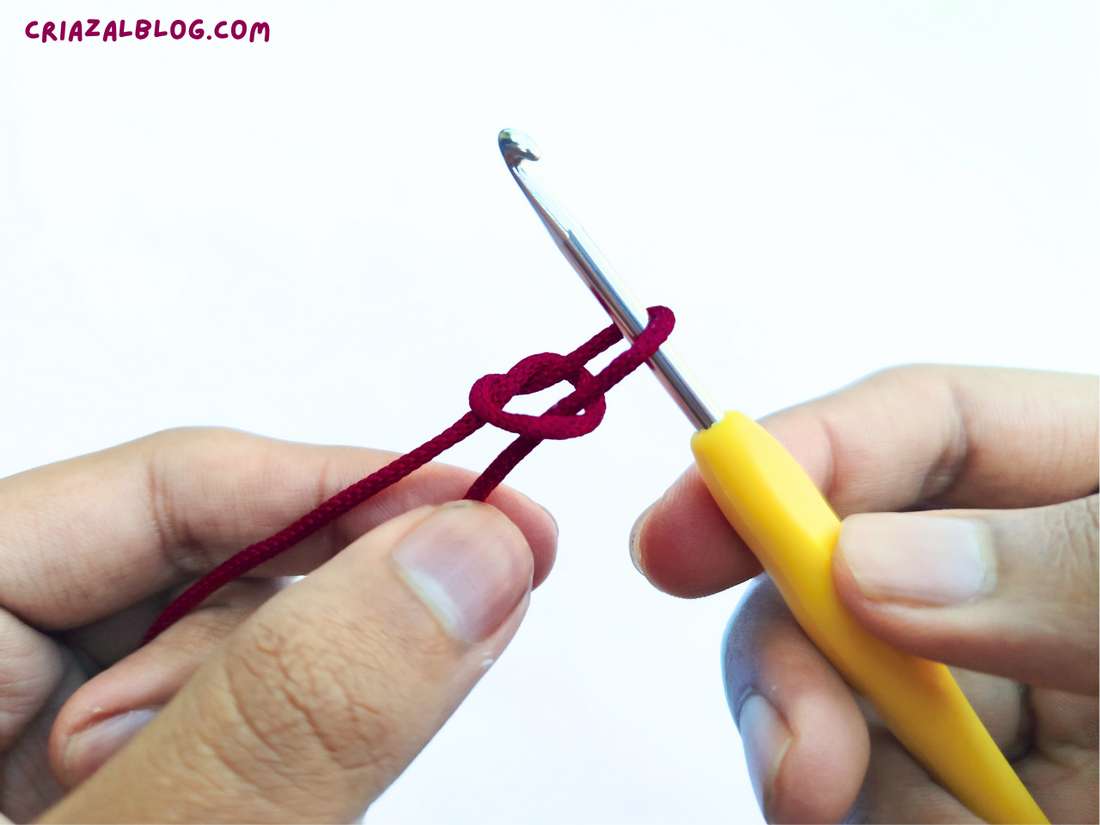
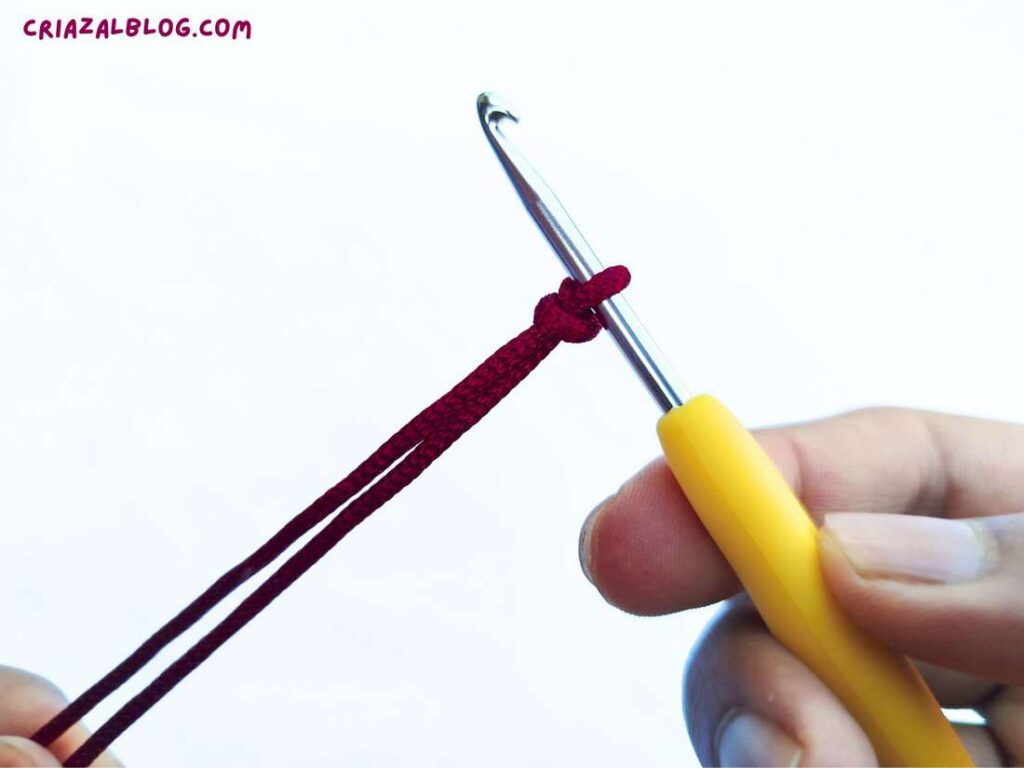
- When you pull the ends, the knot will slide up to the base of the loop. Insert the hook in the new loop and continue pulling it untill the bottom loop gets closed.

- Be sure to hold the bottom shorter in place while pulling the hook.
That’s how you can tie a slip knot as a beginner and definitely as a pro crocheter. This is the same method that most of the crocheters can be found using in the video tutorials. You can definitely take a look at other methods. Learn making chain stitch afterwards.
Was this tutorial helpful? Tell me in the comments
Your feedback is a great way for us to improve my crochet tutorials. So, share your thoughts on whether you tried this one or not, and highlight the weak points.