
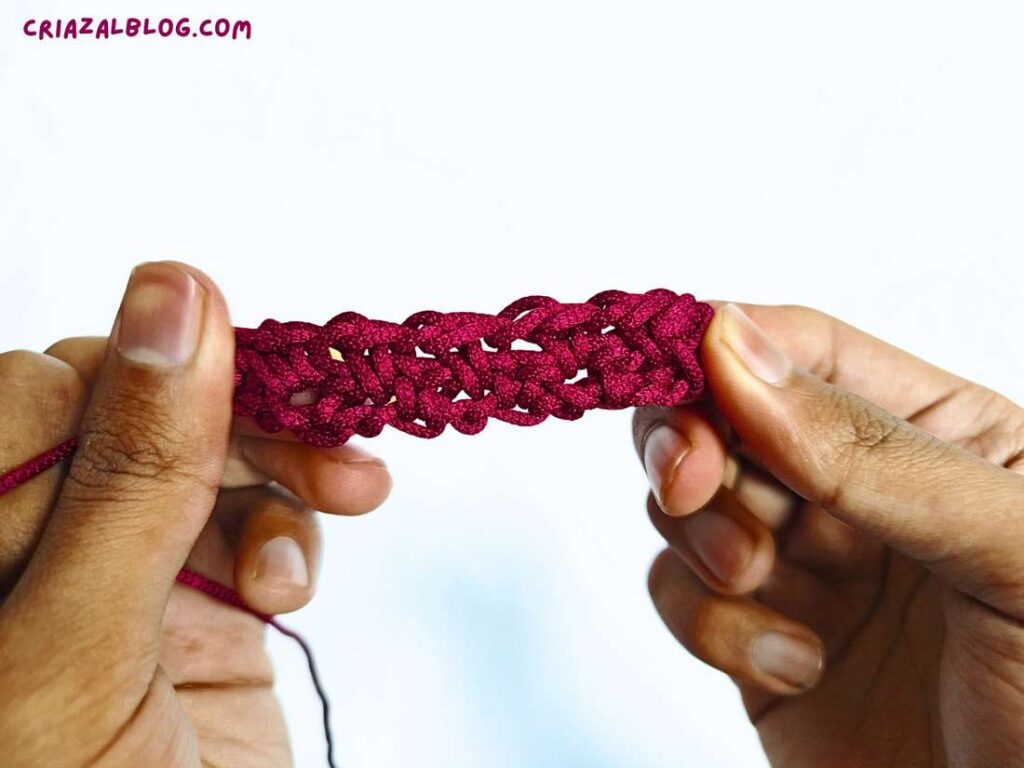
In this tutorial, I will show you how to crochet the moss stitch in any number of rows and how to use a moss stitch increase pattern. Aka linen and granite stitch, inspired by the moss stitch in knitting, you can learn crocheting in 5 minutes.
It is also reversible and works beautifully with a striped pattern. Because you can also increase this stitch both on the edges and in the middle, you can crochet almost anything with it.
Use it for crochet scarves, tops, blankets, or any project where you want a flexible fabric similar to knit fabric.
How Moss Stitch is Worked
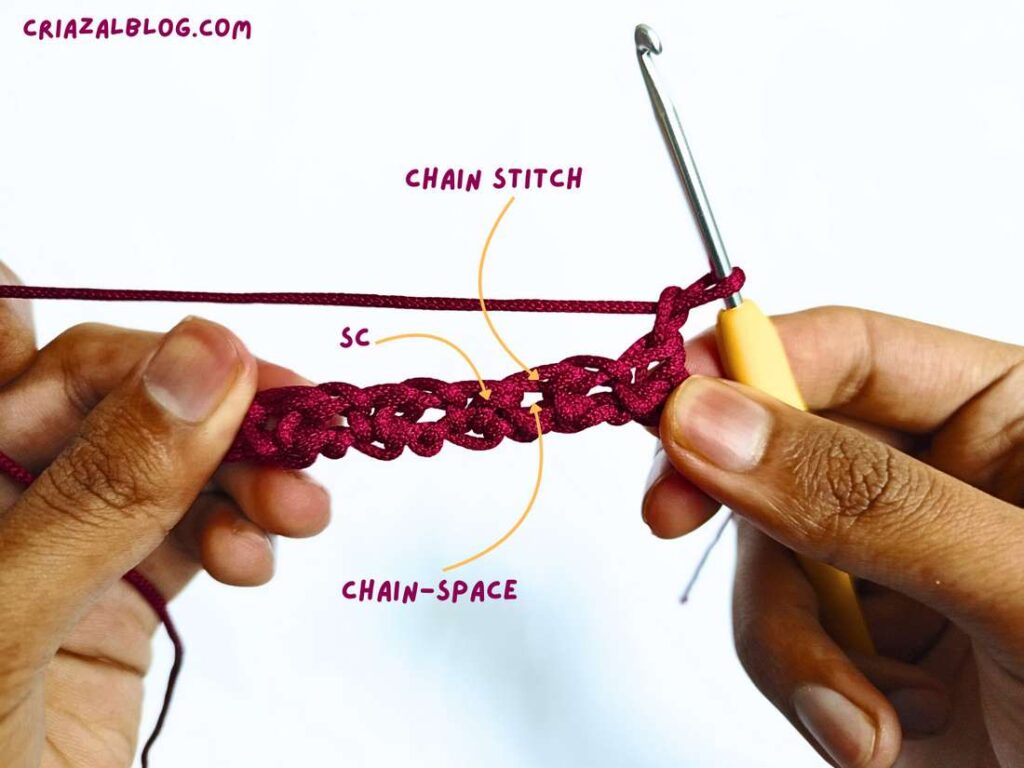
Moss stitch is worked using single crochet and chain stitch only. The method differs when working in the foundation chains and in subsequent rows. Start with chain stitches in multiples of 2, skip the first three stitches, and work 1 single crochet in the next chain.
Chain 1, skip the next chain, and repeat moss stitch all the way across until the last stitch, where we have to work 1 single crochet.
After turning for the next row, chain 2 and work moss stitch in the chain spaces of the last round. Because we insert the hook in the last row, the striped pattern is an irresistible idea.
Crochet Moss Stitch: Step-by-Step Instructions
These instructions will teach you crocheting the moss stitch step-by-step using US terms:
Difficulty: Beginner – Level 2
Abbreviations (US and UK)
Here are the abbreviations I used for writing this stitch pattern:
-
ch (chain) → ch (chain)
-
sc (single crochet) → dc (double crochet)
-
sk (skip) → miss (ms)
-
sp (space) → sp (space)
Row 1:
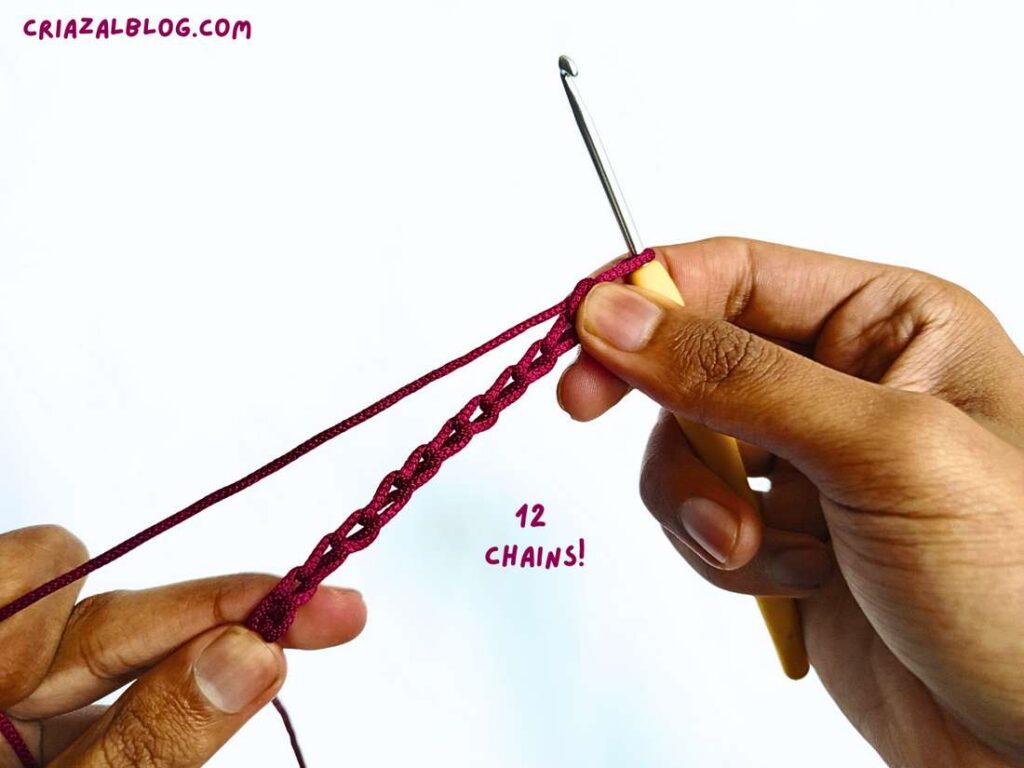
Crochet foundation chains in any even number. For practice, you can start with a 16-chain swatch. I, however, crocheted 12 chains.
Row 2 (Right Side):
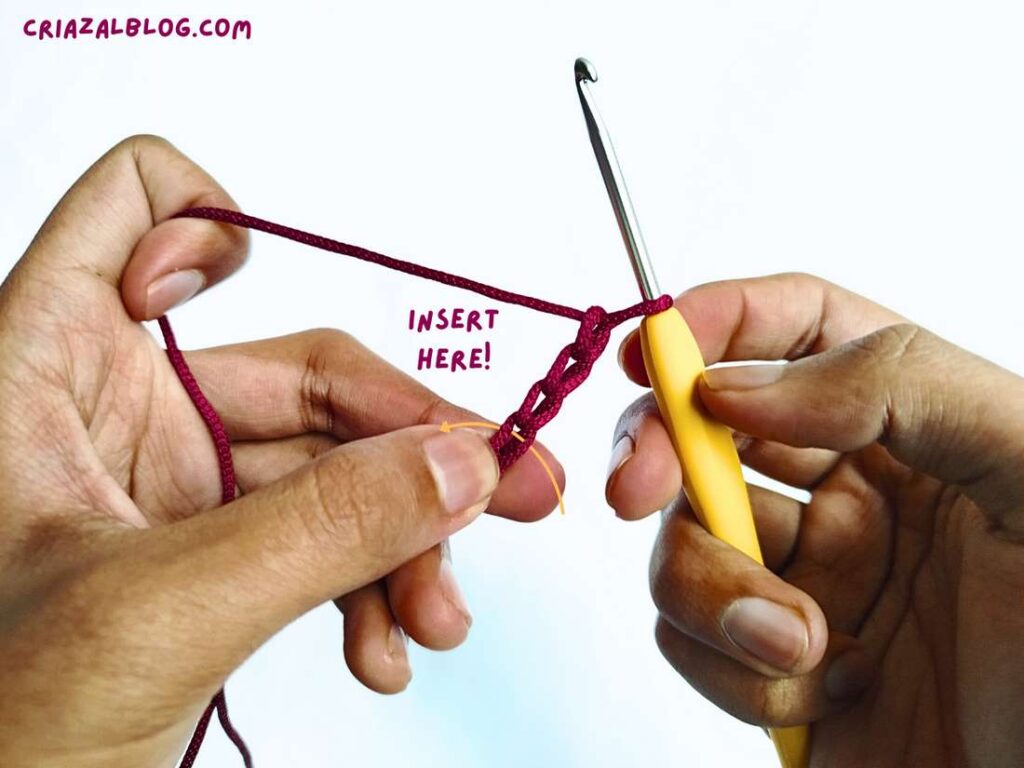
Skip the first three stitches and make 1 sc in the 4th chain from your hook. (The skipped chains here count as first sc and a ch-1 space).
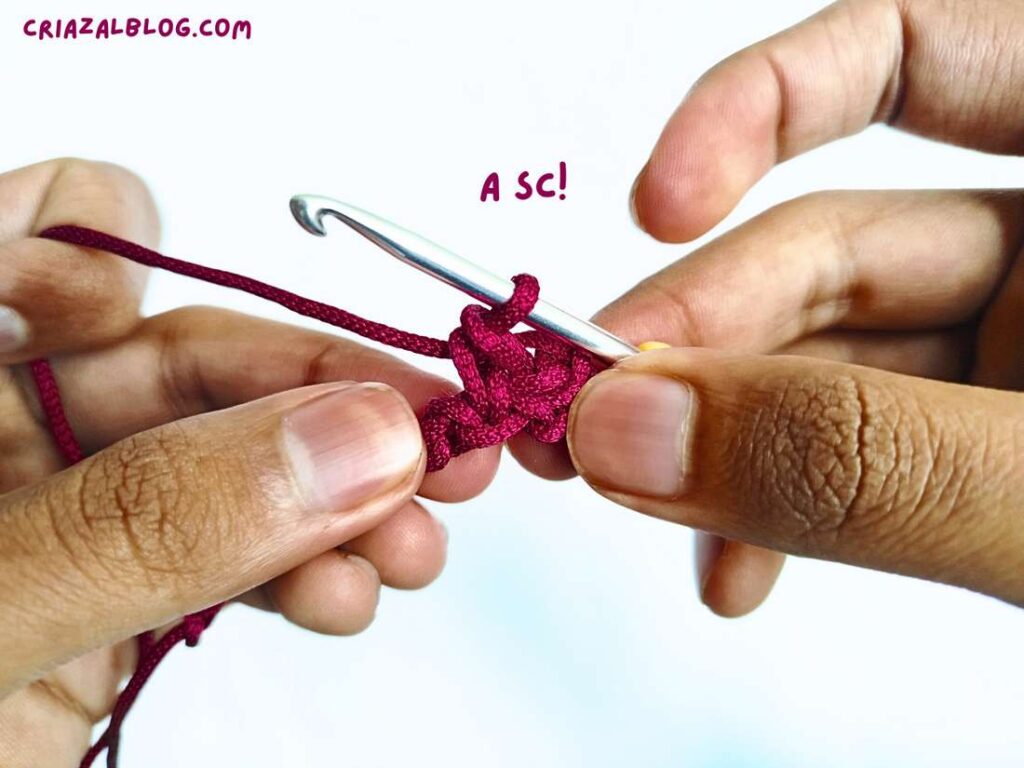
Chain 1, skip the next chain.
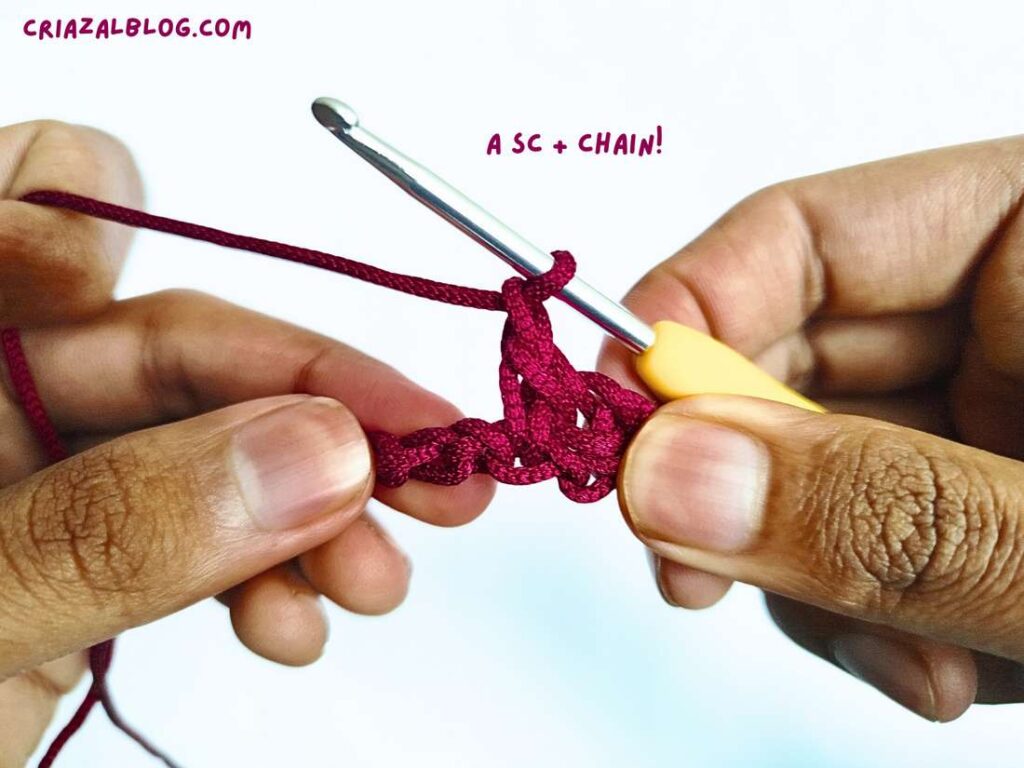
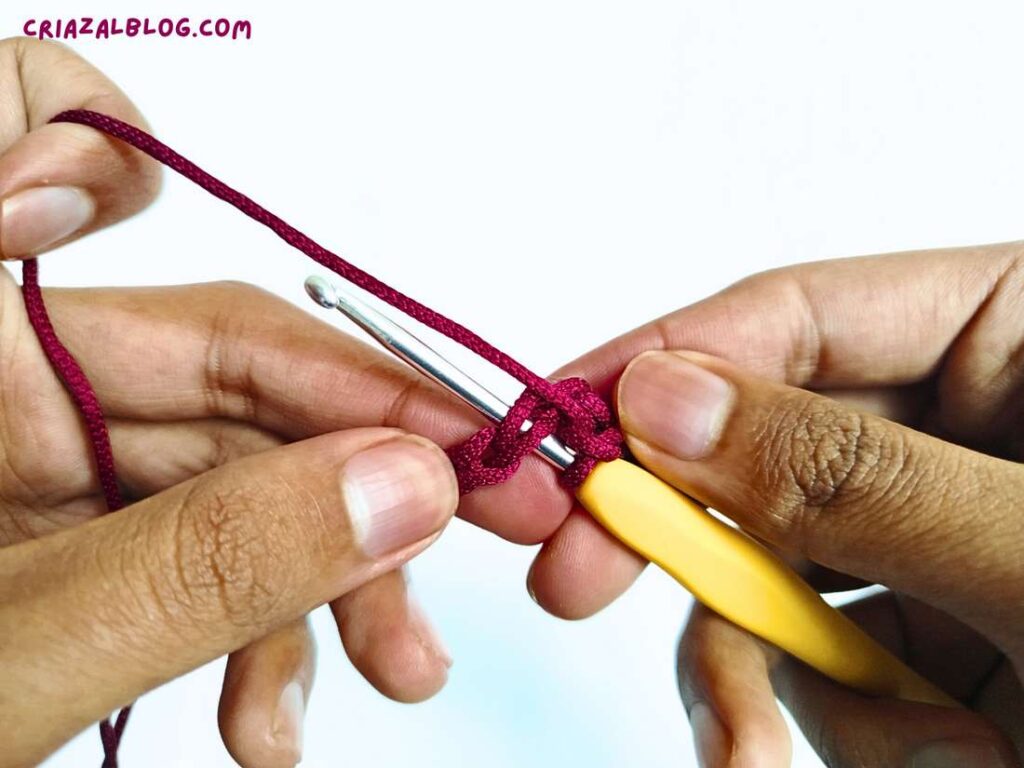
Work 1 sc into the next chain.
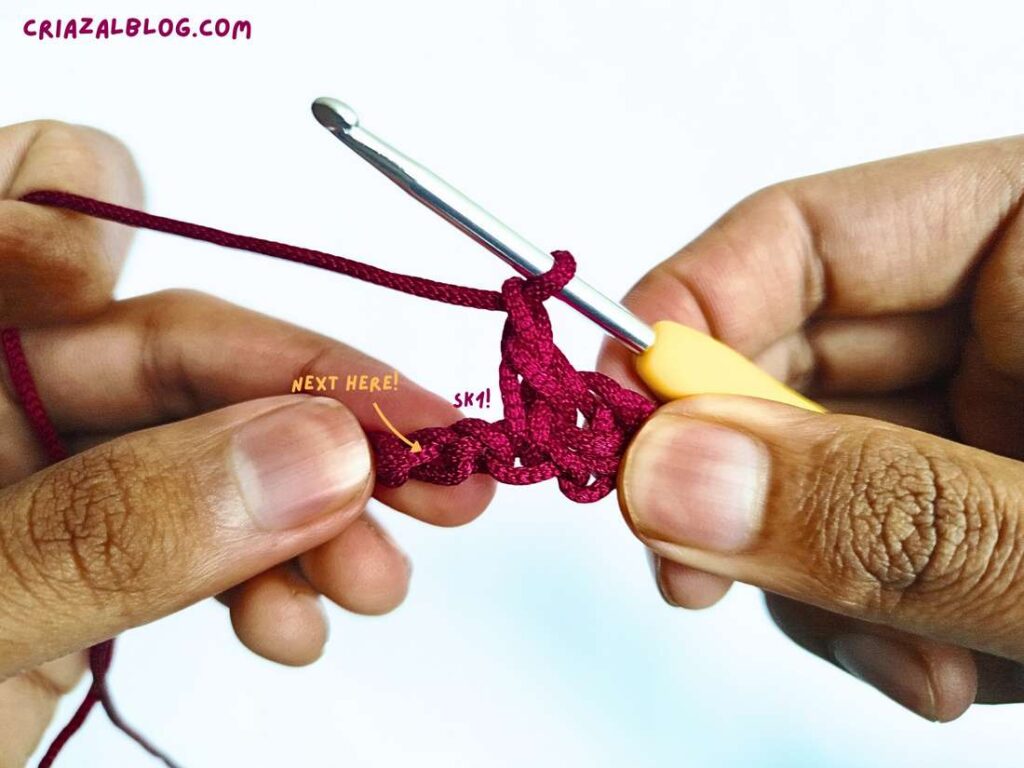
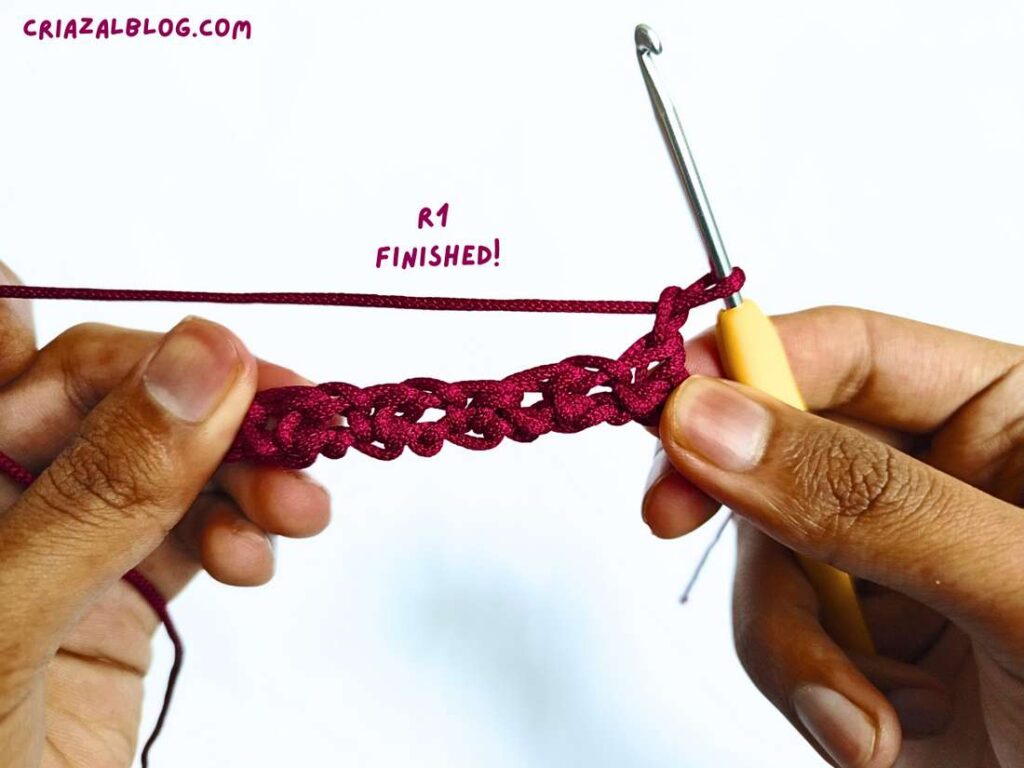
Repeat the pattern [ch 1, sk 1, 1 sc] all the way across the row and make 1sc in the last stitch.


Row 3:
Chain 2 and turn your work. The first chain counts as a single crochet while the 2nd as the chain.
Skip the first single crochet from the last row.

Work 1 sc into the first ch-1 space in the stitch of the previous row.
Chain 1, skip the next single crochet.
Work 1 sc into the next ch-1 space.
Repeat the pattern [ch 1, sk 1 sc, 1 sc in ch-sp] all the way across the row.
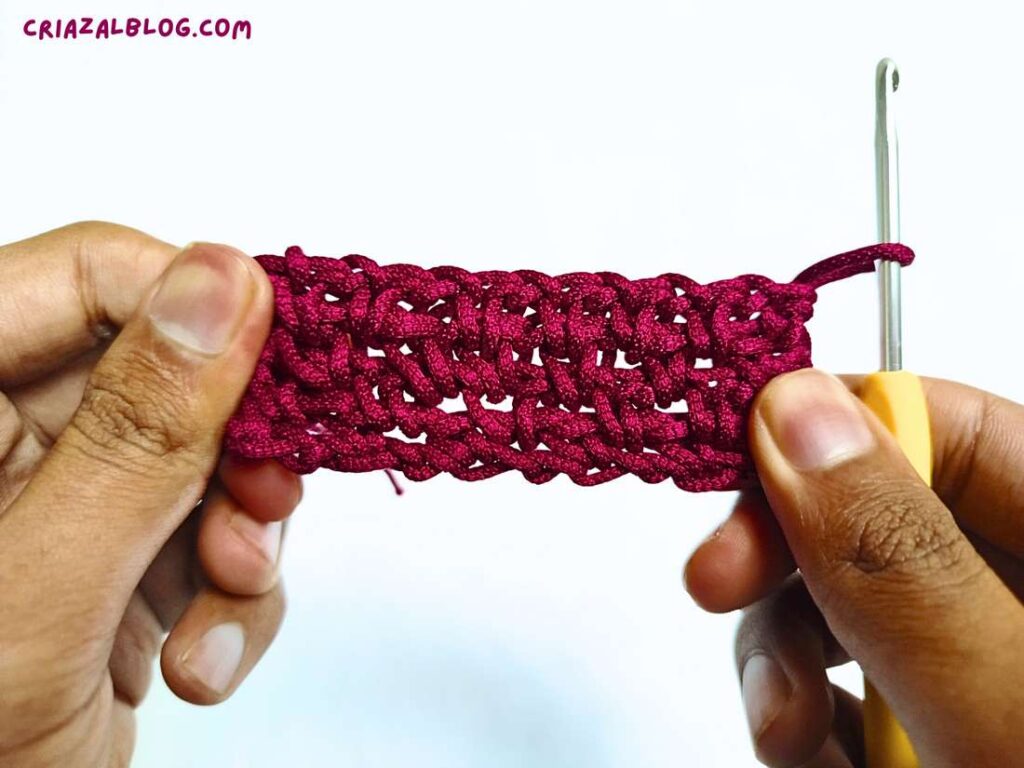
Ending the row: Work the last single crochet in the space between the last sc of the previous row and the turning chain. This makes the edges straight. I, however, simply worked 1 sc in the last stitch.
Pattern Repeat
Repeat the pattern used in Row 2 in all the upcoming rows. That’s how you can crochet the moss stitch by working in the back-and-forth rows.
How to Increase Moss Stitch
As I mentioned, you can use moss stitch, which can be increased, which means you can work it for almost any project. That is, crochet buntings, triangle shawls, tops, raglan sleeves, and even bags. To increase the edges:
- At the Beginning of the Row: Work 2 turning chains. In the very first single crochet, work a [sc, ch 1]. Then, continue your moss stitch as normal by working into the first ch-1 space.
- At the End of the Row: Work your last sc into the final ch-1 space as usual. Then, ch 1 and work another sc into the very last stitch (the turning chain from the row below).
Tips for a Perfect Moss Stitch
- Instead of trying to find the top “V” of a turning chain, always work your last stitch of the row into the actual space to the left of the last single crochet post.
- This stitch looks even more elegant with color changes. You can change colors every two rows.
- You can also use a small crochet hook that is usually used to make it less spacy.
Was this tutorial helpful? Tell me in the comments
Your feedback is a great way for us to improve my crochet tutorials. So, share your thoughts on whether you tried this one or not, and highlight the weak points.