Author: Talha
I am a crochet designer, macramé maker and a crafter who also loves doing MATH.
Featuring: Myna of MynaCrochet
She is a crochet viral amigurumi and accessories designer!
Show support for Myna! Pattern type: Detailed Video Tutorial
Your continuous appreciation for the crochet Sid the Sloth flip-over coaster has encouraged me to FEATURE another of my favorite crochet “funny flip-over cup coasters” tutorials today. So, learn how to crochet this funny lizard flipping-over coaster with a step-by-step, detailed tutorial for an absolute beginner. When you put a cup onto the coaster, the arms, the legs, and the head of the exhausted amigurumi lizard part will lift as if it is holding the weight in a painful way. You can also crochet this as a Halloween decoration.
This crochet lizard character is inspired by an animated funny lizard character with a crying mouth, bulging stuffed eyes & thin crochet legs and arms. Crocheting a puffy coaster is practically easy, but it definitely requires you to have a clean needle seam for small parts.
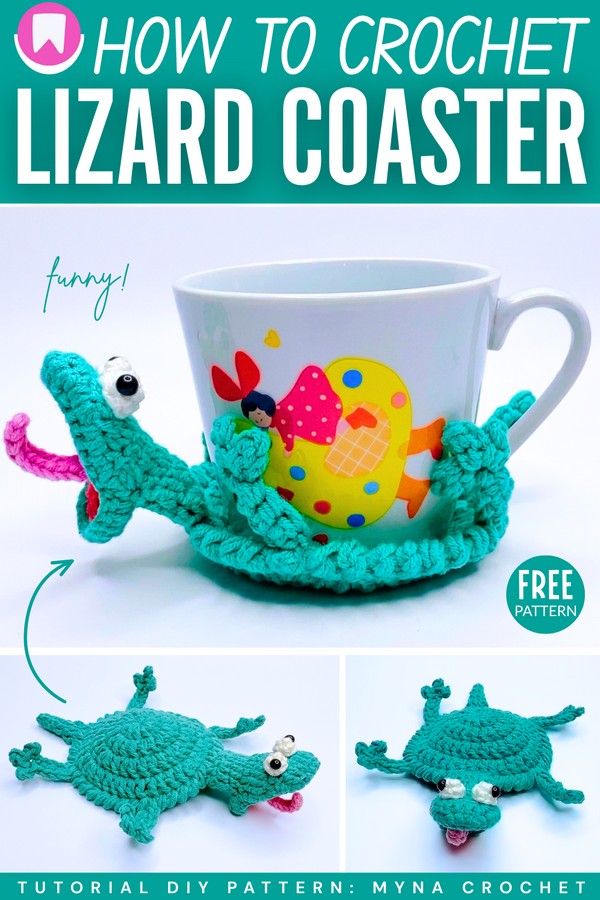
This crochet coaster is perfect for relieving an exhausted routine by looking at how the crochet amigurumi lizard moves when you place the cup cover. If you like this funny crochet coaster, I will definitely soon extend the crochet “funny coasters” series and bring many more cute-looking crochet coasters, such as the popular turtle coaster you can already search for. Anyway, continue reading to learn more about this crochet flipping-over coaster project.
Similar Project(s)
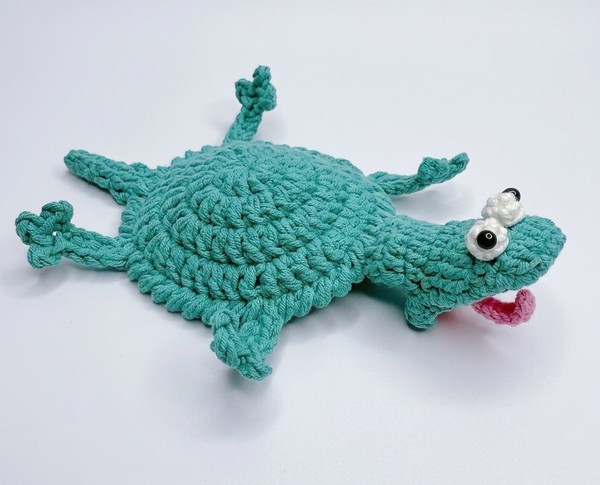
Tutorial to Crochet a Funny Lizard Trendy Coaster
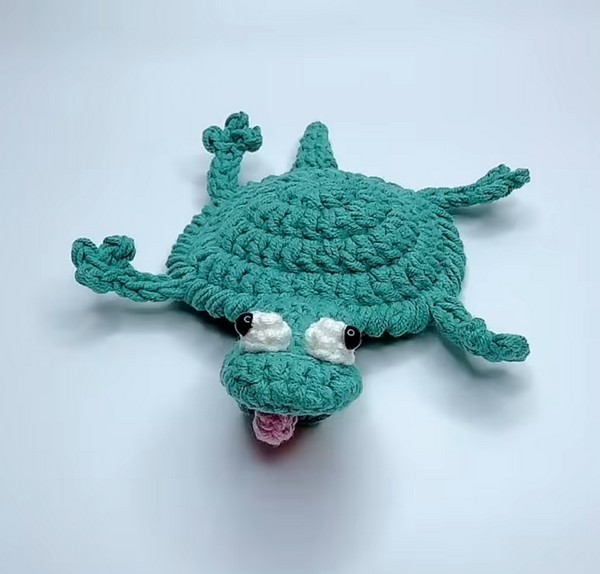
This project involves crocheting a creative and functional lizard-shaped coaster. It combines amigurumi techniques with flat crochet to create a 3D effect where the lizard appears to be holding your cup. To make it, you start by crocheting a circular flat base for the body using a larger hook and double-stranded yarn.
You then switch to a smaller hook to create the detailed parts: a pointed tail, a hollow head with a mouth and tongue, and small white eye sockets. After stuffing the head and assembling the pieces, you crochet the four legs directly onto the edges of the body to complete the look.
Skill Level
Intermediate
This is because the project requires working with small parts, switching between different hook sizes, using multiple yarn colors, and basic assembly/sewing skills. It also uses the reverse single crochet stitch for the border, which can be tricky for beginners.
Materials Needed
Cotton Yarn: 4-ply (1.5mm) in green, pink, white, and red.
Hooks: 2.0mm and 3.5mm crochet hooks.
Stuffing: Fiberfill for the head.
Eyes: 5mm safety eyes or beads.
Tools: Scissors, sewing needle, and a glue gun.
Abbreviations
MR: Magic ring
ch: Chain
sk: Skip
slst: Slip stitch
sc: Single crochet
dc: Double crochet
tr: Treble crochet
inc: Increase (two stitches in one)
Learn Crocheting Now!
Better learn the whole method of crocheting this quick Lizard cup coaster with the following:
Written Pattern?
The detailed 1-hour tutorial has all the instructions needed to crochet it. However, I will try to convince her to bring you the pattern, too.