Pattern Type: Video Tutorial & Pattern by Kumo. Kumo is one of our dearest friends, so be sure to support her!
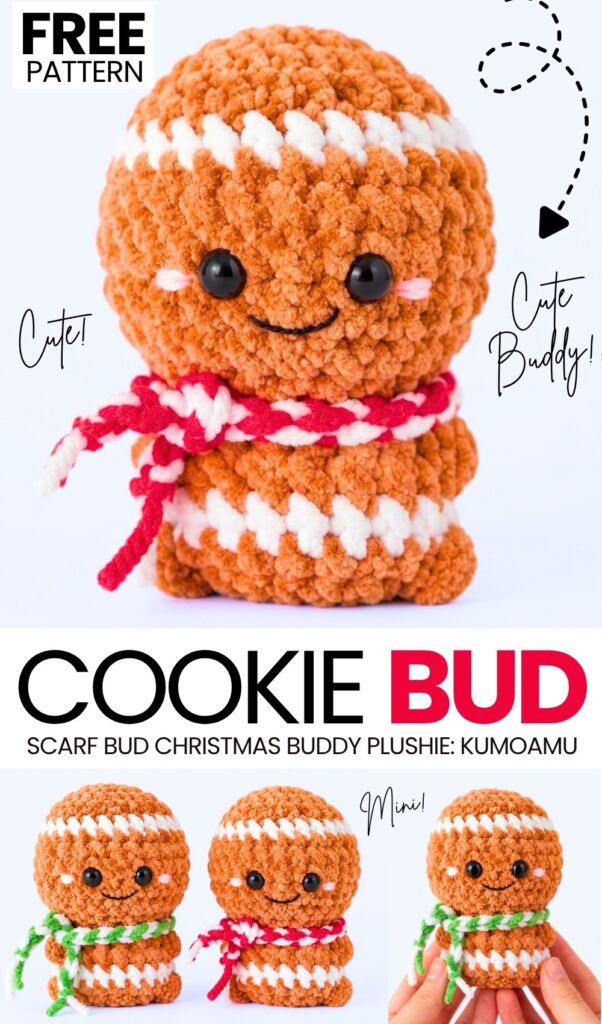
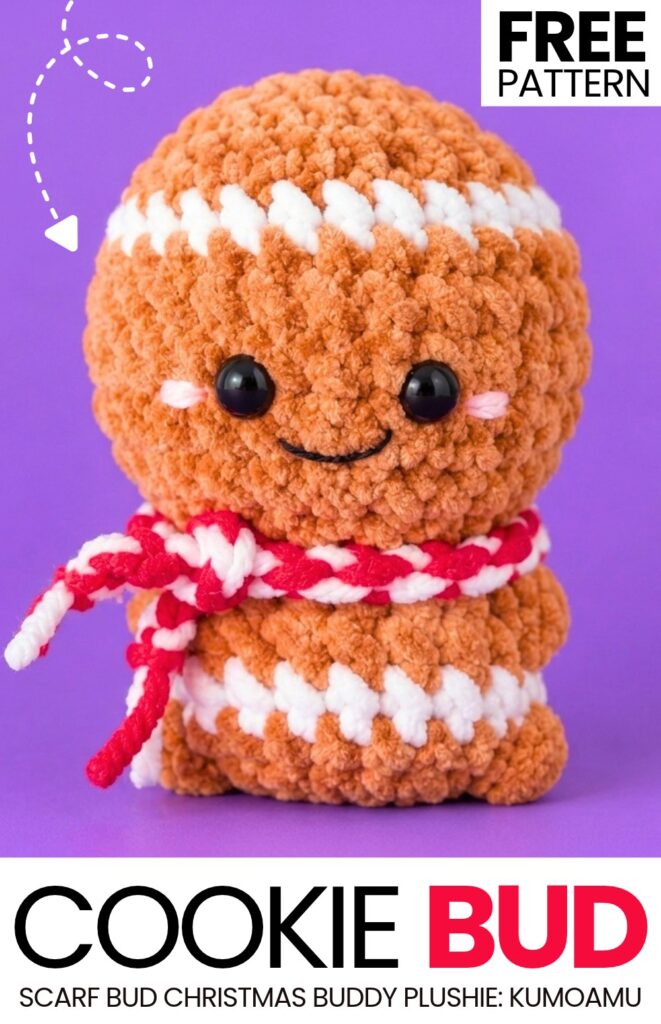
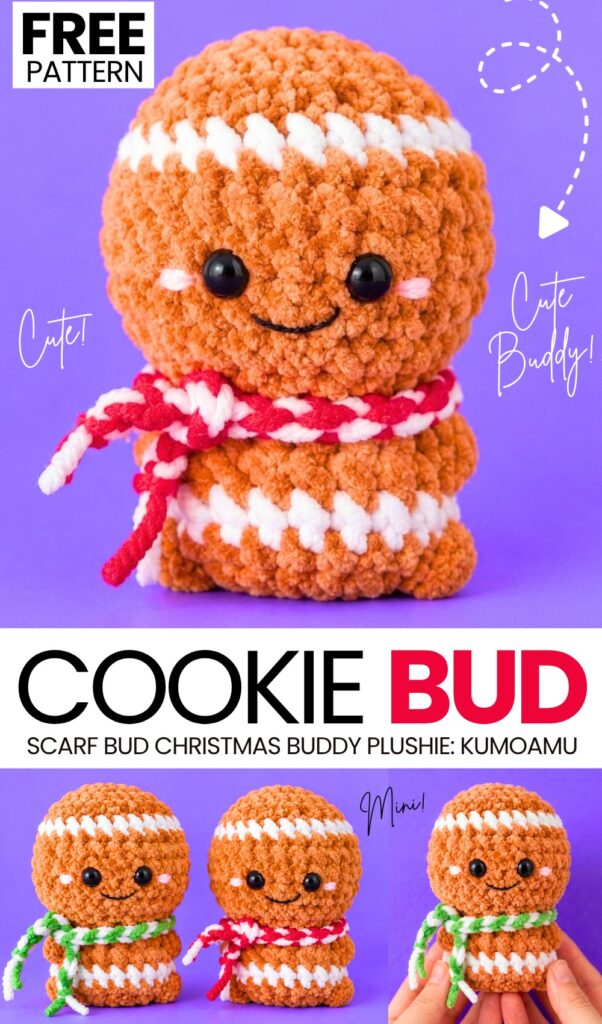
Here is another CUTE crochet plushie tutorial from the “7-in-7 no-sew Christmas buddy plushies” series. Learn how to crochet this smiling and oh-so cute Mr. Cookie buddy plushie with a step-by-step tutorial for absolute beginners. This is also part of “easy-for-beginners crochet Christmas gifts” as well as the “last-minute table buddy plushie” series.
This is because we will be using a no-sew basic buddy plushie pattern that has been used across tons of other plushies featured here, most prominently the “iconic crochet character” plush series.
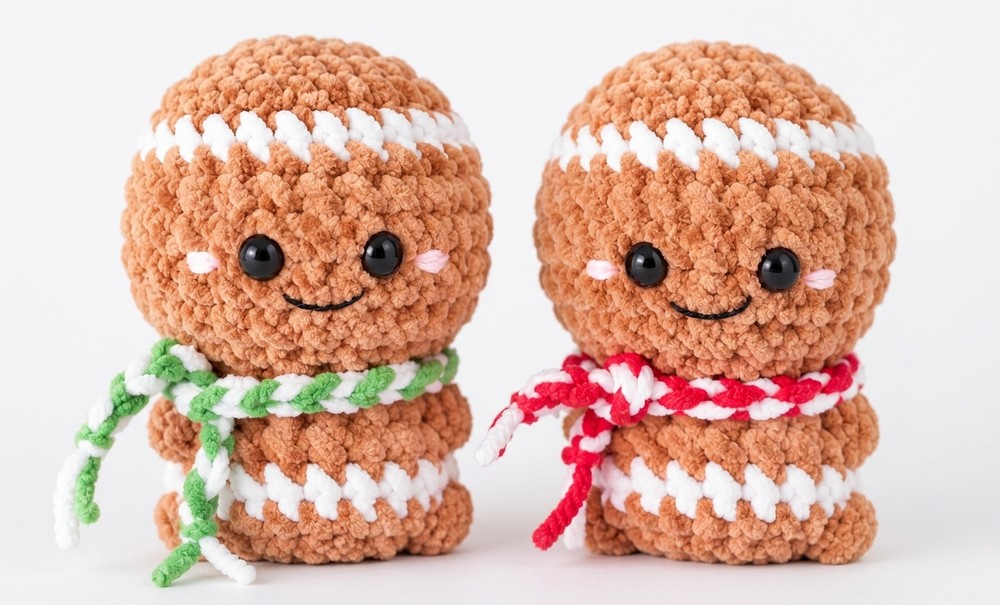
Our little crochet BUDDY also wears little peppermint scarves that make it an irresistible GIFT for a little one as well as a winter buddy. Now, keep reading to learn more about this crochet plush Gingerbread Man project for absolute beginners!
Tutorial to Crochet the Gingerbread Man Plushie
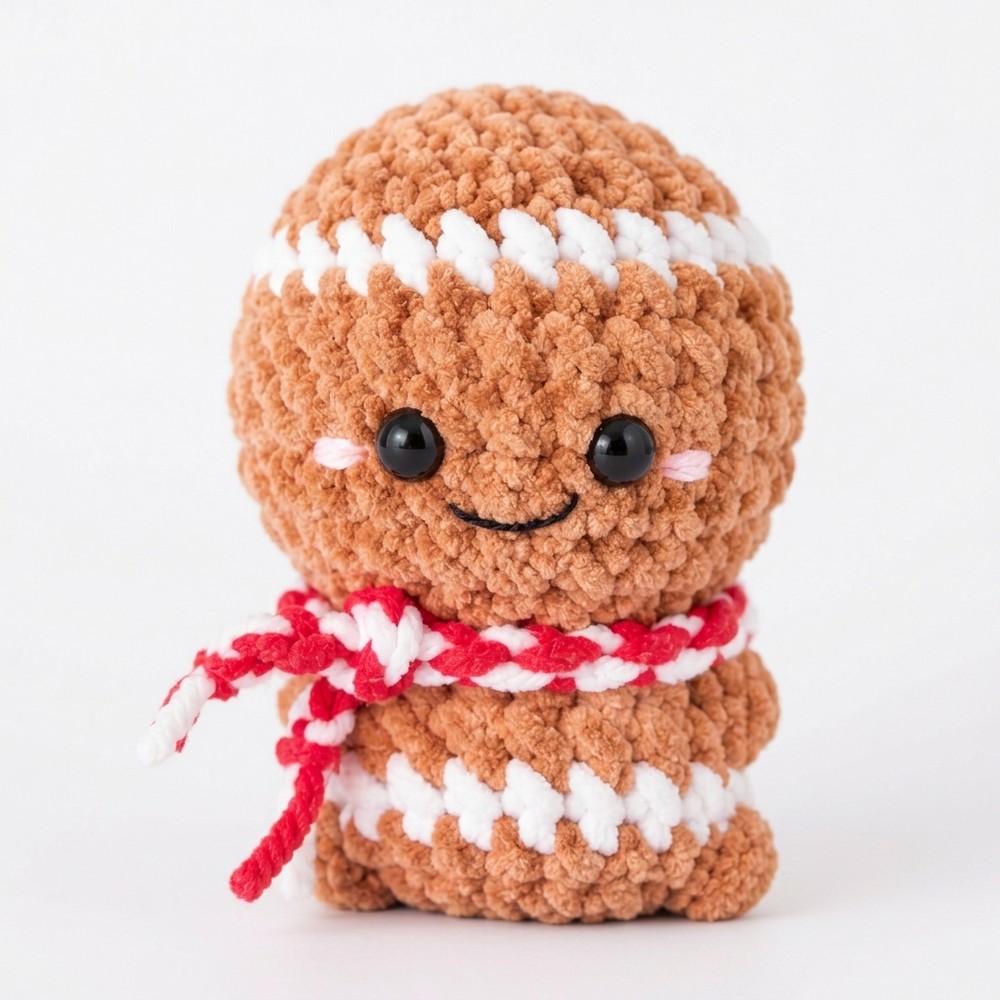
This tutorial teaches you how to crochet a small Christmas gingerbread man. You start at the top of the head with brown yarn. You make a magic ring and add stitches to make it bigger. Next, you change yarn colors between white and brown to create stripe lines. You form small arms and legs directly on the body using bobble stitches.
Then, you put in safety eyes and push soft stuffing inside. After closing the bottom hole, you sew the mouth with black thread and cheeks with pink thread. Finally, you make a red and white scarf and tie it.
Difficulty Level & Explanation
Difficulty Level: Advanced Beginner to Intermediate
Materials
Yarn: 50 g / 160 m yarn in three colors:
Nut / Mustard Brown (main body)
White (icing stripes and scarf)
Red (scarf)
Crochet Hook: 2.0 mm
Safety Eyes: 5 mm plastic safety eyes (1 pair)
Stuffing: Polyester toy stuffing/fiberfill
Thread: Black thread (for mouth) and pink thread (for cheeks)
Tools:
Stitch marker
Yarn/sewing needles
Scissors
Sewing pins/cushion
Detailed Guide to the Difficult Stitch: Bobble Stitch (BO)
In this pattern, the Bobble Stitch is used to make the 3D rounded hands (Round 14) and feet (Round 17). It is made by working 5 incomplete double crochet stitches into the same stitch, then closing them together:
Yarn over, insert your hook into the indicated stitch.
Yarn over and pull up a loop (3 loops on hook).
Yarn over and pull through the first 2 loops only (1 incomplete double crochet made; 2 loops remain on hook).
Repeat steps 1–3 four more times into the exact same stitch. Each time, you add one more loop to your hook until you have 6 loops on your hook.
Yarn over one final time and pull through all 6 loops on the hook at once.
Push the bobble toward the outside of the piece so it pops outward to form the limb.
Learn Crocheting Now!
Better learn the whole method of crocheting these sitting gingerbread man plushies in this tutorial:
Share on Social Media!
See More:
Featuring: How to Crochet Snow Buddy in A Beanie Treat Bag for Christmas
Featuring: How to Crochet A Glitter-Eyed Loopy-Ear Owl in Scarf Plushie Buddy
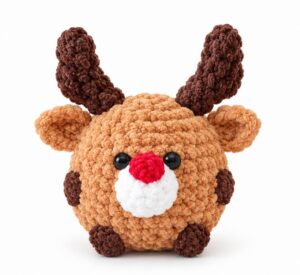
Featuring: How to Crochet A Red-Nosed Animal Buddy Christmas Plushie
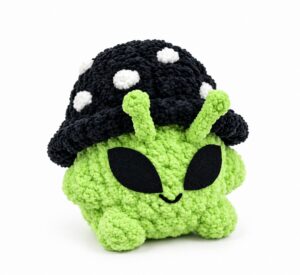
Tester Call: How to Crochet Green Alien Mushroom Plushie Buddy for Gifting
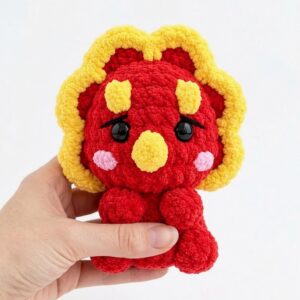
Featuring: How to Crochet No-Sew Red & Yellow Tricera Buddy Plushie
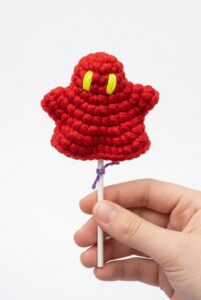
How to Crochet REALLY BOO No-Sew Pocket and Palm Buddy Ghost Gurumi
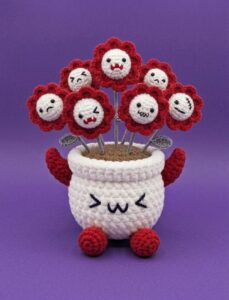
Tester Call: How to Crochet A Spooky Flowers Red Horns Potted Buddy Plushie for Halloween

Tester Call: How to Crochet A Candy Corn, Pumpkin & Kawii Buddy Potted Plant Plushie
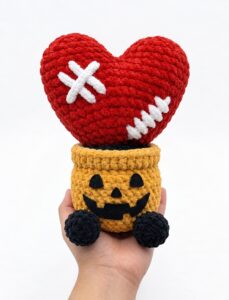
Tester Pattern: How to Crochet A Spooky Face Potted Heart Buddy Plushie