

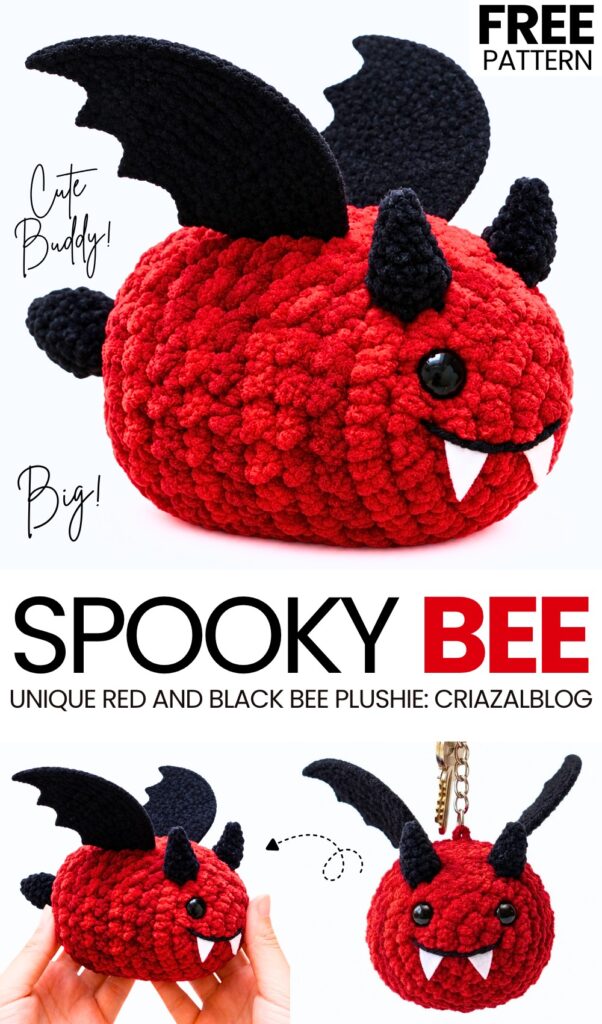
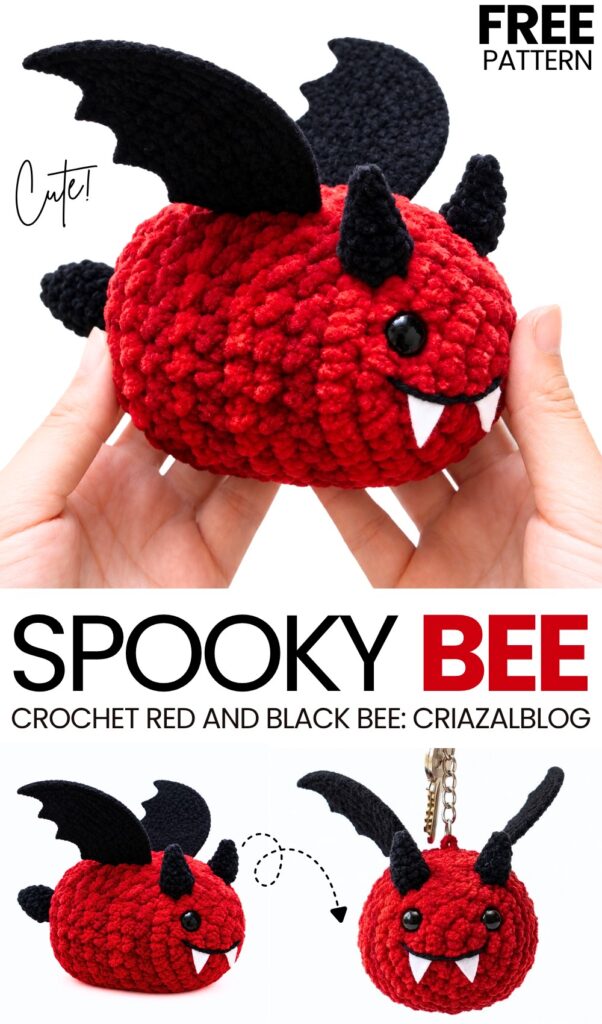
Today’s crochet bee tutorial is from my “crochet red buddies” plushie series as well as my “why not use felt in crochet” series. So, be sure to learn how to crochet this UNIQUE crochet spooky winged and horned anti-stress bumblebee plushie with a FREE written pattern.
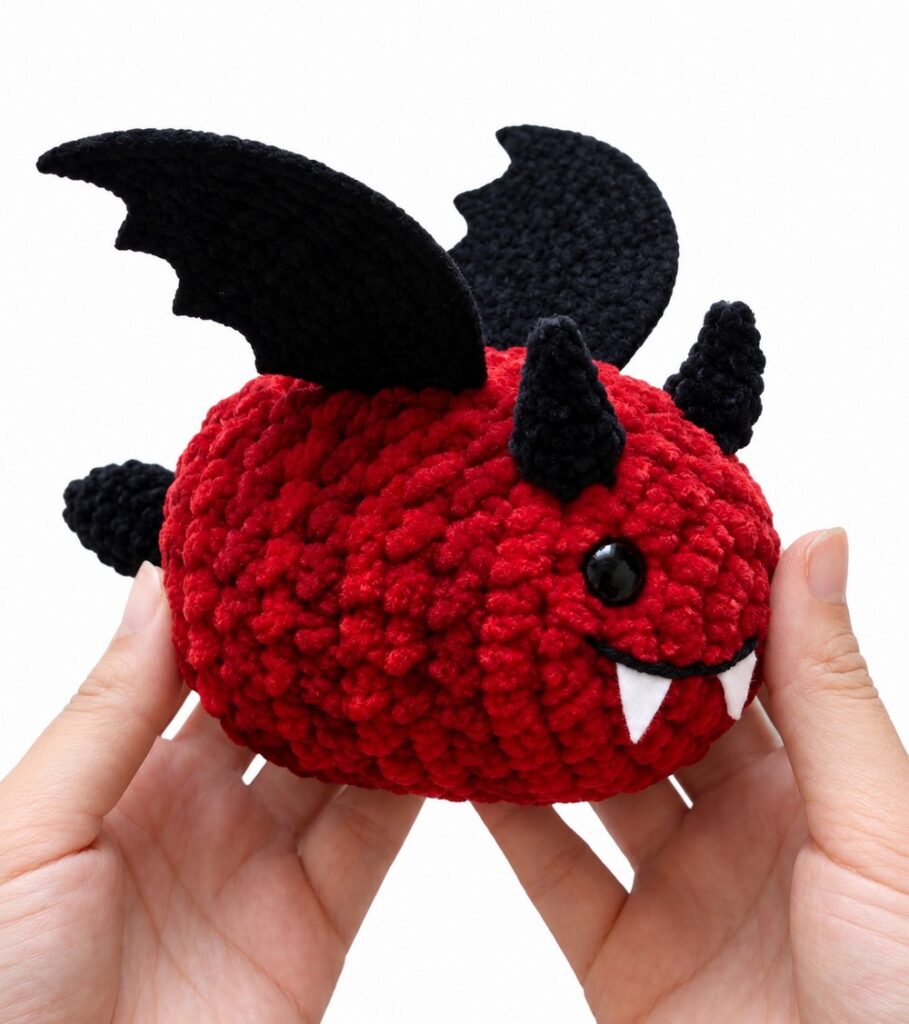
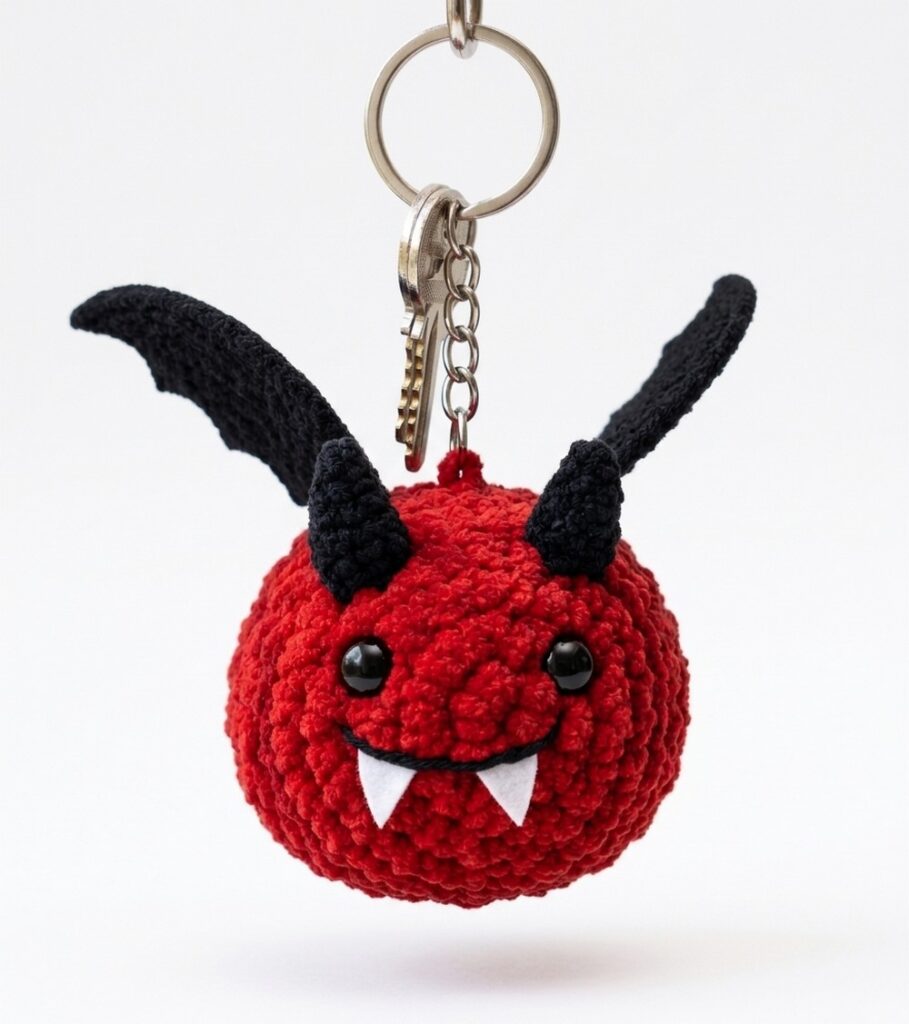
This crochet bee has bat wings instead of the white wings, making it a PERFECT gift for Halloween. It also has a little black sting that makes it look even spookier.
You can also crochet yours using the Halloween witch colors, as well as the dull zombie green and orange colors. Both ways, it will look spooky-cute! Now, keep reading to learn more about this crochet plush Halloween boo project for absolute beginners!
Pattern to Crochet the Spooky Bee Plushie
Skill Level: Beginner – Level 4
Materials & Tools
Yarn:
Super bulky plush/chenille yarn in Red (main body) and Black (stripes, wings, tail)
Thin plush yarn in Black (for horns and tail)
Small amount of White yarn or white felt (for fangs)
Hooks:
4.5 mm – 6.0 mm hook
2.5 mm hook (for horns)
Safety Eyes: 10 mm – 12 mm plastic safety eyes
Stuffing: Fiberfill / Polyfill
Tools: Yarn needle, stitch markers, fabric glue (optional for felt fangs), and scissors
Pattern Abbreviations (US Terms)
MR: Magic Ring
ch: Chain
sc: Single crochet
hdc: Half double crochet
dc: Double crochet
tr: Treble crochet
sl st: Slip stitch
inc: Single crochet increase (2 sc in same st)
dec: Invisible single crochet decrease (sc 2 sts together)
st(s): Stitch(es)
FO: Fasten off
Pattern Instructions
1. Devil Bee Body
Worked from head to back in continuous rounds using plush yarn and 4.5 mm – 6.0 mm hook.
Rnd 1: With Red, 6 sc in a MR [6]
Rnd 2: Inc in each st around [12]
Rnd 3: (1 sc, inc) × 6 [18]
Rnd 4: (2 sc, inc) × 6 [24]
Rnds 5–8: sc in each st around [24] (4 rounds)
Safety Eyes Placement: Insert safety eyes between Rnds 4 and 5, spaced about 4 to 5 stitches apart.
Rnds 9–14: sc in each st around [24]
Rnd 15: (2 sc, dec) × 6 [18]
Stuffing: Stuff the body firmly with polyfill.
Rnd 16: (1 sc, dec) × 6 [12]
Rnd 17: Dec in each st around [6]
FO: Fasten off, leaving a tail. Weave through the front loops of the remaining 6 stitches, pull tight to close, and weave in the end.
2. Devil Horns (Make 2)
Worked with thin black plush yarn and a 2.5 mm hook.
Rnd 1: 3 sc in MR [3]
Rnd 2: sc in each st around [3]
Rnd 3: 1 sc, 2 inc [5]
Rnd 4: sc in each st around [5]
Rnd 5: (1 sc, inc) × 2, 1 sc [7]
Rnd 6: sl st in each st around [7]
FO: Fasten off, leaving a long tail for arching and sewing.
How to Arch the Horns
Thread your yarn needle with the long tail left on the horn.
Sew a line of running stitches from the horn base up to the tip along the side you want to be concave (the inner curve).
Once you reach the tip, turn and sew back down along the exact same path to the base.
Gently pull the yarn tail from the base. This cinches the inner side and pulls the horn into a curved arch.
Tie the yarn securely at the base to lock in the arched shape.
3. Devil Wings (Cut 2) 
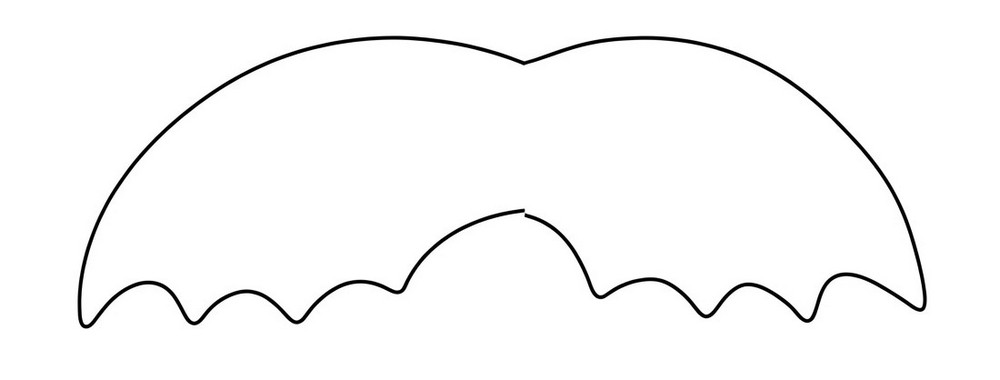
Download and cut with the help of this template!
4. Devil Tail
Worked in continuous rounds using Black plush yarn and 4.5 mm – 6.0 mm hook.
Rnd 1: 4 sc in MR [4]
Rnd 2: (Increase by 2) (1 sc, inc) × 2 [6]
Rnd 3: (Increase by 2) (2 sc, inc) × 2 [8]
Rnd 4: (Increase by 2) (3 sc, inc) × 2 [10]
Rnd 5: (Increase by 1) 9 sc, inc [11]
Rnd 6: (Decrease by 2) (3 sc, dec) × 2, 1 sc [9]
FO: Fasten off, leaving a long tail for sewing. (Lightly stuff if desired).
Full Assembly Guide
Attach Horns:
Position the two arched horns on top of the head between Rnds 3 and 5, curving inward toward each other or back toward the body.
Using the long yarn tails, stitch the base of each horn securely onto the body.
Attach Bat Wings:
Place the black scalloped wings flat on top of the body across the black/red stripe transitions (around Rnds 8–11).
Angle the wings outward slightly and sew the base edges down onto the top back of the body.
Attach Devil Tail:
Center the tail on the rear of the plushie, right over the closed back end (Rnds 15–17).
Sew around the opening of the tail to attach it flush to the body.
Embroider Facial Features:
Mouth: Using black yarn or embroidery floss, embroider a wide, curved smile centered directly between and slightly below the safety eyes.
Fangs: Cut two tiny triangles out of white felt (or embroider two downward v-shapes with white yarn) and attach them directly along the lower line of the black smile.
Share on Social Media!
See More:
How to Crochet A Twinkle Plushie in Bee Costume for Kids
How to Crochet A Kawaii Bee No-Sew Plushie for Kids
Tester Pattern: How to Crochet Amigurumi Spooky Red & Black Mushroom Plushie
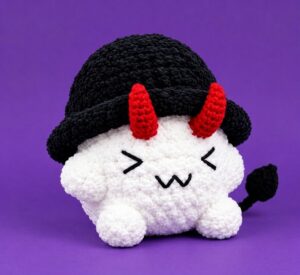
Tester Pattern: How to Crochet A No-Sew Mr. Red Horns Mushroom Plushie
Featuring: How to Crochet A Red-Nosed Animal Buddy Christmas Plushie
How to Crochet Red Mouth Spooky-Cute Grey and Black Bat Amigurumi
Featuring: How to Crochet No-Sew Red & Yellow Tricera Buddy Plushie
Tester Call: How to Crochet A Spooky Flowers Red Horns Potted Buddy Plushie for Halloween
Tester Call: How to Crochet A Red & Black Spooky Turtle Plushie for Halloween



