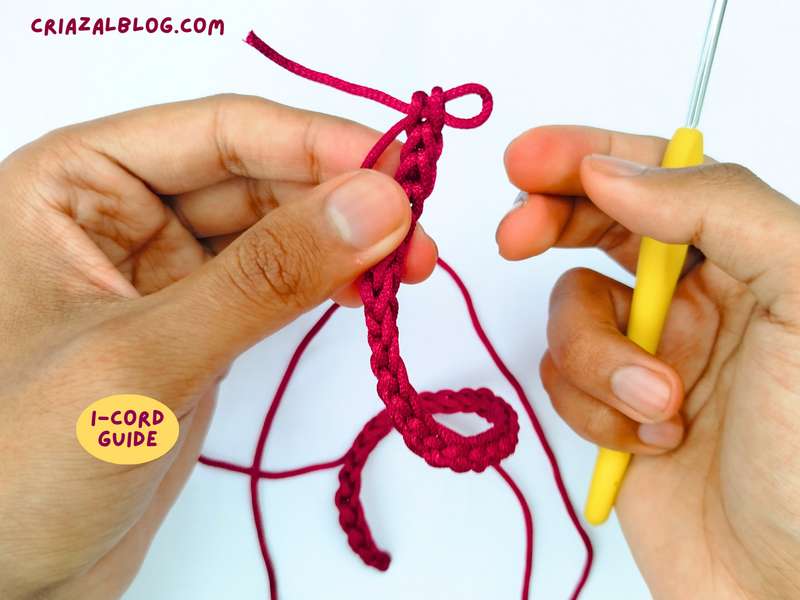
These instructions will show you how to crochet a half I-cord by crocheting double chains. You can use this cord for shoulder straps in sleeveless tops, as a handle in small pouches, or to start working in back-and-forth rows.
Unlike the full I-cord, this does not require Tunisian crochet and ends up beautiful. I crocheted this cord to make a knotted ribbon bow, whose tutorial I will show you in the next tutorial. You can add it to many other projects.
The method I used is chainless and makes a neater cord. There is also a faster approach I will detail to you in the end, plus a more foundational chain method, too. So, continue reading this tutorial till the end.
Why Half-Icord?
The chain stitch is too thin, and a full I-cord is too thick for small pouch straps, loopy flowers, button loops, letters, and bows. Half I-cord sits perfectly in the middle.
In addition, you can crochet this cord without removing the hook, which makes it still quicker. Also, it is kinda stretchy and easy, except that holding two yarn strands may be a new experience for you.
Crochet Half I-Cord: Step-by-Step Instructions
To crochet a half I-cord, the idea is to yarn under with the tail end and then yarn over with the working yarn from the skein. Then pull through both the loops on the hook. Now, I will explain how to crochet this cord in detail:
Difficulty: Beginner – Level 2
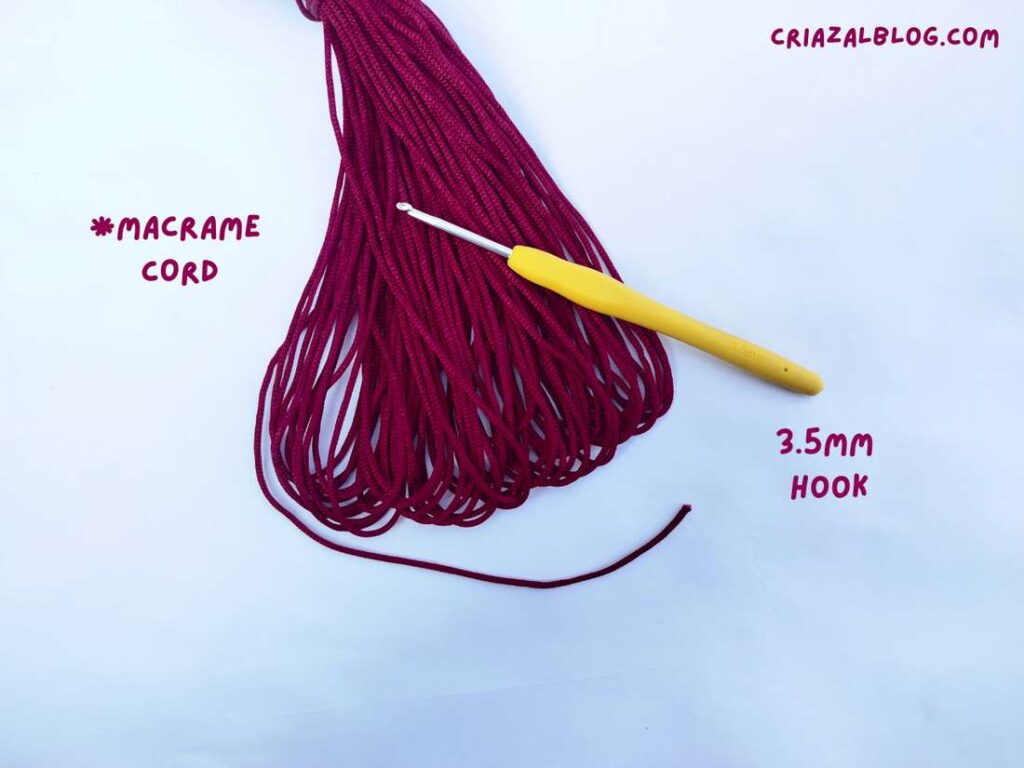
Supplies
- Macrame Cord. This is the only instance I am recommending using the macrame yarn, as it works perfectly fine for crocheting cords and most likely used.
- 3.5mm crochet hook. You can use the recommended one on your yarn label.
Pattern (Right Hand)
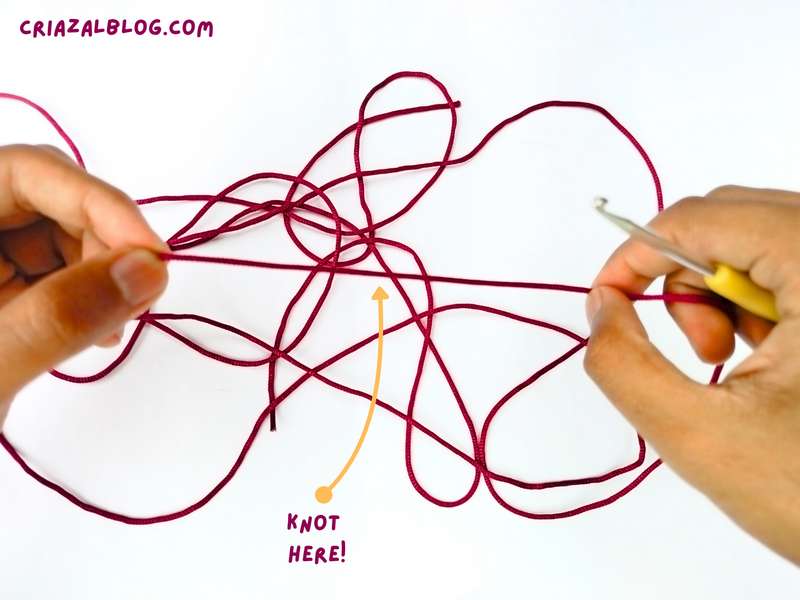
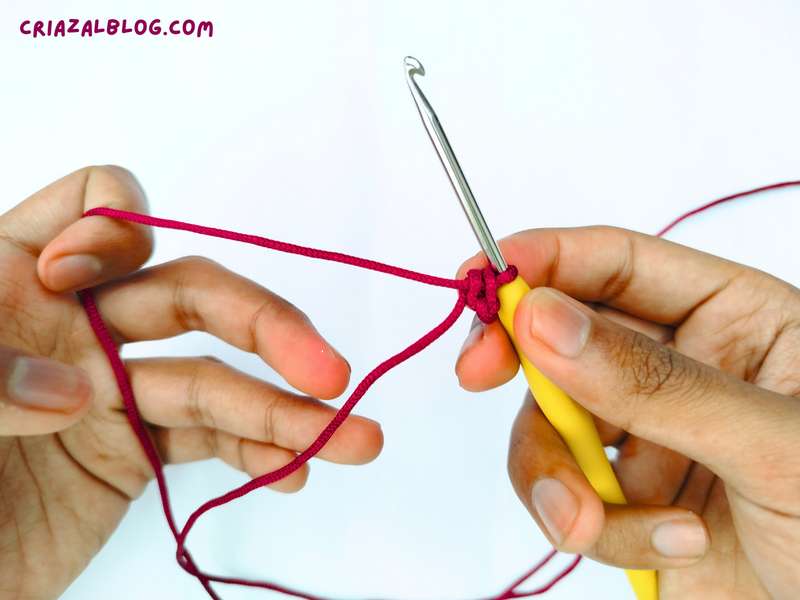
- Step #1: Make the slip knot normally, except to have a longer tail end because we shall use this end to crochet the cord along with the ball end. I would pull and cut a long length from the skein and make a slip knot at about 1-3rd of this length. The reason is that working end takes about twice more yarn. A rule of thumb is that a 12-inch tail will result in a 3-inch cord if you don’t want to cut the yarn.
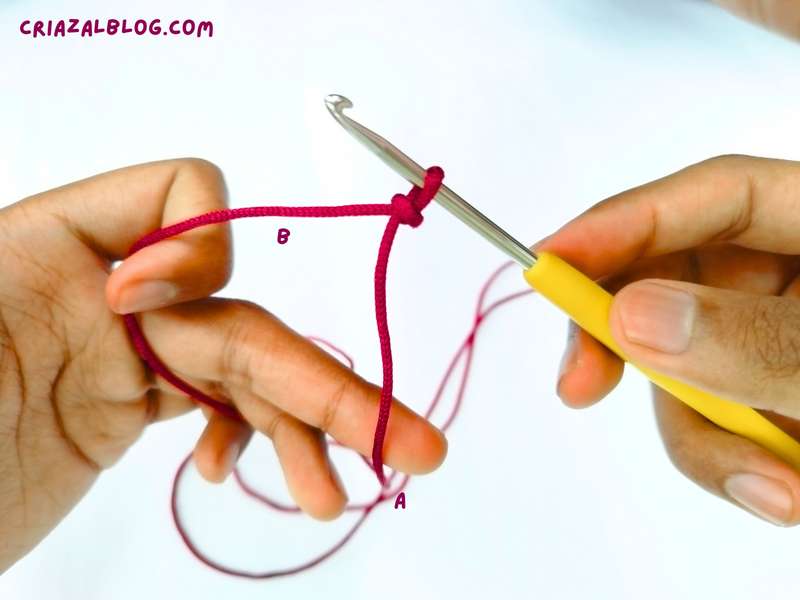
- Step #2: Hold the working yarn with your index finger and let the tail yarn slide over the middle finger of left hand.
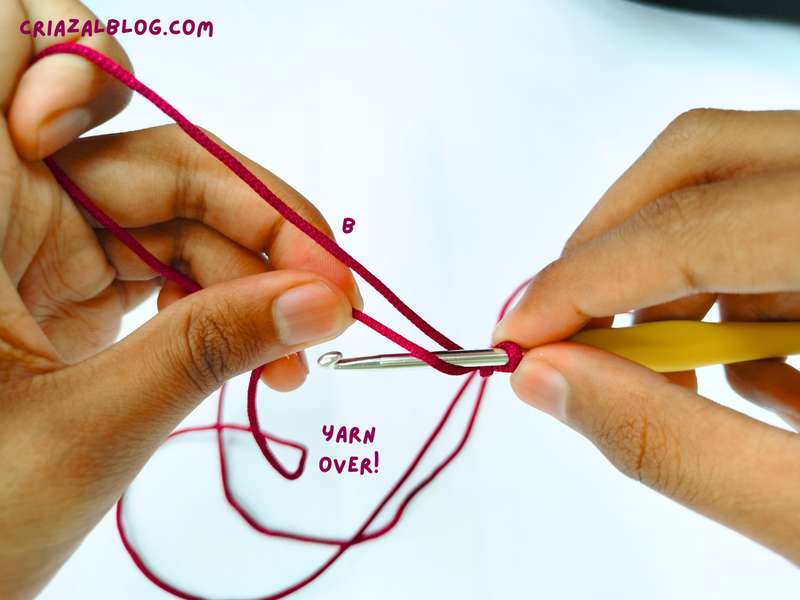
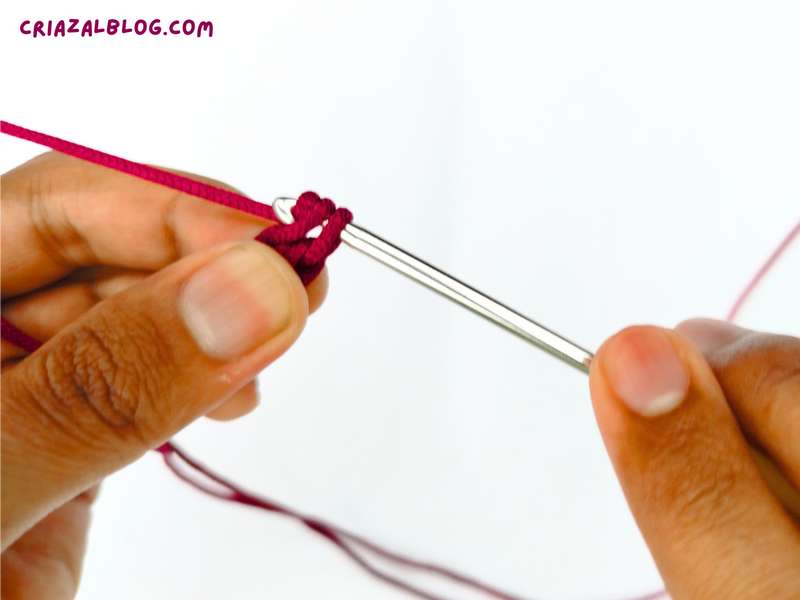
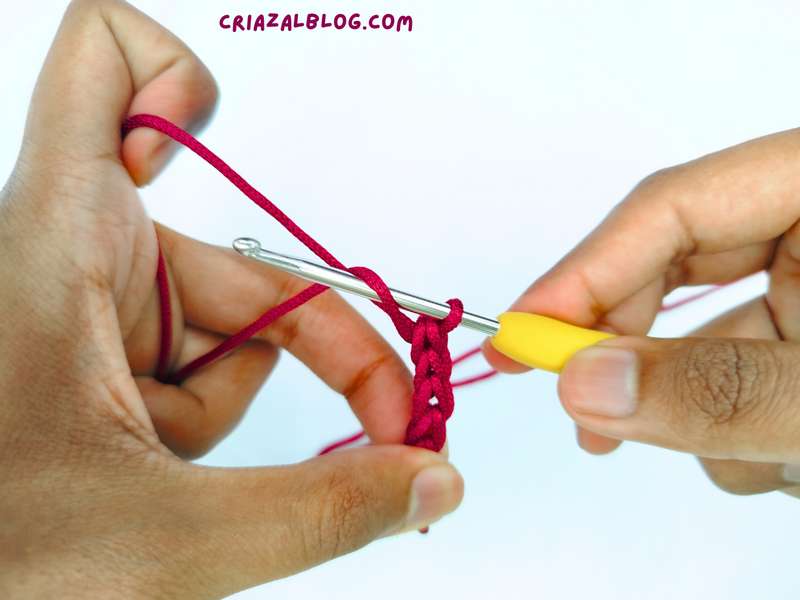
- Step #3: With the thumb and the middle finger of the left hand, wrap the yarn around the hook from left to right.
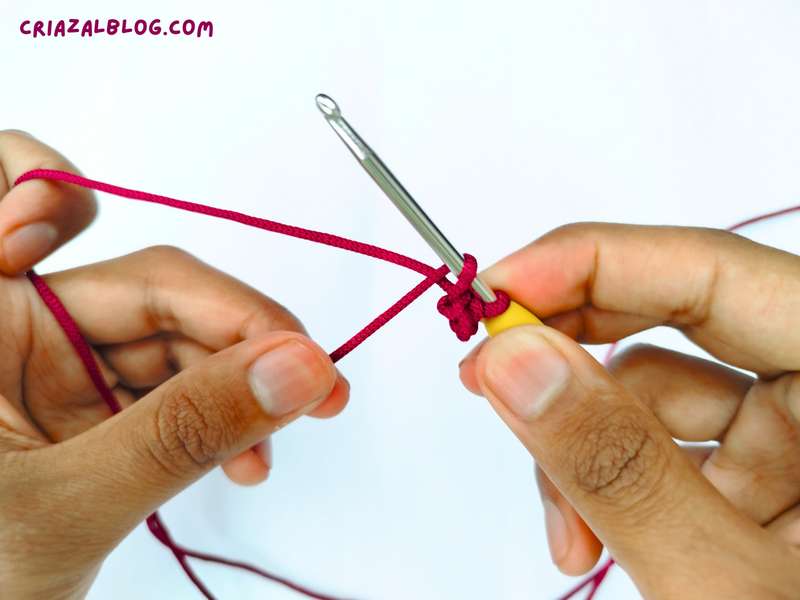
- Step #4: Pinch the knot and the loops from the bottom and slide the loop nearer to the slip knot loop.
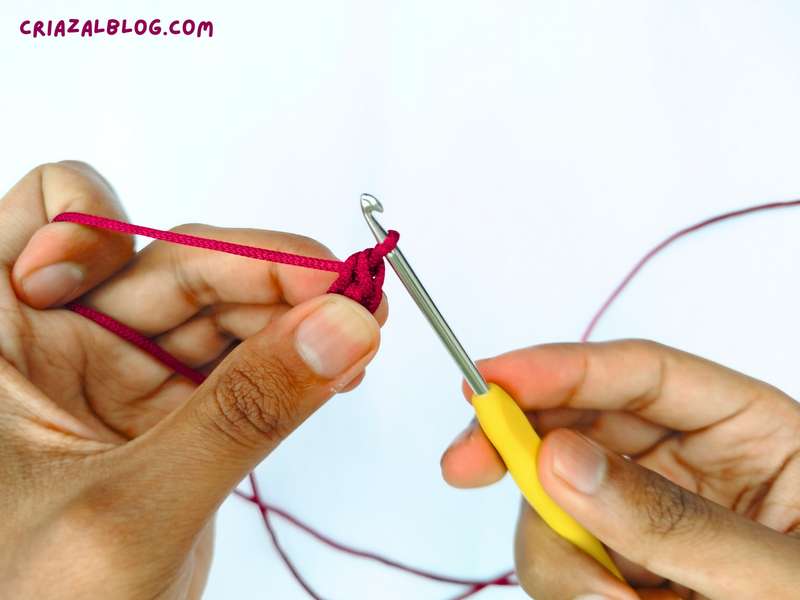
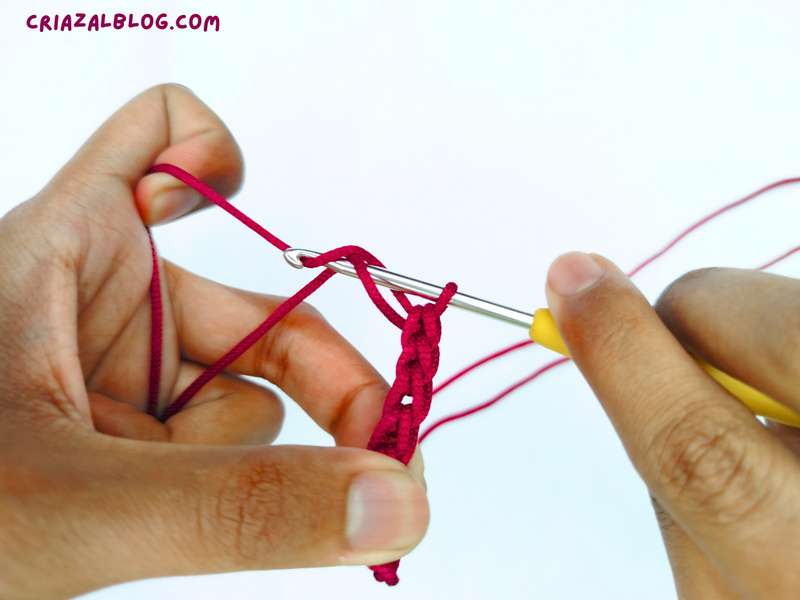
- Step #5: Yarn over the crochet hook using the ball end.
- Step #5: Pull through both the loops on the crochet hook.

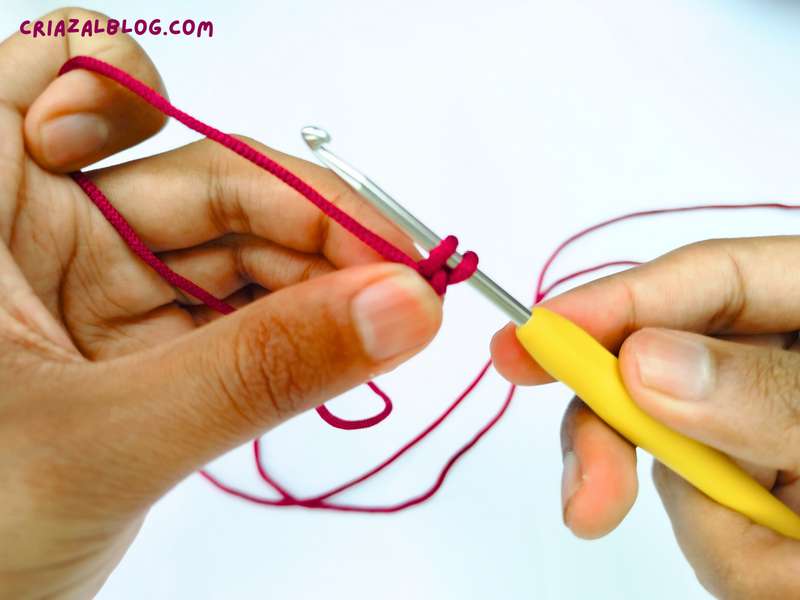
- Repeat Steps: Wrap the yarn from the tail end and slide the loop.
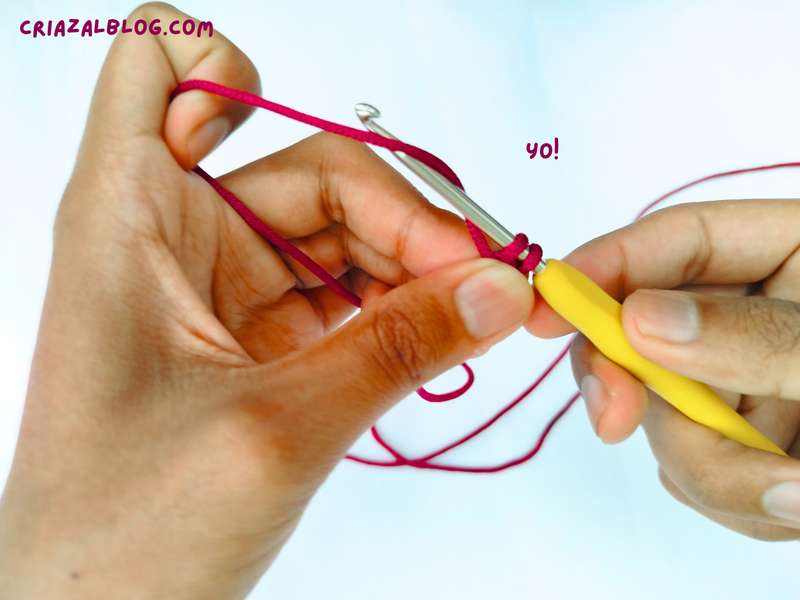
- Yarn over the working yarn and pull through both loops on the crochet hook.
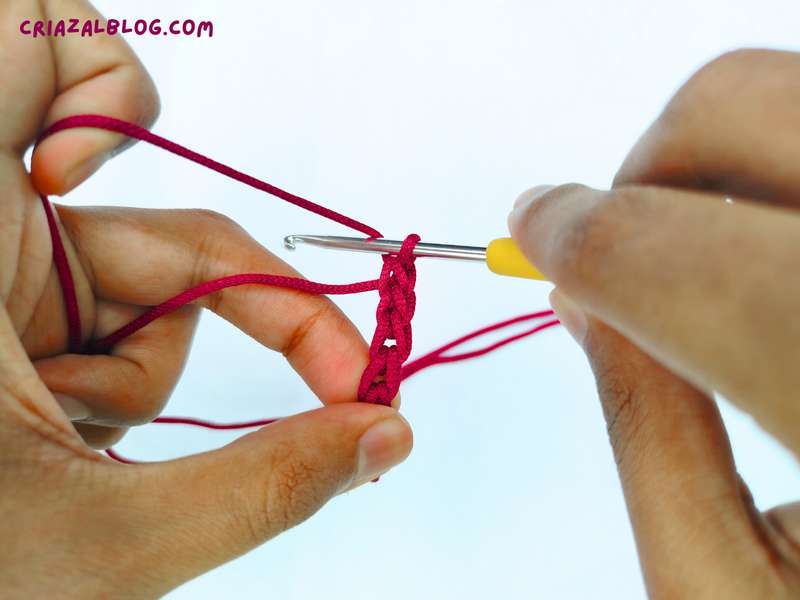
- Repeat the same steps.
Fast Method
- Step #1: Using the bottom fingers, hold both ends of the yarn under the tail end. This is similar to the yarn over, except that the yarn lives under the crochet hook.
- Step #2: Yarn over the ball yarn and pull through both the loops on the crochet hook.
Tip: Repetitive adjustment of the slip knot loop is required for the fast method. So, getting used-to may take time.
Was this tutorial helpful? Tell me in the comments
Your feedback is a great way for us to improve my crochet tutorials. So, share your thoughts on whether you tried this one or not, and highlight the weak points.